Few month ago I decided to buy new furniture. I wanted to change from beech to white ones.
The reason was that the color of the wooden floor made of spruce and the beech furniture are increasingly similar after a couple of years.It looked to monotonous
So we went to the Swedish furniture store and bought a shelf in white. The contrast between the shelf and the floor is amazing. I love it.
Next I searched for new curtains and pillowcases. And with every store I went I got more and more disappointed. At this time I didnt knew exactly what I wanted, but knew it wasn’t what they sold.
I had 2 alternatives: I let someone sew my curtains and pillowcases or have to do it by myself.
2 or 3 years ago a fabric store opened next to my super market. I can’t count how often I’d gone by.
But one day I saw a wonderful christmas fabric. So beautiful! And the next thing I did, I bought it.
I didn’t had a maschine or experience with sewing, but I had to have it.
This is how it startet. 🙂

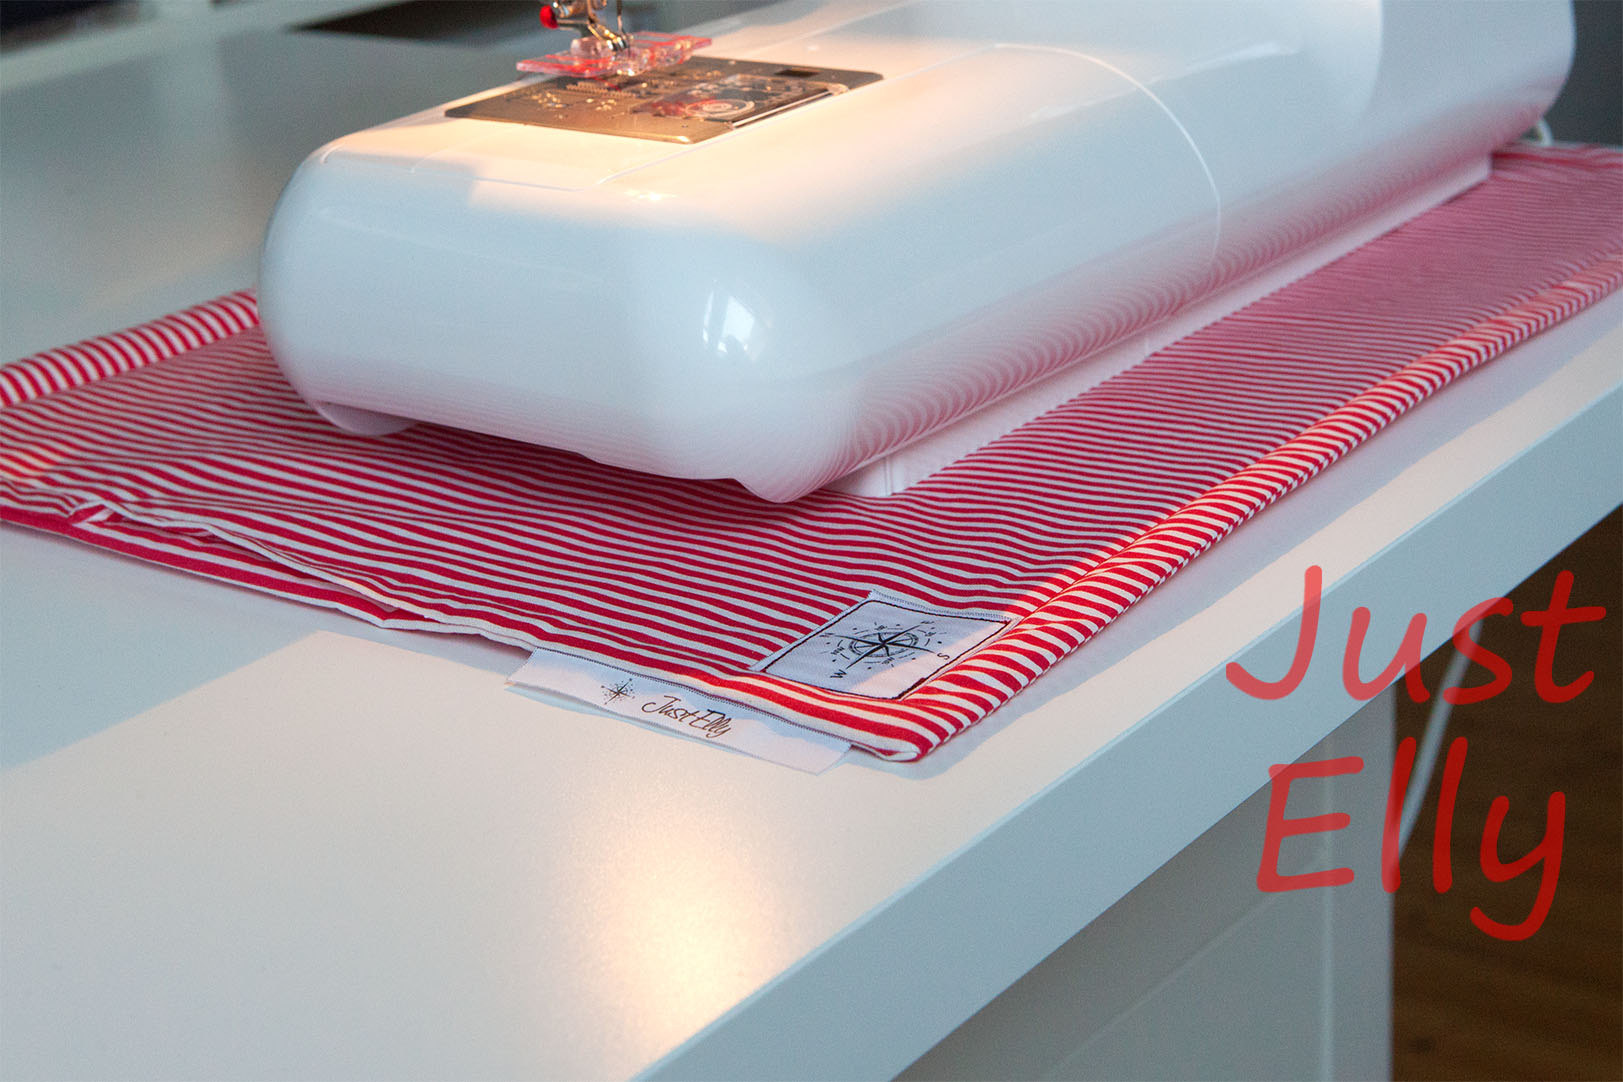
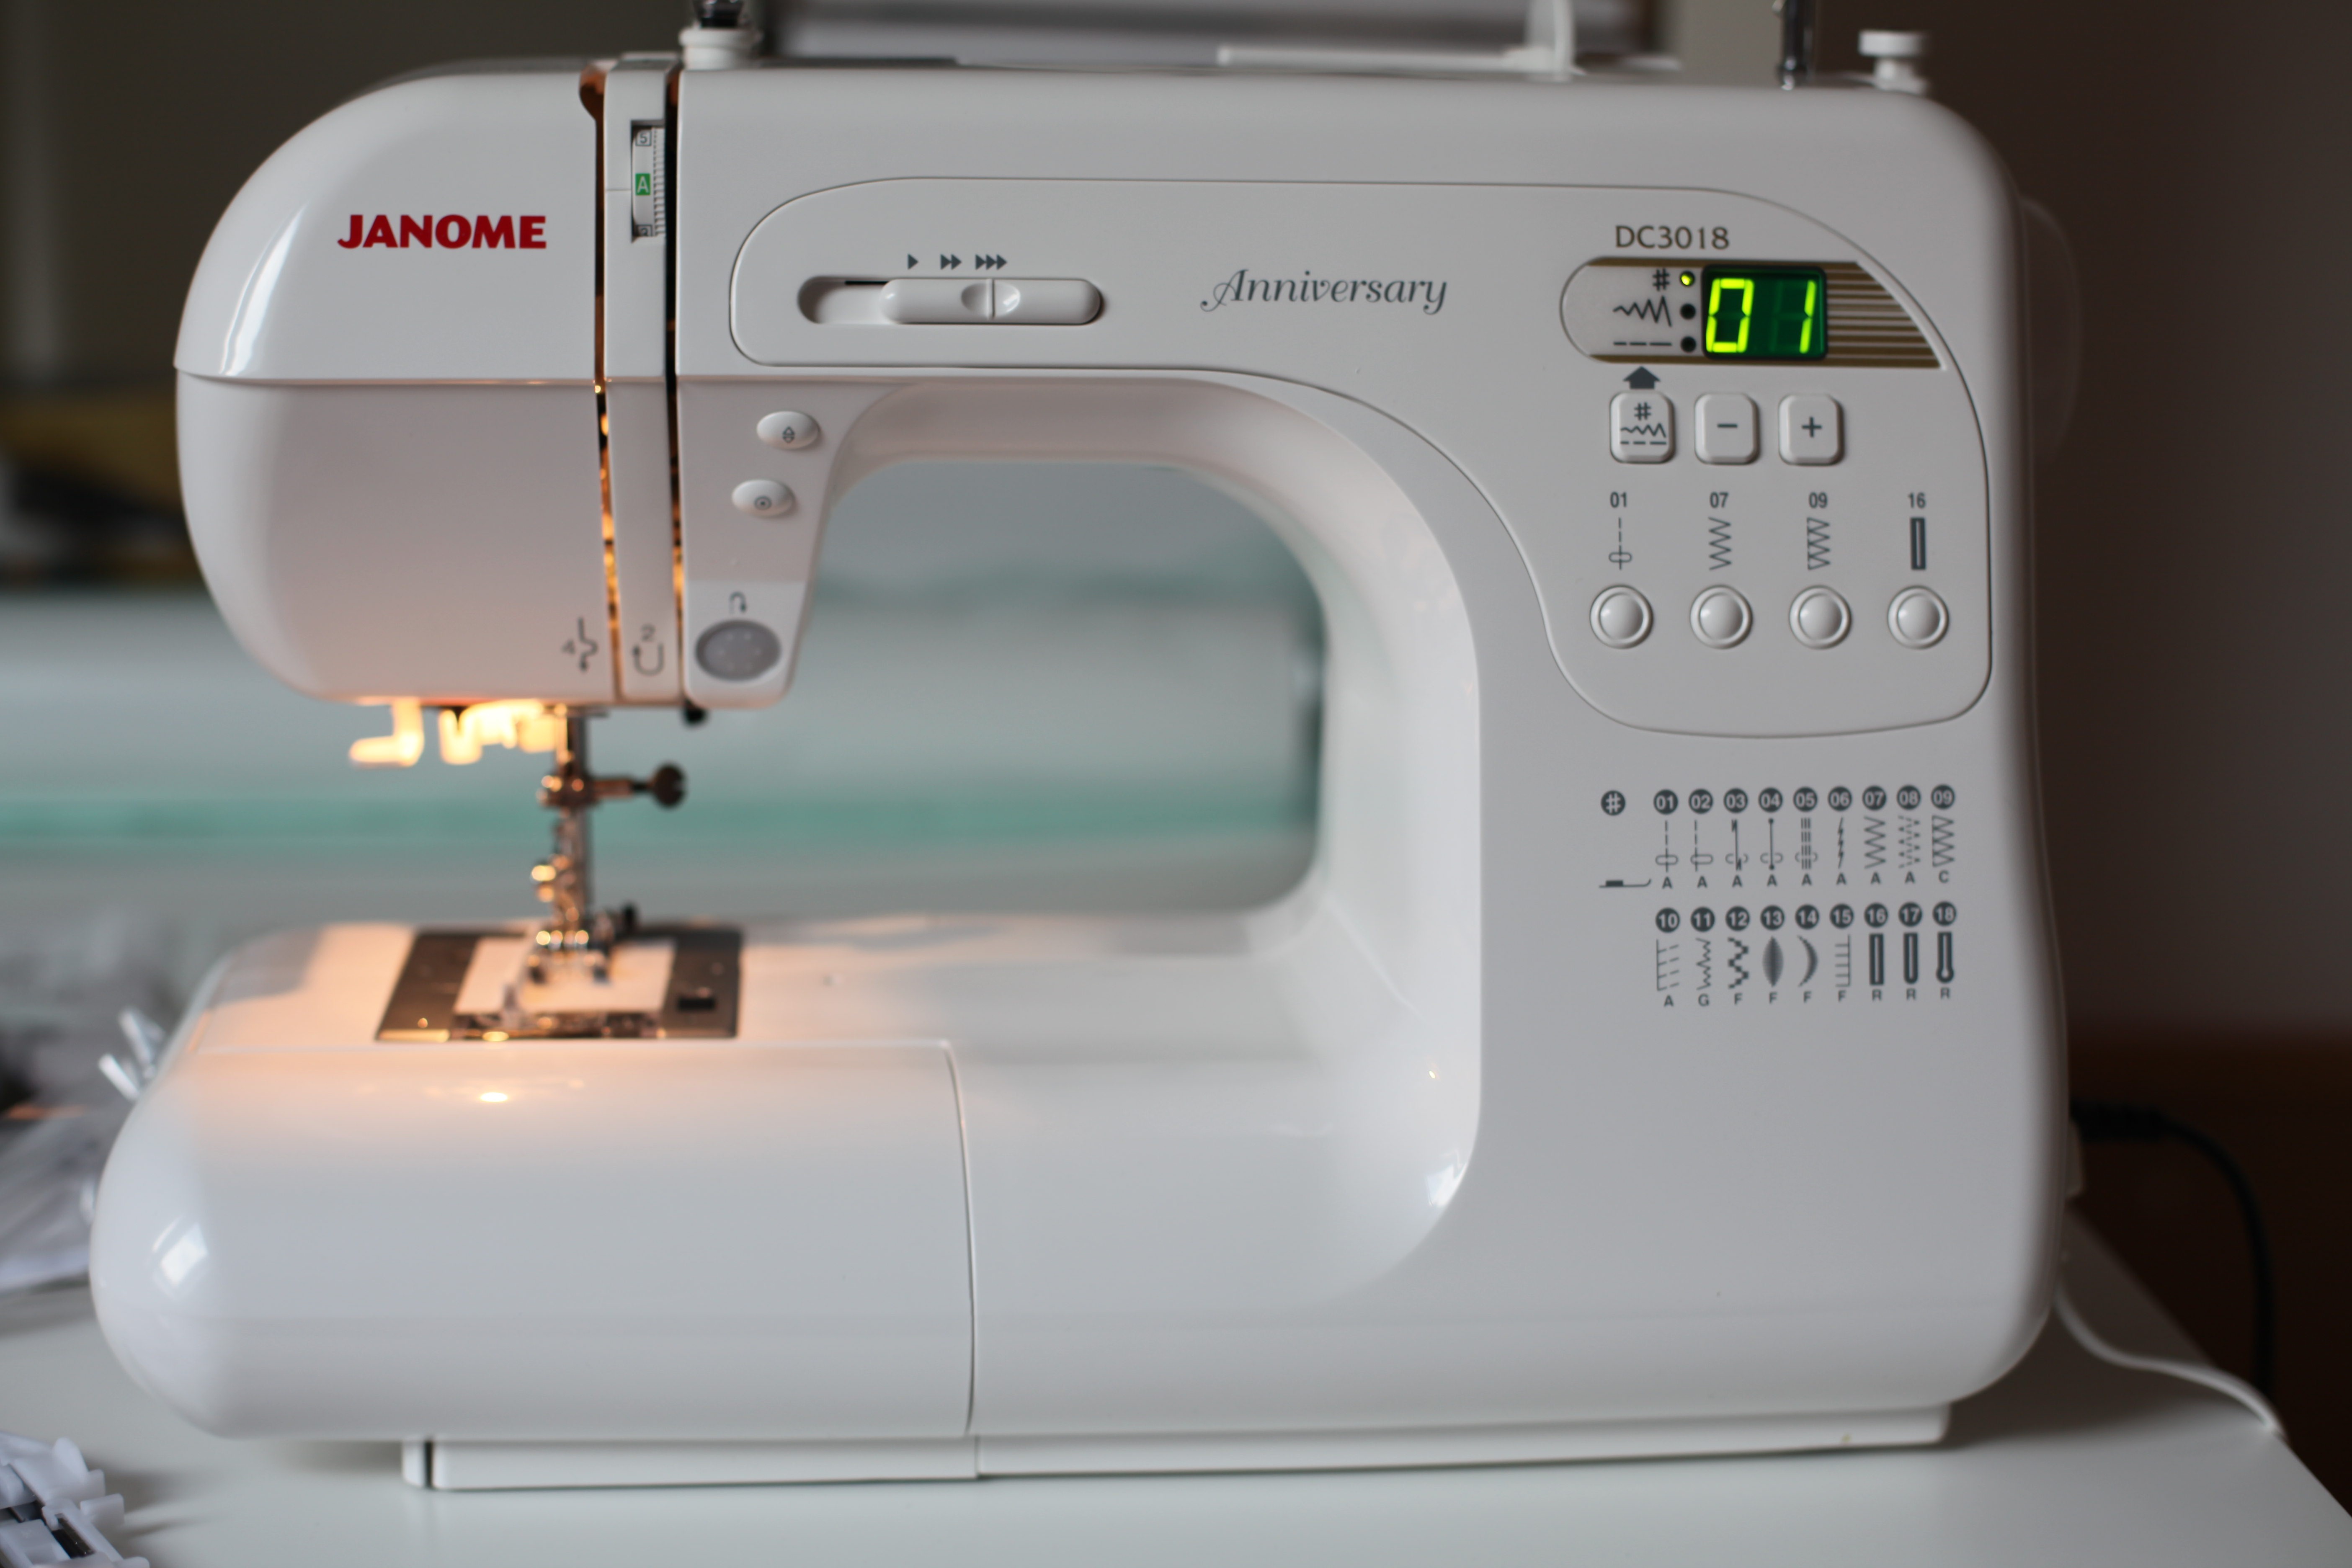
Few month ago I bought this maschine
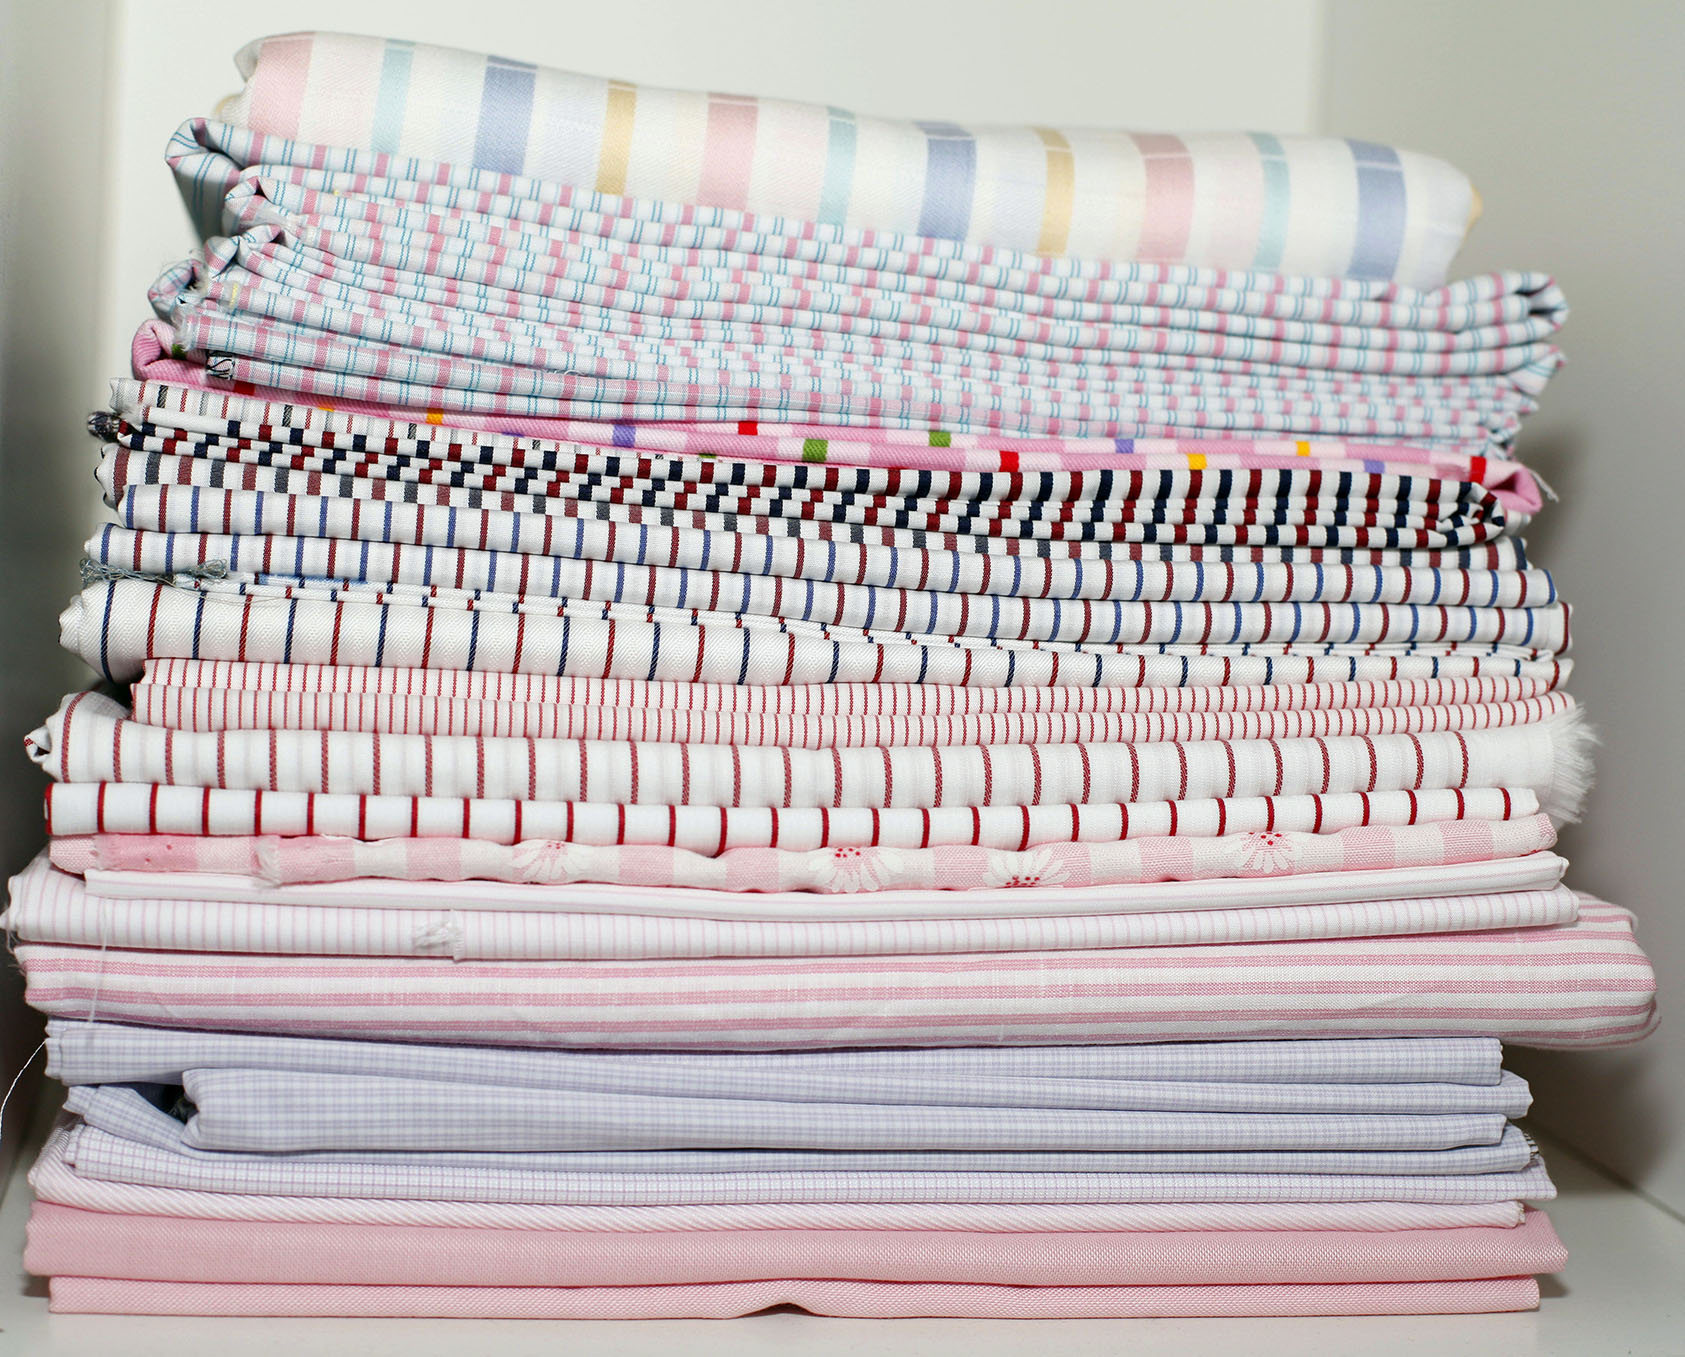
And lots of fabric:
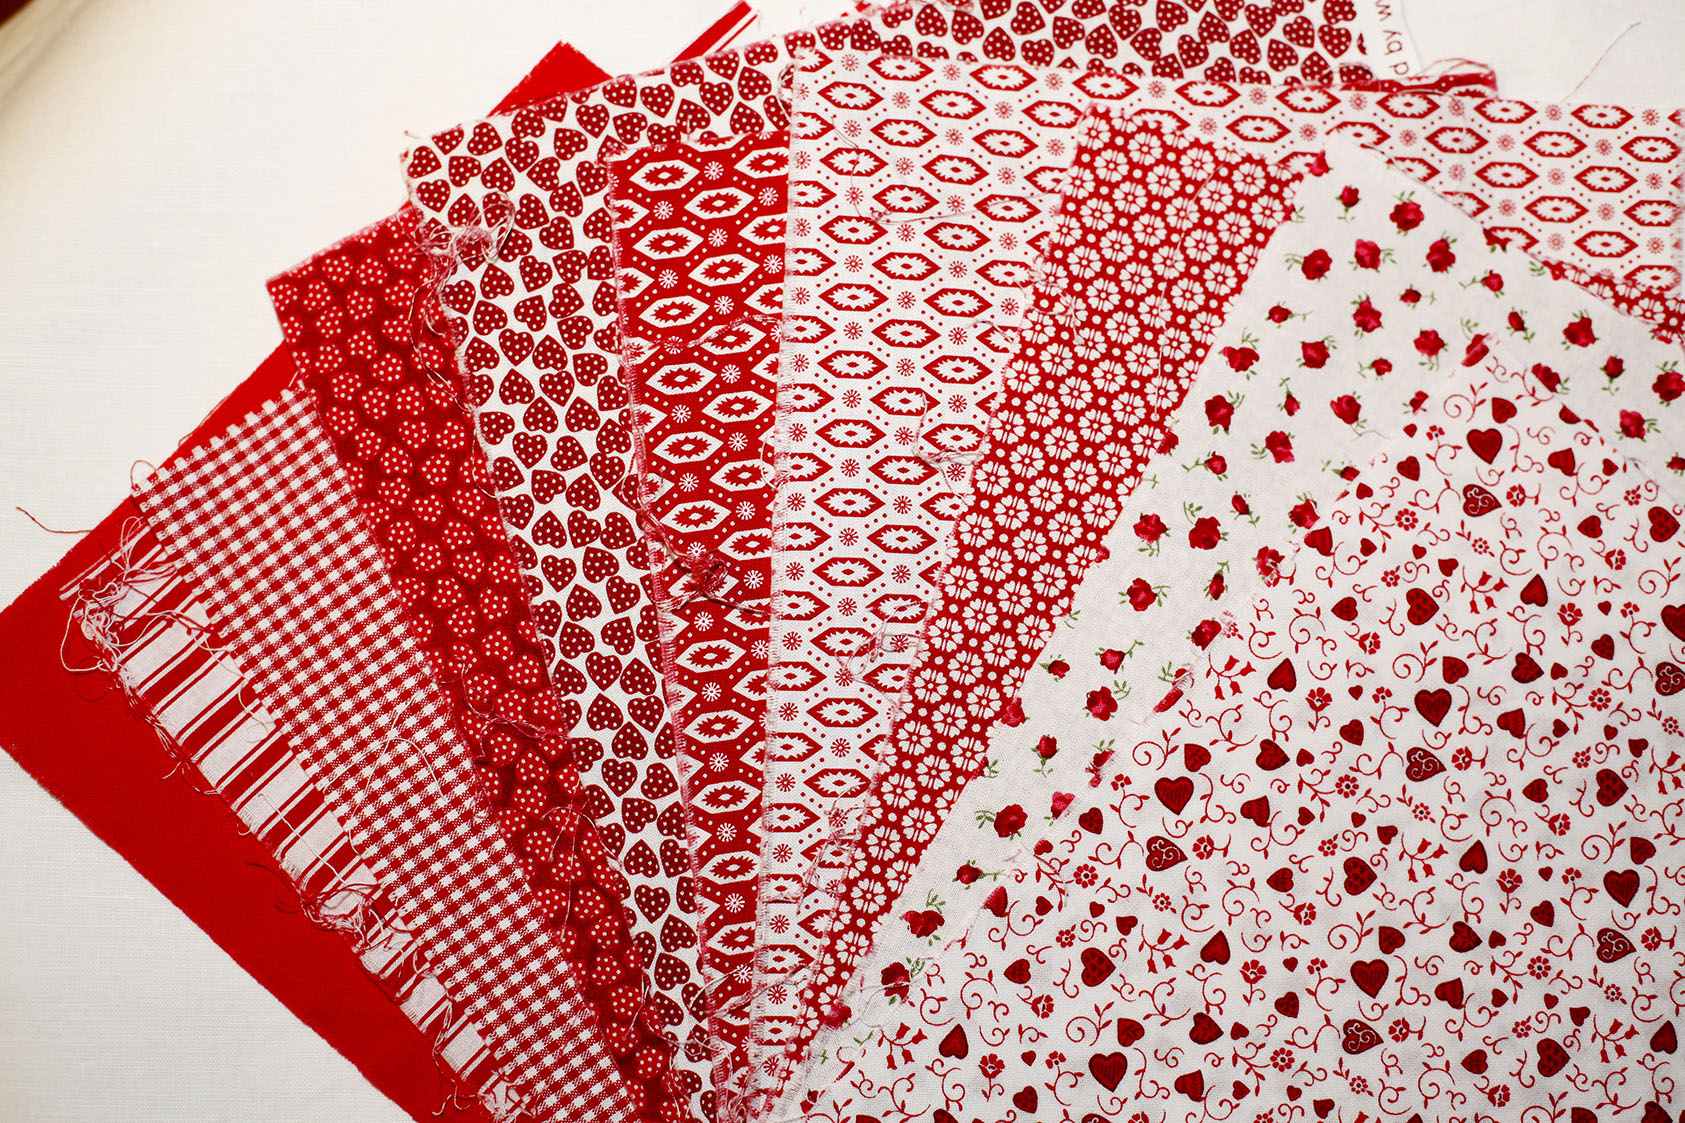
 My fav color red

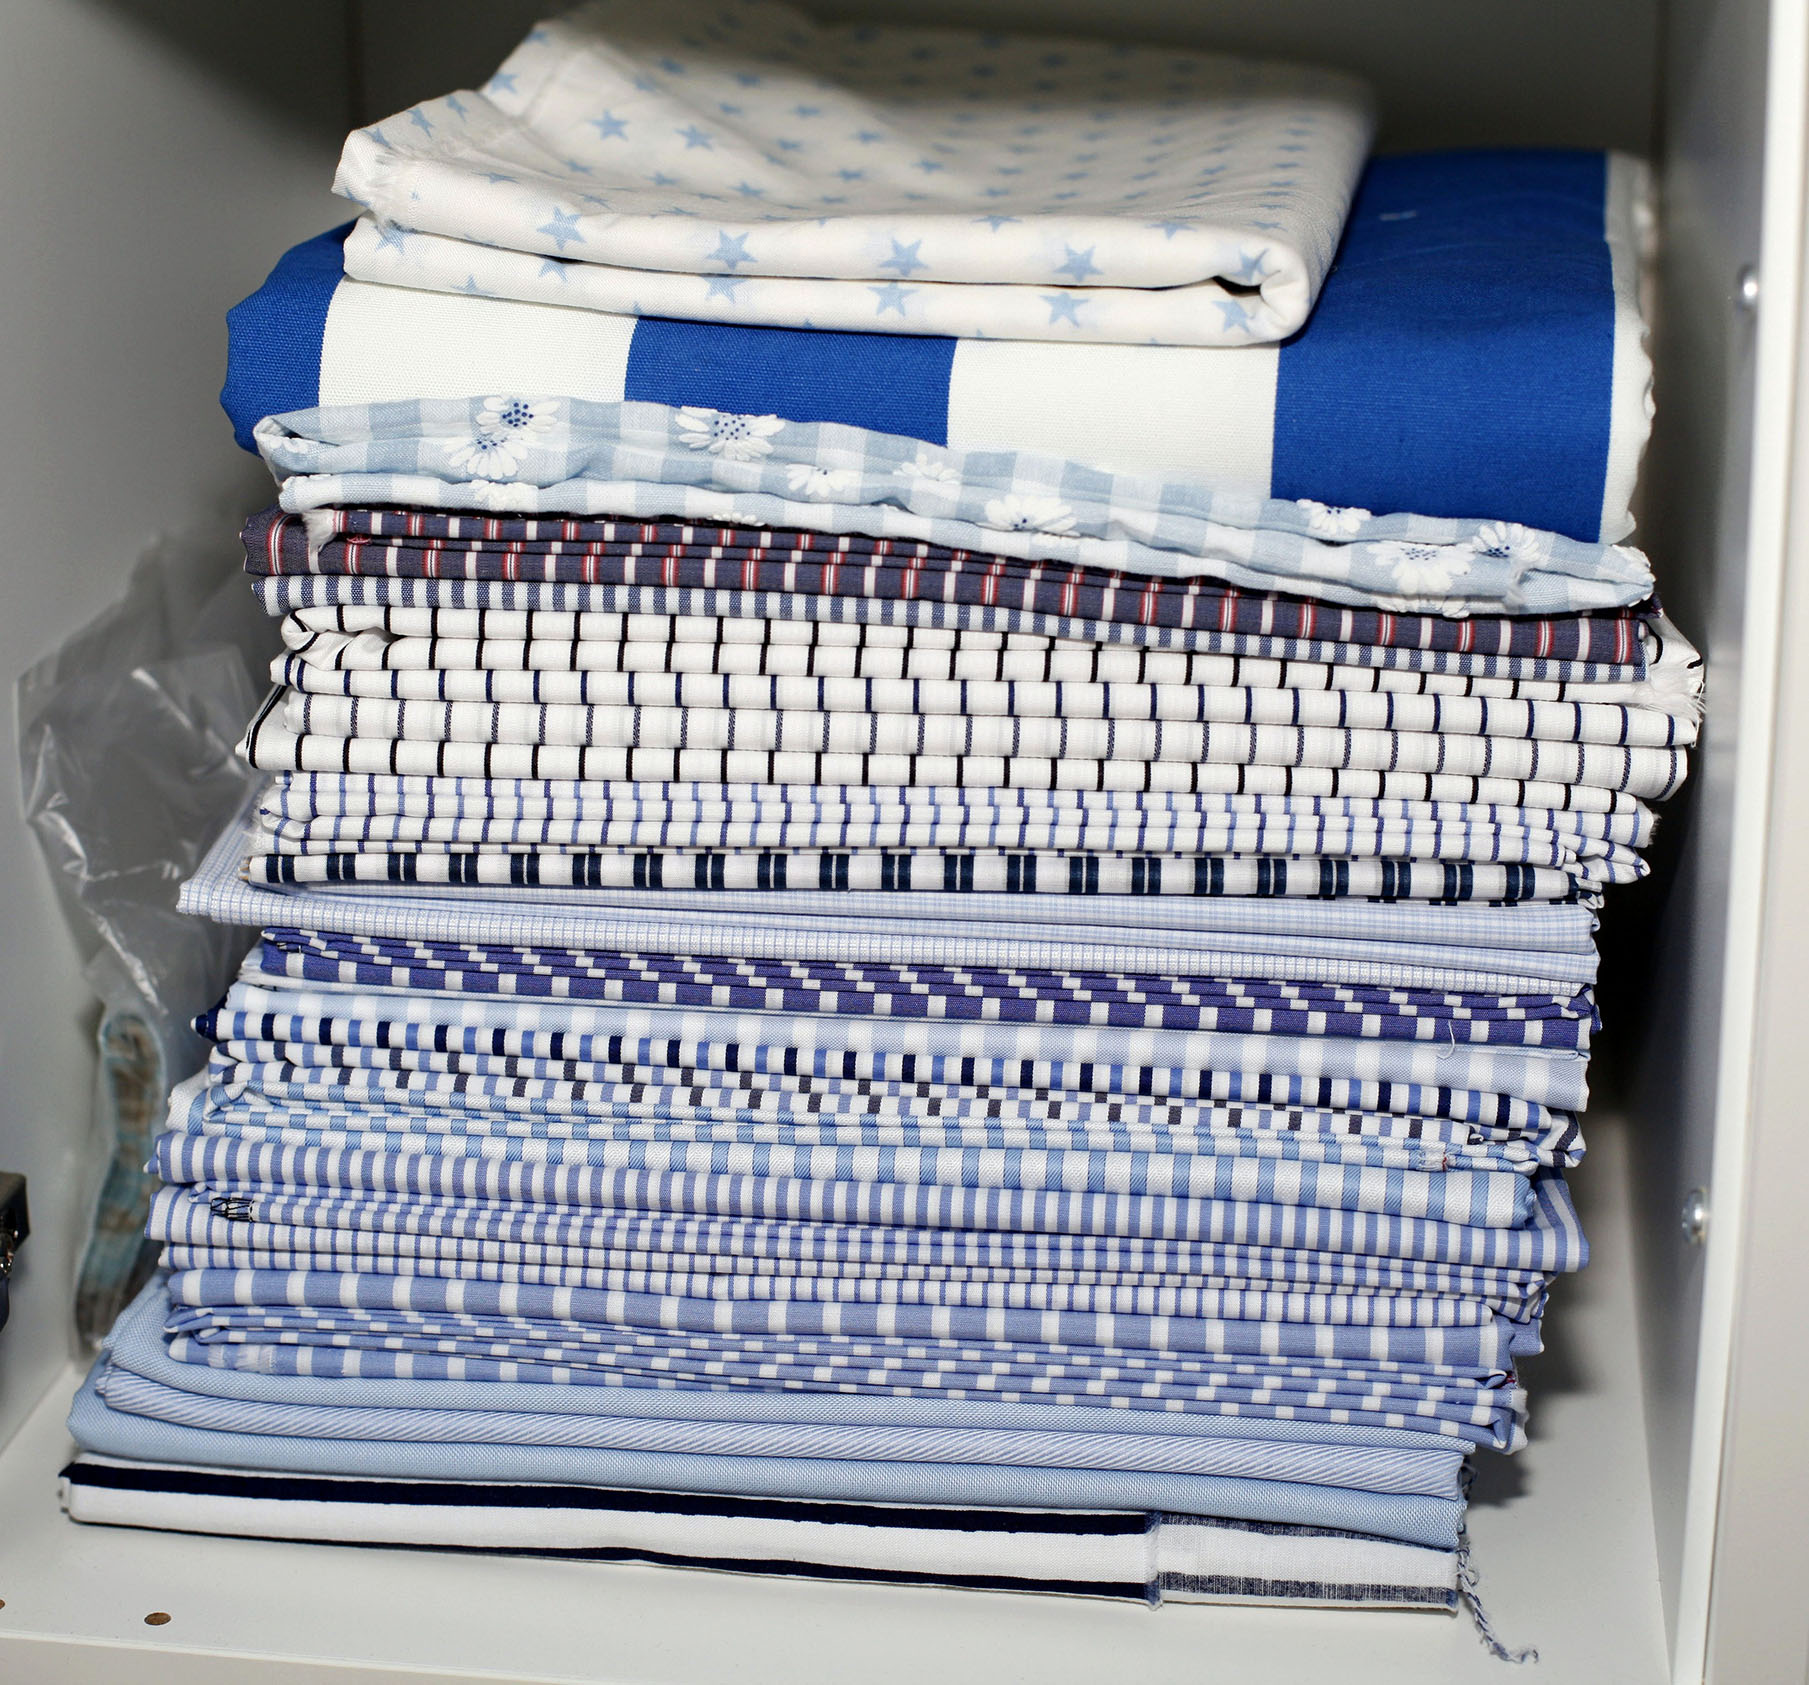
stripes all over

and blue with lots of stripes …


these fabrics are planned for application

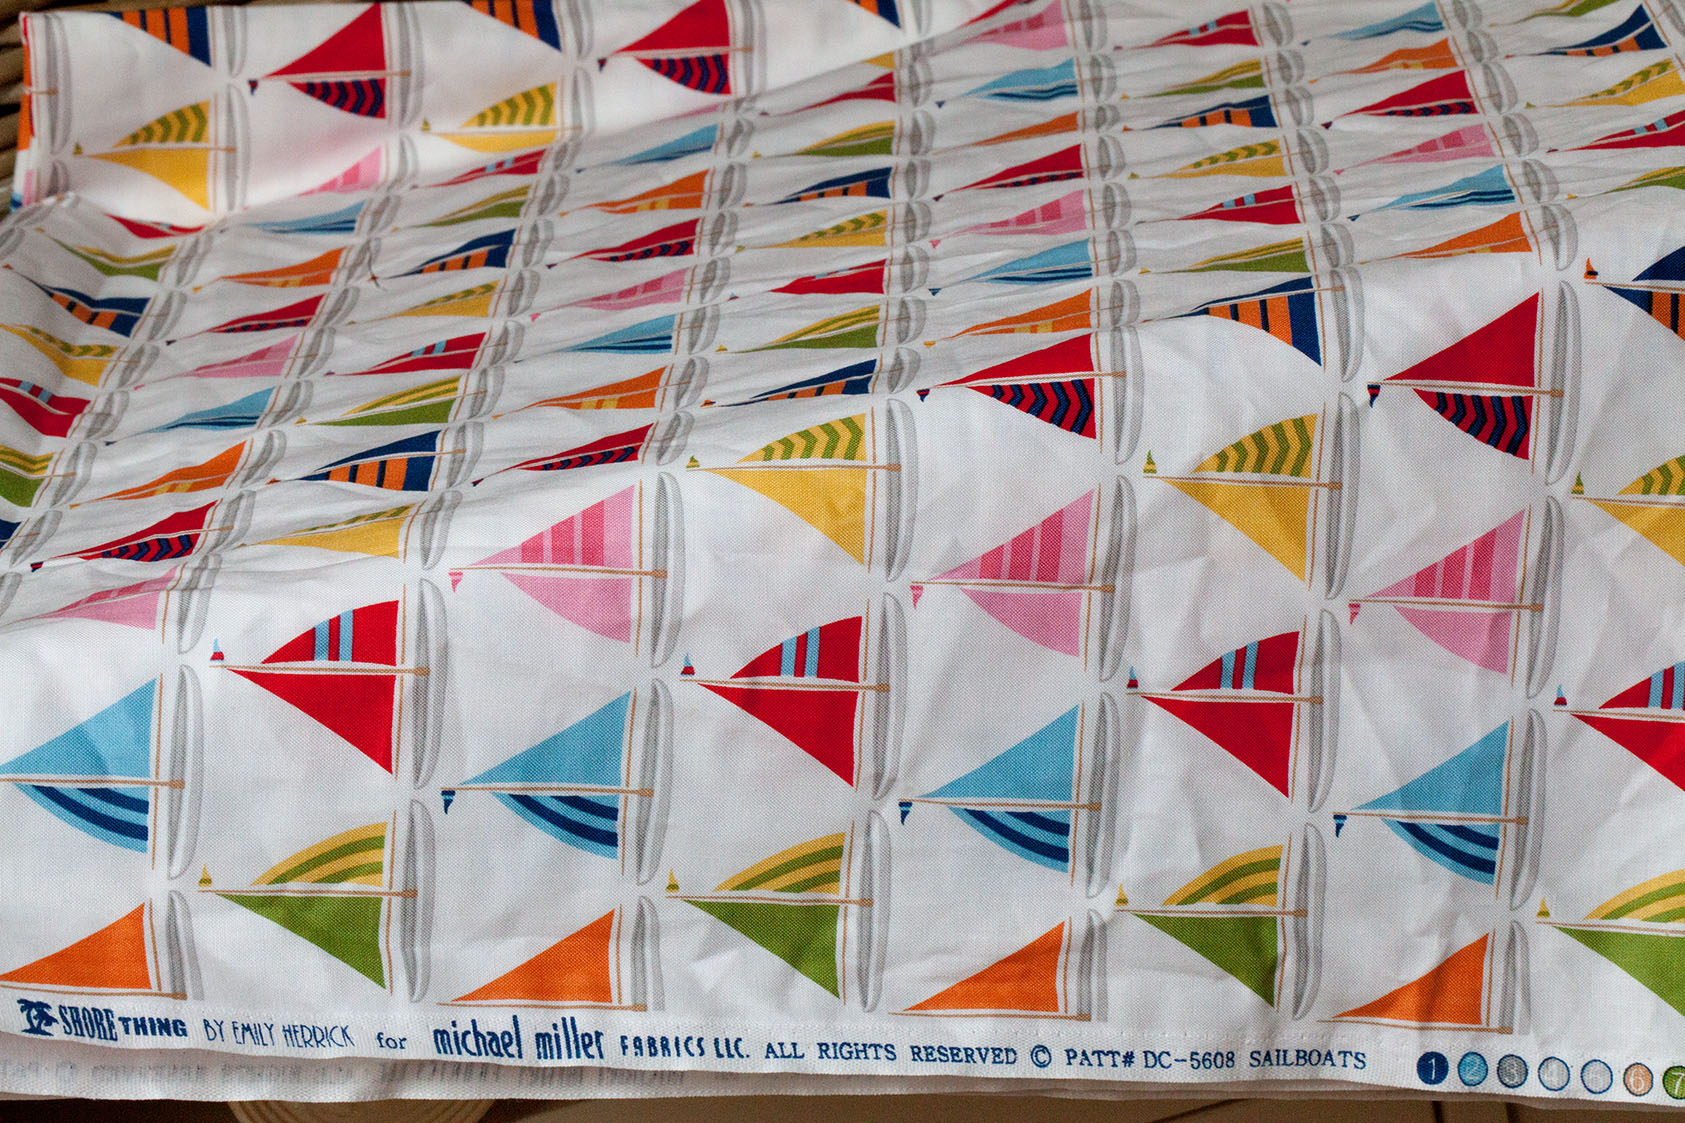
Yes, I’m nautical theme addicted. Stripes, nautical motives …

See? Again LOL. I searched months for this special fabric on the top !!!

this one I got last saturday. The colors are not as much as seen on my laptop 😦 I like it anyway

See the left one? LOL.
I so love the black fabric with the formulas on the right site. As a scientist I couldn’t miss it

This amazing fabric I bought twice. I love it. And dont miss the colors. Nautical 😀

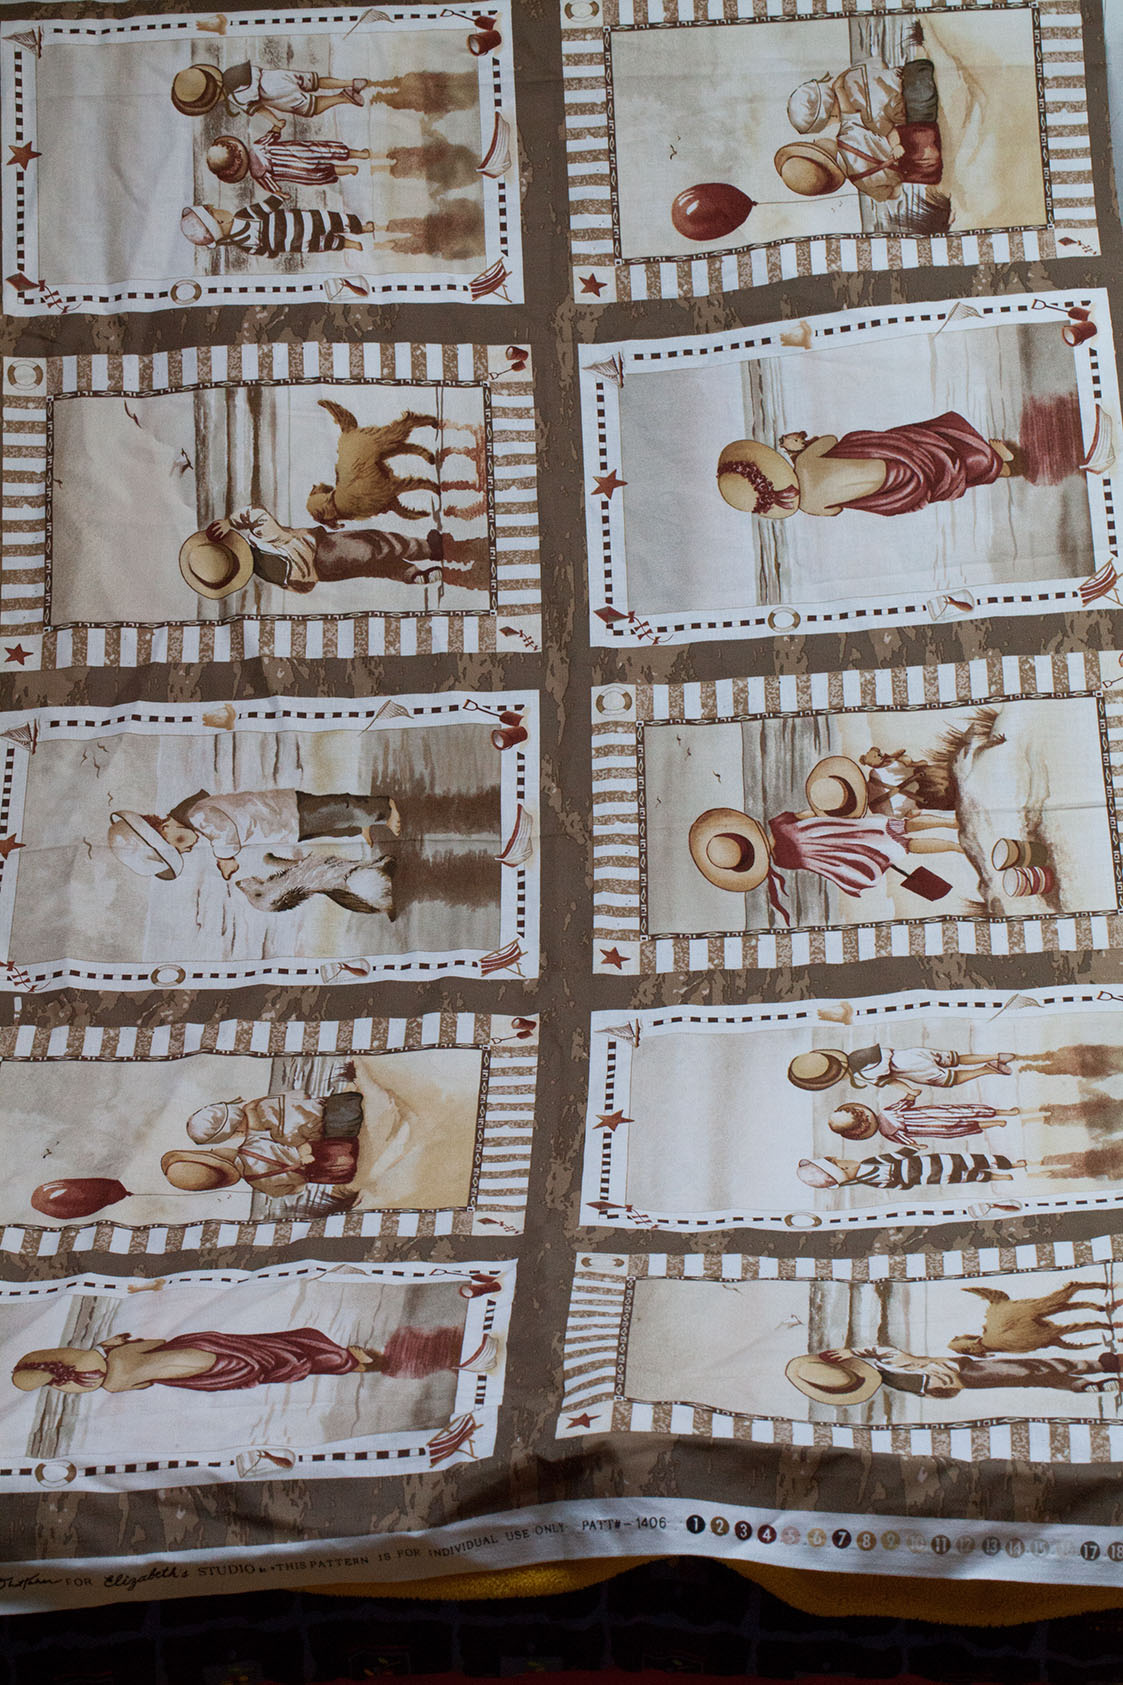
Dont know yet what to sew with this panel, but its sooooo cute. I had to have it !!!

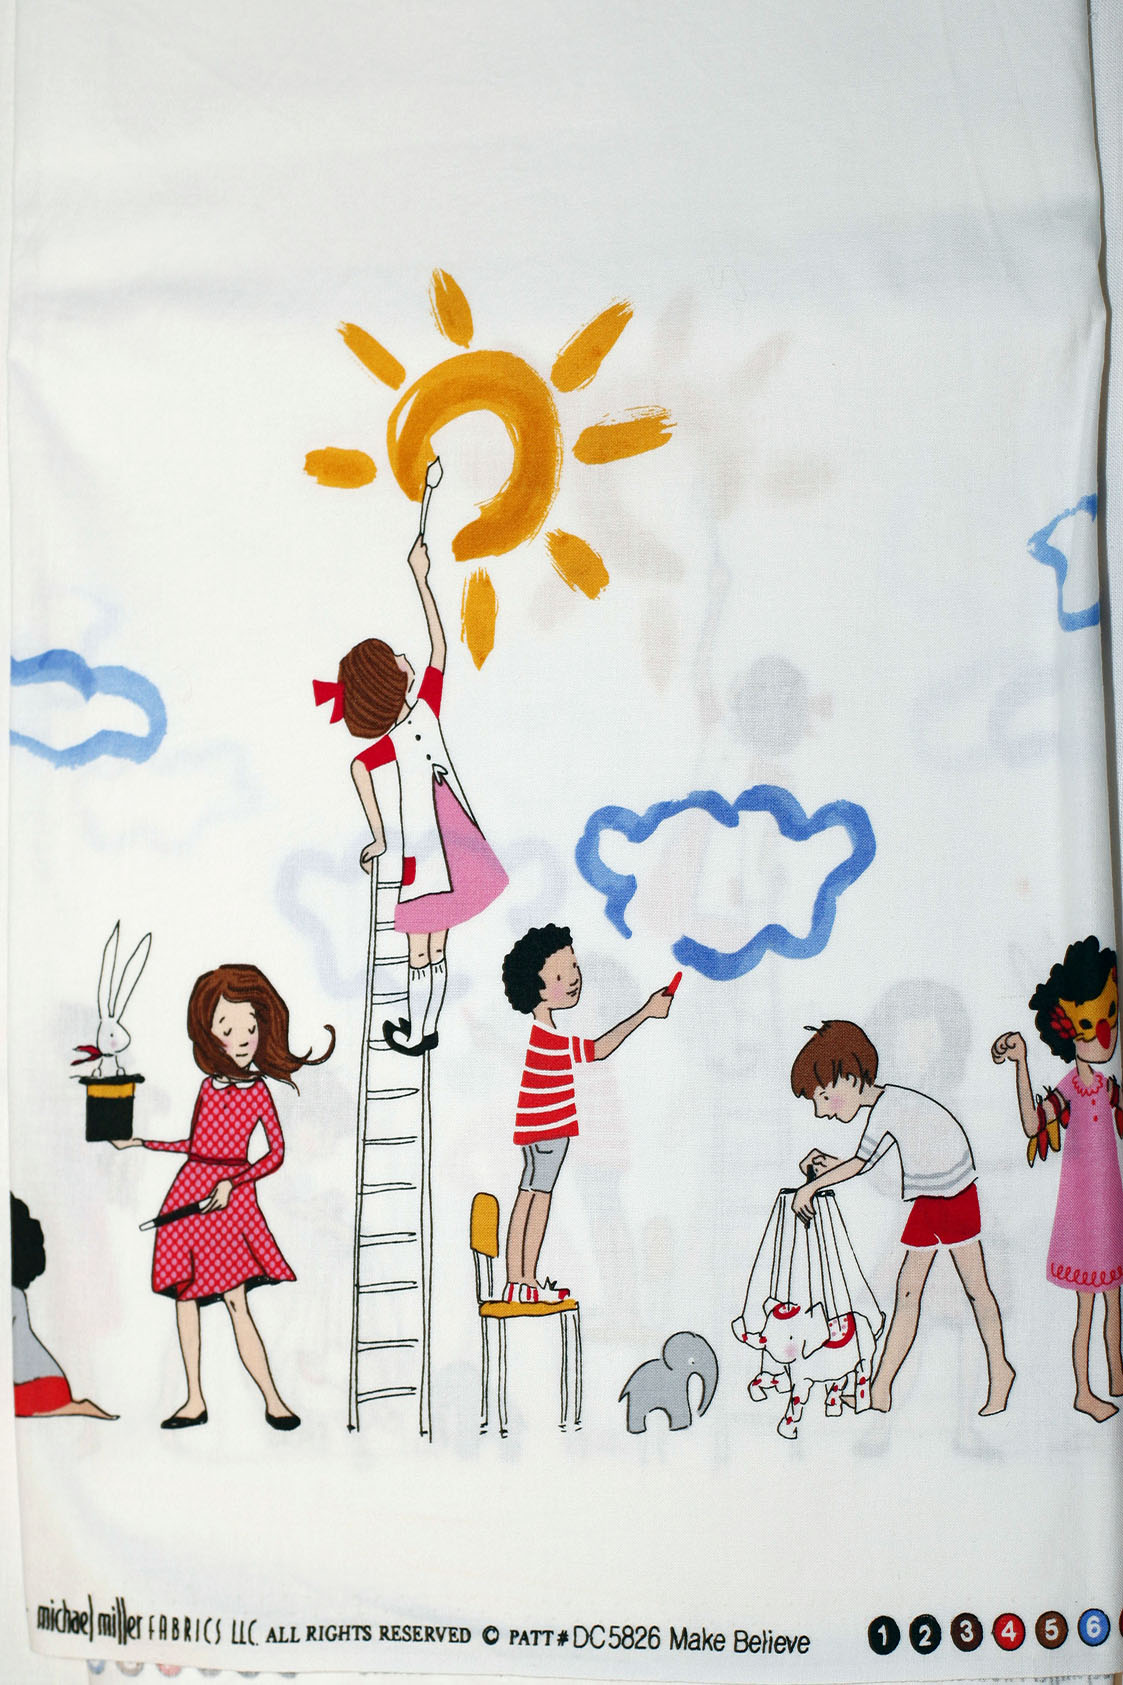
when I ordered this for sewing a blouse, the colors on my laptop were shown more pastel. I’m not sure what to make of it now.

This is the christmas fabric I bought first. Isn’t it amazing?

this one is special!!! Alexander Henry christmas fabric from 1998 !!!! I bought all I could get = 4 yards. I LOVE IT !!!!!

and christmas again. I love the vintage christmas style

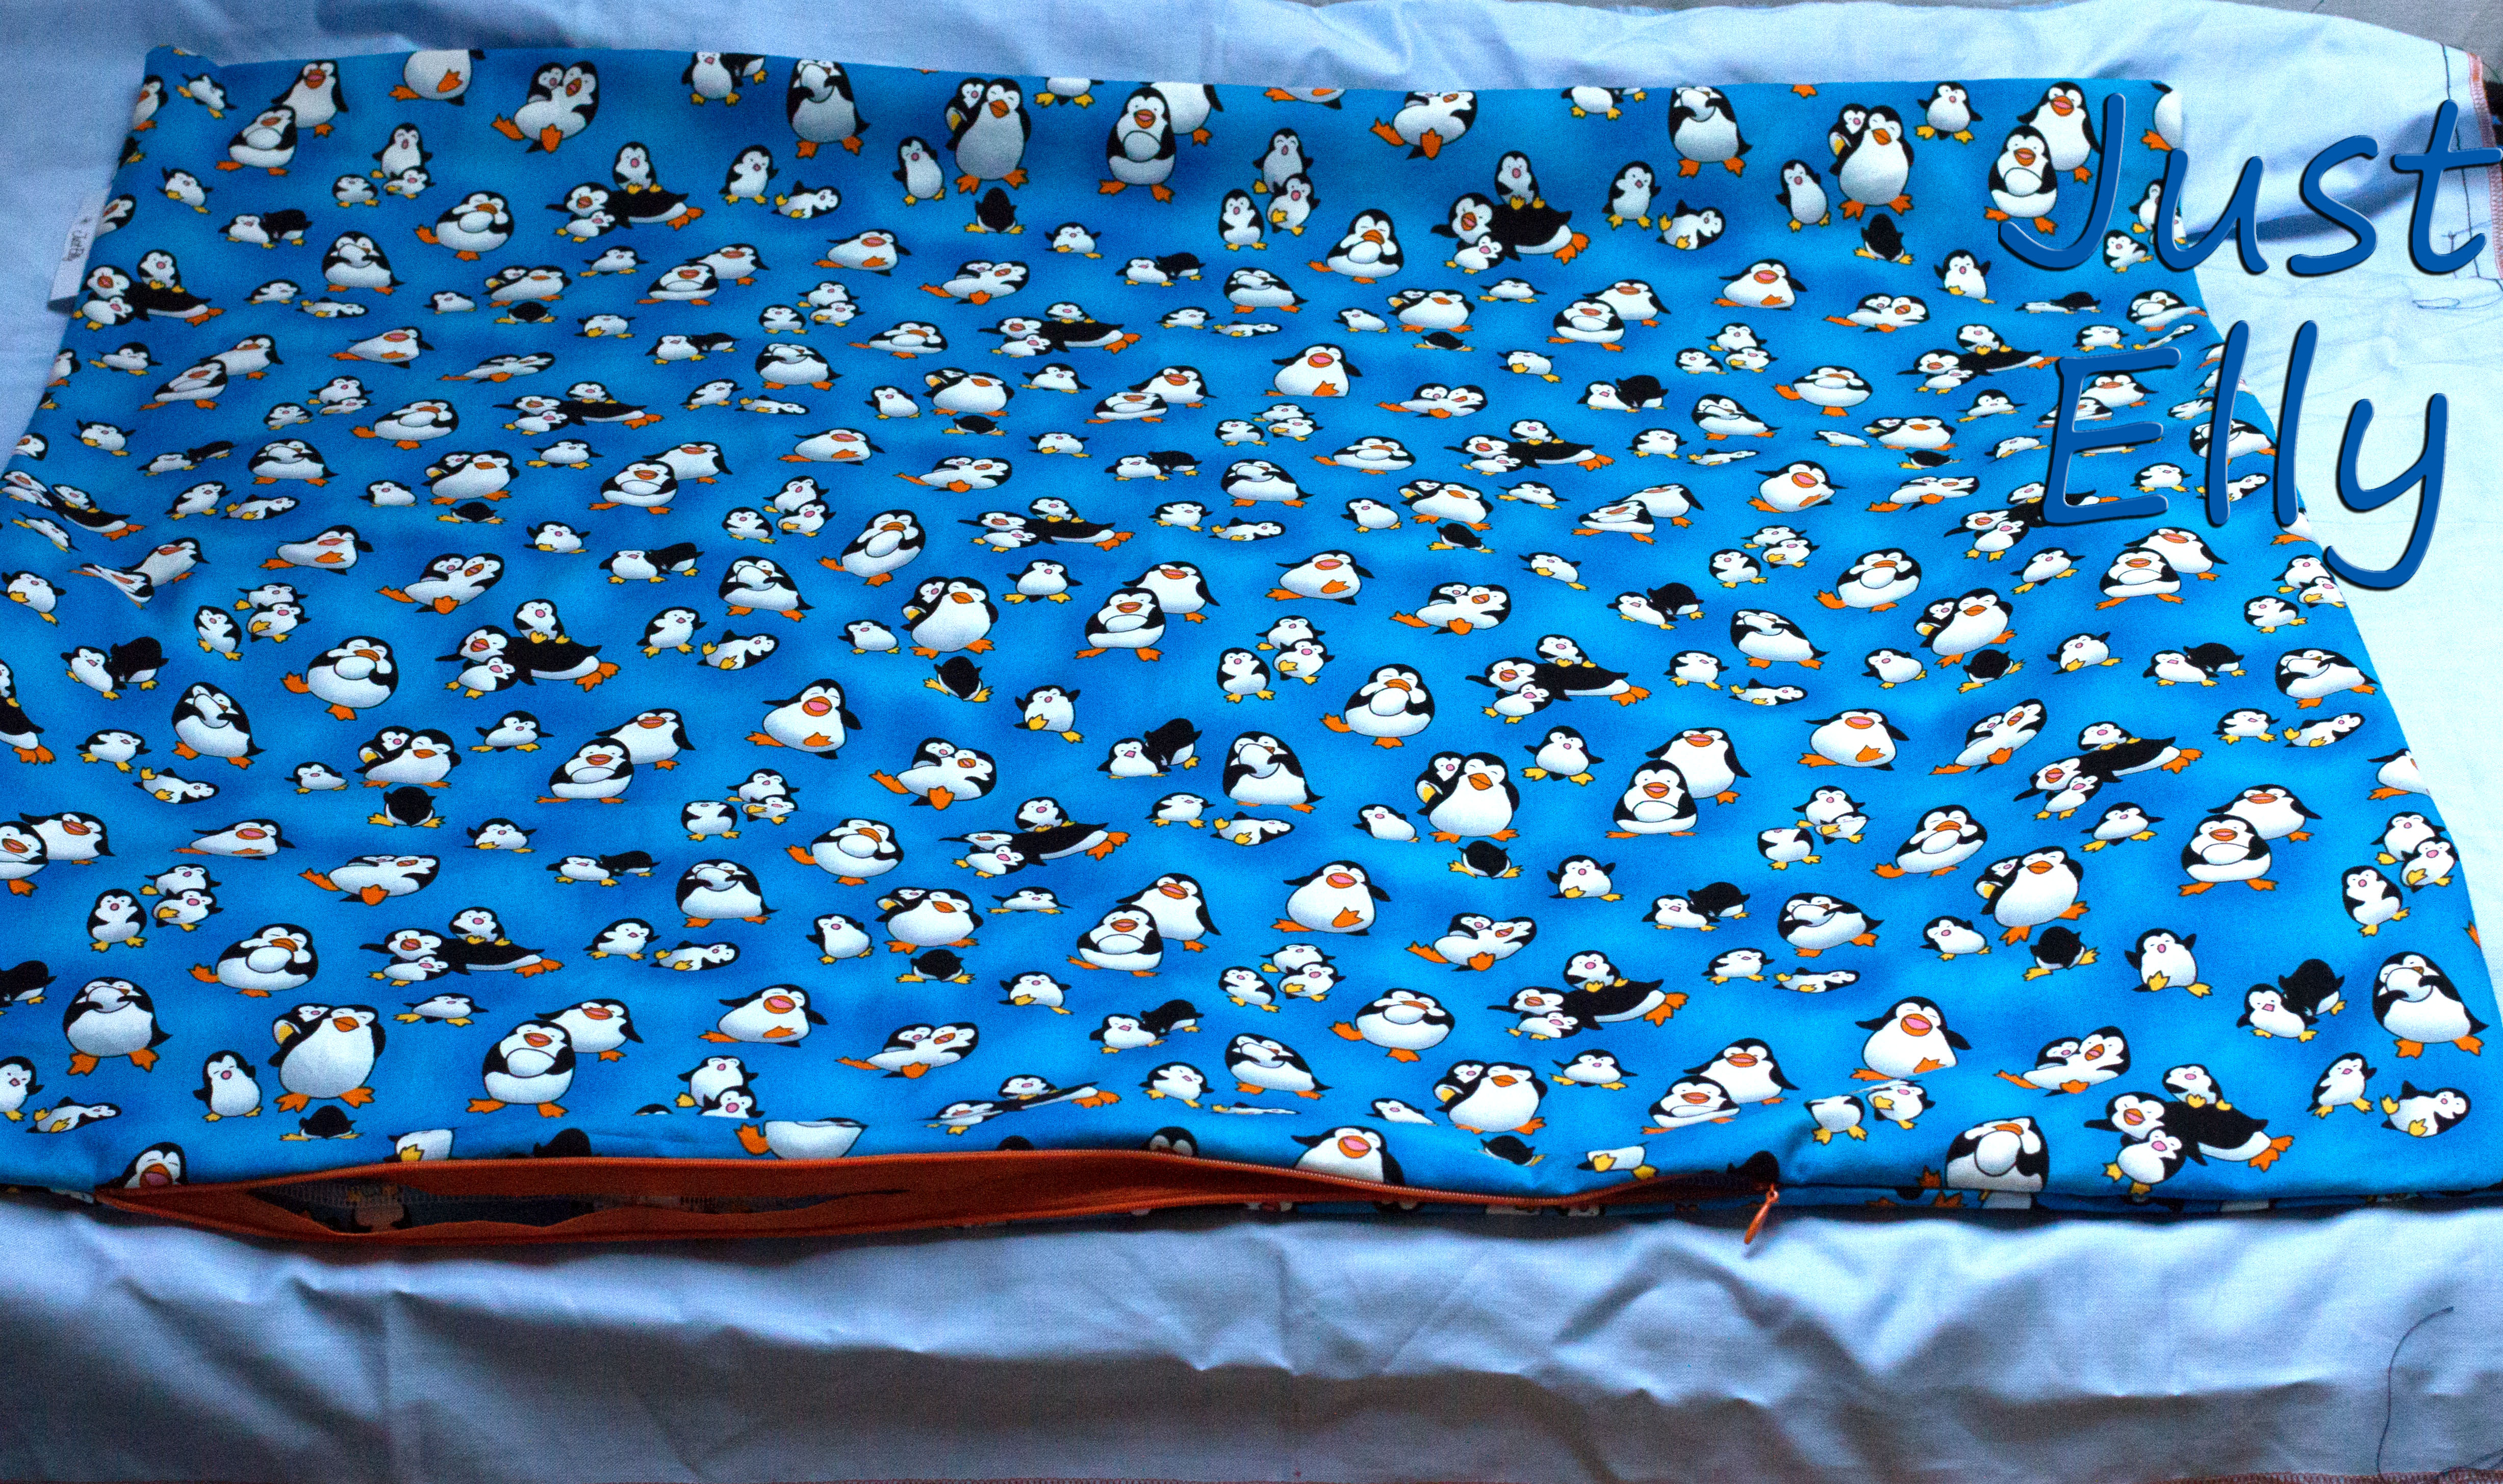
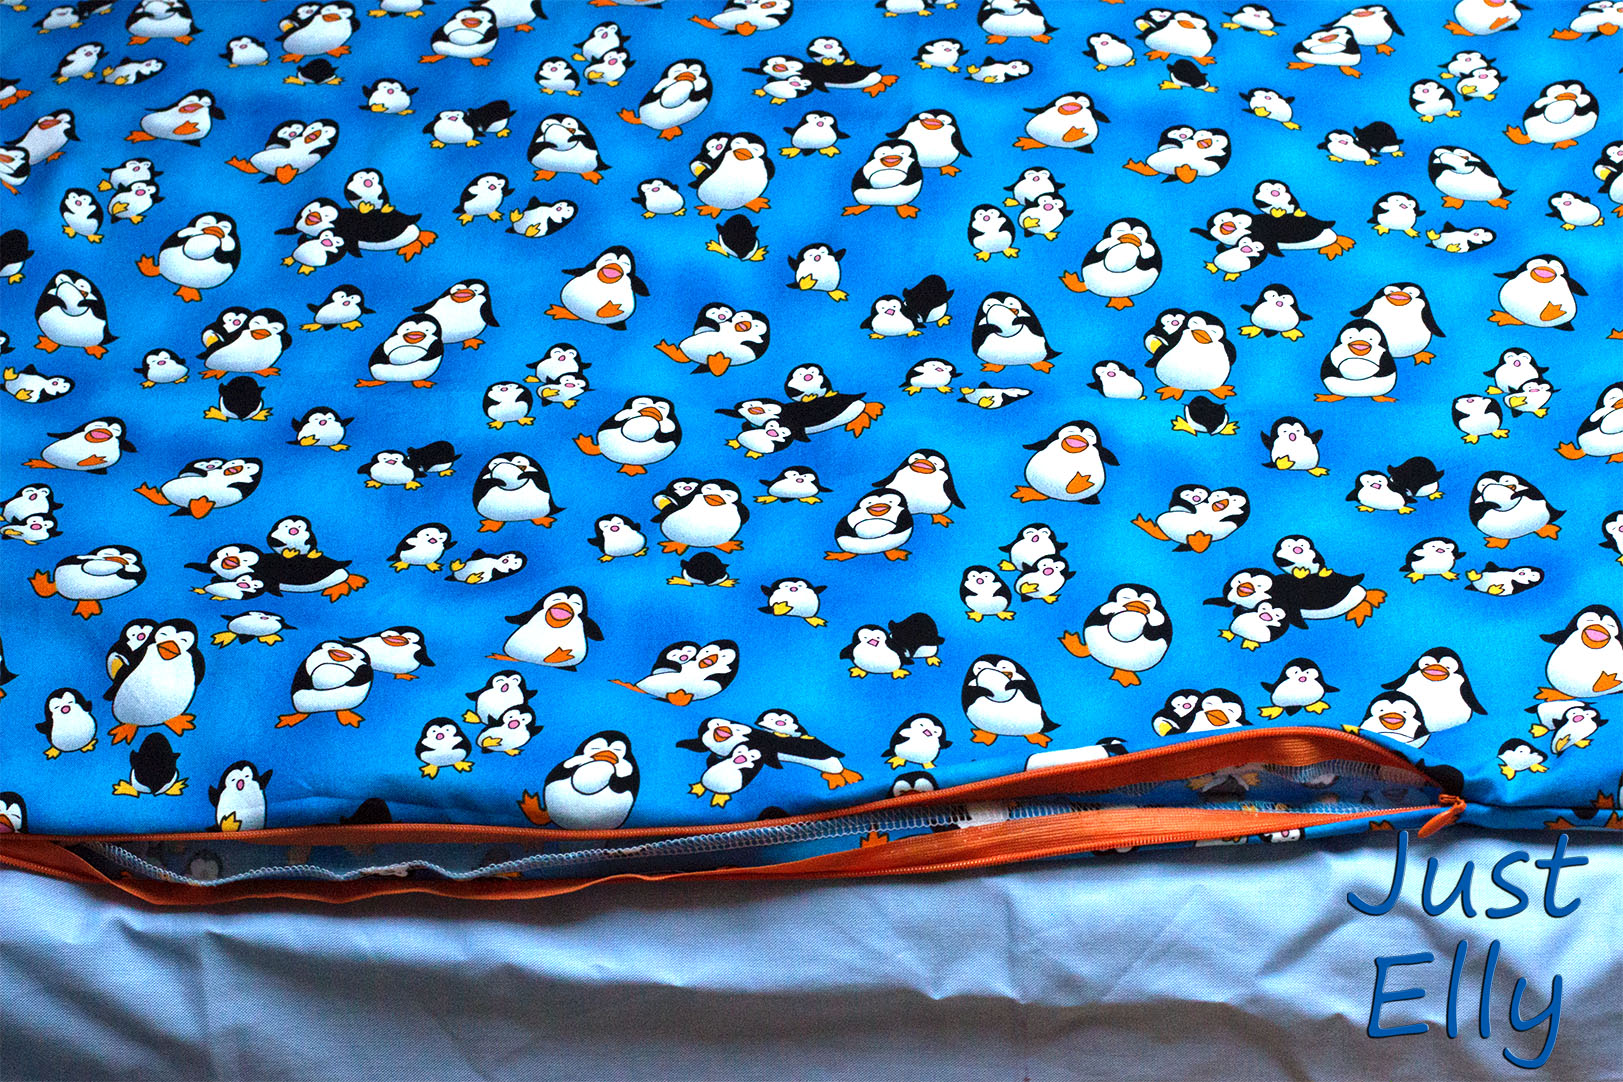
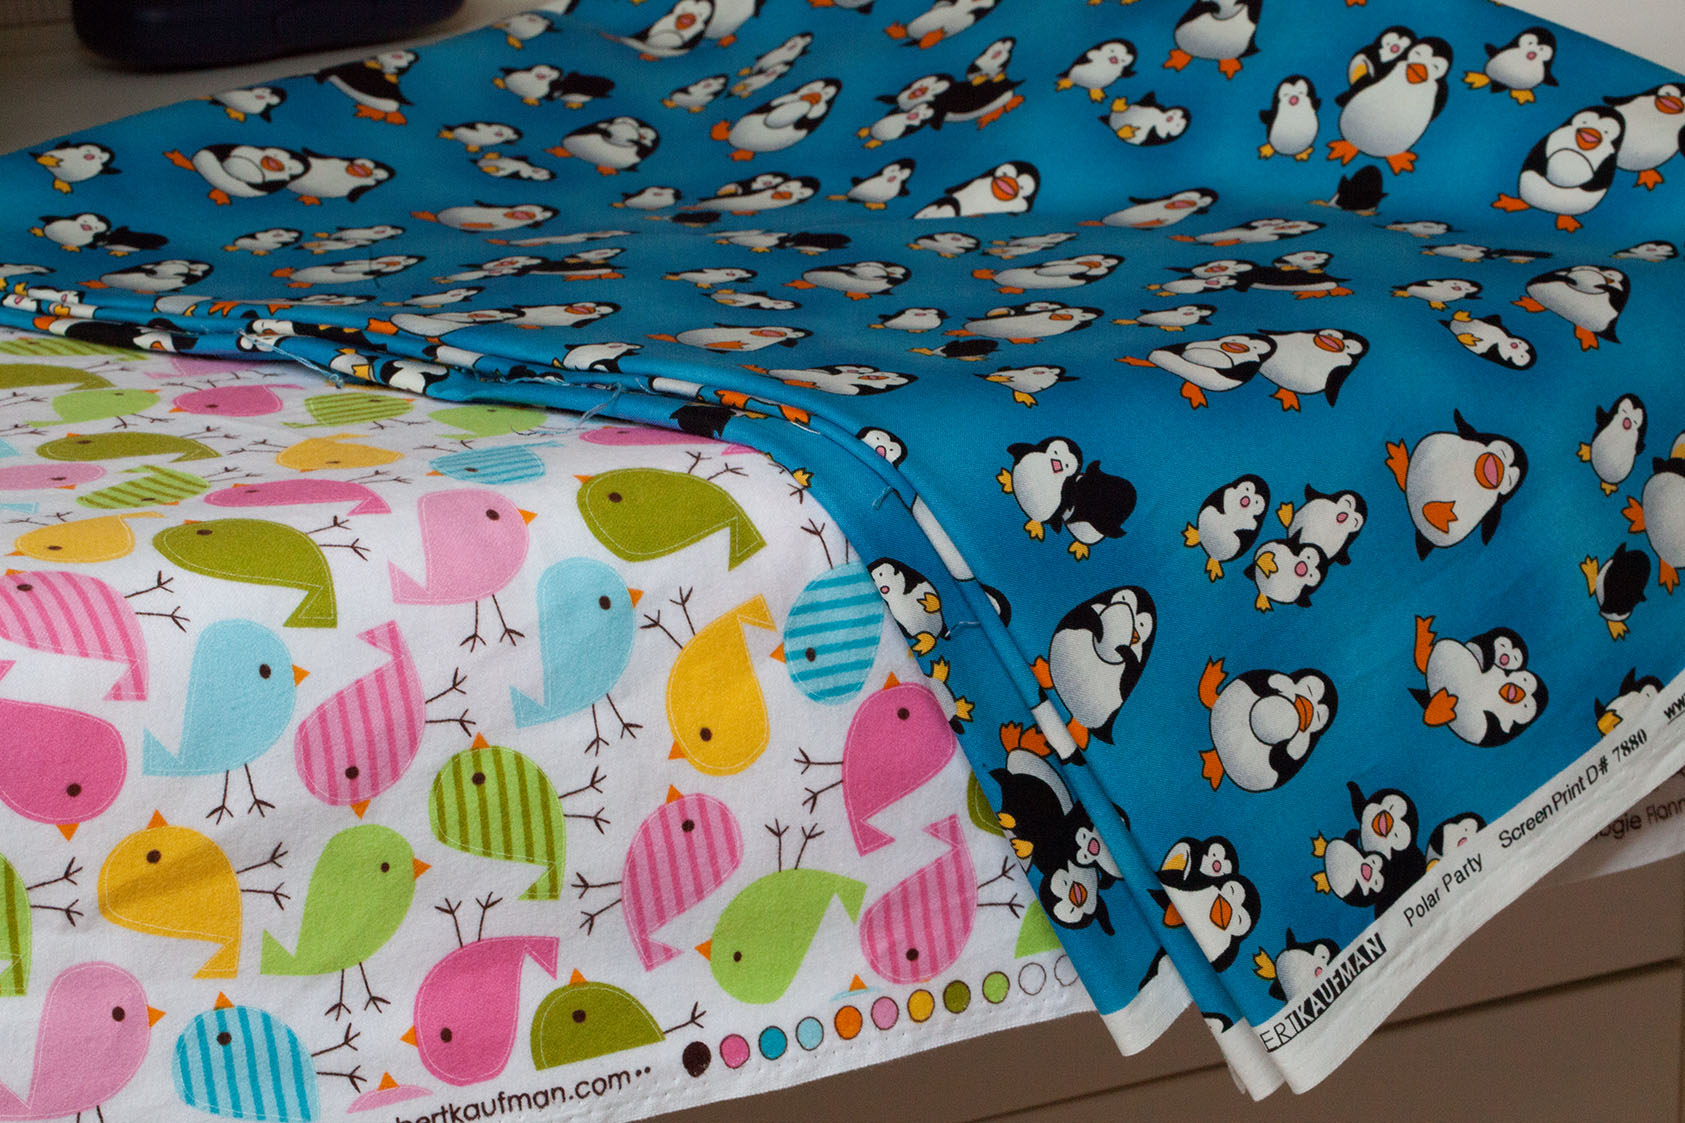
the flannel is for a pajama and the penguin fabric will get a ….. for my god child.

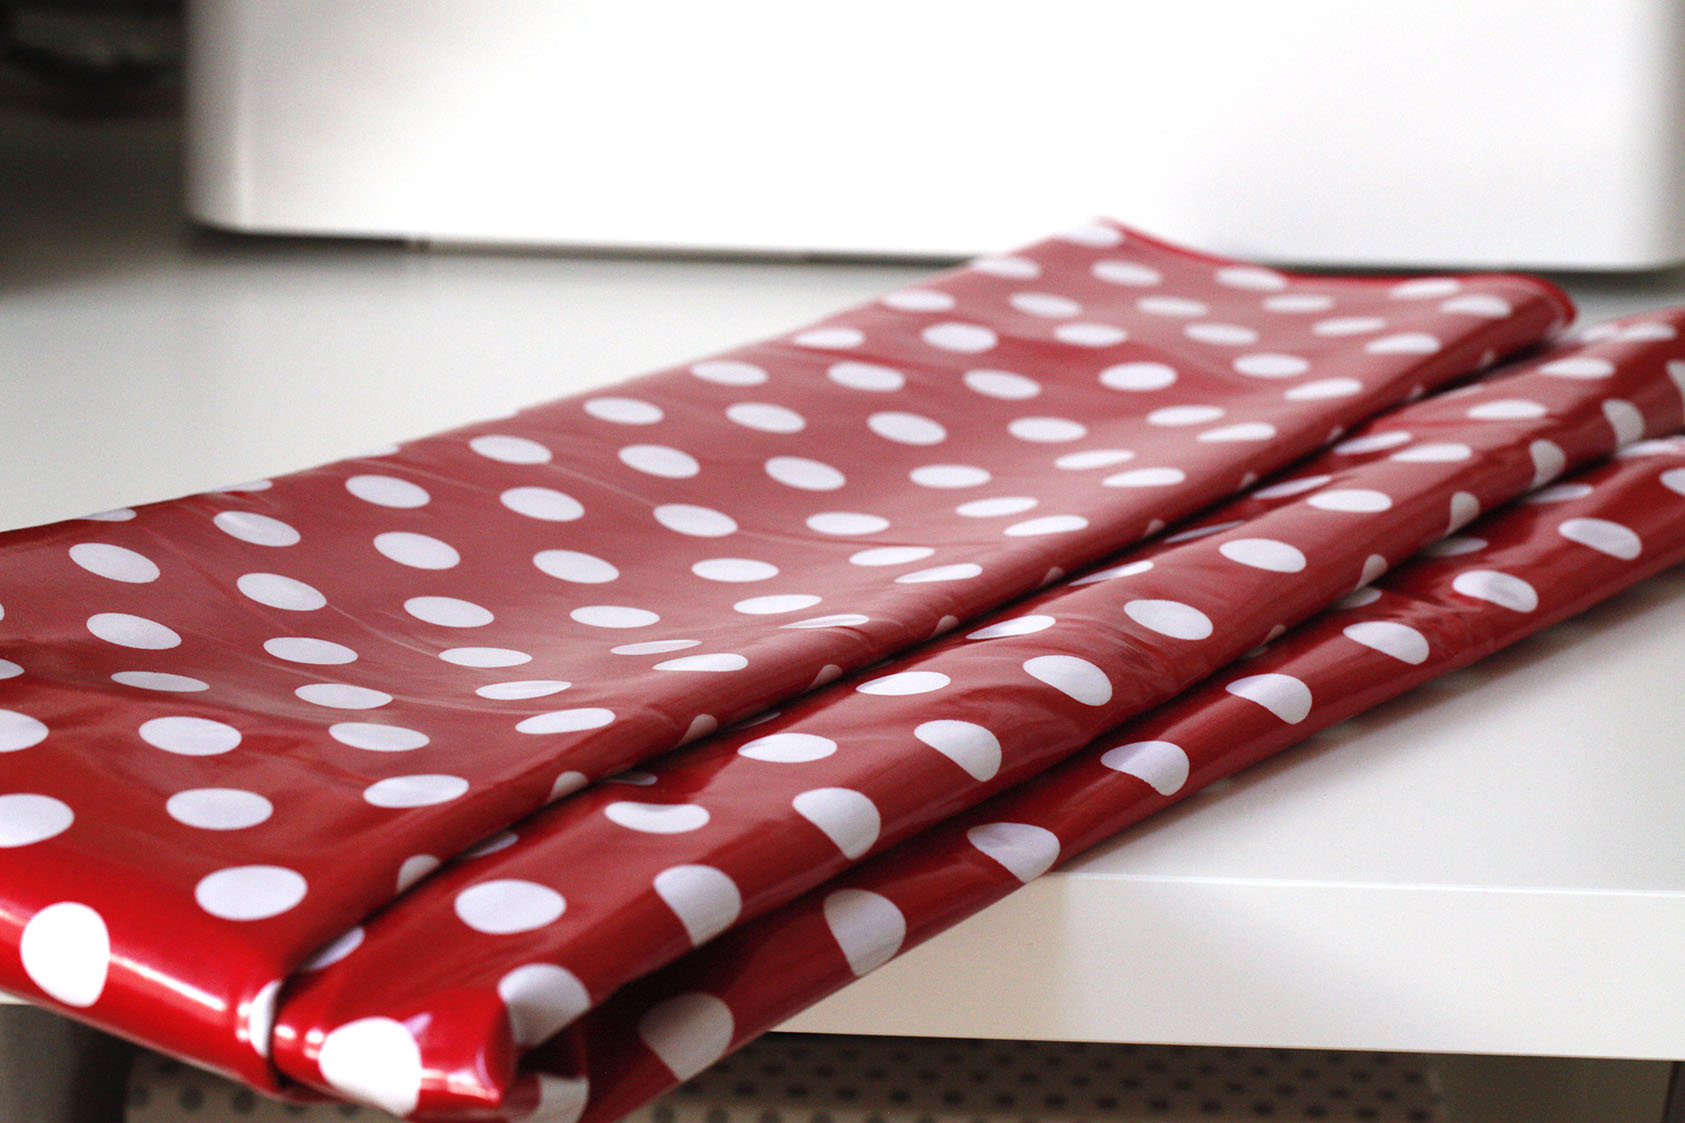
now my absolutly favorite !!! 5 yards of laminated fabric. I love dots, I love red and I always wanted a raincoat with red dots like I had as a child
YOU THINK I’M CRAZY ????
I’m sure I am. Buying all this fabric and havent sewn not one piece LOL
But in September my sewing course will start. I’m so full of ideas what to make with all this fabric. I cant wait to get my first lesson. In the meantime I practice with prints I found in the internet. This tip I got from the teacher in the fabric store.
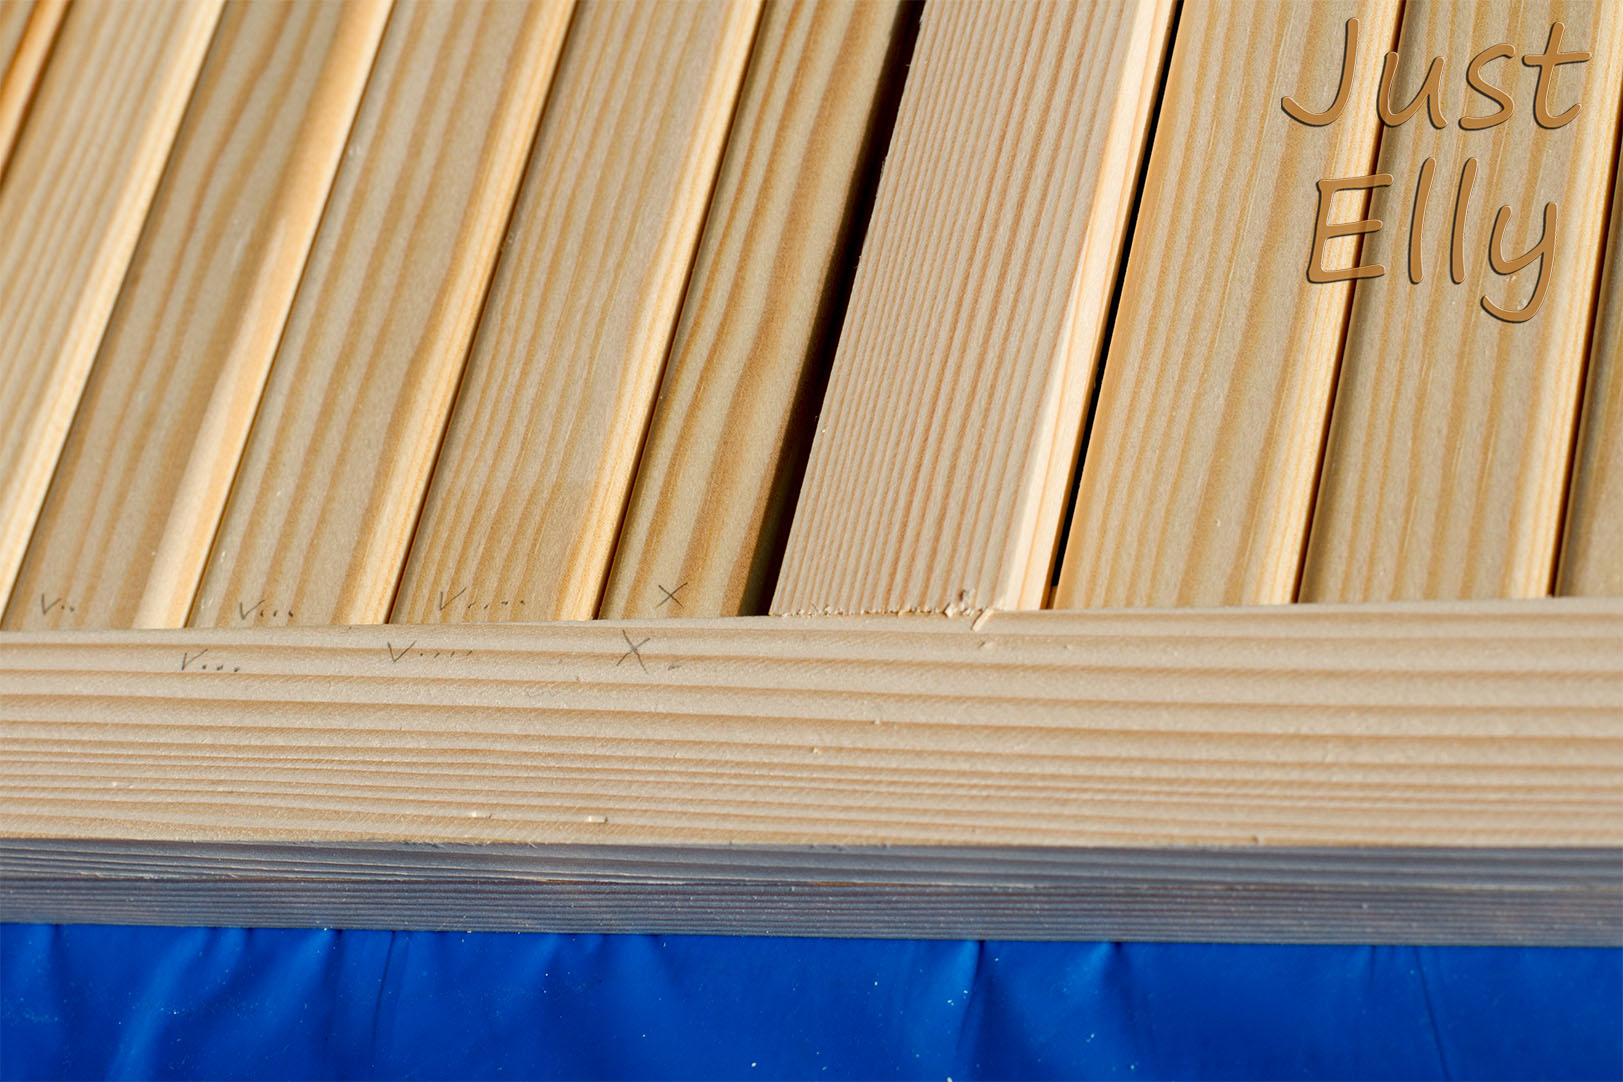
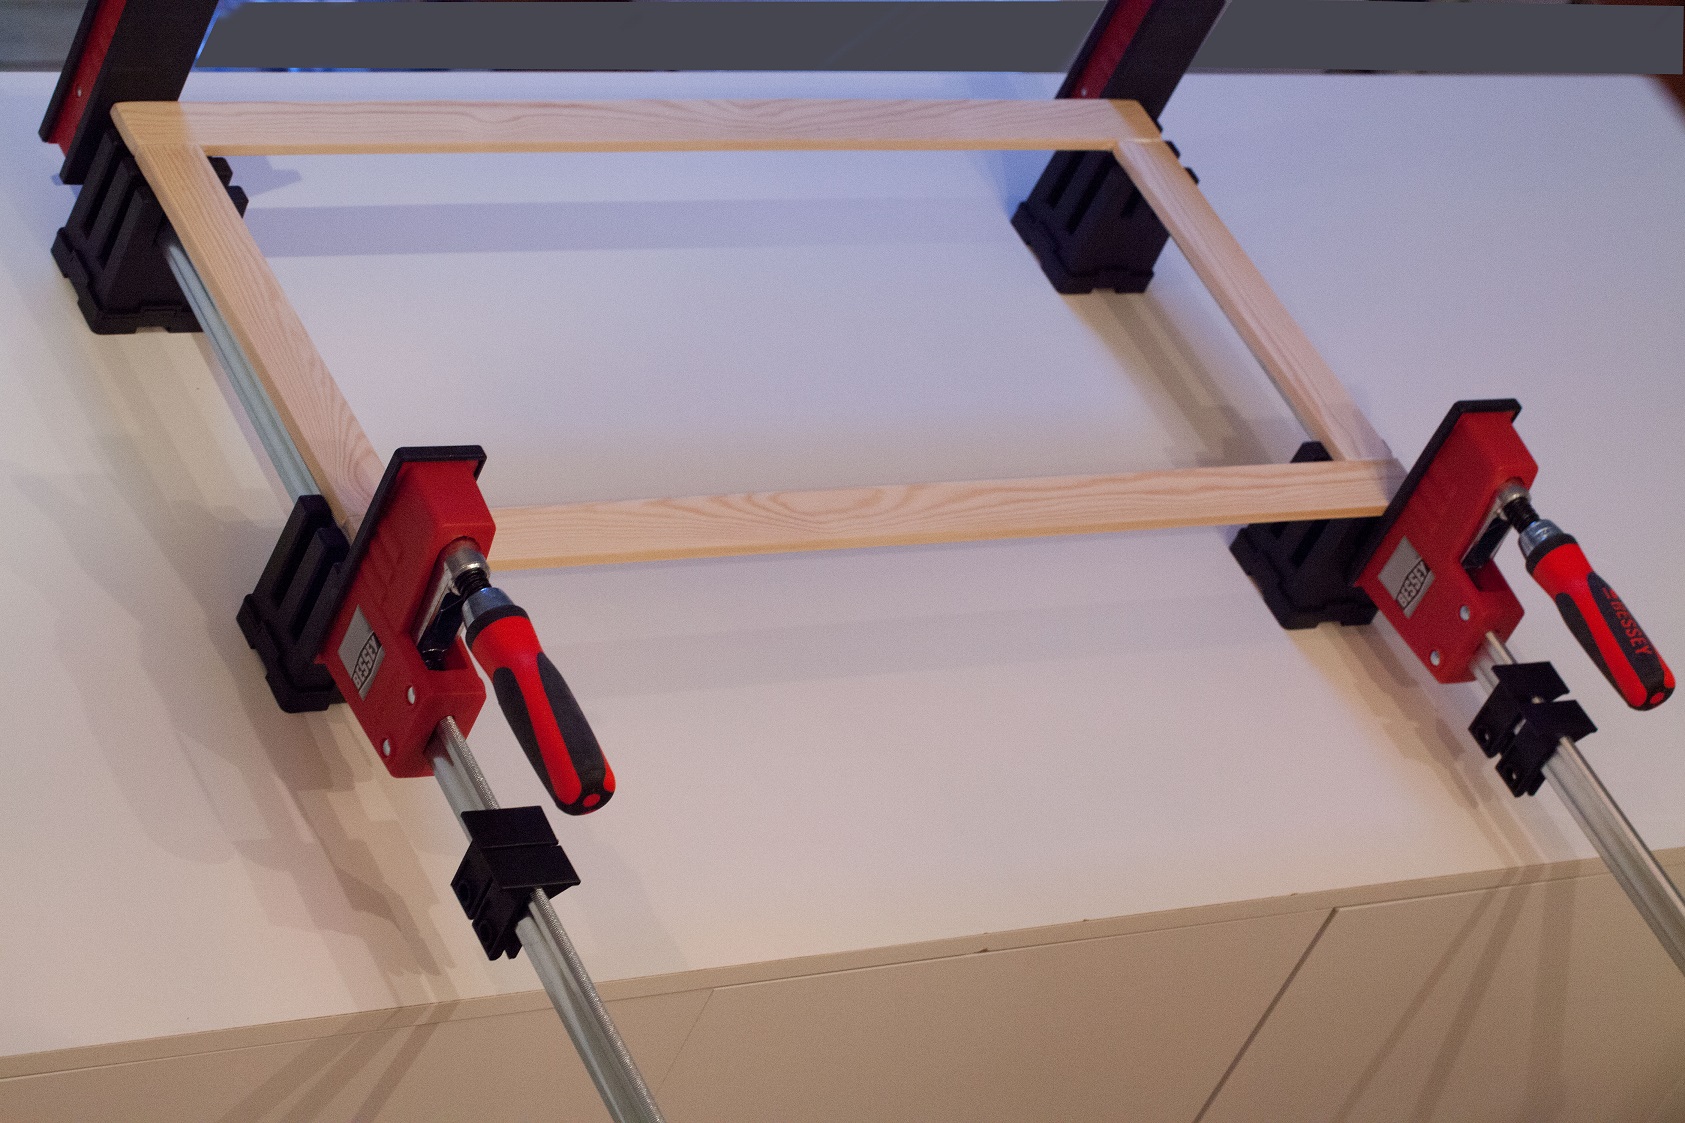
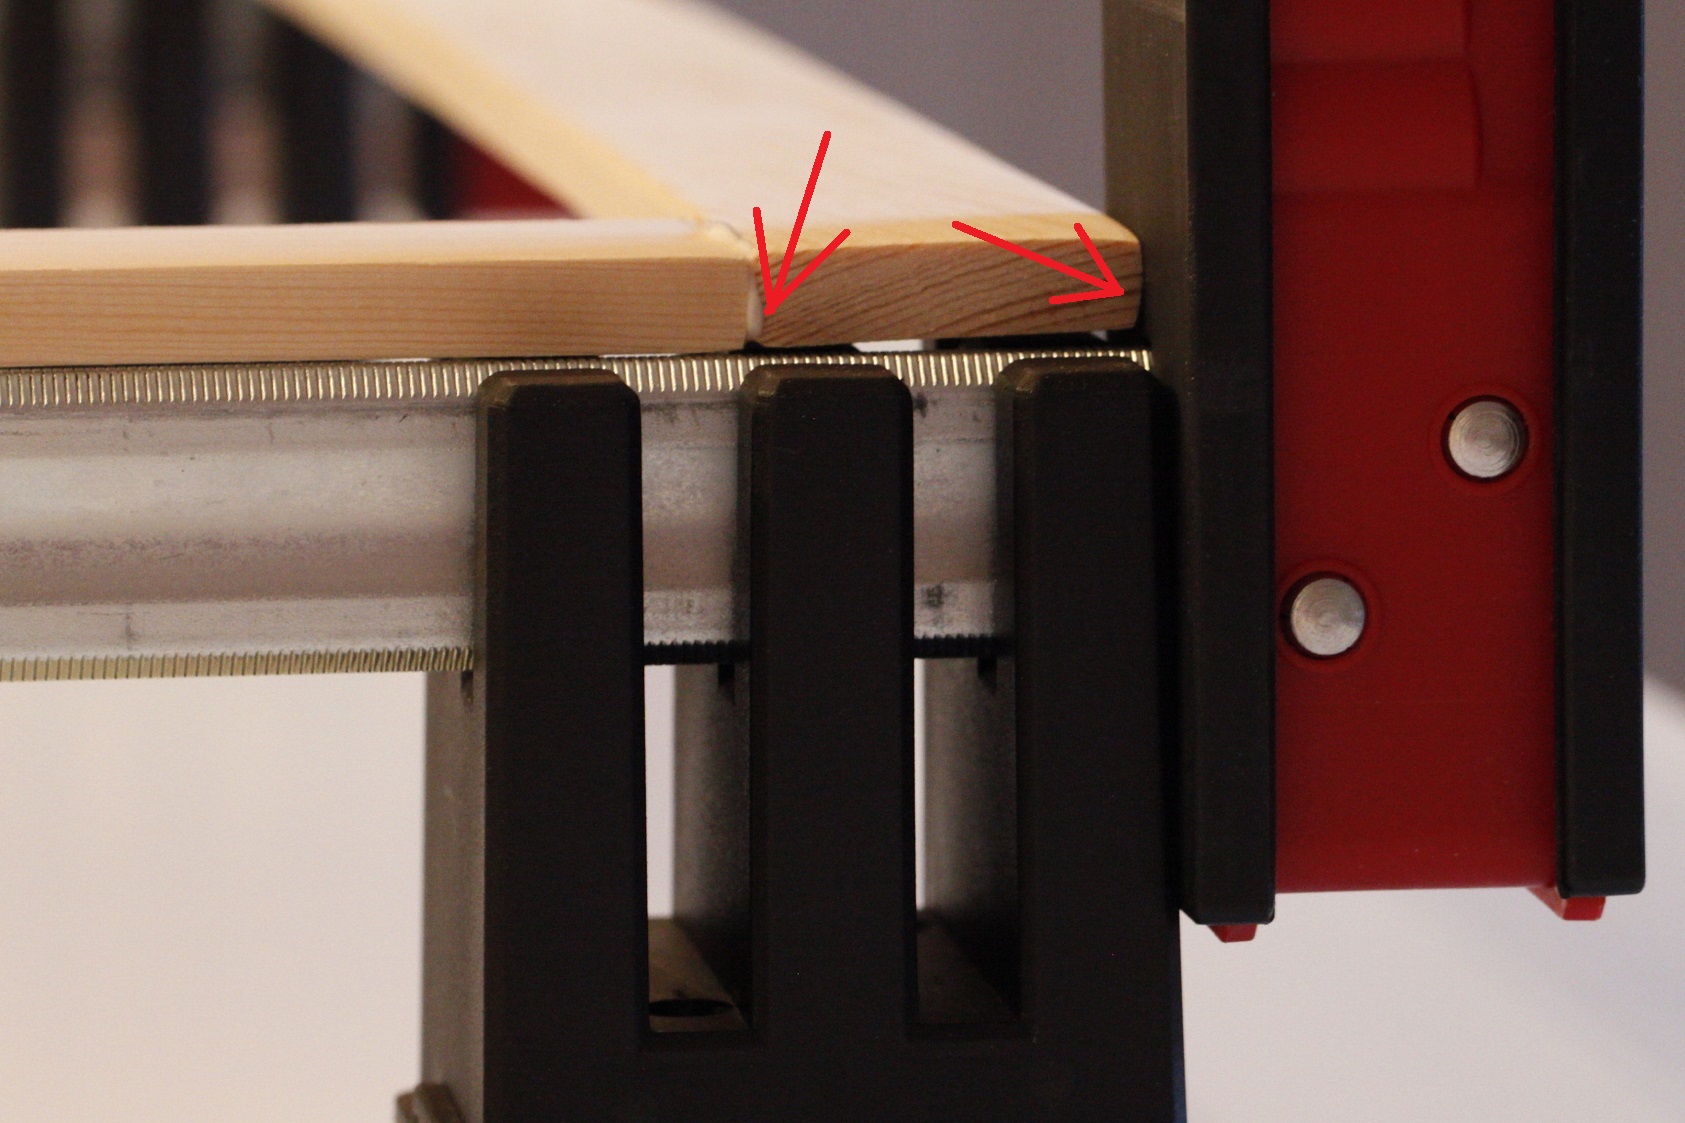
So I have enough time to pimp my shelf with my sewing table. But this will be another story …….