Am I a fabric junkie?

I had my third sewing lesson, and no, I cant show pictures of it. First its not ready and second, it will be a gift …

So I will show what I bought the last weeks since my sewing course startet 🙂

After my first lesson I checked my tons of fabric and decided to remove some of the fabric – with other words I gave it to a friend. It was way to much of the same style. Would you like to have a lot of blouse in same colors, stripes? I wont either !!!

I gave away nearly one third of the fabric I had.

But it hasnt been me if I didnt filled my fabric shelf again hehe.

But this time I didnt only bought what I liked. This time I thought about what I will sew when I’m better with the maschine and then I bought the fabric.

Fabric 2

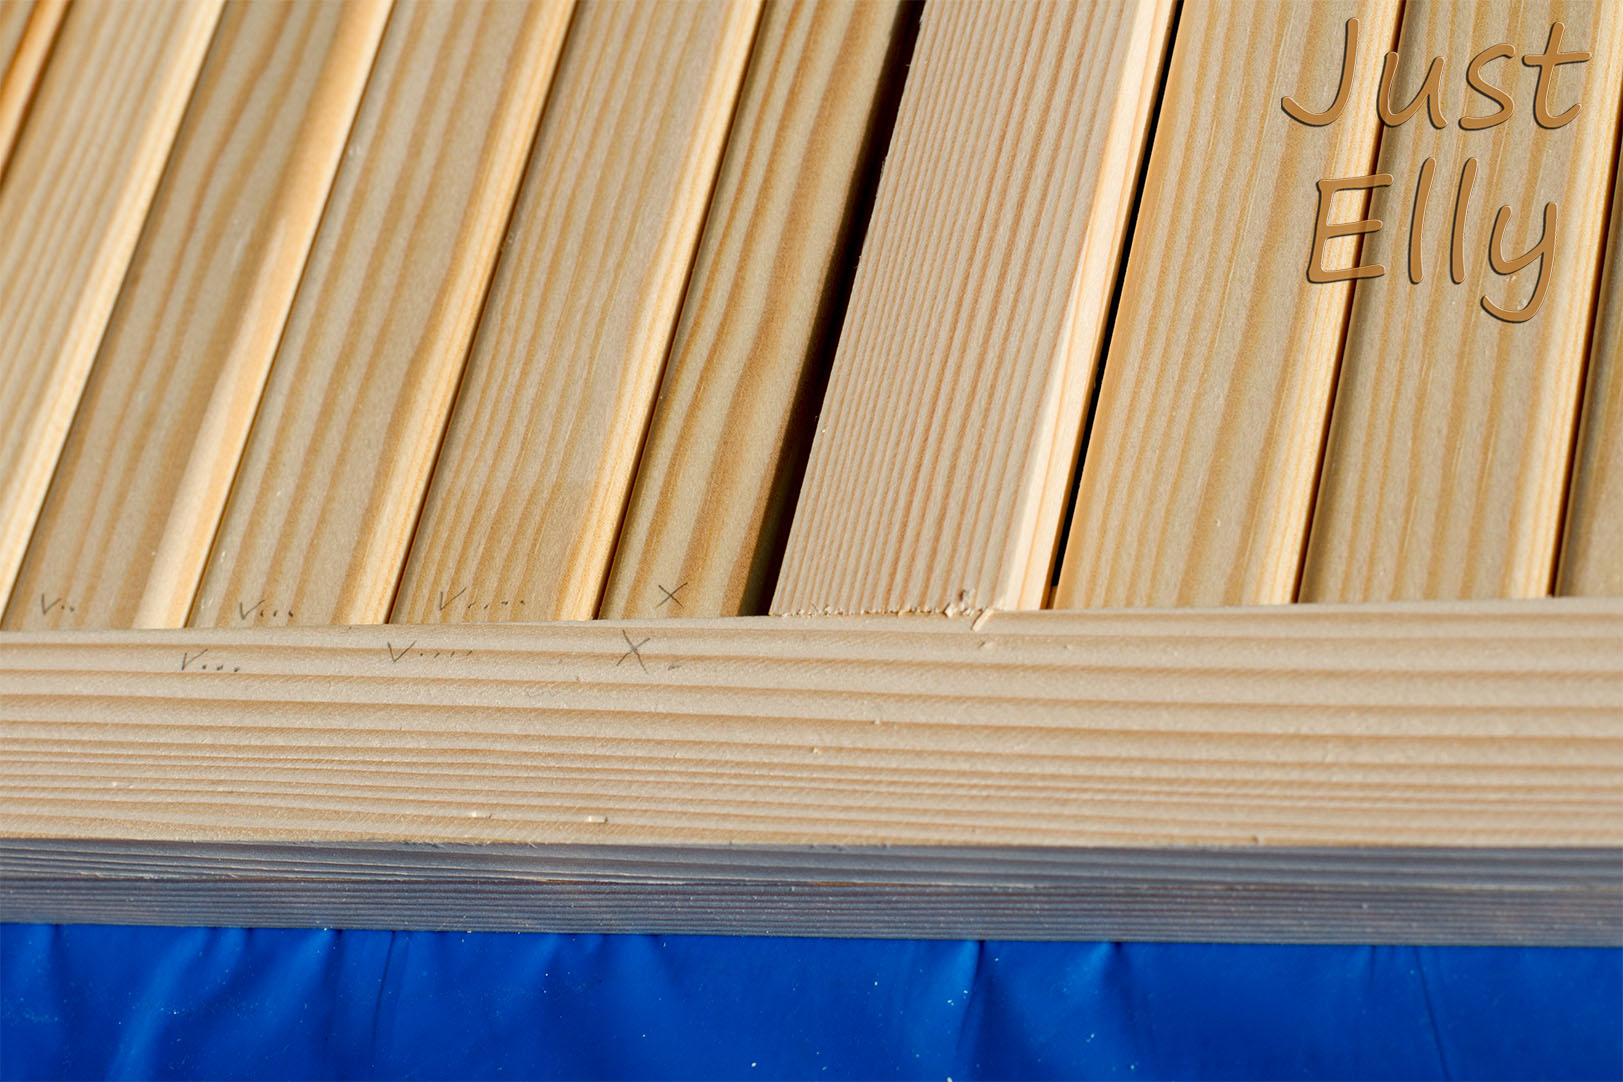
the left fabric with my favorite nautical theme will get a shirt with white arms.

The fabric in the middle will get little bags for christmas. Doesnt it look a little like velvet? Its 100% cotton

the fabric on the right side is flannel and will be part of a sweatshirt

Fabric 3

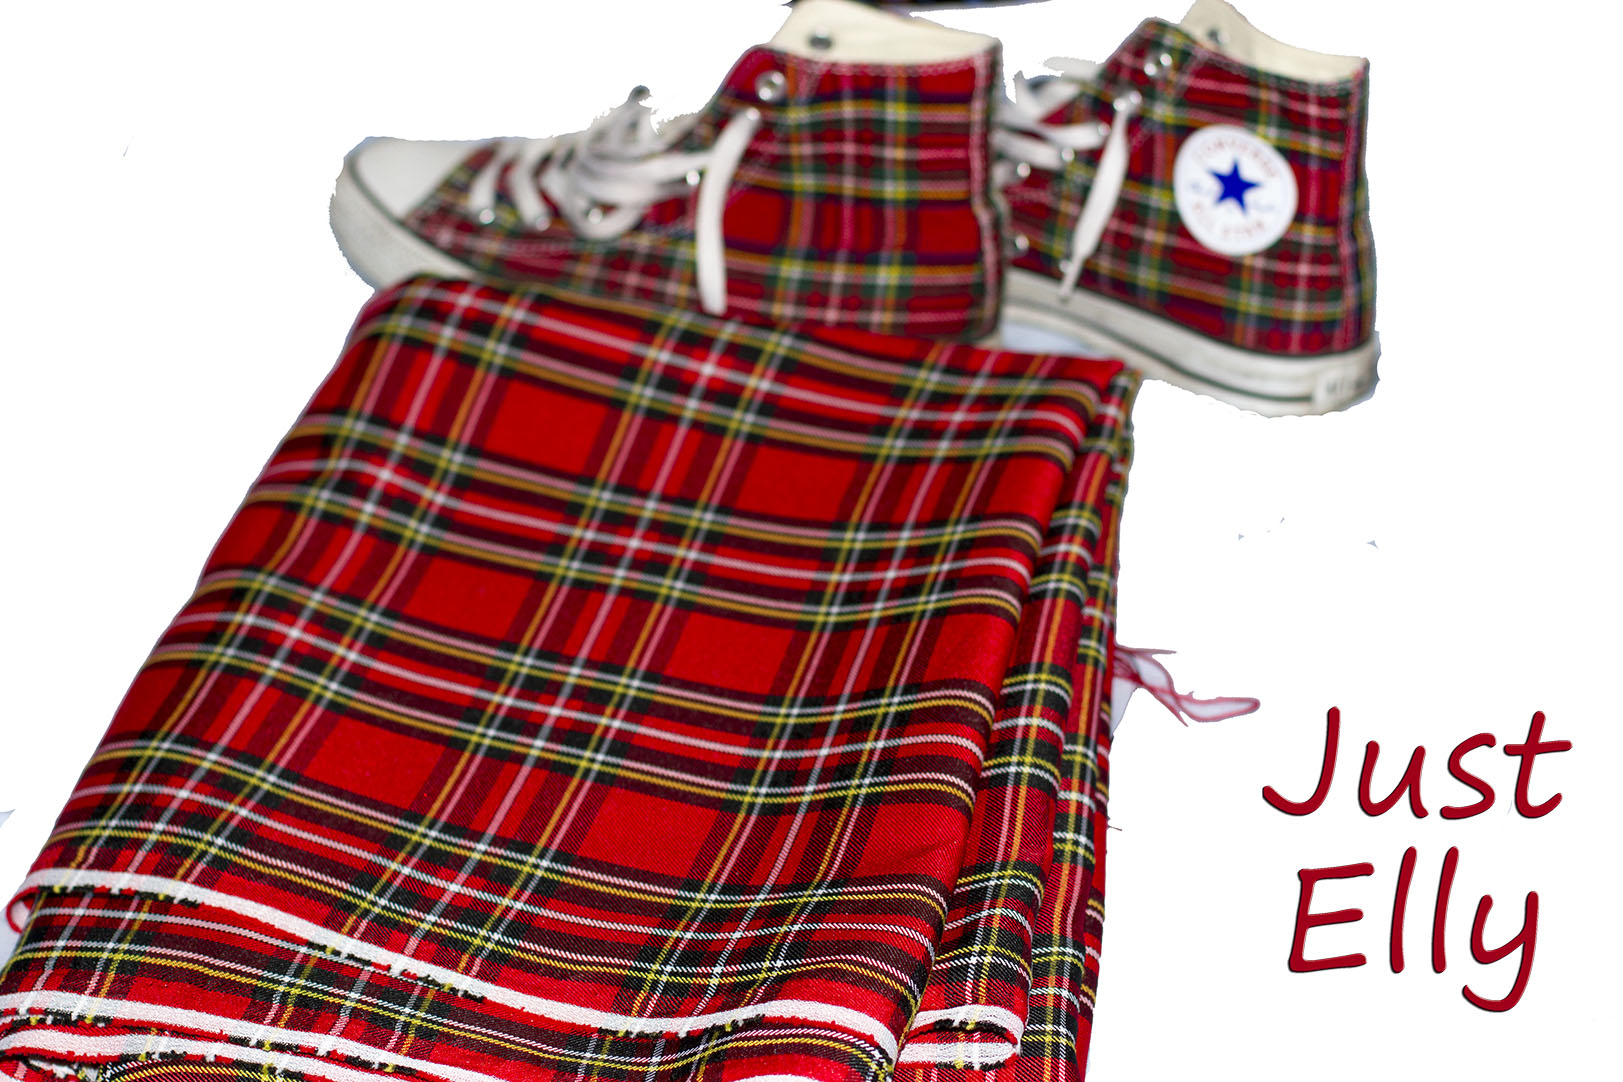
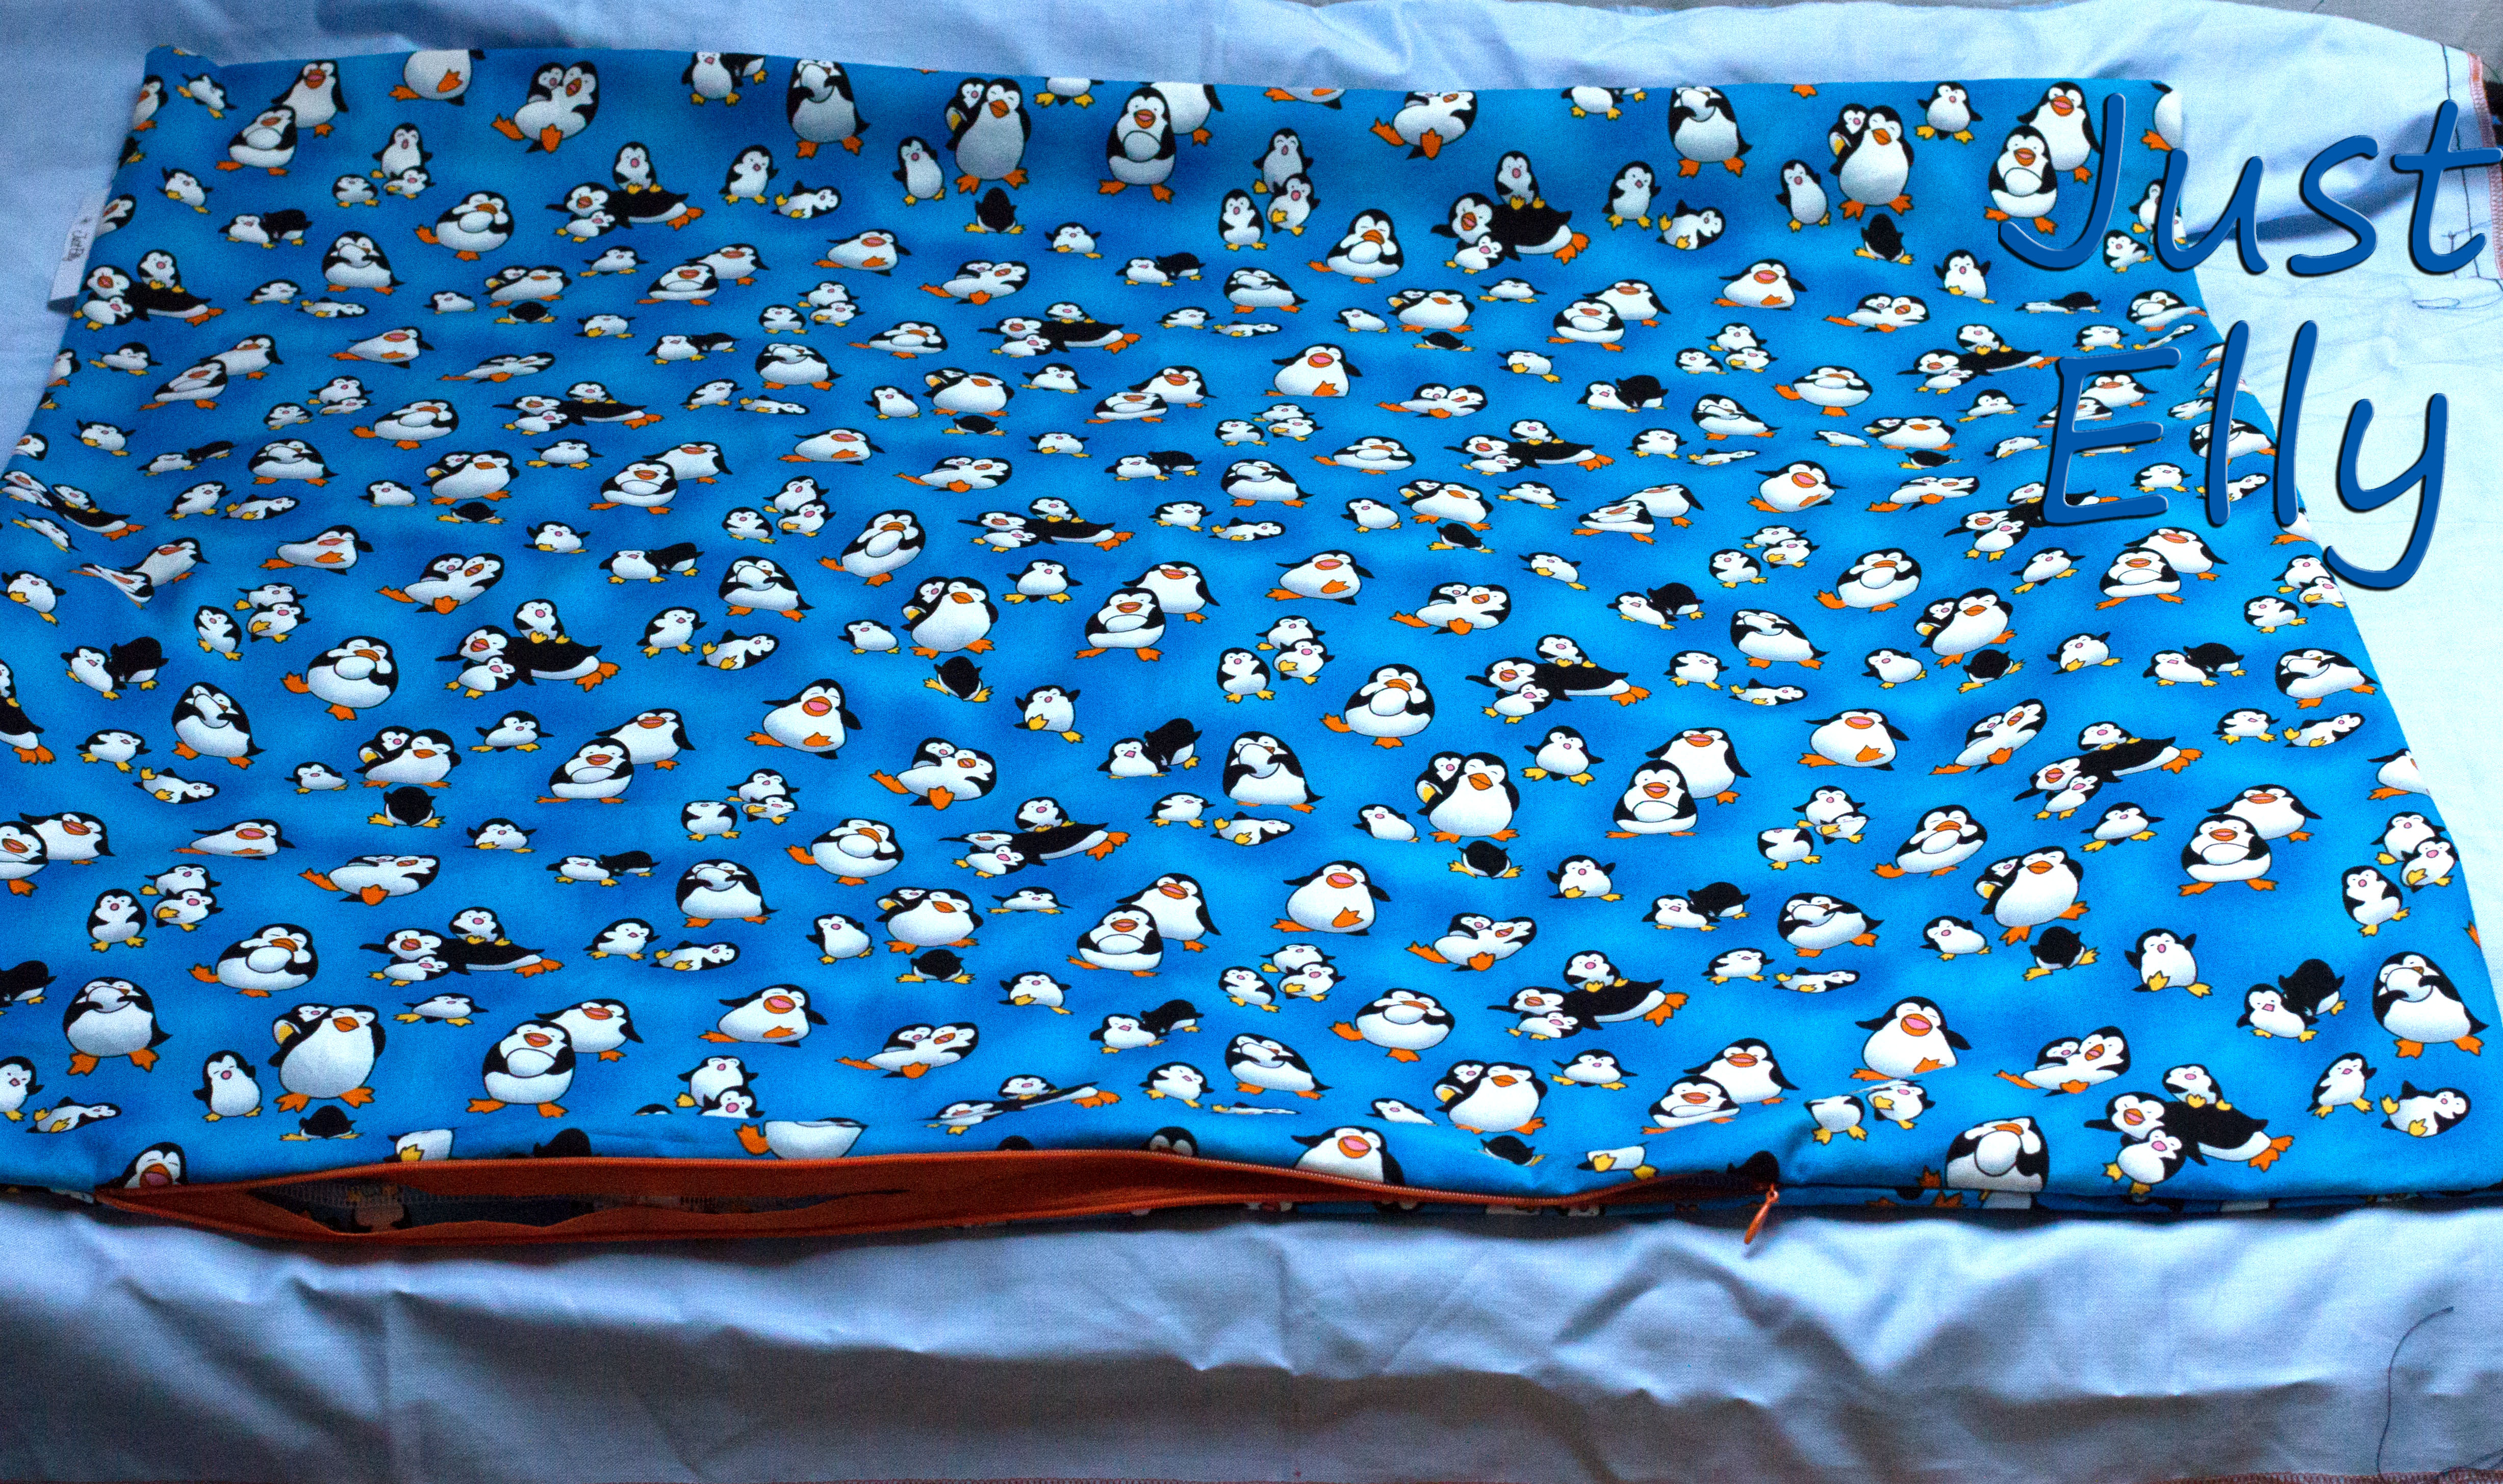
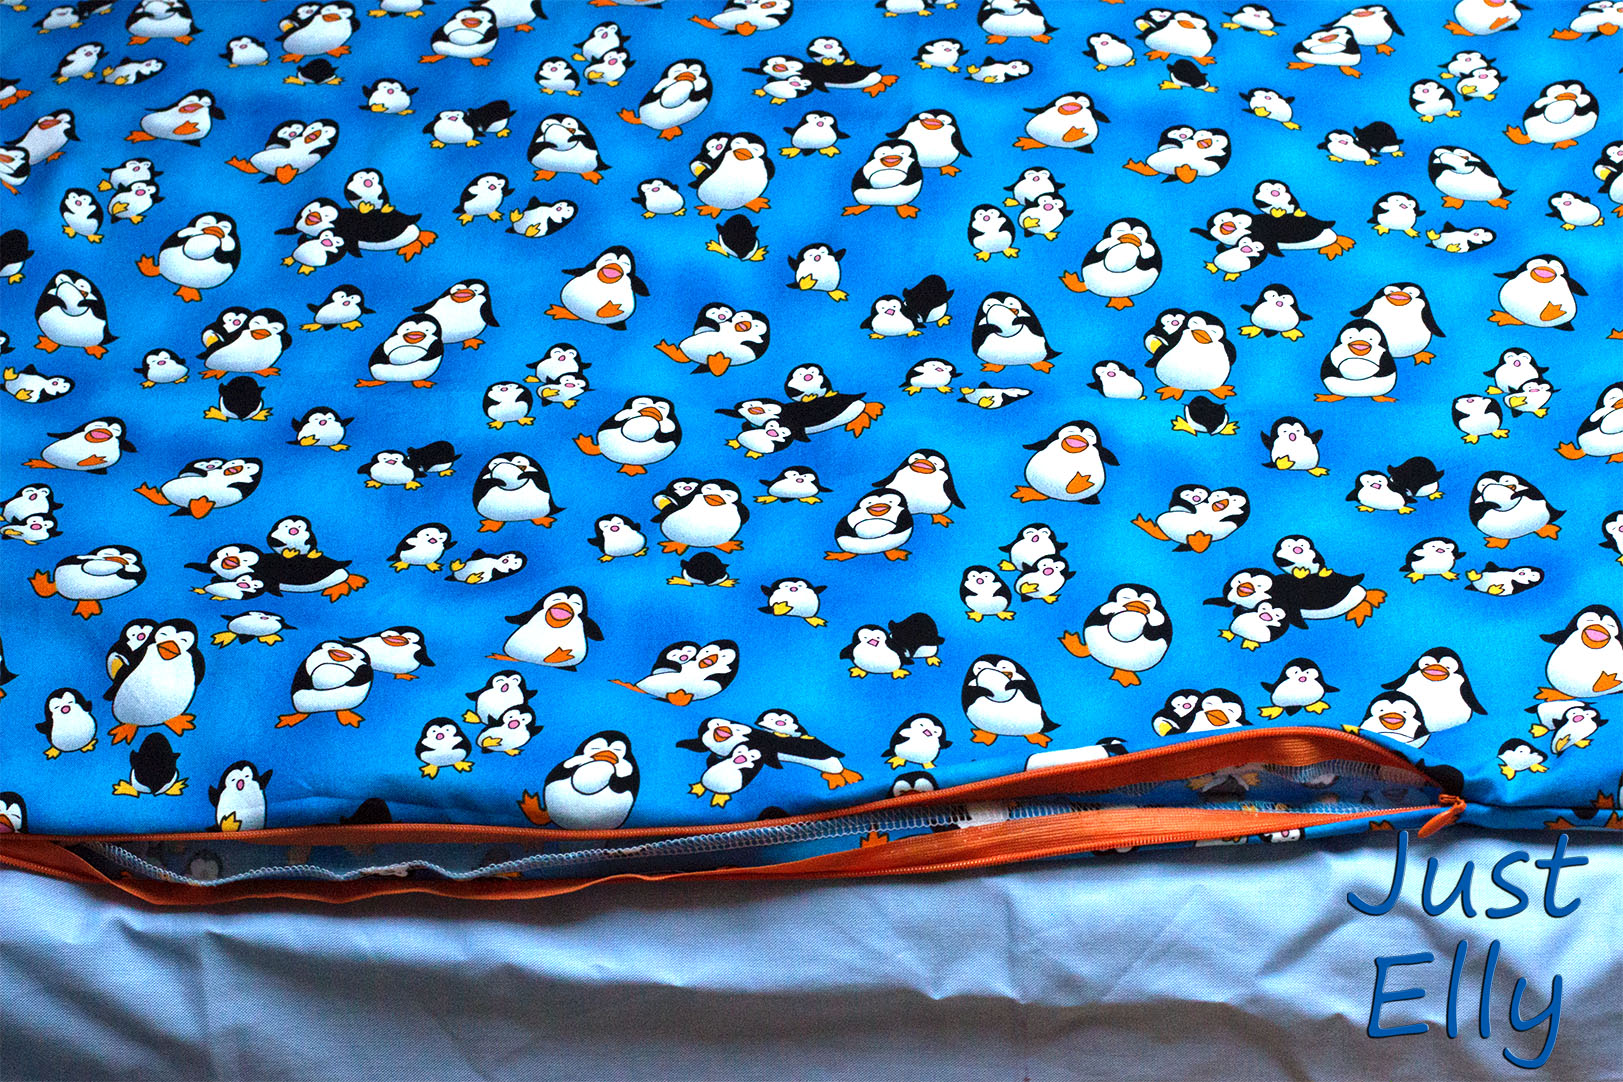
I couldnt resist this fabric. Its nearly the same pattern as my chucks. I got 4 yards of it. I will make a jacket and a backpack  out of it

Fabric 4

I will make some sweatshirts. On the inside with flannel like the one on this picture. And yes, this will get really warm sweatshirts. If you would freeze all the time like I do you would do the same. The nautical fabric will get a jacket.

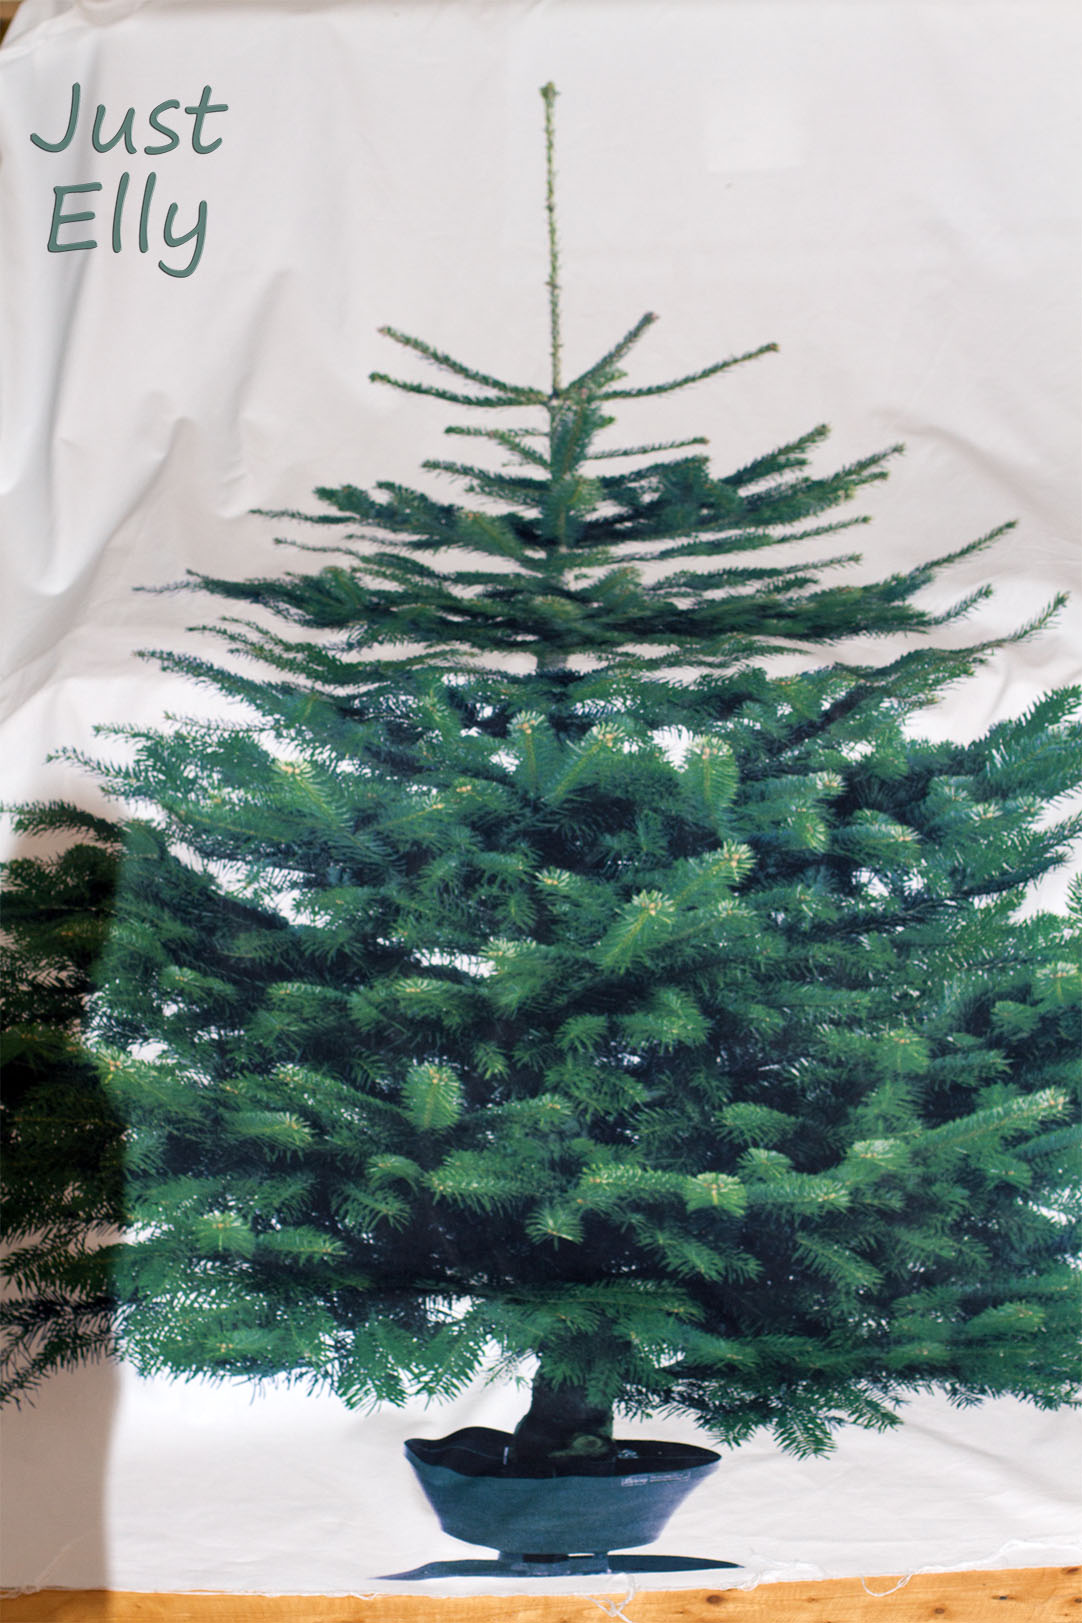
Look what I found on the internet !!!! Fabrics like photos !!!

Fabric 5

OK, shame on me. I dont know what to do with the fabric that looks like the sky. But the water fabric will be part of my decoration. It will be sooooooooo cool to have this as a tablecloth and some nautical deco on it.

Fabric 6

Yes I know. Easter is far far away. But the gras fabric will get a tablecloth too. The straw fabric will get little baskets. What do you think when I put some colored eggs into the baskets? I’m sure it will look great.

Fabric 1

look what I found last week in the swedish store? This fabric is huge !!!!

Over 2 yards in lenght and over 1.5 yards in width. This will get one curtain. I wont cut it in the middle. So it has to be as a whole. I dont think its so bad to close the curtain only from one side. Hey I will only use it in advent 🙂

Next saturday when I’m done with the gift, I will start with my first sweatshirt YEAHHHHH

Soon it will be cold outside  and I can wear my very first selfmade sweatshirt

My second sewing course day

I had my next lesson. This saturday I learned to sew a zipper

I made a pillow for my god child. She loves penguins, owls, foxes

Few months ago I found a beautyful penguin fabric on Ebay and my first thought has been its a must have for Sonja.

I choosed an orange zipper, because its the color of the feet and the pecker.

The teacher said its called invisible zipper. And she is right. If the zipper is closed, you cant see it anymore.

I also worked the first time with an overlock. And felt in love !!!! LOL

An overlock is now on my wishlist.. Its so easy to work with an overlock.

I always wondered about the stitches on t-shirts and sweatshirts. Now I know how they are made.

Today I got my first sewing “job” hehehe

A friend wants a  new zipper on her favorite bed linen. I will get payed with a cake.

3

1 2

Isnt this fabric cute???

Do you see my work with the overlock? I Love It !!!

Start to pimp my sewing shelf Part 2 – The first 2 doors

Yes, even if my sewing course startet, I’m still working on my shelf 🙂

I wish I could practice what I learned the last 2 saturdays with my sewing course, but my shelf wont do the pimp by itself LOL

Here is a picture of one of the doors. I will make 8 doors in 4 different styles.This is the first of them. I have to grind and paint these 2 doors, but the most wood work is done

door 1

As good as I can, I try to explain what I used and what I did.

But as a beginner with wood working I’m not sure if the way I did this is circuitous or not. Maybe there is an easier, faster way to do this work, but I dont know it.

Before I finished this door I tried laths with different widths and different thicknesses.

This is what I used at the end

Door 5

Door 6

lath 1

From lath 1 saw the 4 parts and glue them as seen on the picture above.

Door 7

 lath 2:

saw the miter at the longer sides first. Put them on the frame from lath 1 and measure if you really have 14.17inch on the open sides. If not, change the length of them and then saw the miter. Check again if it fits now!

I made the mistake to saw all 4 sides first and then tried them on my frame. If it had been to long I could have cut them, but no, they were to short 😦

If the sizes of all 4 laths fits, glue them on your frame. As on the picture above.

Door 3

I dont know what names these laths have or what they are for, but they were exactly what I needed.

I choosed the right one on both ends of my frame. The other one for filling the frame.

Door 8

dont saw them all at once !!!! Yes, made this mistake too hehehehe

My lath 2 frame has narrow differences in width over the 28inch. We talk about 0.004inch / 0,1mm. It isnt much, but I wanted it perfect.

So I measured for every piece what lenghts its needed. I needed some in 11.81inch / 30cm and some in 11.7inch / 29,9cm

Make a mark on your frame and on your parts !!! This is when you also have differences. It will spare you time when you start to glue.

Door 9

For the middle of this door I saw a 11.81inch / 30cm piece of lath 2

I had luck that all parts filled the complete frame. Otherwise I would have change the middle lath. I tried with so many different laths, that I’m sure I could have taken one of them if it hadnt fit.

I cant believe after so many trying with this damn door I did both of them on ONE weekend LOL

And I Love My Work !!!

My learn process at working with wood

The last time I wrote about how I have to learn to work with wood my knowledges were nearly nonexistence LOL

But with “courses” on the internet I got a lot of tips how to do things, what tools are needed and so on

Today I will show you what I learned and practicided

Before and after 2

before and after 1

the grinding on the new one isnt done so far, but I just wanted to show how I learned working with wood by myself.

I’m damn proud of the result.