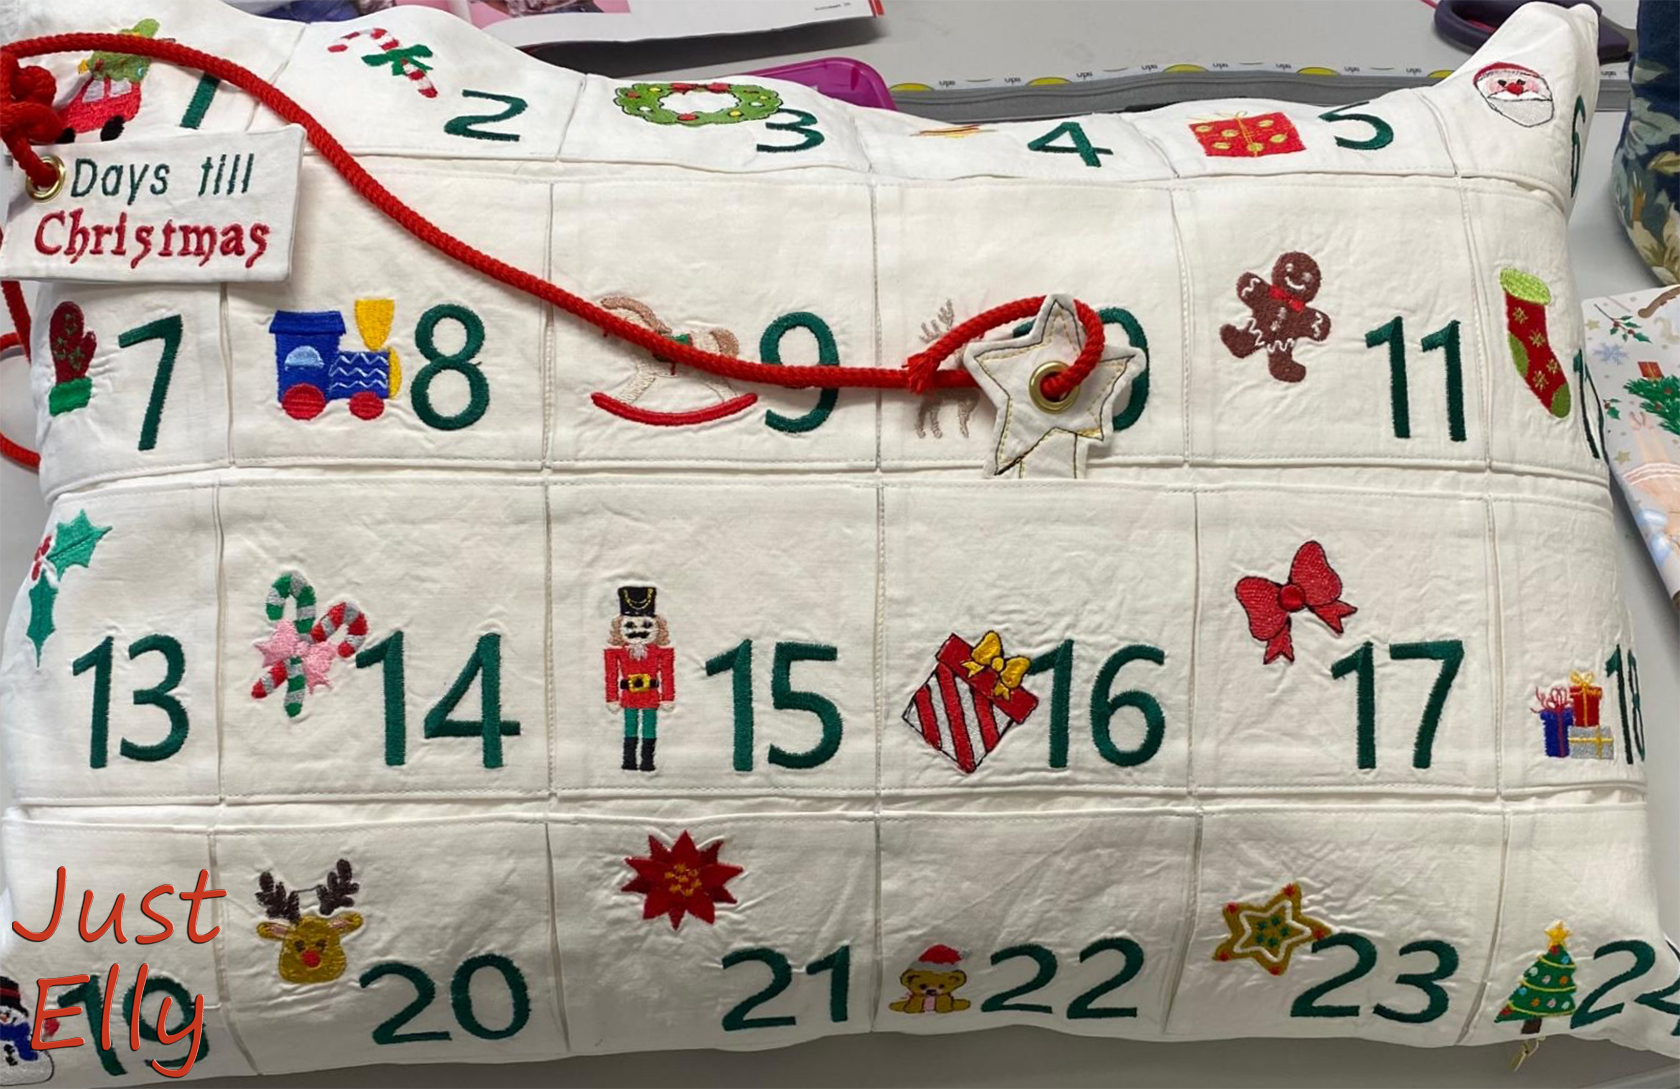
The cushion was very time-consuming because of all the embroidery, but the result is stunning ❤
I took photos of almost every step because I wanted to do this tutorial.
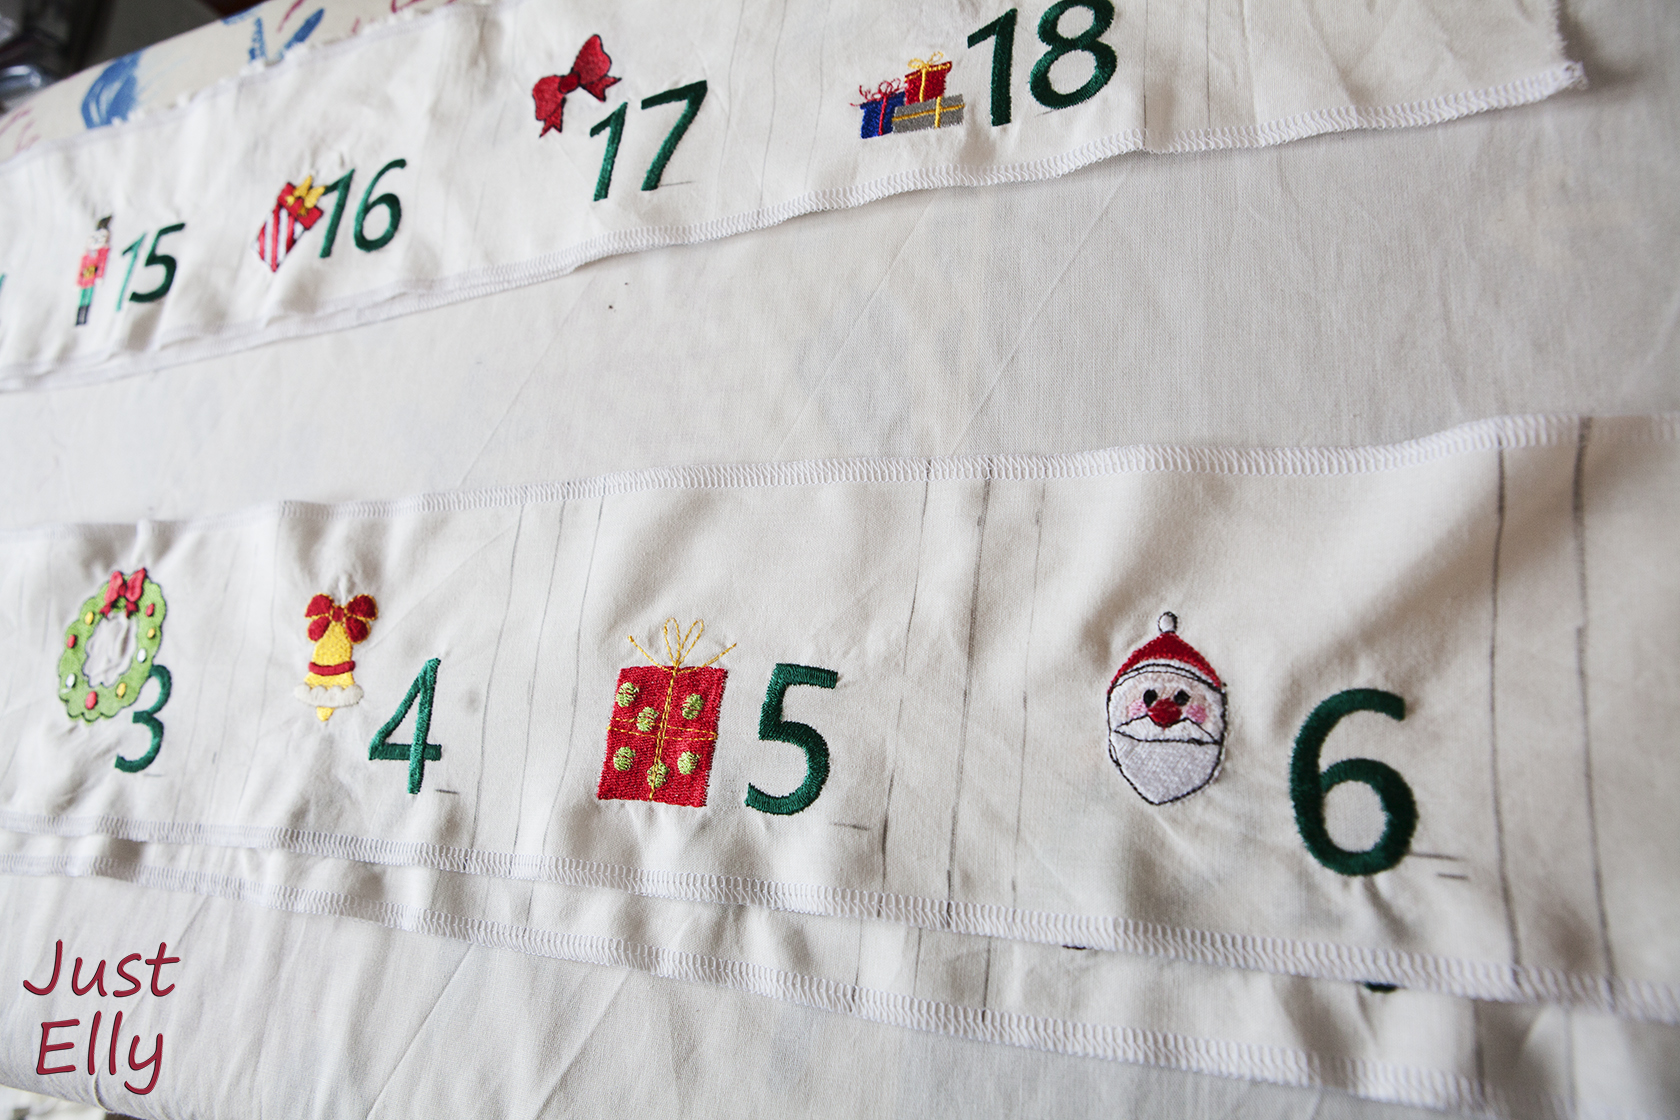
If you want to make an advent calendar like this, there are no limits to your imagination.
You can embroider it. You can print each bag. You can paint it with fabric paint pens. You can also glue felt figures on it.
I chose a cushion size of 16 x 24 inches (40 x 60 cm). These dimensions are easily divided by 4 or 6.
If you want to use a different cushion size, you will have to change my instructions suitably.
This is not a standard cushion size. Still, I found this size without any problems at all the major online retailers.
Materials:
Cotton fabric (I bought 1.5 yard, meter)
Zipper (I bought a 20 inch / 50 cm)
Vilene + Stabilizer
2 eyelets with washers
1 D-ring
Cord or satin ribbon
Cutting the fabric:
18 x 26 inches / 46 x 66 cm = Two pieces
37 x 5.5 inches / 95 x 13 cm = Four pieces
In my case, the 4 pieces are so long because I had to fit the strips into the embroidery hoop. So I needed slightly longer strips.
If you are not embroidering, then about 33 inches (83 cm) is enough
Sew the calendar
Next, we start with the strips.
Go with the serger over the long sides of all 4 strips
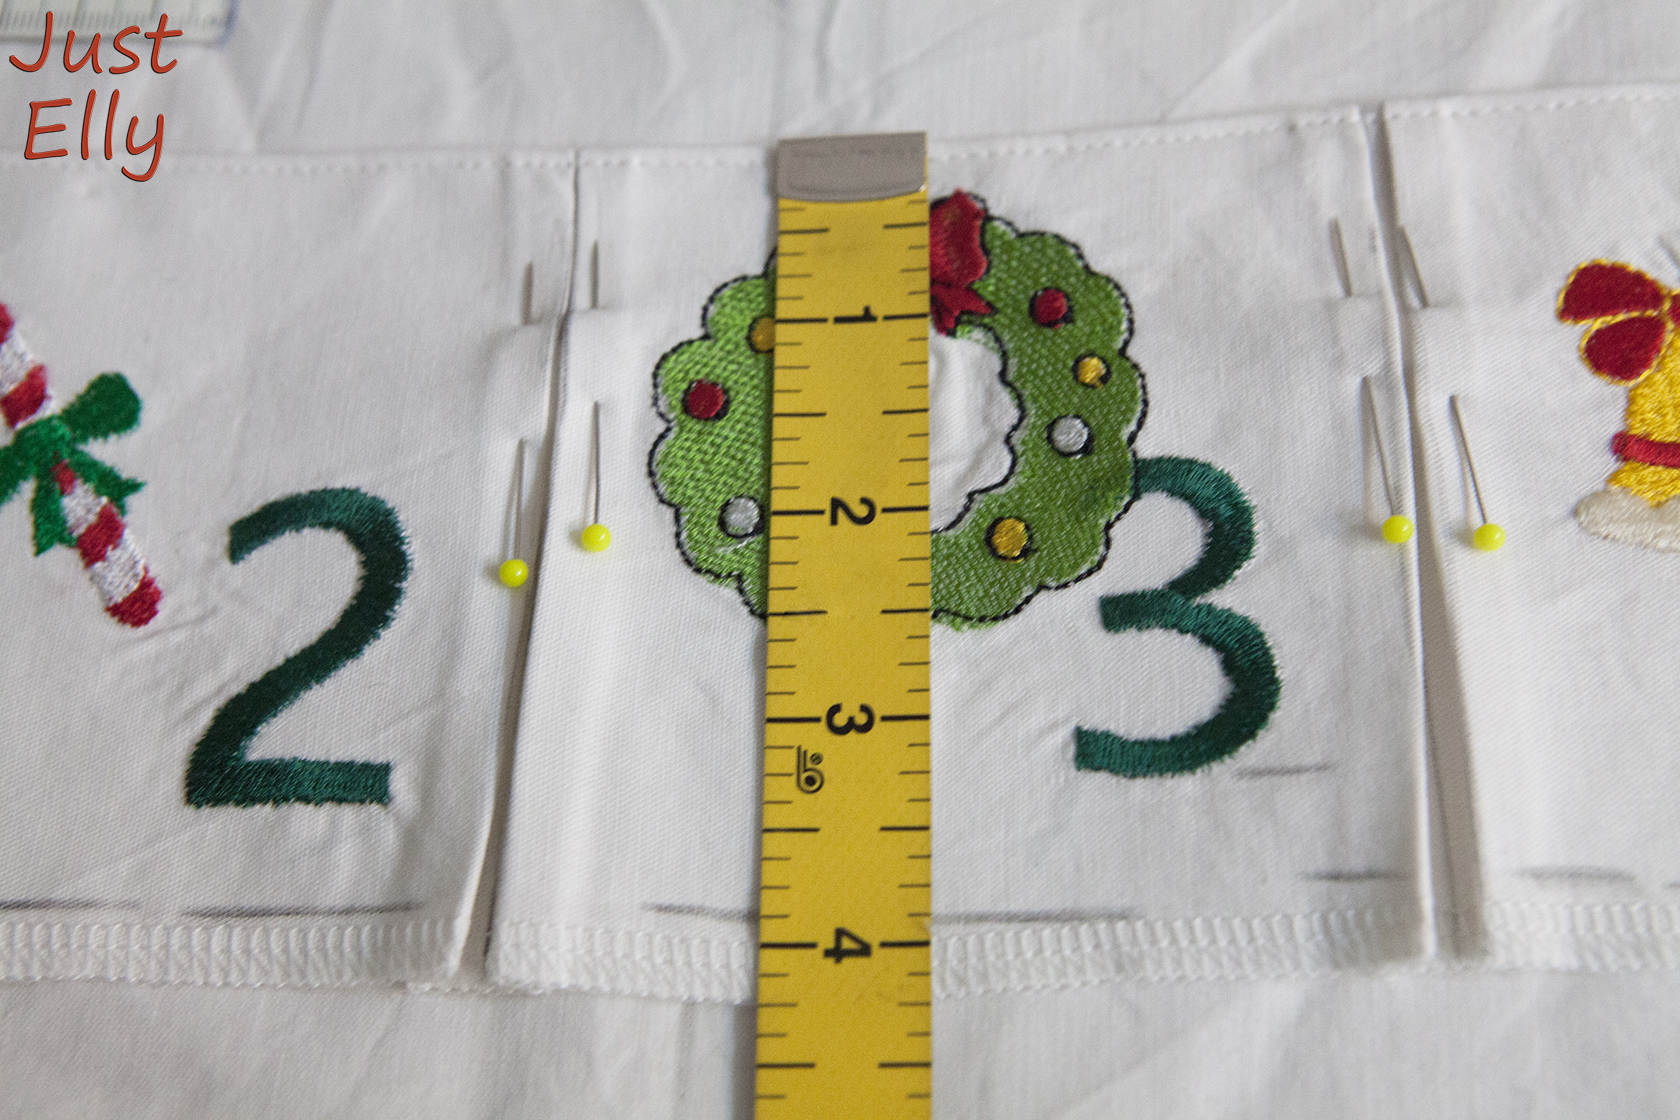
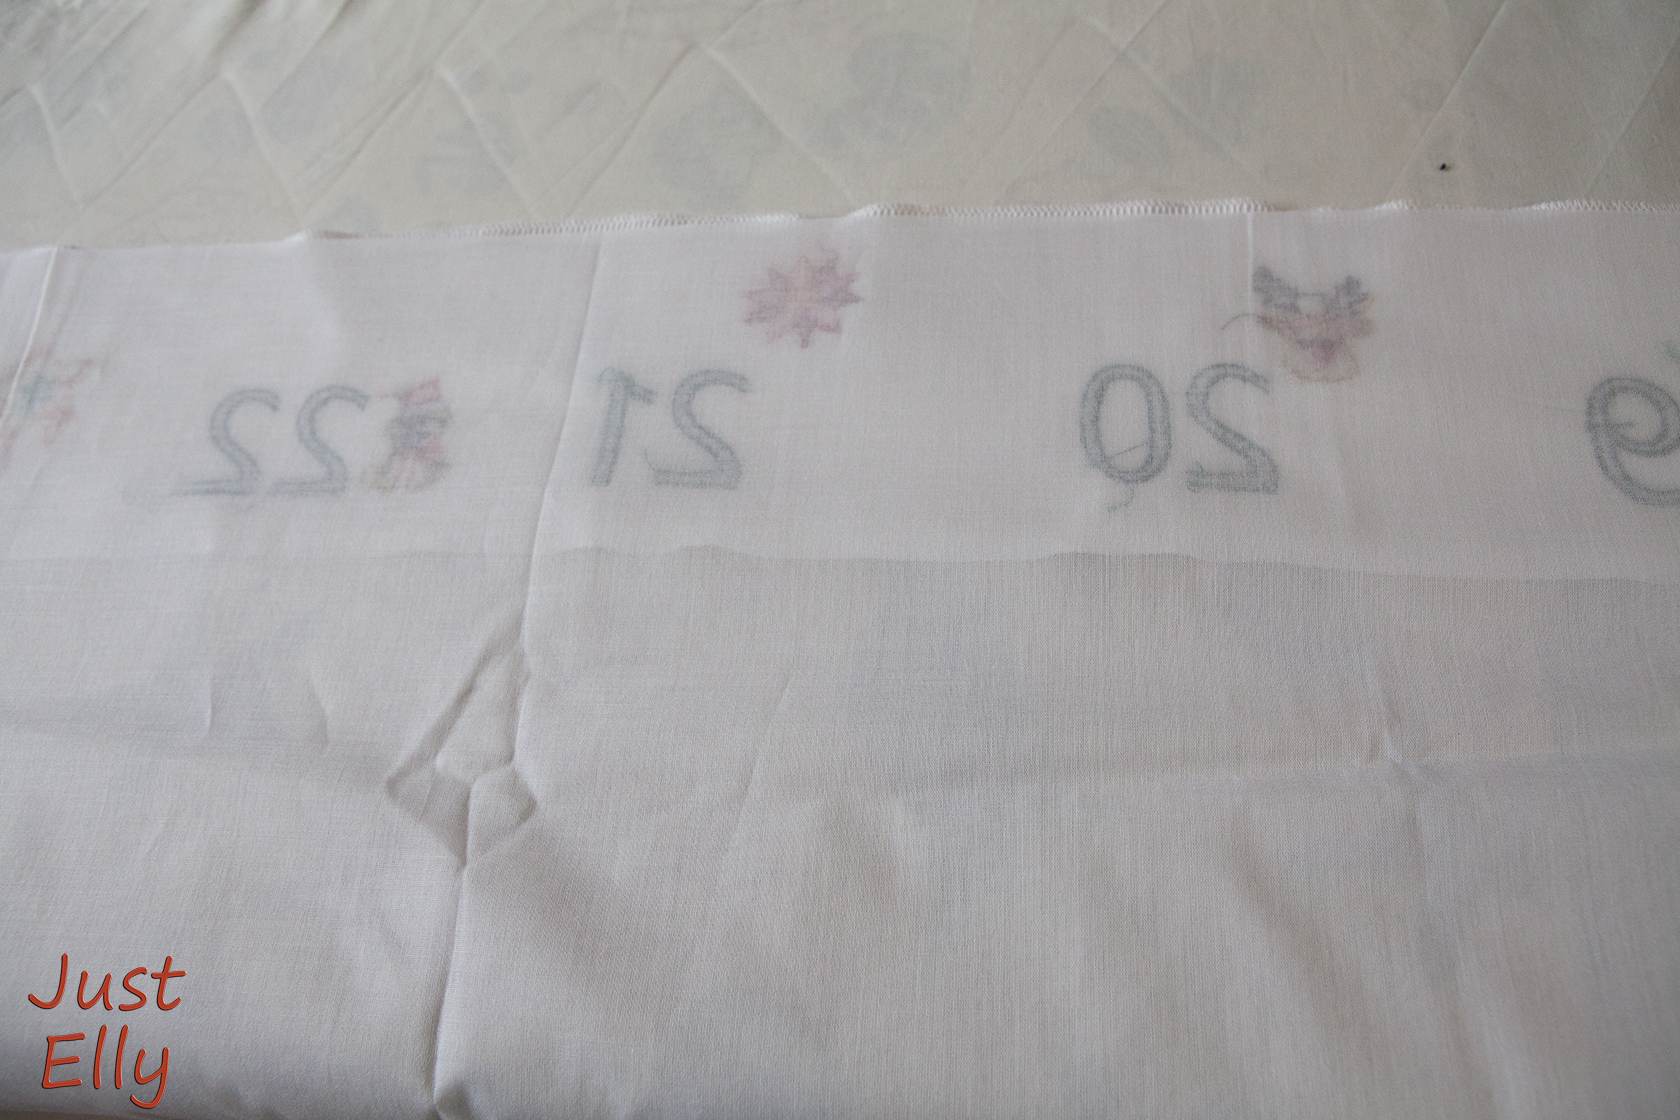
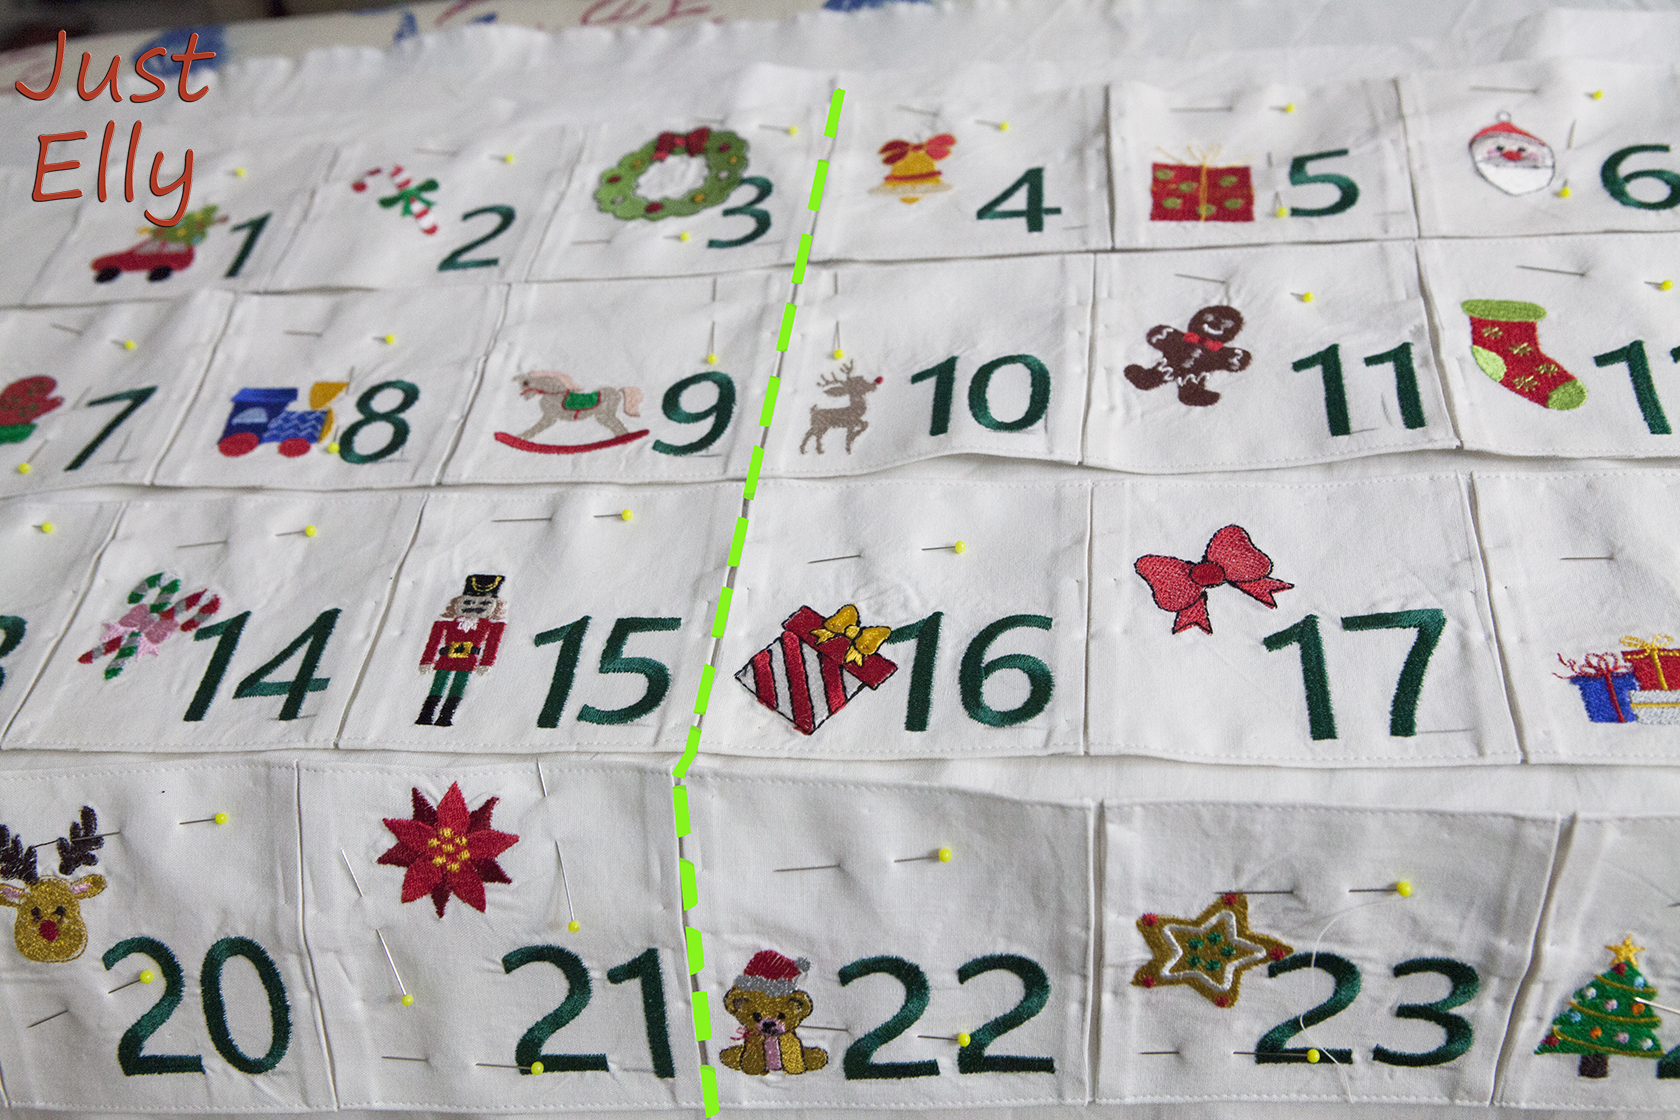
Mark the center with a pencil. And then mark the spaces exactly as in the picture!
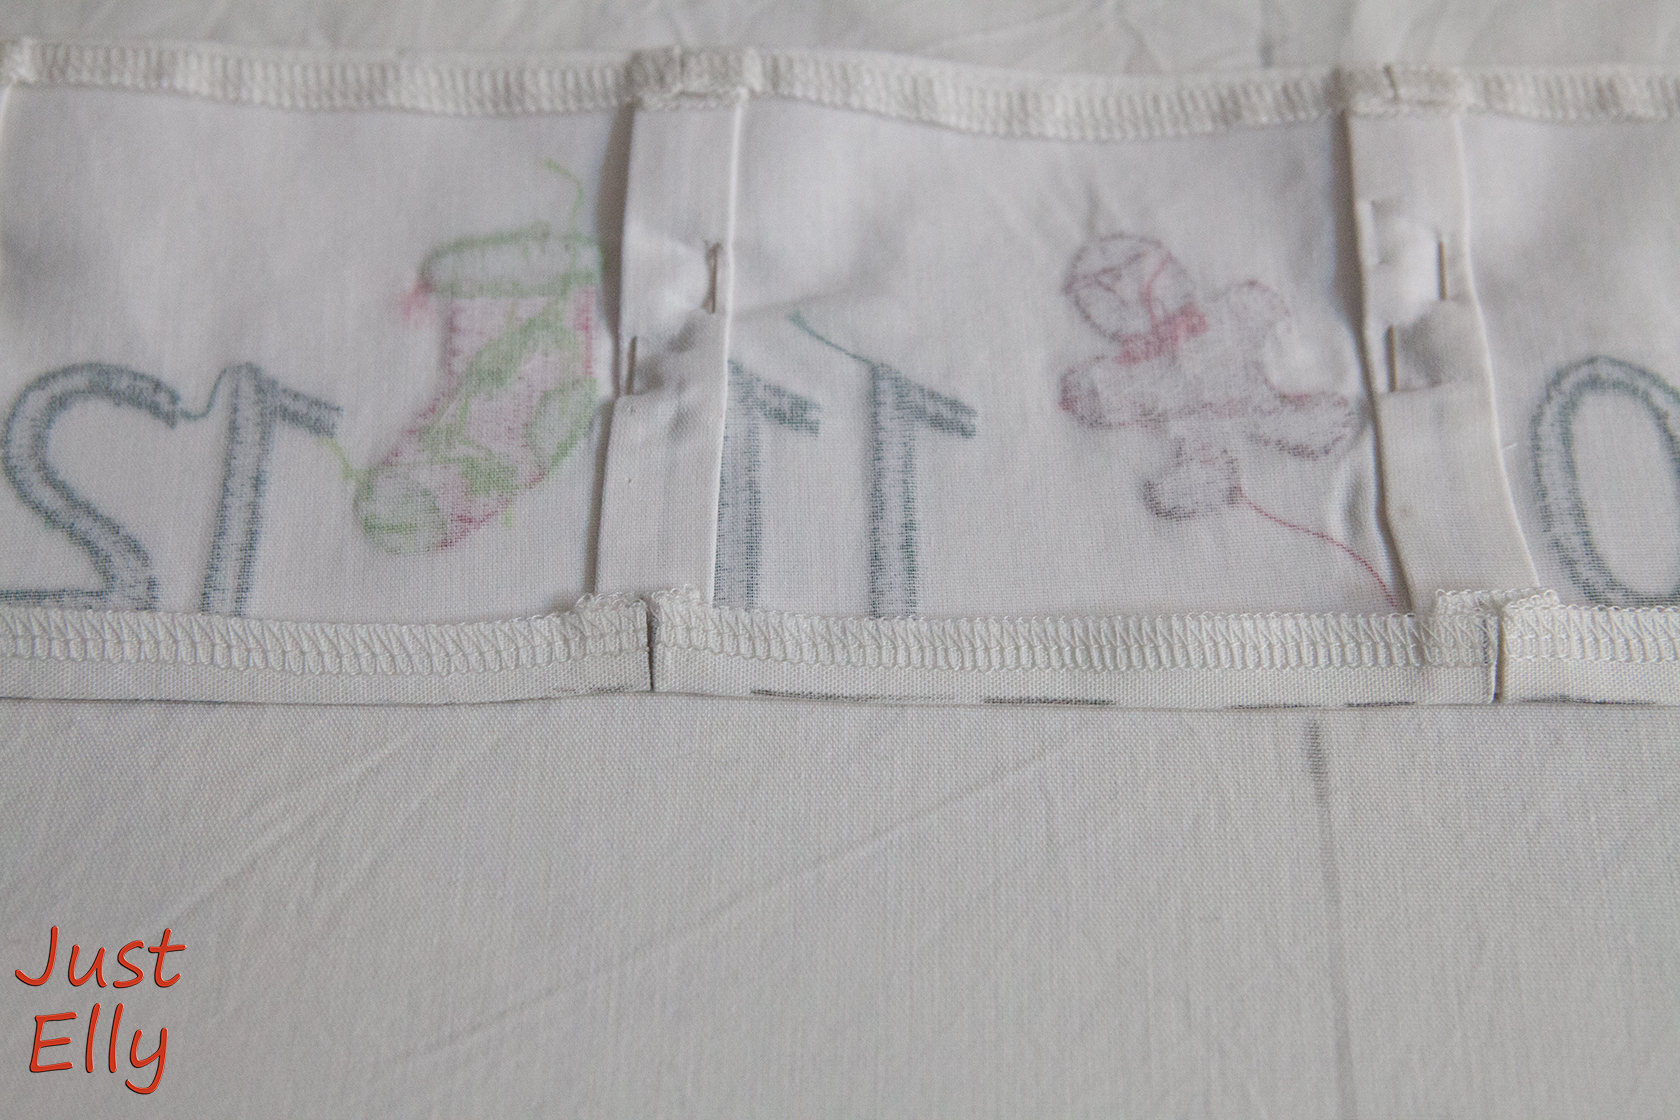
Unfortunately, I didn’t take a photo before I embroidered the strip. But you can clearly see the lines I made on the fabric

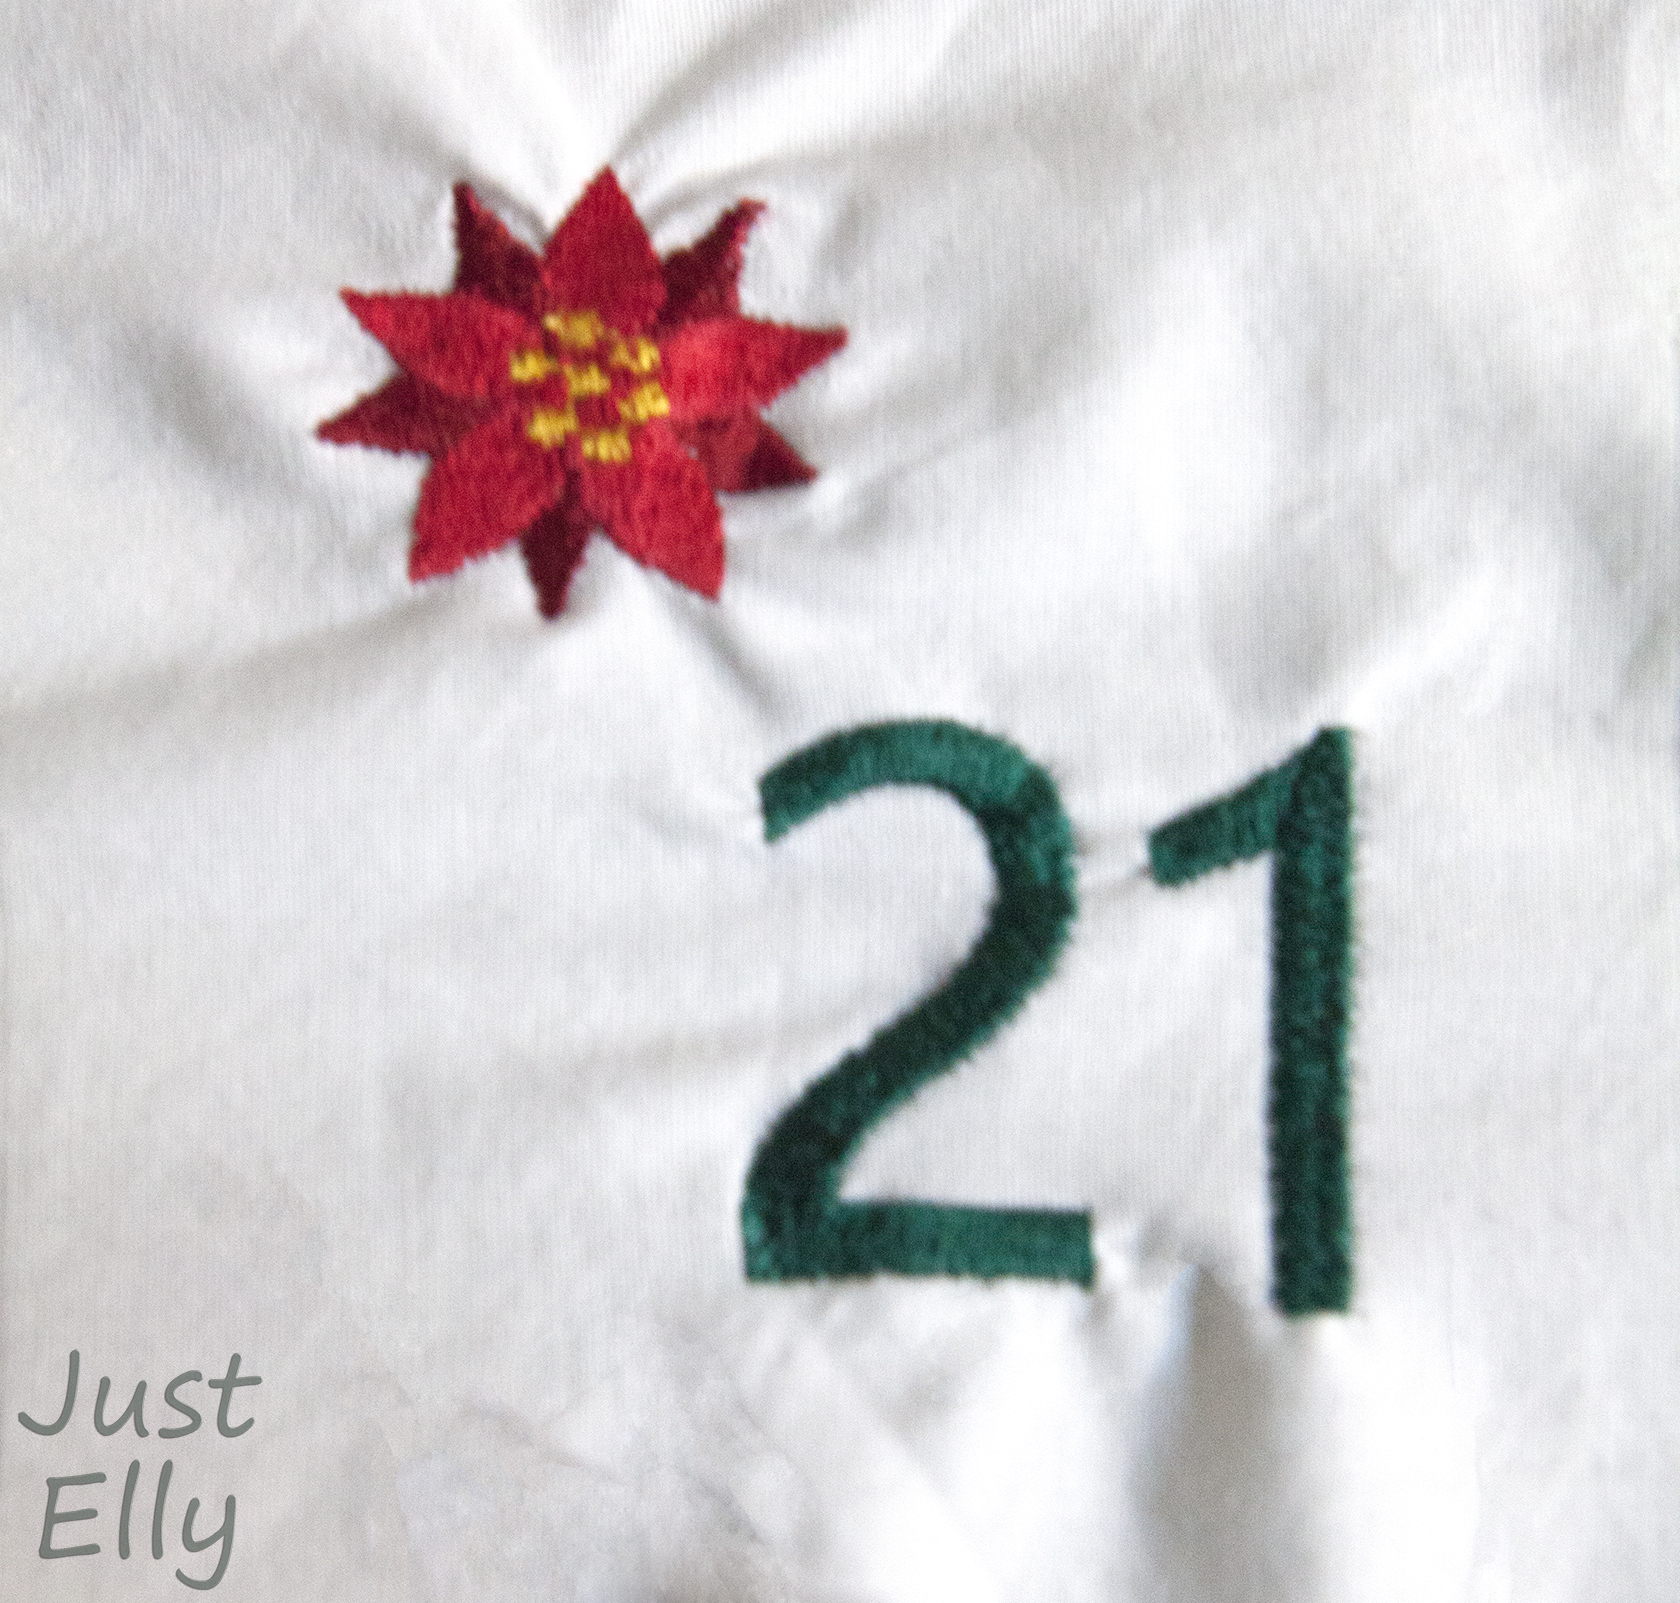
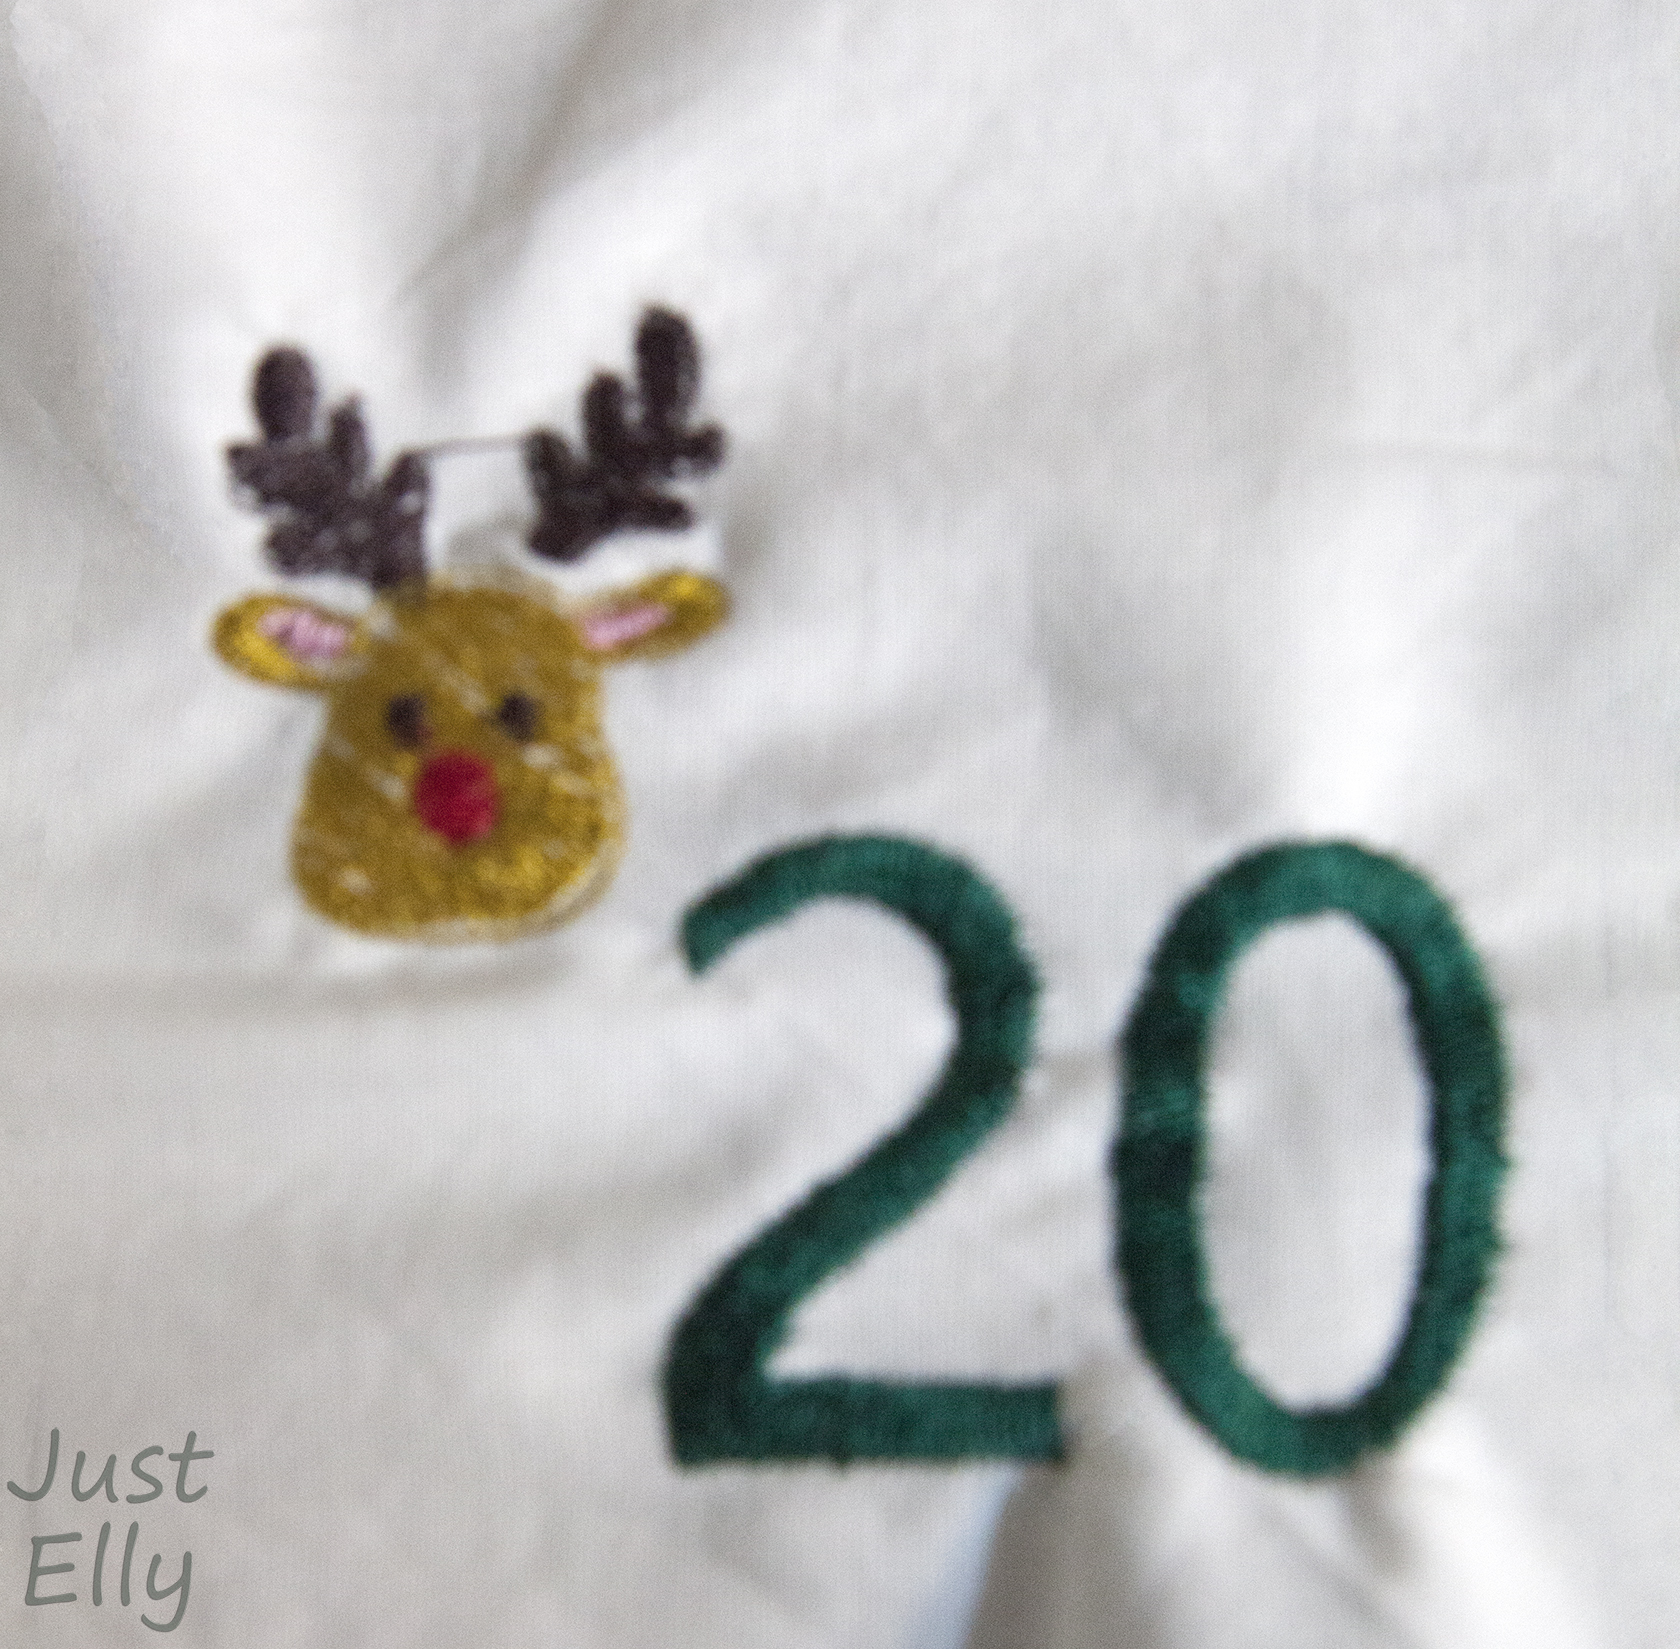
Depending on what you want to do on the pockets, I would recommend that you make marks.
For example, where the numbers should go or your motif. The entire calendar looks a little more even if the numbers are in the same place on each pocket.
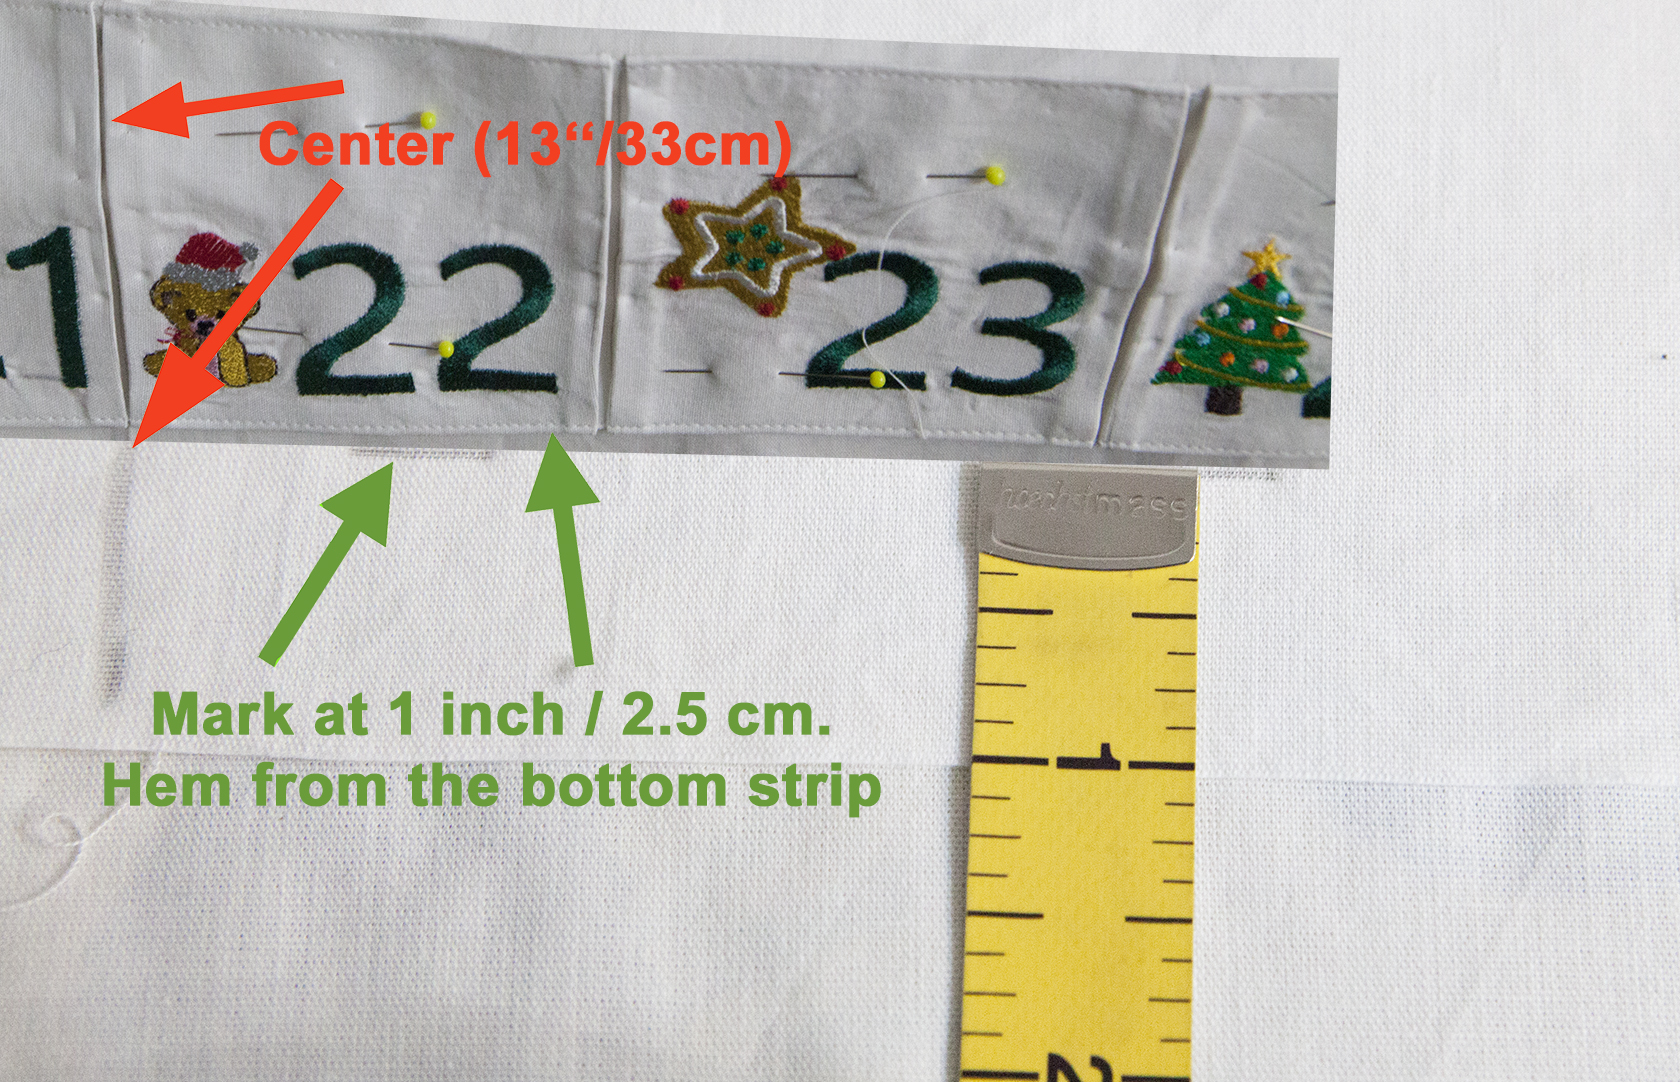
My numbers start from the bottom at 1 inch / 2.5.cm.
And from the right-hand side at about 0.6 inch / 1.5 cm for the single-digit numbers.
The two-digit numbers start from the right at 0.4 inch / 1 cm.
In the photo above you can see my marks next to the numbers.
Next, I stabilized the pockets.
Unfortunately, I don’t know what my Vilene was called, but I chose the wrong one. There are different types.
I’ll explain this at a later step.
I mainly used the Vilene to protect the embroidery on the back and to make the pockets a little firmer.

Look at the photo right above.
You can see that the strip is wonderfully flat, no wrinkles.
Next, we need to make the pleats for the pockets.
To do this, we made the lines on the strips at the very beginning.

In this photo you can see exactly how I laid the pleats.
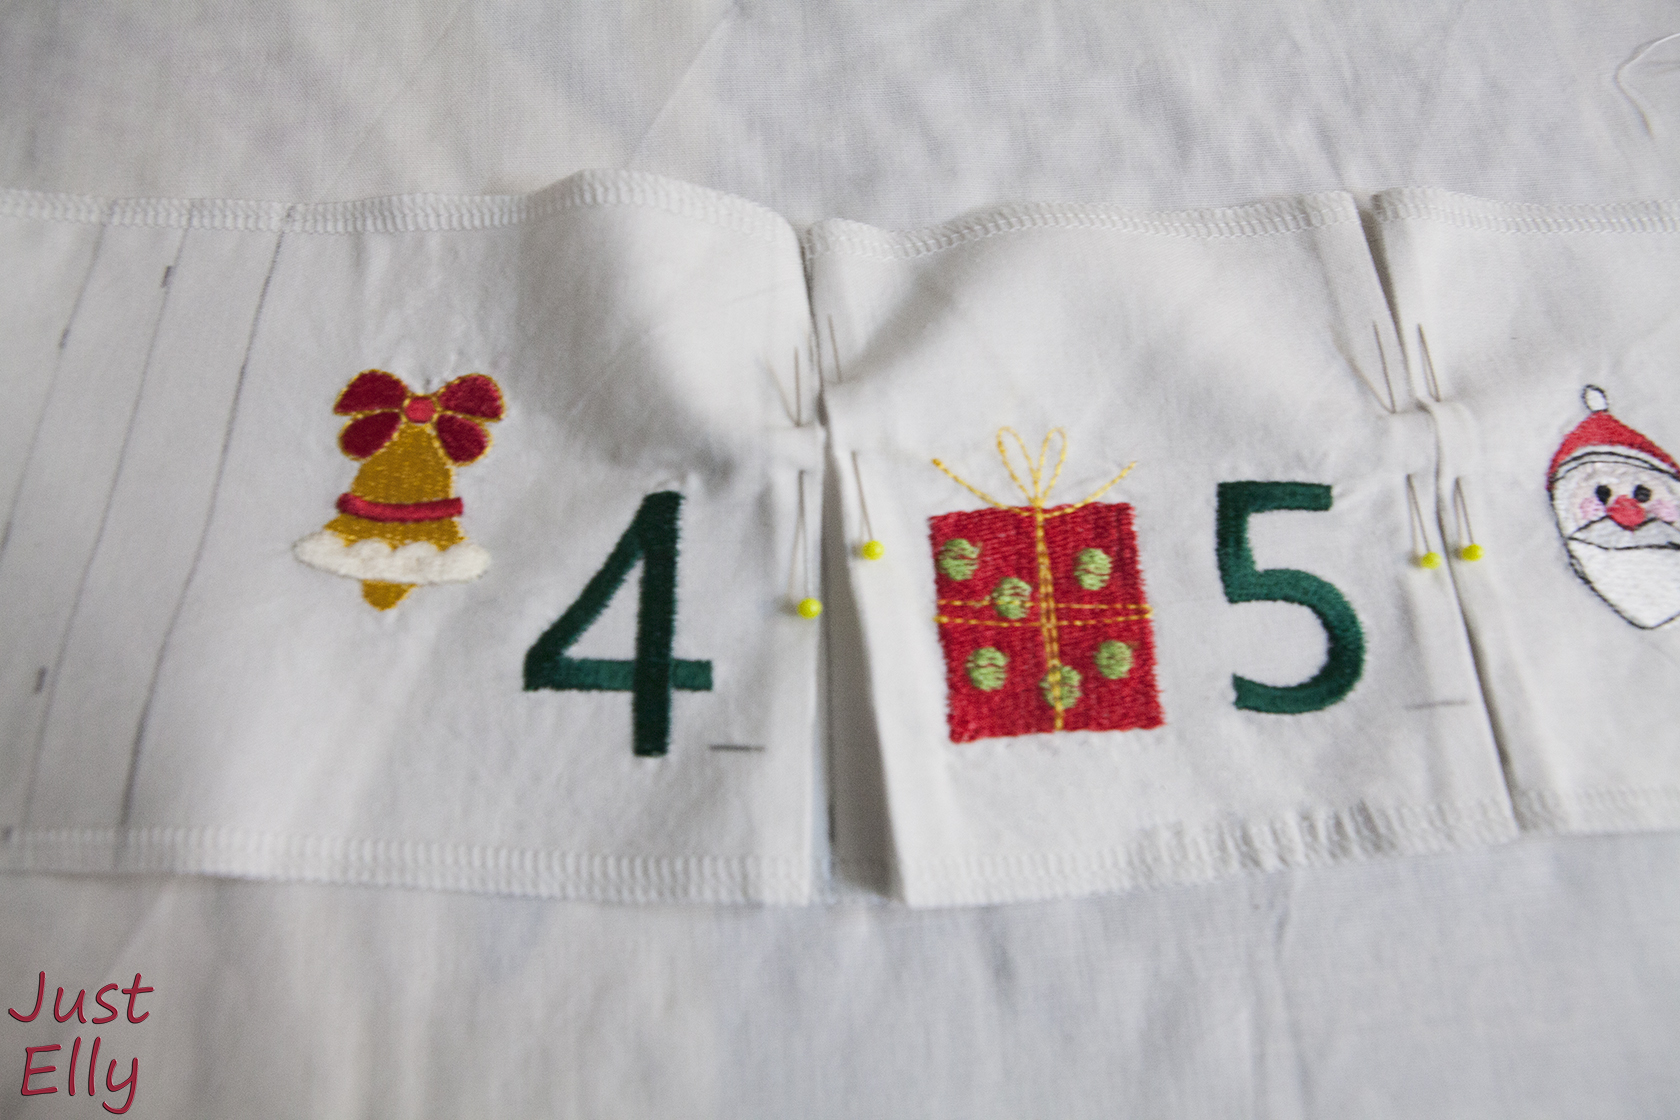
Do this with all the pleats on the strips. It is best to fix the pleats with pins.

And now iron the pleats properly.
I seem to have made a mistake here with the Vilene!!!
I was worried about the embroidery thread and didn’t risk putting the hot iron on the pleats. That’s why I put wet fabric on my strips and then ironed them.
Somehow the fabric wrinkled in some places. Is it because of the Vilene and the wet fabric? Or because of the embroidery thread? I don’t know.
Iron all pleats.
Now press the top seam over and sew close to the edge.
I won’t provide measurements. Unfortunately, I stitched too high up in one pocket when embroidering. I had to use this pocket as a basis.

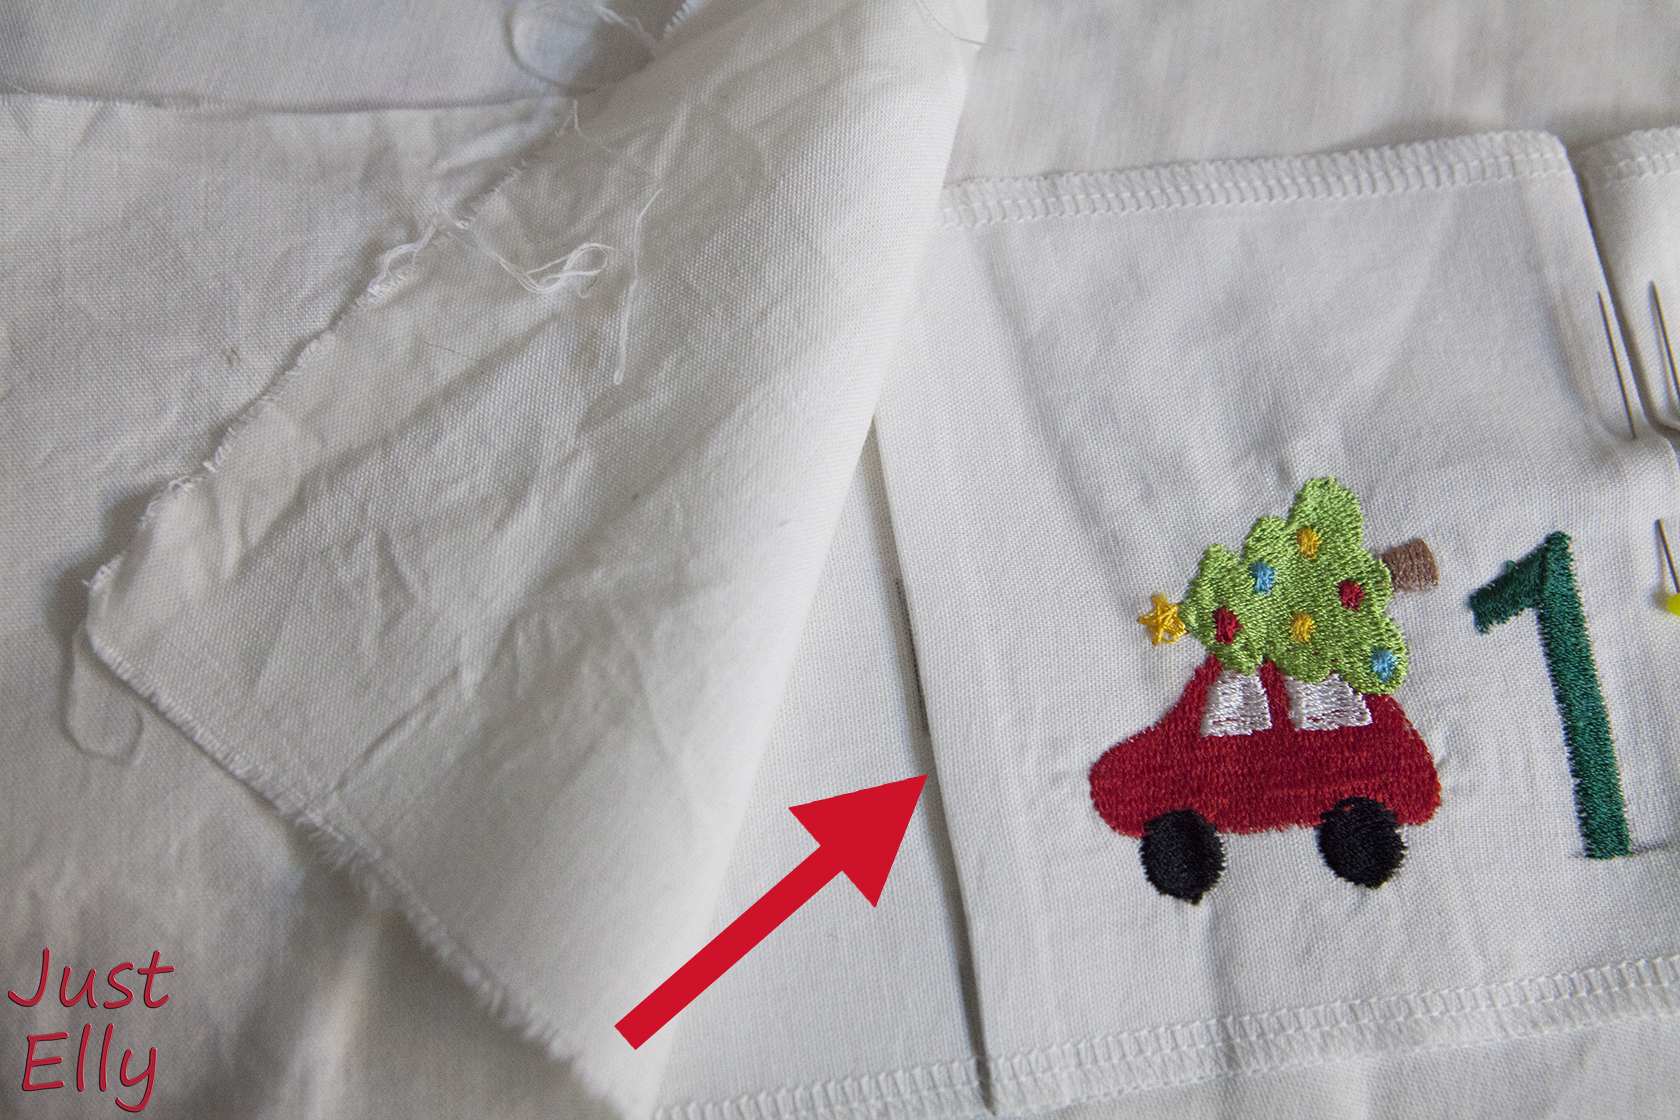
Now we need to sew the bottom seam to the strips.
The pockets should be slightly SHORTER than 4 inches / 10 cm.
The reason for this is so that we have a small gap between the strips.
Always measure the same length on the strips from the top edge downwards and mark the fabric.

Now press the bottom seam over at the marking.
Sew close to the edge
Now you should have 4 strips where 6 pockets per strip are exactly 24 inches / 60 cm wide
Now sew the strips onto the previously cut piece of fabric. The fabric measures 18 x 26 inches / 46 x 66 cm.
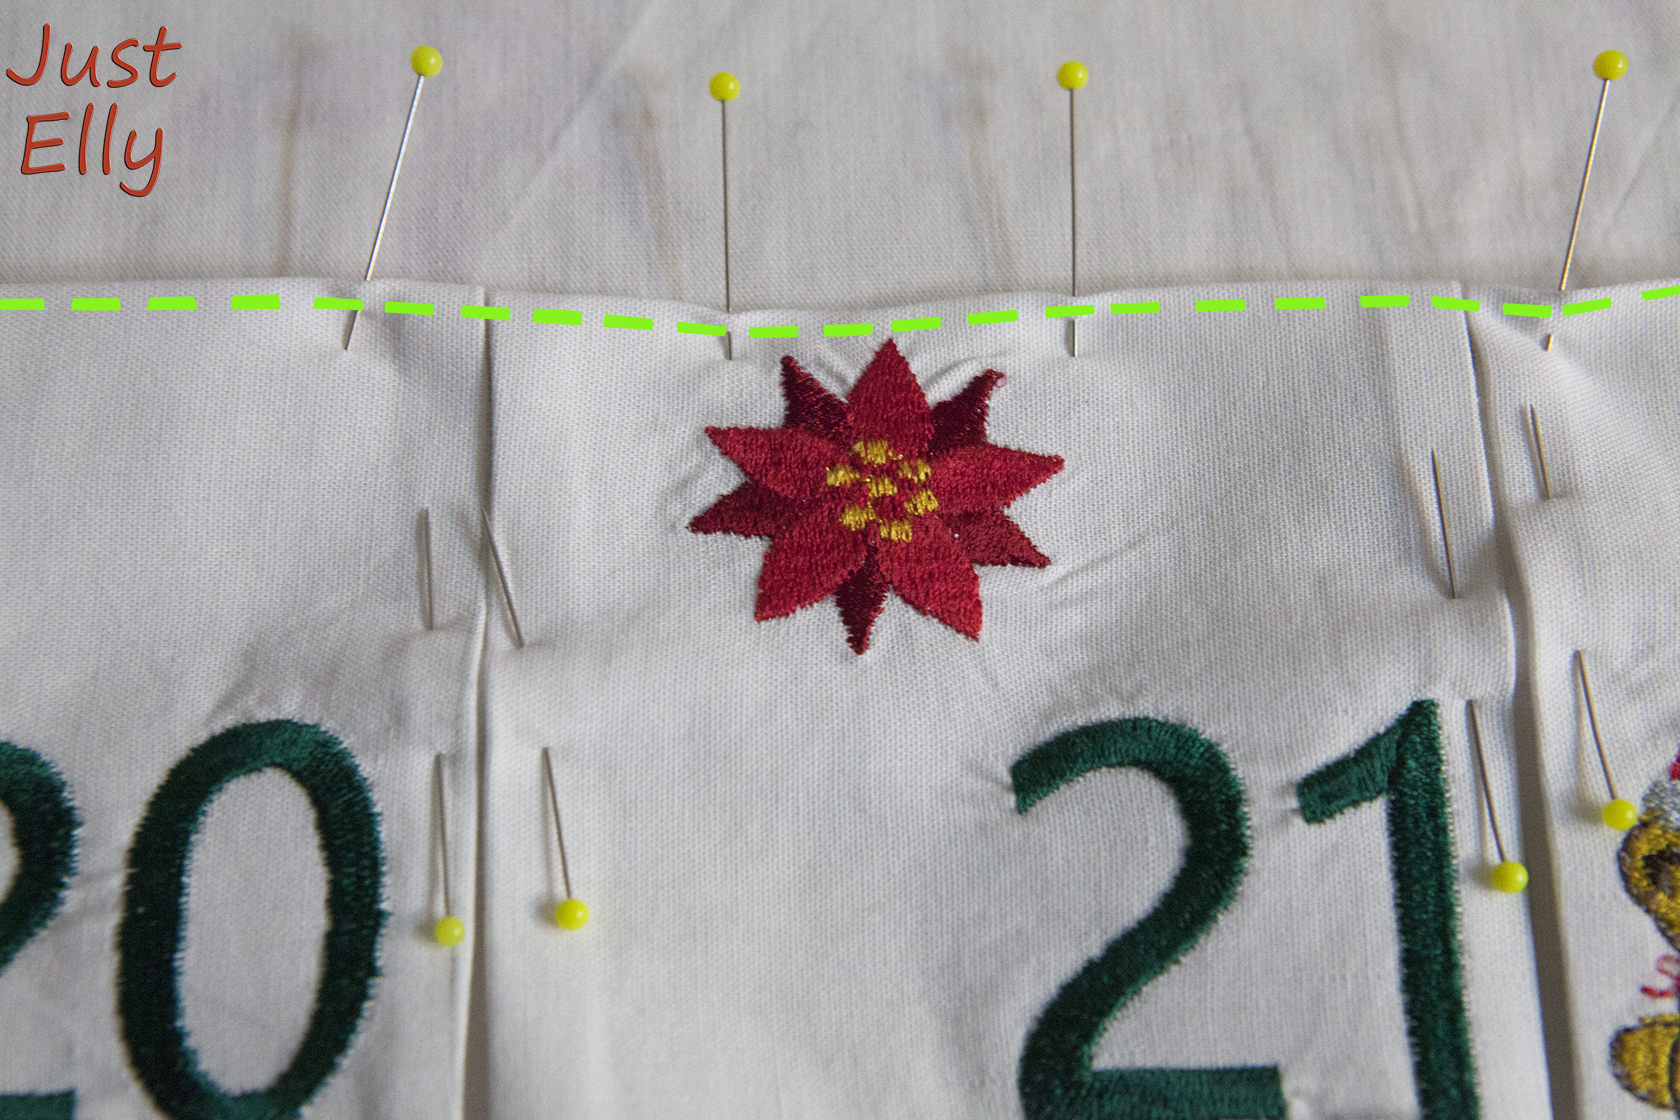
First, make a line exactly in the middle of the fabric (at 13 inches / 33 cm)

Mark the top AND bottom of your cushion at 1 inch / 2.5 cm.

Place the bottom strip exactly on your markings. Place the center of the strip on the center of the cushion. Place the bottom edge on the mark at 1 inch / 2.5 cm.
I know the picture looks strange, but I forgot to take a photo of this step. So I made one out of 2 pictures.
Do the same with the top strip!
Again, center to center. And then place the top hem at the 1 inch / 2.5 cm point and pin in place.
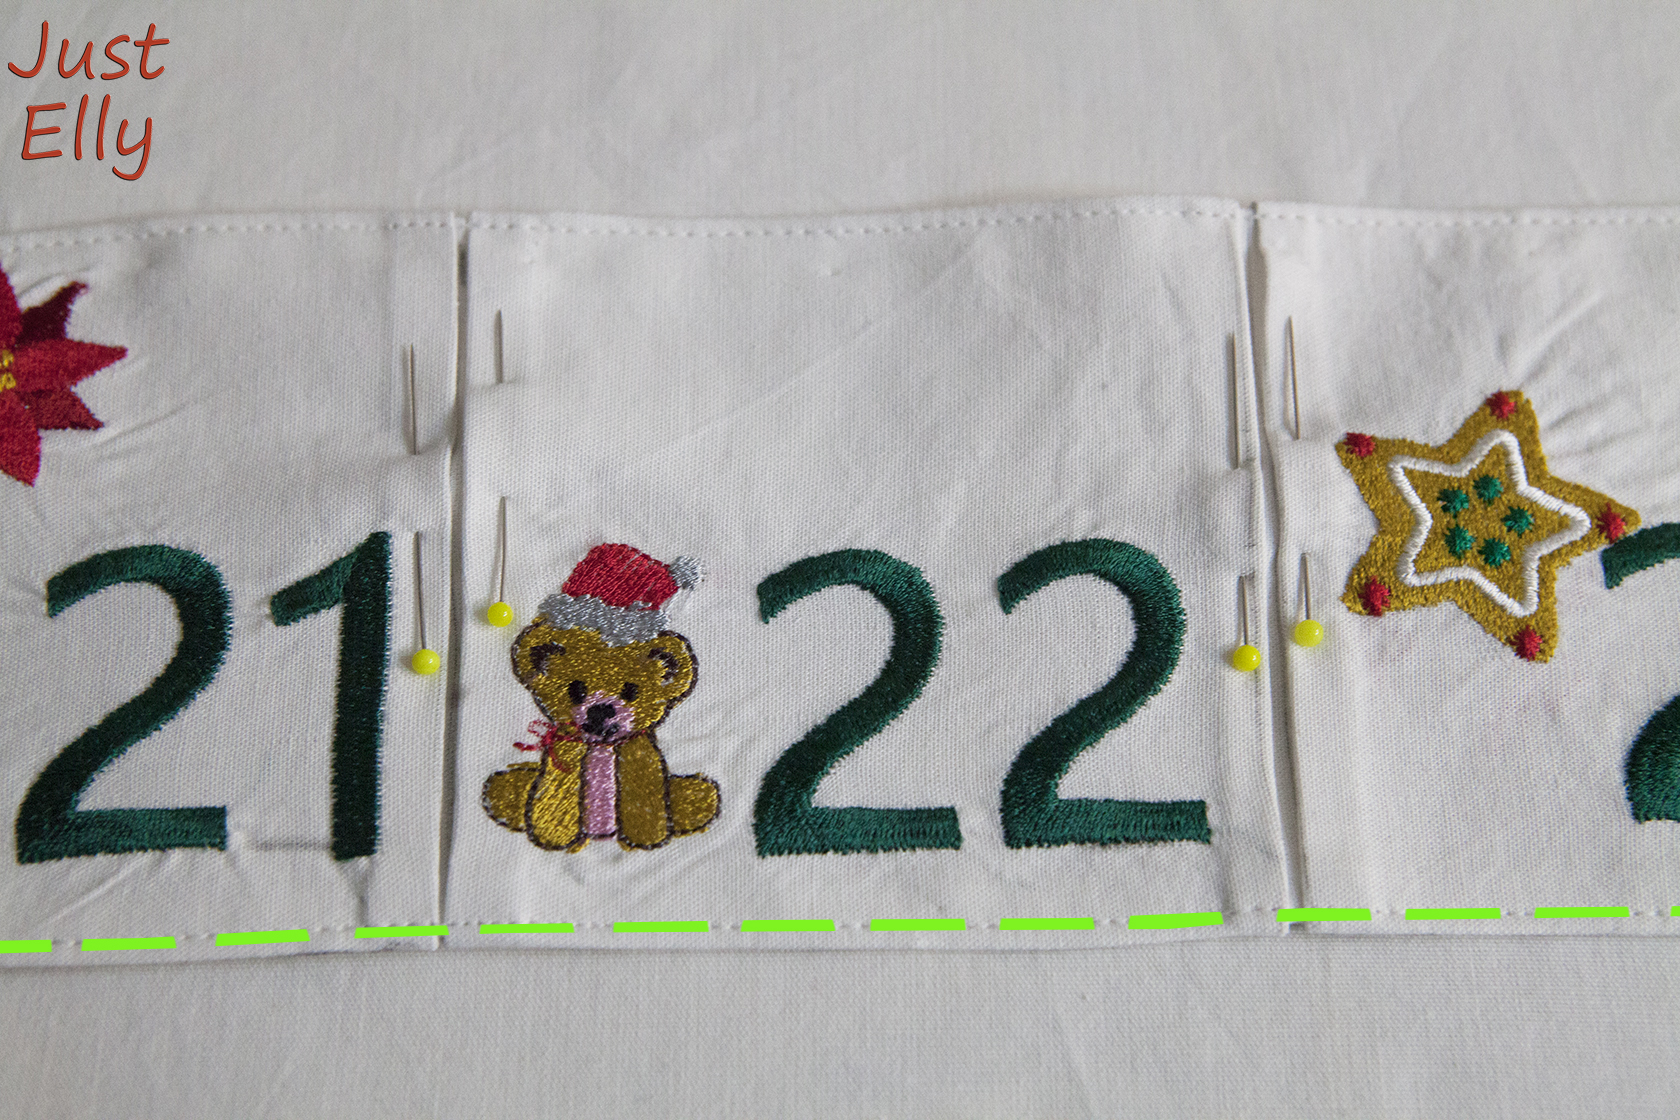
Now place the two middle strips on the cushion.
Place them so that you have the same distance to the next strip everywhere.
I used a ton of pins so that nothing can slip. 😀

First, sew the center seam.
But be careful!
Never sew ON the pleats. Sew in the middle of them. Fortunately, there is still the old line to guide you.
In the photo you can clearly see the lines where you have to sew.

Next, I sewed all the strips to the bottom hem.
I sewed on the same seam as before for the hem.
Then I did all the seams from top to bottom.

Then, I sewed a small seam at the top of each pocket.

The front of your cushions is finished!
All that’s missing now is the star and the tag.
I cut two 5 x 3 inches / 13 x 8 cm pieces of fabric for the tag.
I embroidered one side. Then I ironed Vilene onto both pieces.
The pieces were placed right sides together. Then sewed together except for a small opening.
Then I turned the piece inside out and sewed the small opening closed.
At the very end I added the eyelet.

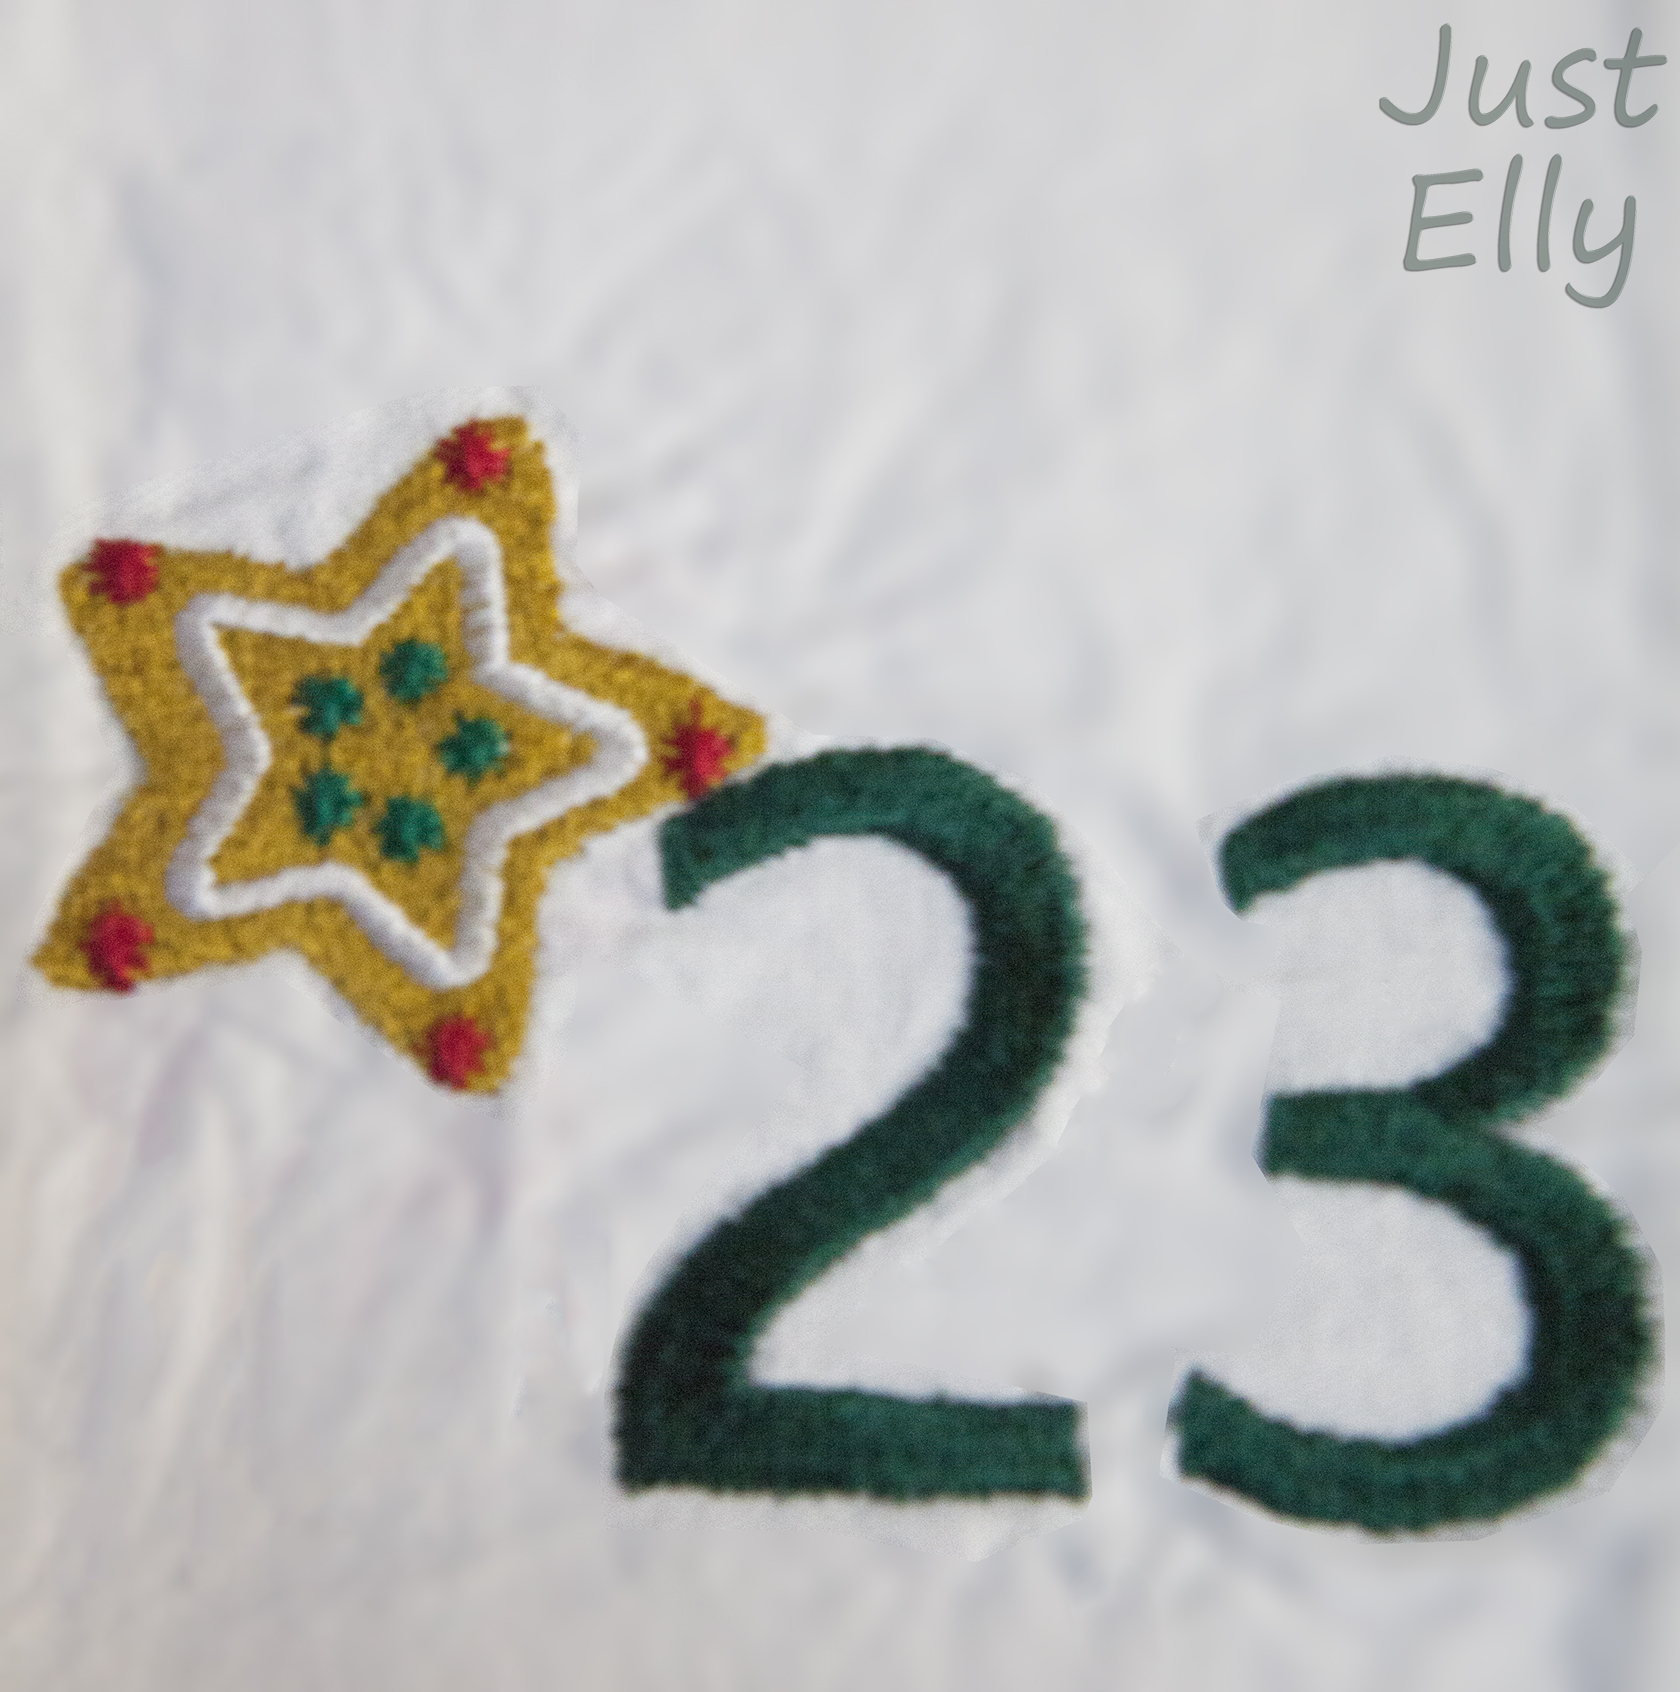
I made a lot of mistakes with the star!
I used the same fabric as for the cushion. As a result, the star is almost invisible when you are a little further away. I would choose a different color today. Maybe green like the numbers. Or golden yellow like the embroidery.
The 2nd mistake was that I made the outline in the star when the eyelet was already there. This made the lines crooked because the eyelet was always in the way with the foot.
I couldn’t use a star like Serendipity. It was too big and would have covered the embroidery.
I found a suitable star on the internet. I had the star printed out in size 5.5 inches / 14 cm in the copy shop.
I cut out the star twice with a seam allowance of plus 0.4 inches / 1 cm.

The smaller stars in the photo are the Vilene.

If you want to sew a star outline onto the star, do it at this step!
Iron the Vilene onto both pieces.
Sew right sides together. But leave a large gap so that you can easily turn the star over later.

The Vilene I used was too soft for the star.
I once bought stabilizers for a bag. This makes the bottom of the bag firm.
I cut the stabilizer WITHOUT a seam allowance.
It was a lot of work to squeeze this stabilizer into the small star. 😀 Then sew up the opening on the star. Make the eyelet in the star.
Now you just have to sew the cushion yourself.
I sewed a D-ring into the cushion to attach the star and the tag.

The idea for this cushion came from Serendipity’s blog.
You can find it here:
https://www.serendipityrefined.com/2013/11/diy-pottery-barn-inspired-christmas.html
Take a look at what she has done with the cushion. Maybe you’ll like her version better. Or, if you don’t have an embroidery machine, her cushion will give you new ideas ❤ ❤ ❤