DIY Your own window seat (Tutorial)

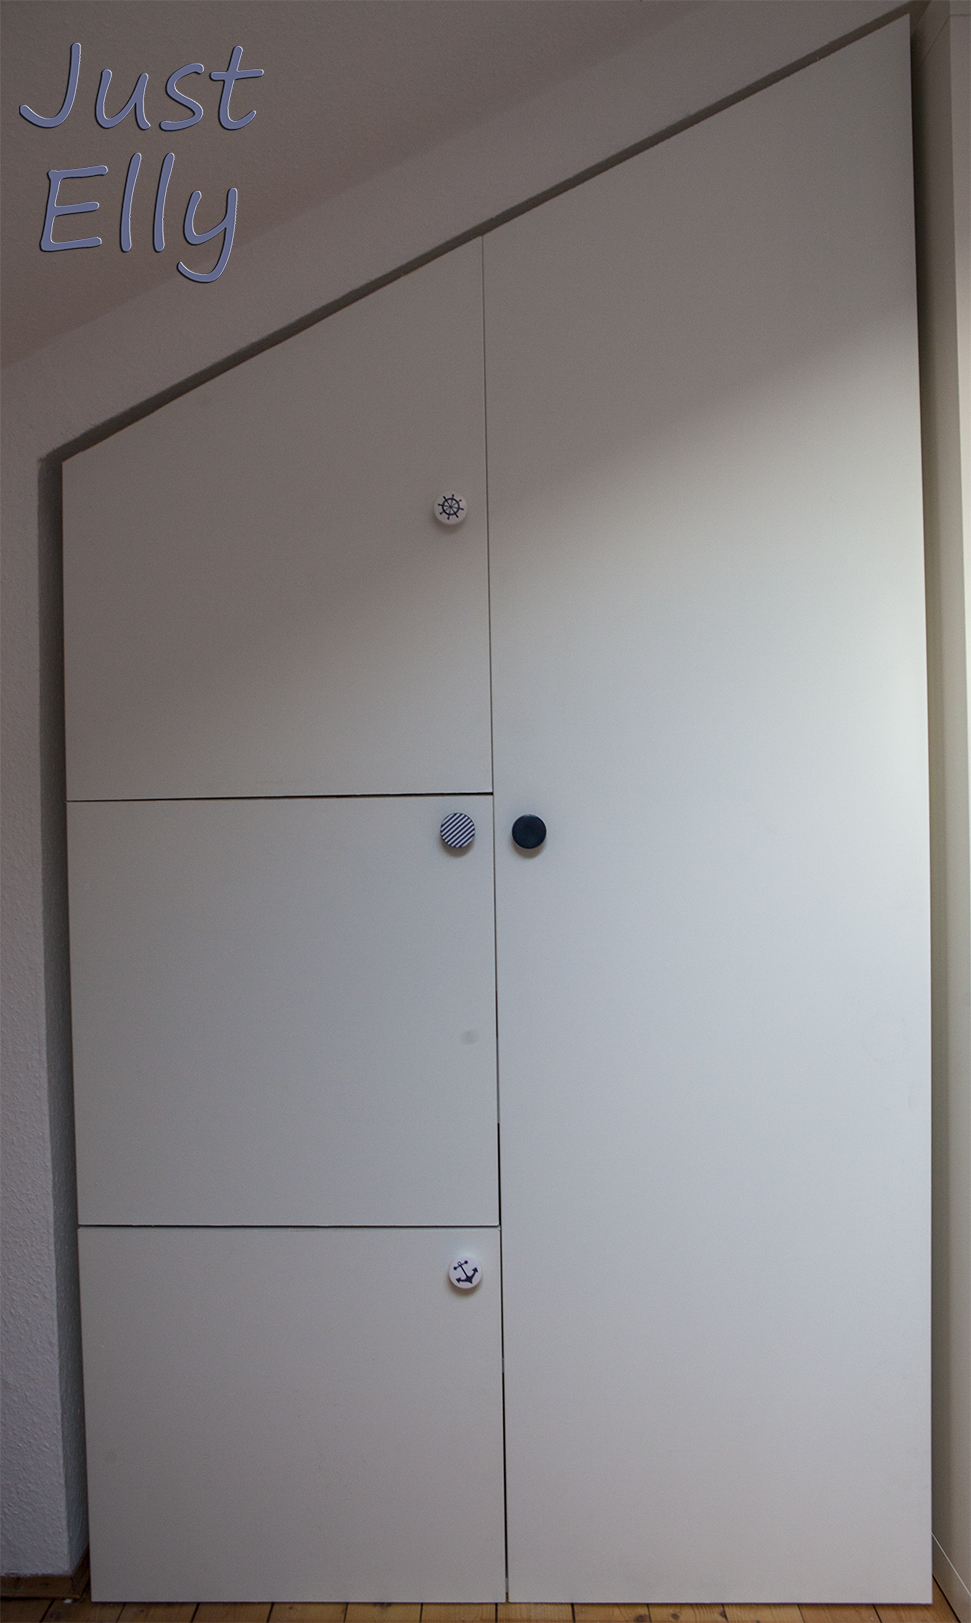
I live in a small apartment with a sloping roof. This means that almost all walls are slanted at the top.
Unfortunately, this also means that you can hardly buy any finished furniture. That’s why I taught myself to build my furniture to match my apartment.
Today I describe how I built myself a bench under the window…

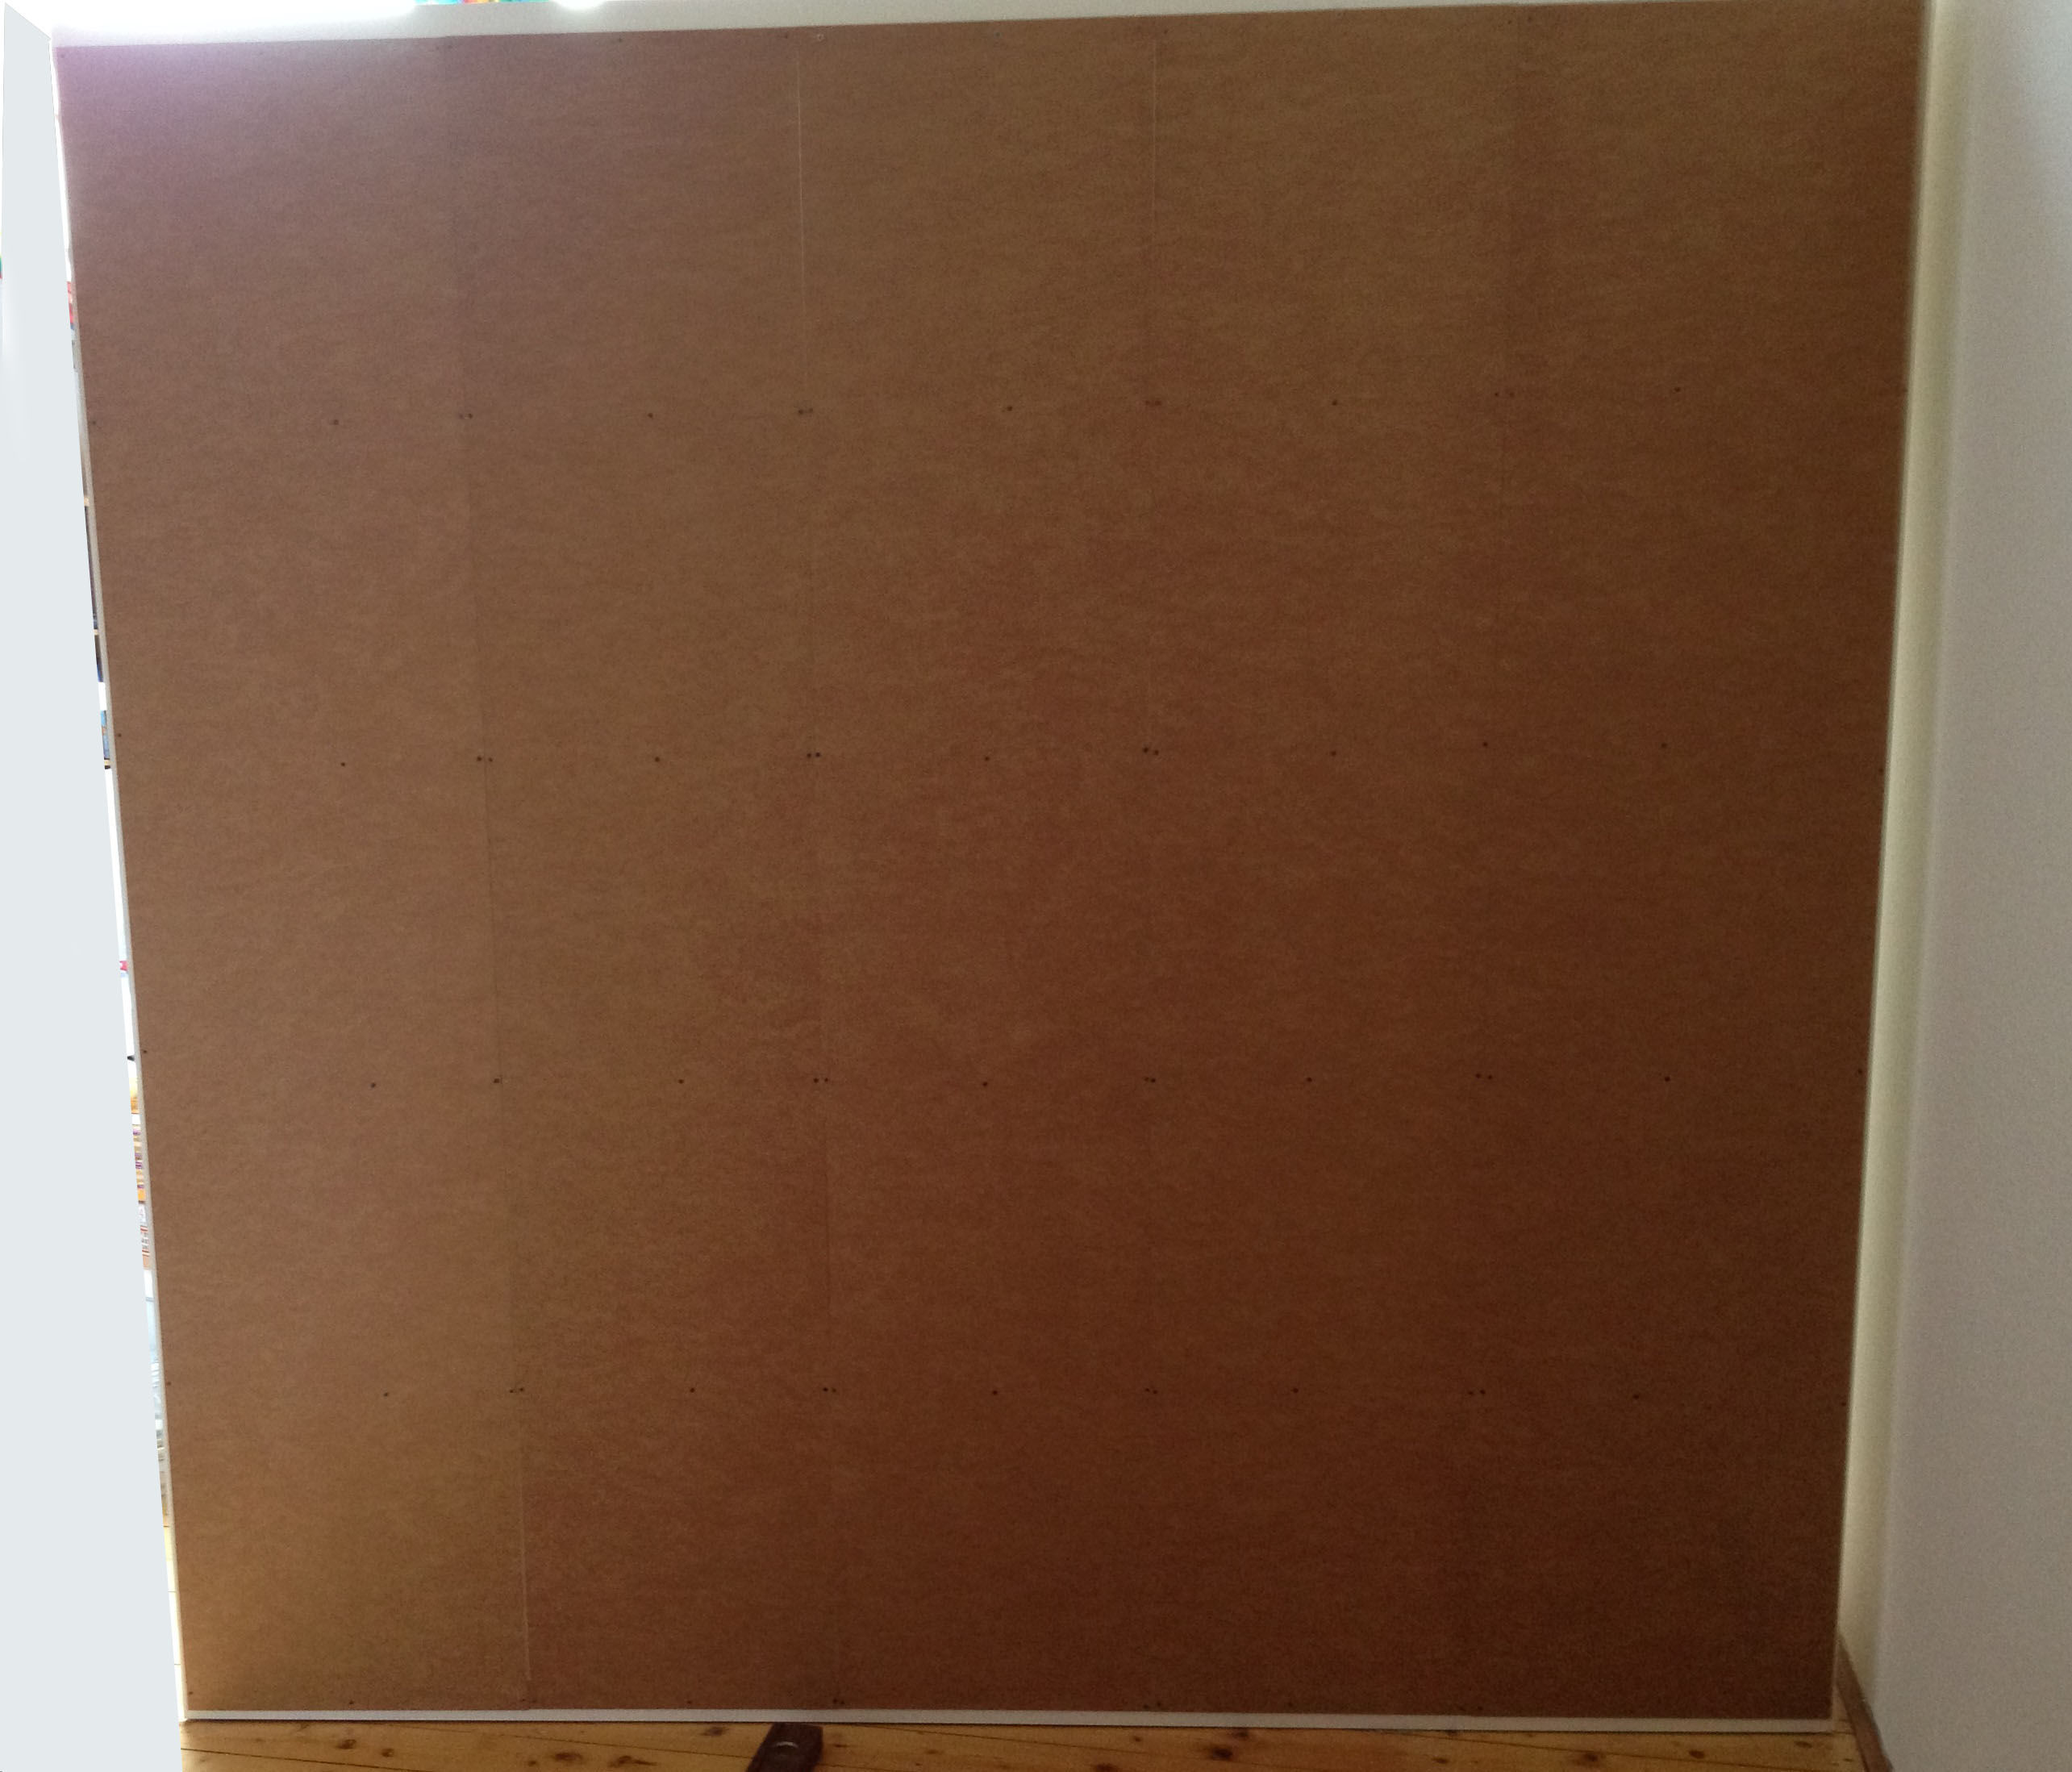
First you have to measure the place very accurately. And I mean VERY EXACTLY!!!
I used a laser measuring tool for this.

For the height, I calculated about 15 – 16 inch including the seat cushion.

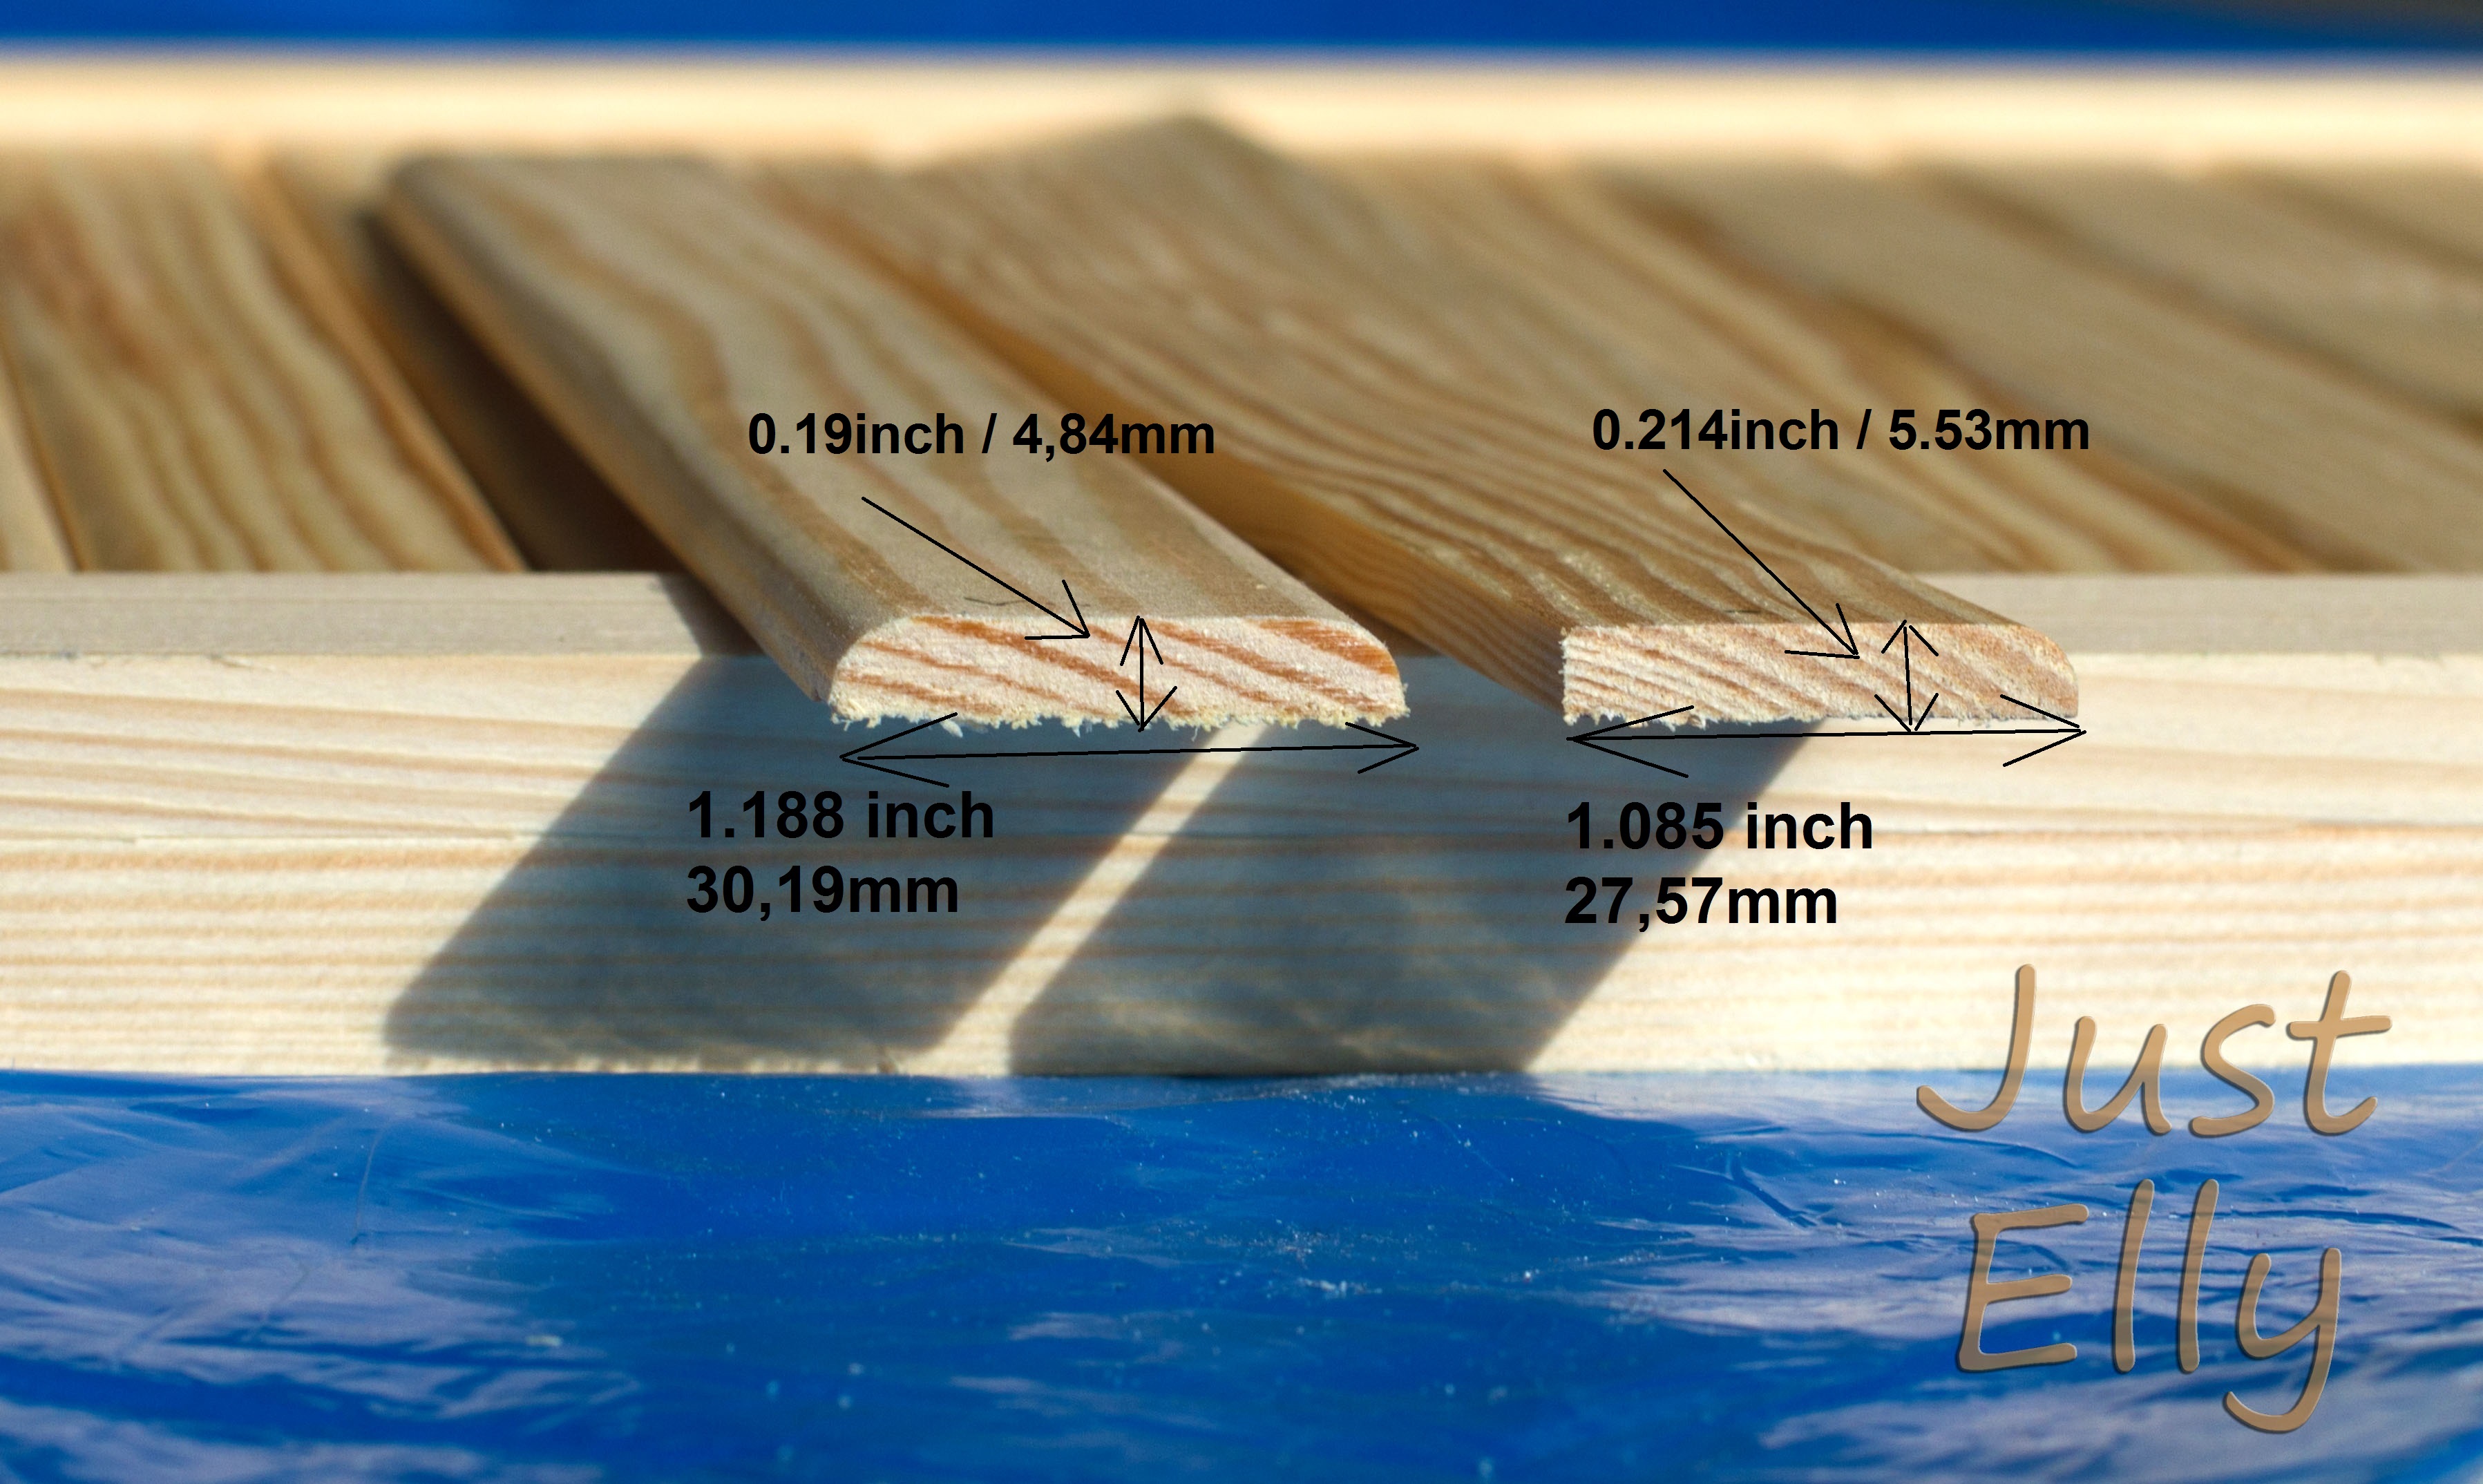
Then you buy the wood panels you need. For the sides, the back and the bottom I used laminated panels. For the top and the front I used spruce or fir. I don’t remember because I made the window seat months ago and I’m just posting now. I bought the wood panels in a shop that had sawn the wooden panels according to my wishes.

_MG_9749

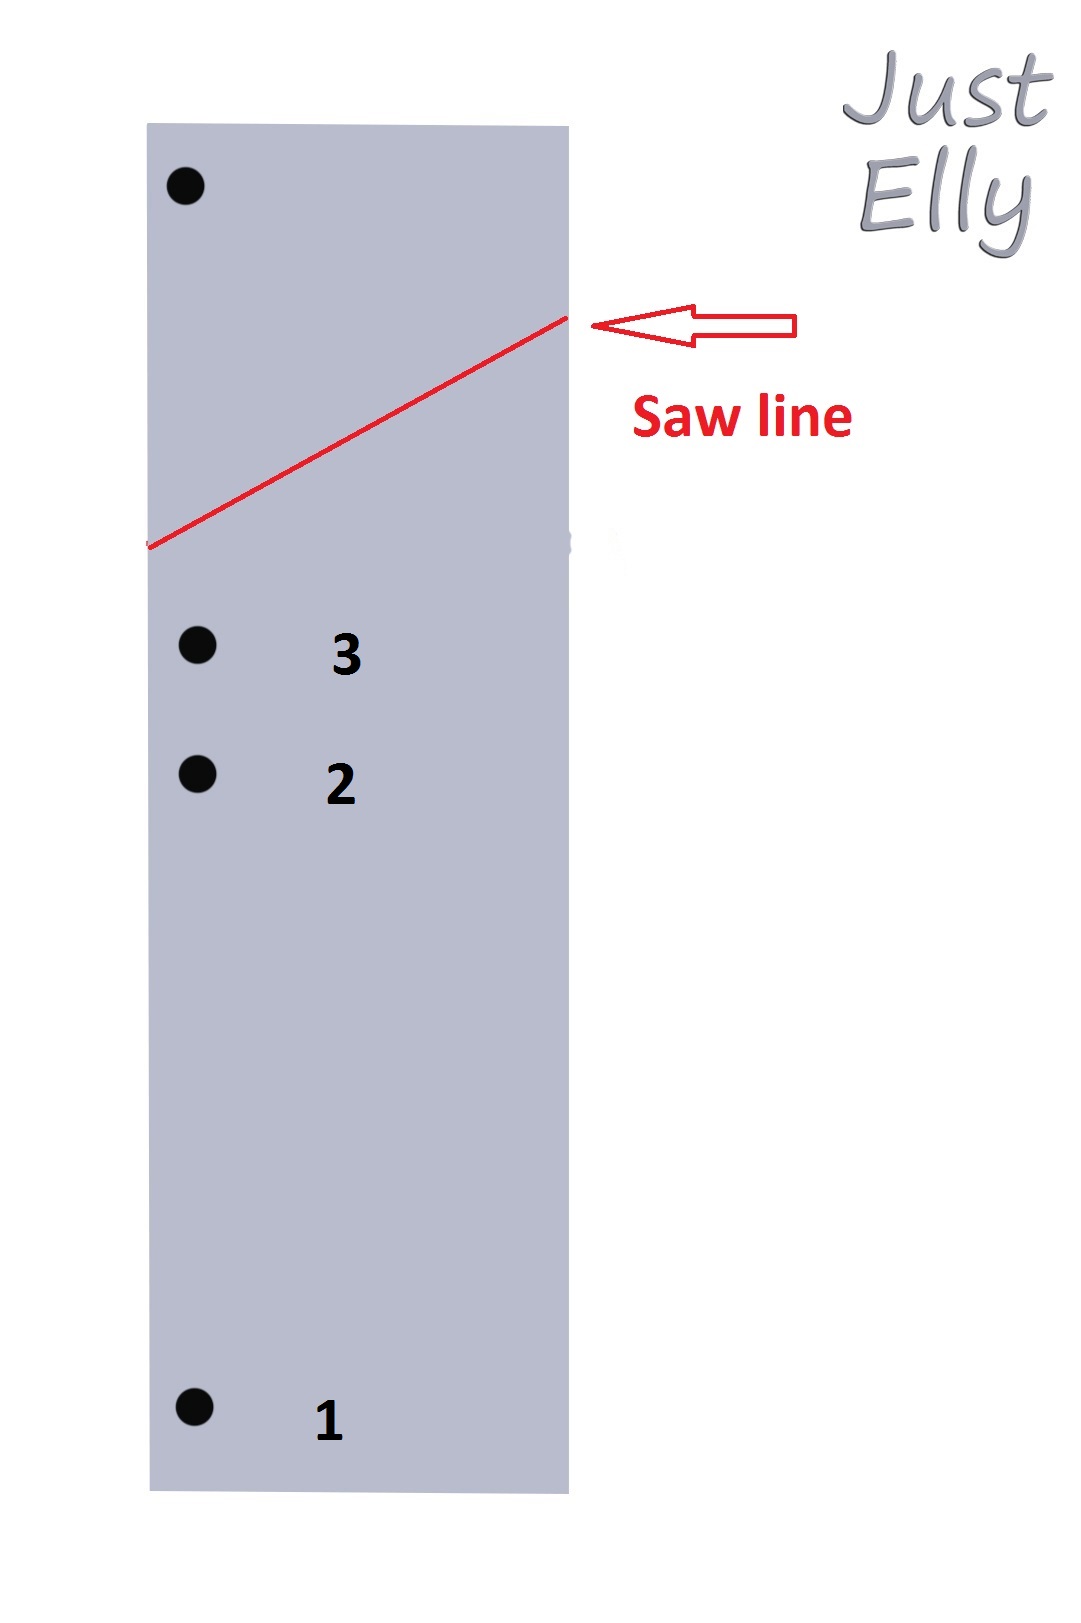
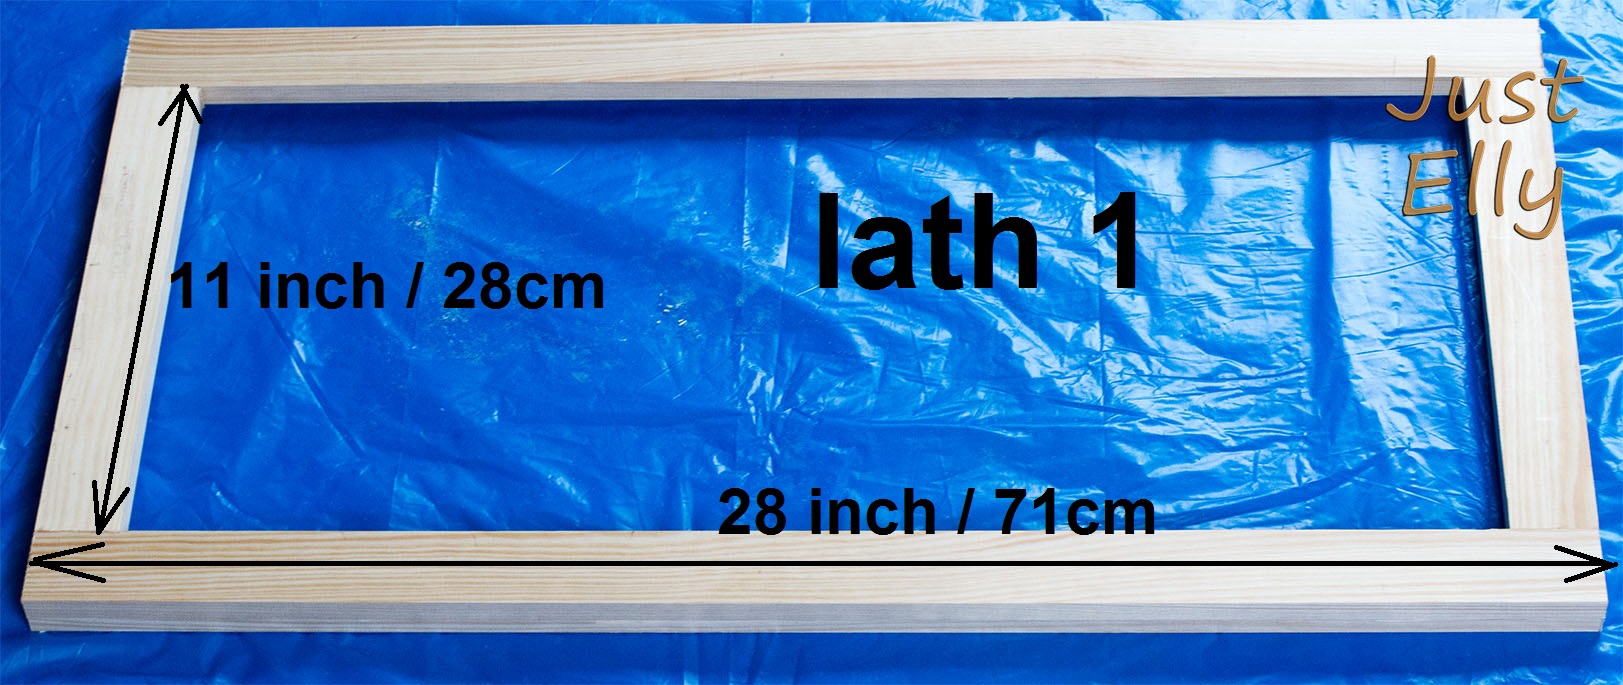
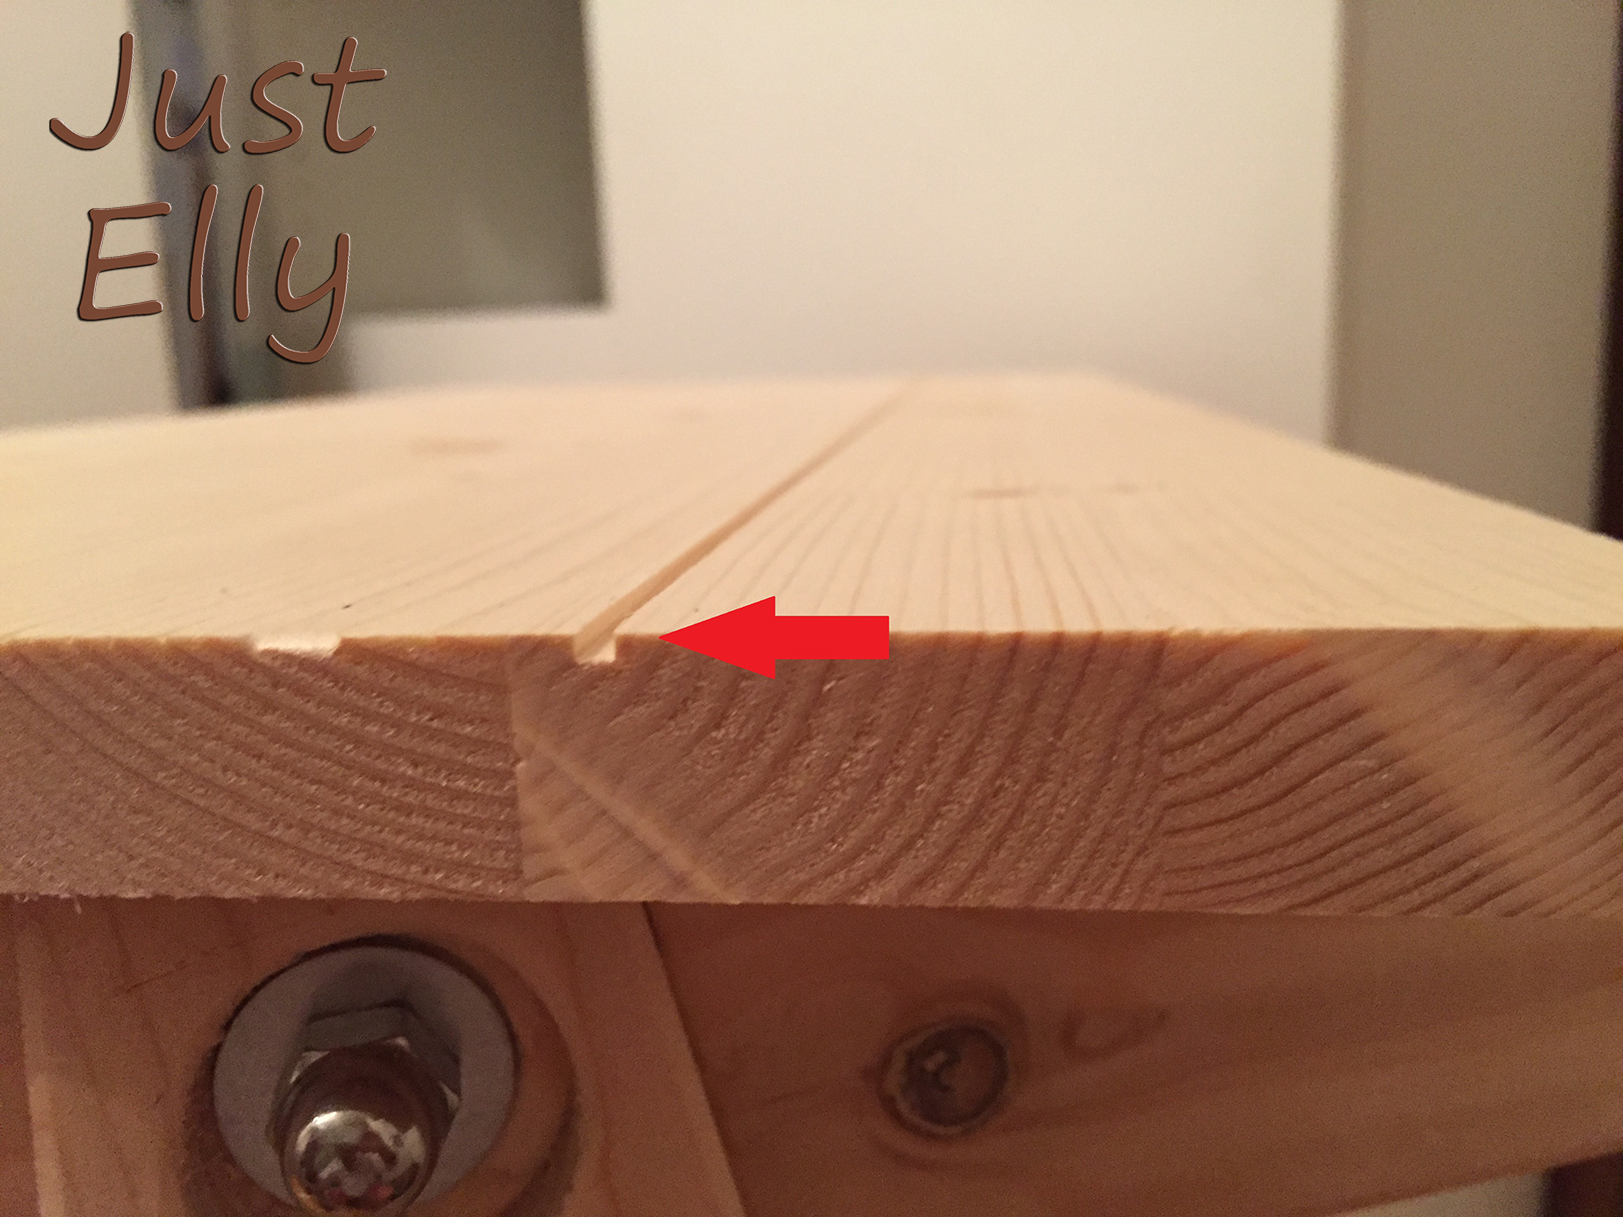
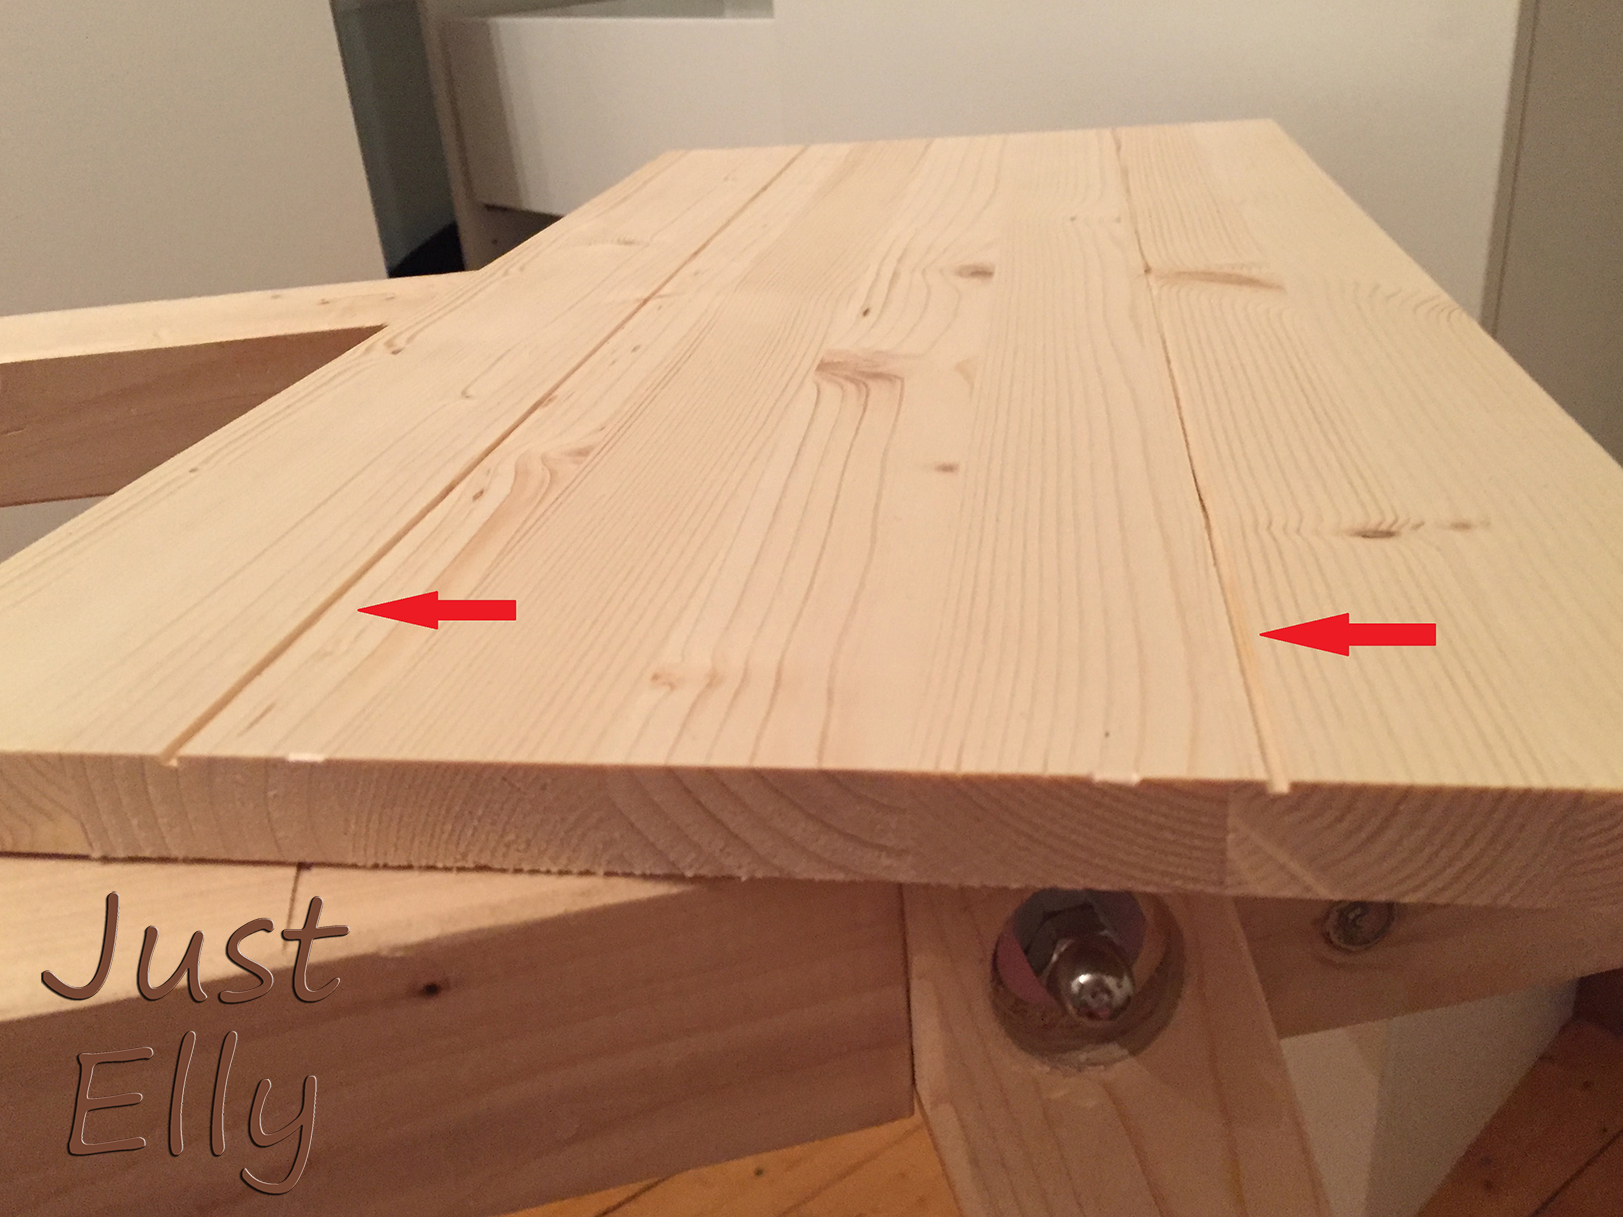
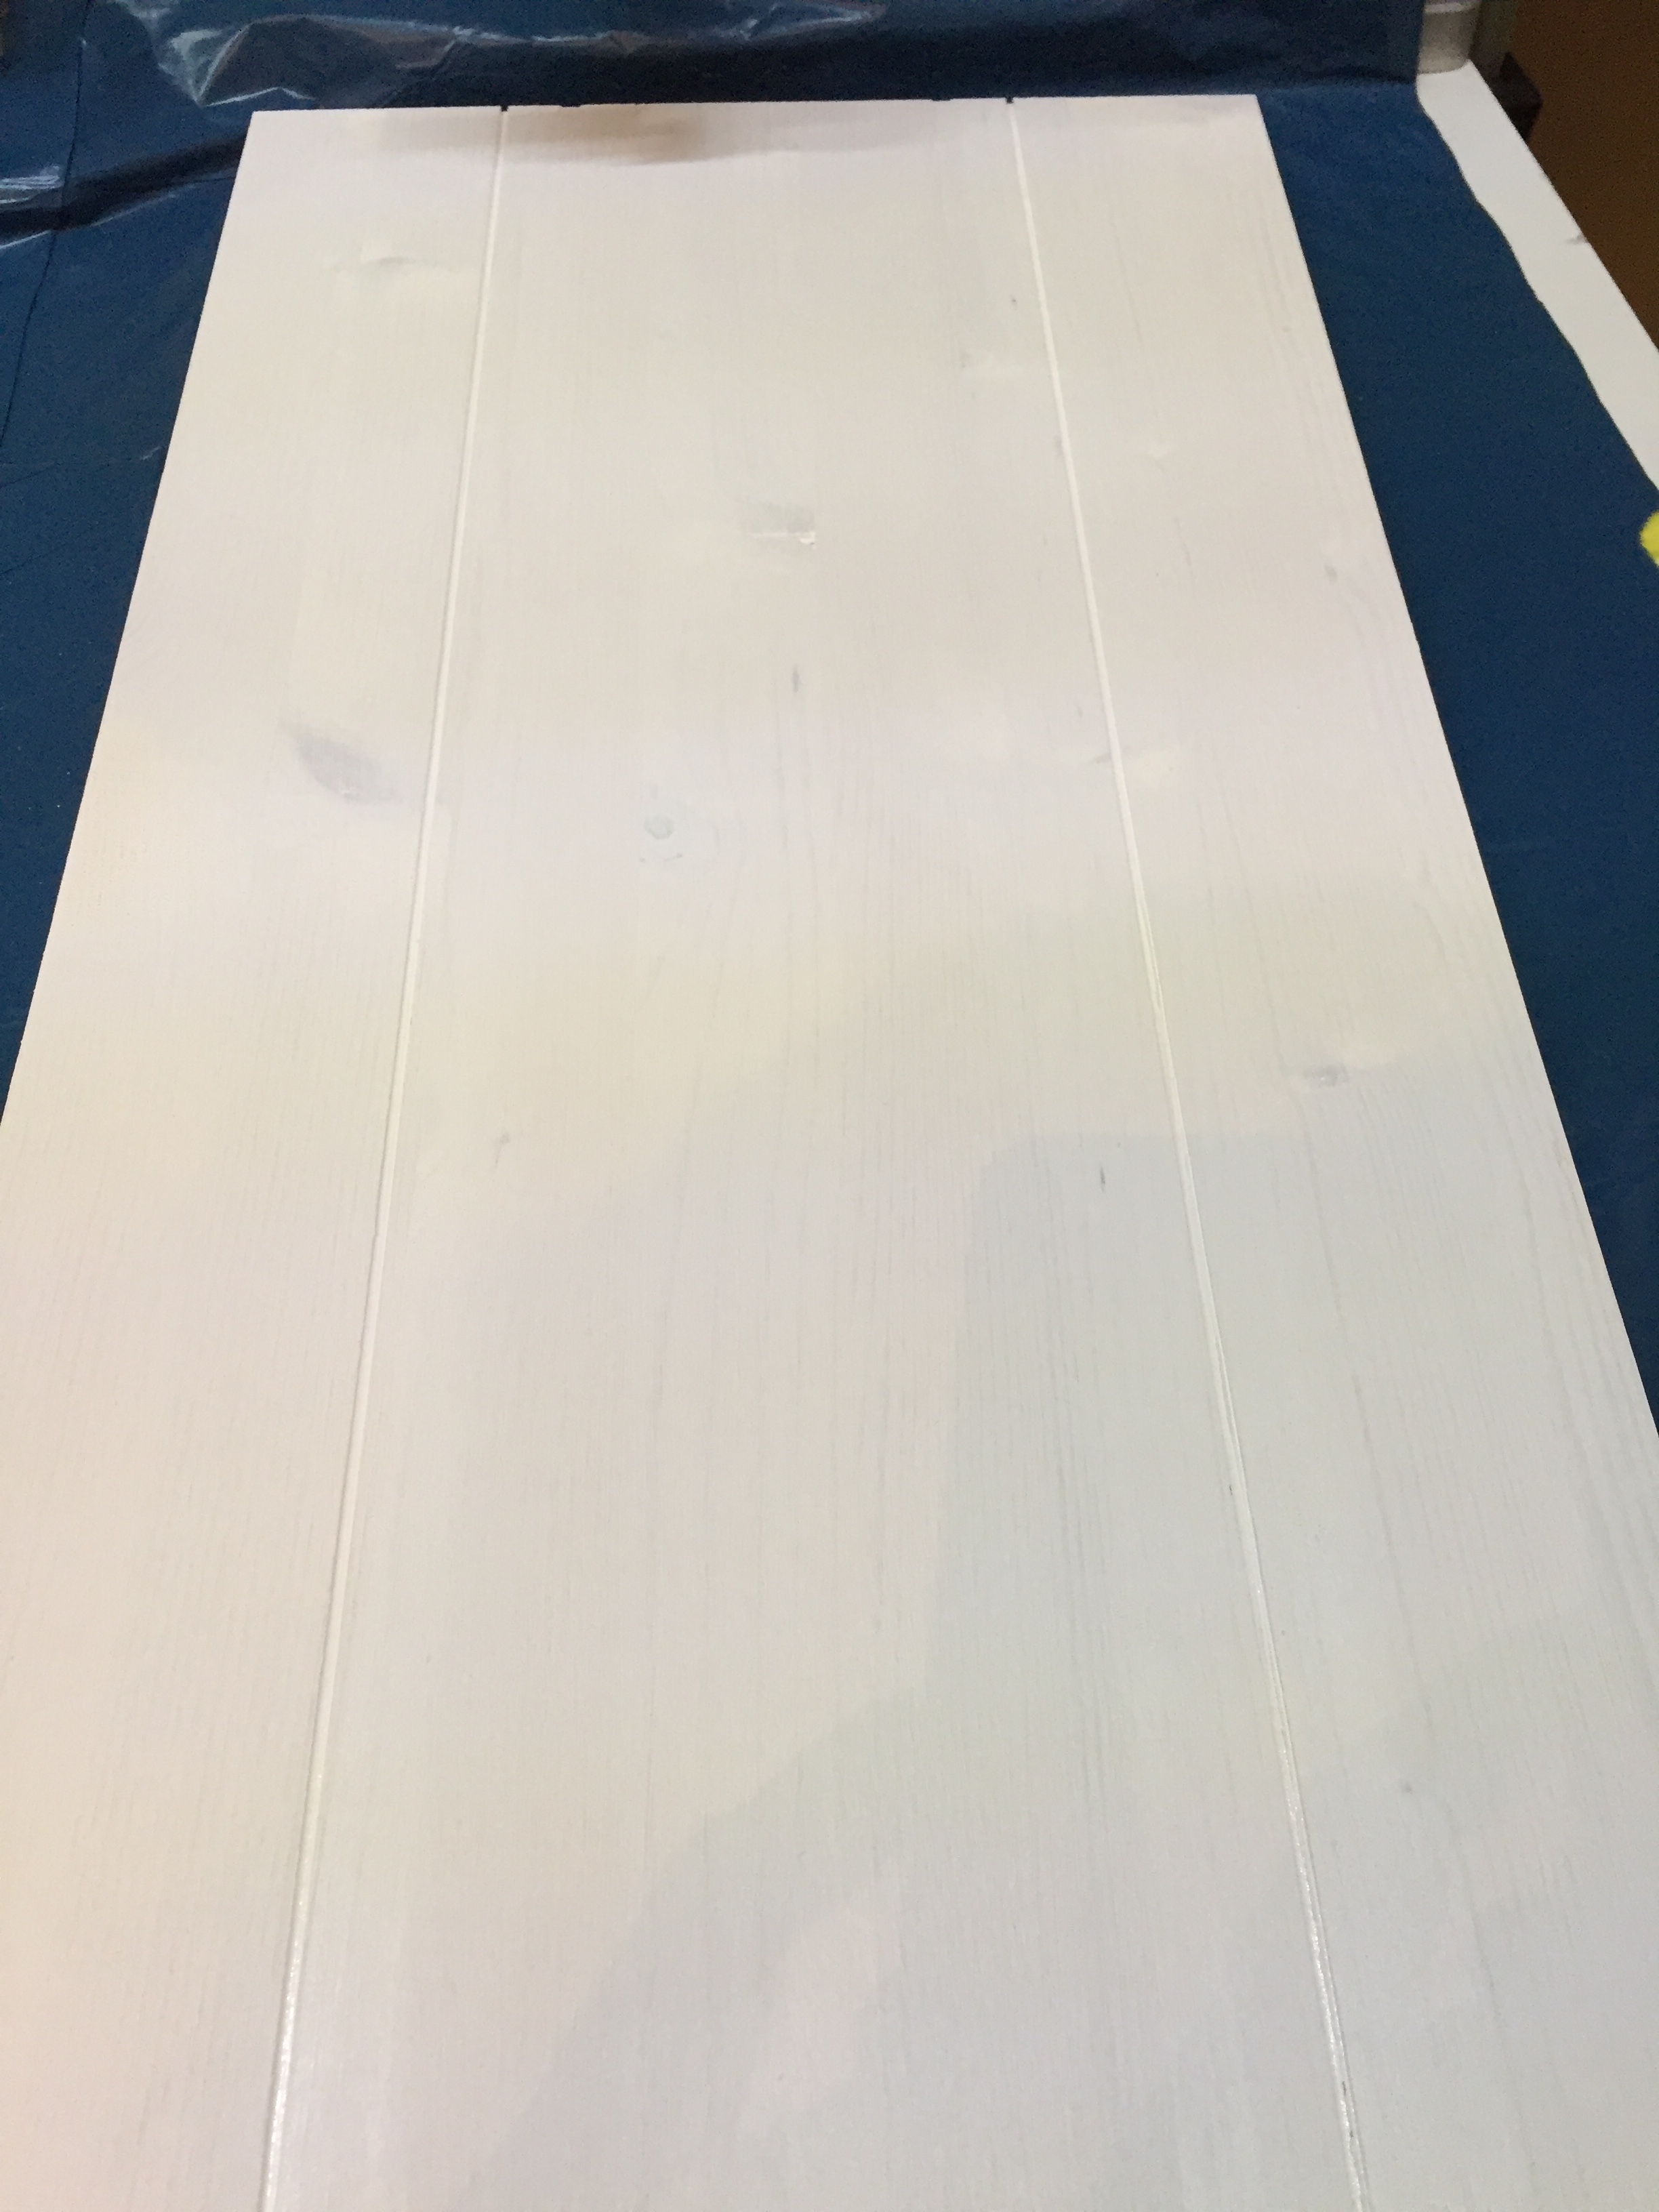
I started with the wooden front.

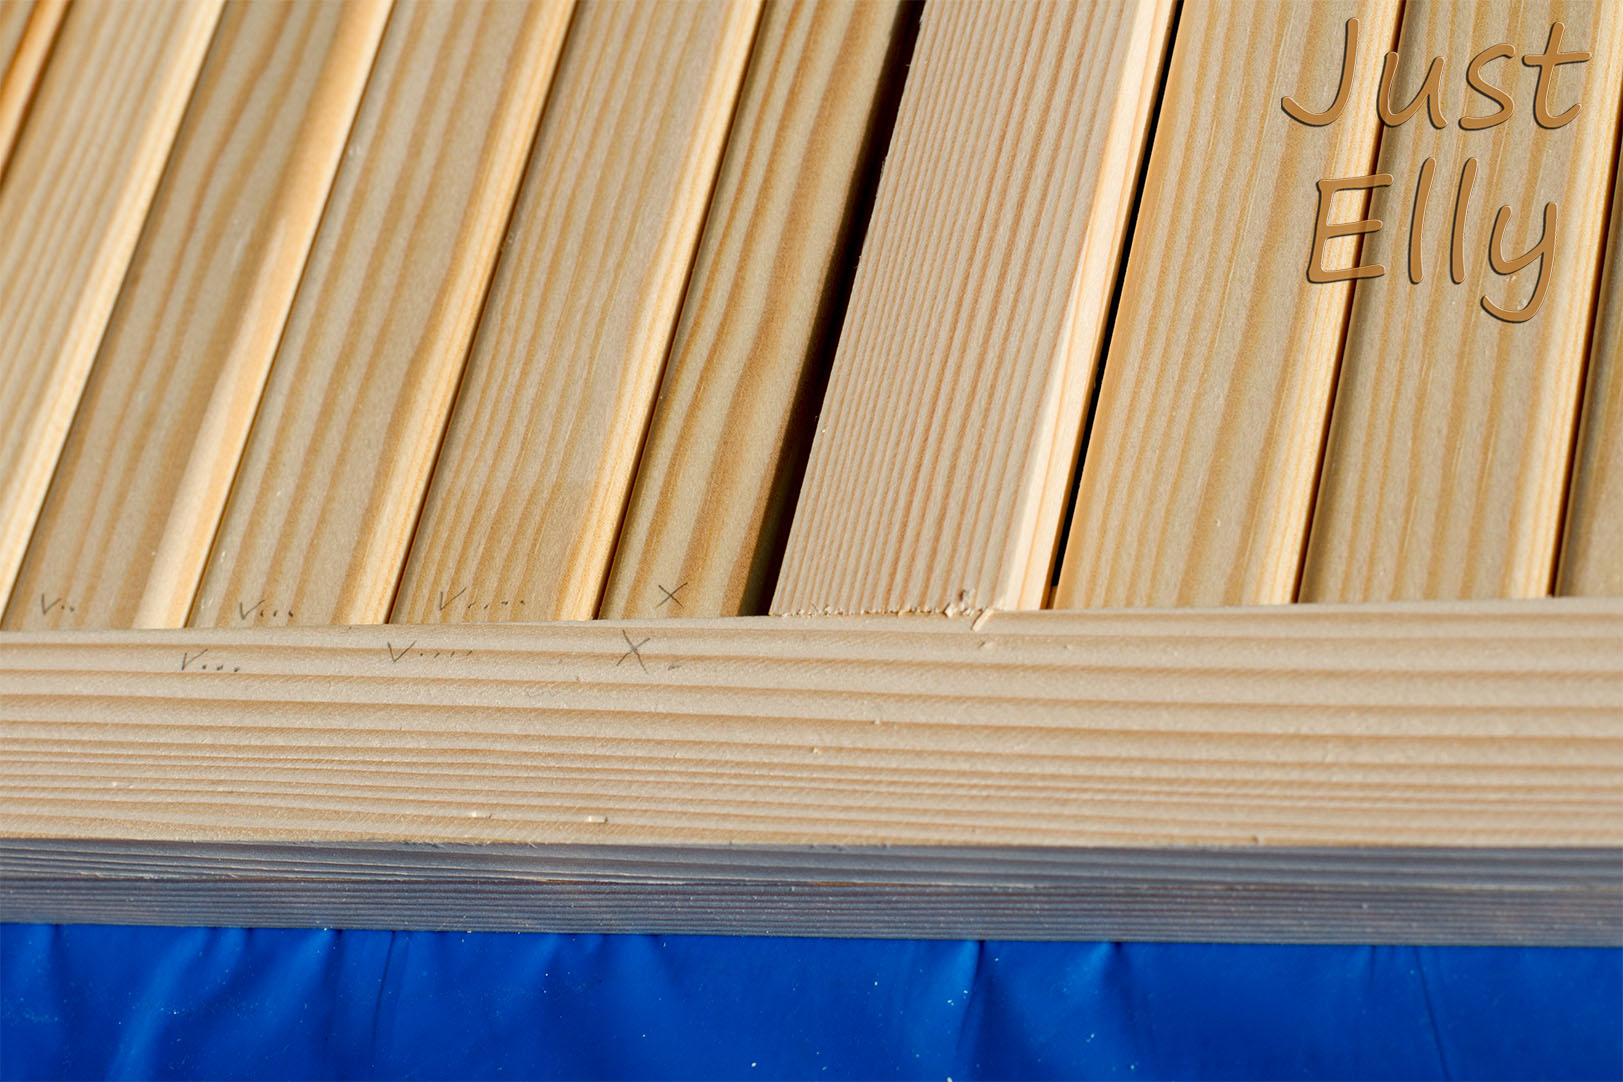
I wanted the front to look like it was made of three pieces. That’s why I sawed 2 lines into each front piece with my saw.

IMG_1131

IMG_1136

IMG_1134

I wanted the window seat to turn white, but no bright white. And I wanted to use chalk paint because it looks so matt. On the Internet I found a retailer in the Netherlands who had sold chalk paint white as “historical white”.
I had a little sample sent to see if I liked the color. The color was perfect for me.

_MG_9865

IMG_1148

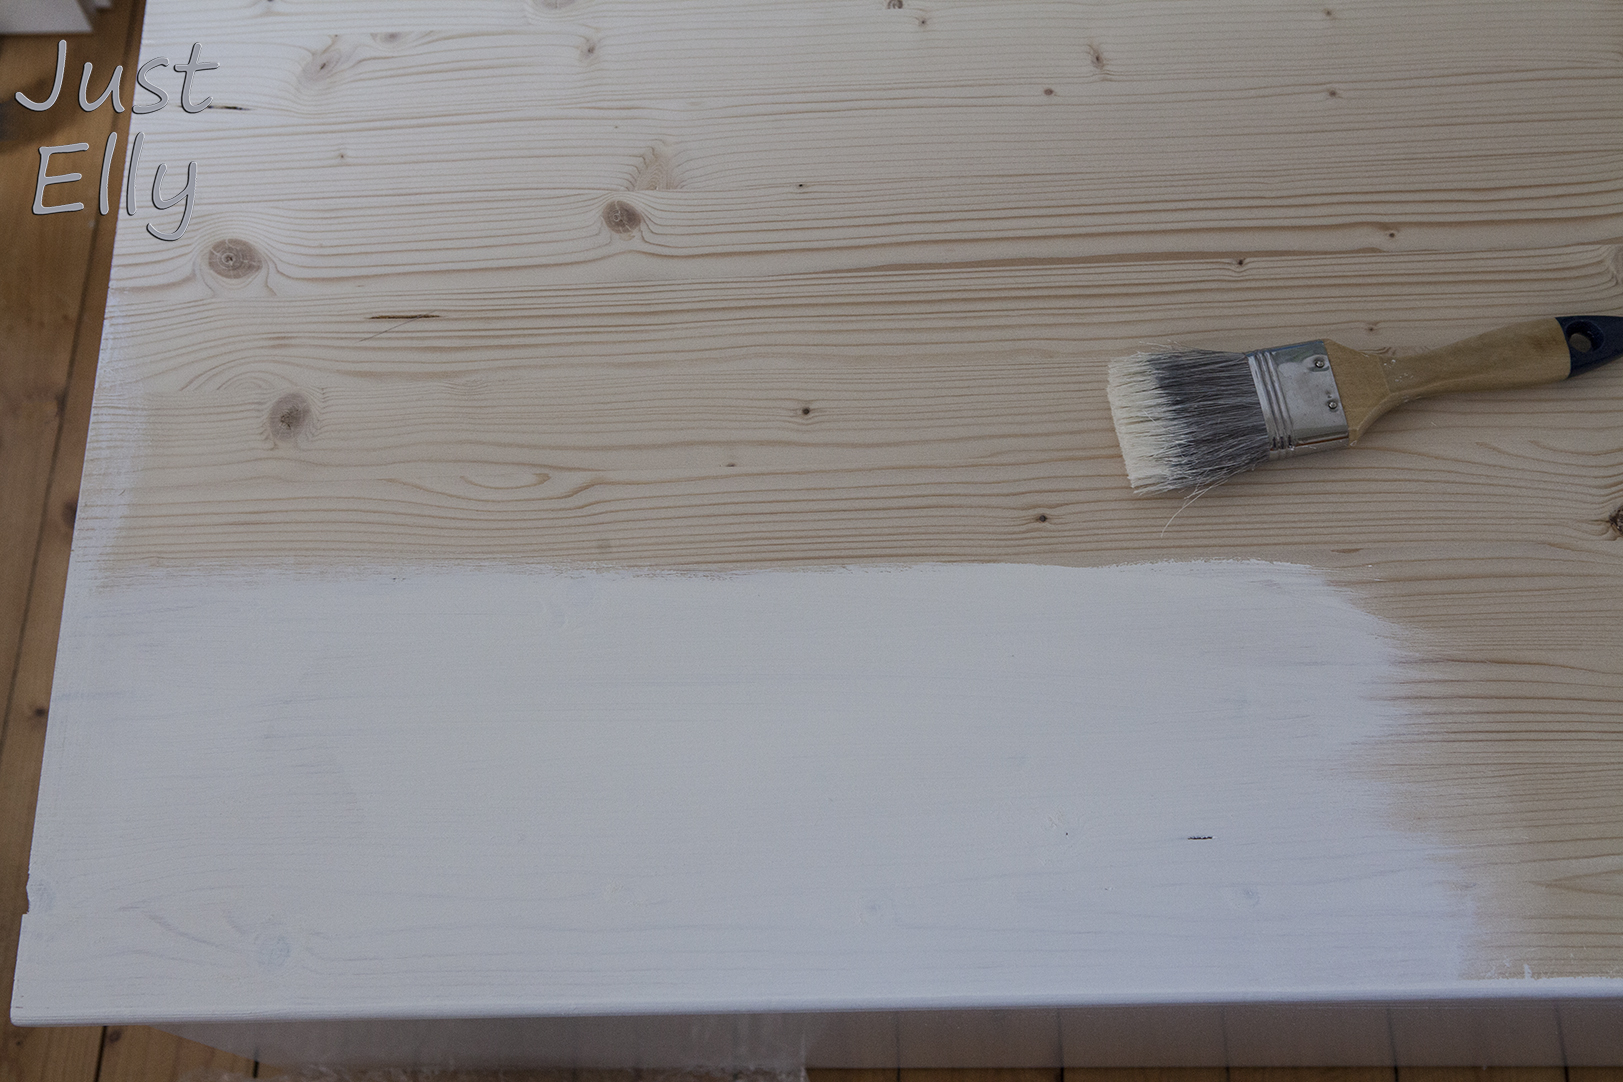
Sand between each coat after the paint has dried.

_MG_9844

Also paint the lid with the chalk paint. I painted the front and lid 3 times so that the white completely covers the wood colour.

Finally, you have to seal the paint.

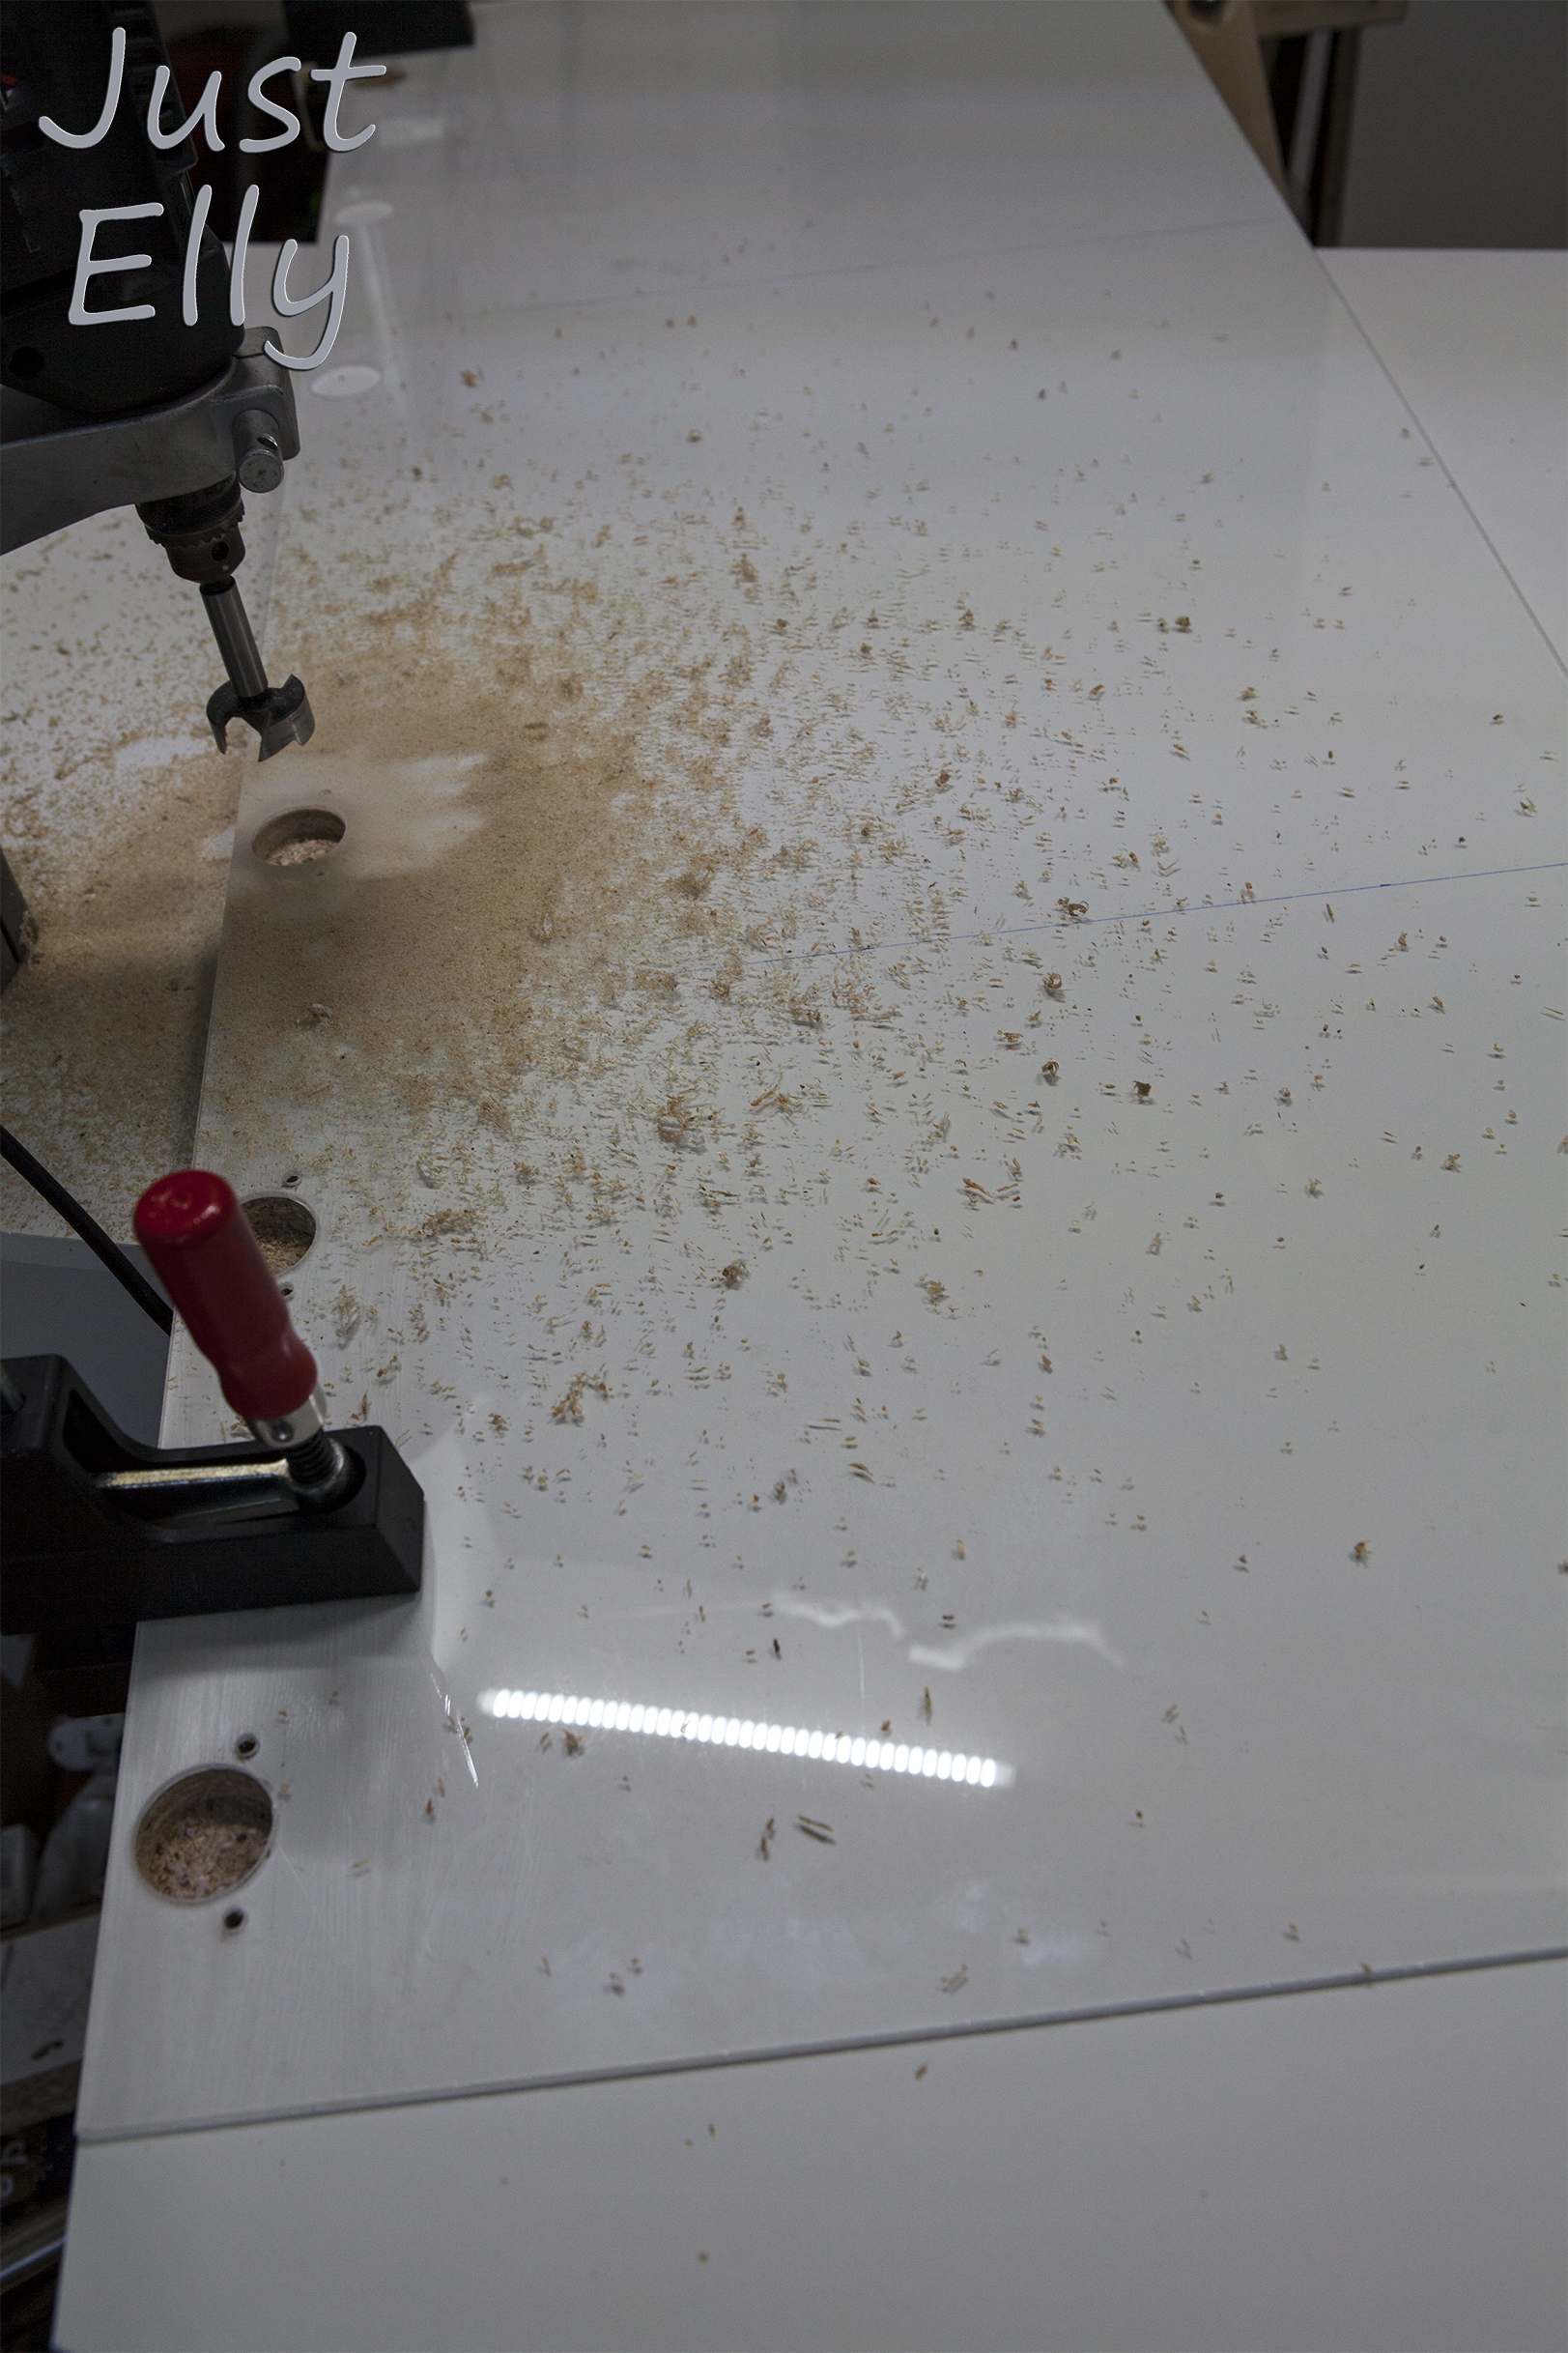
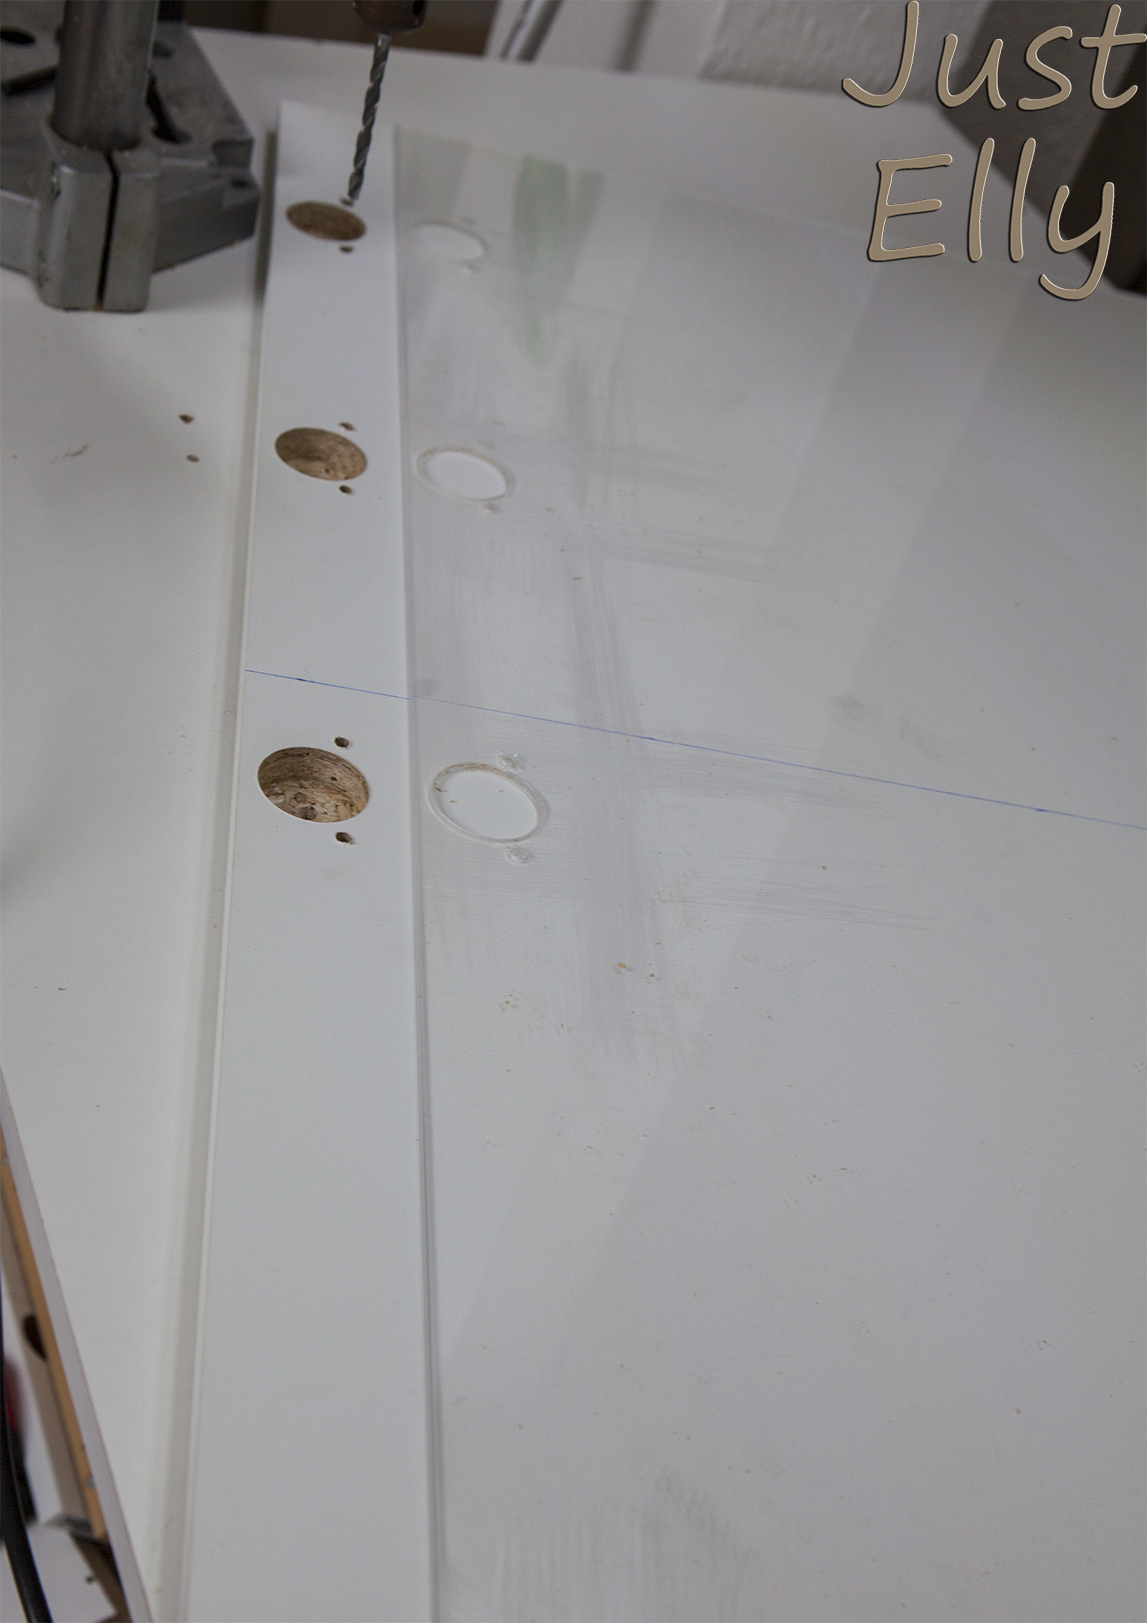
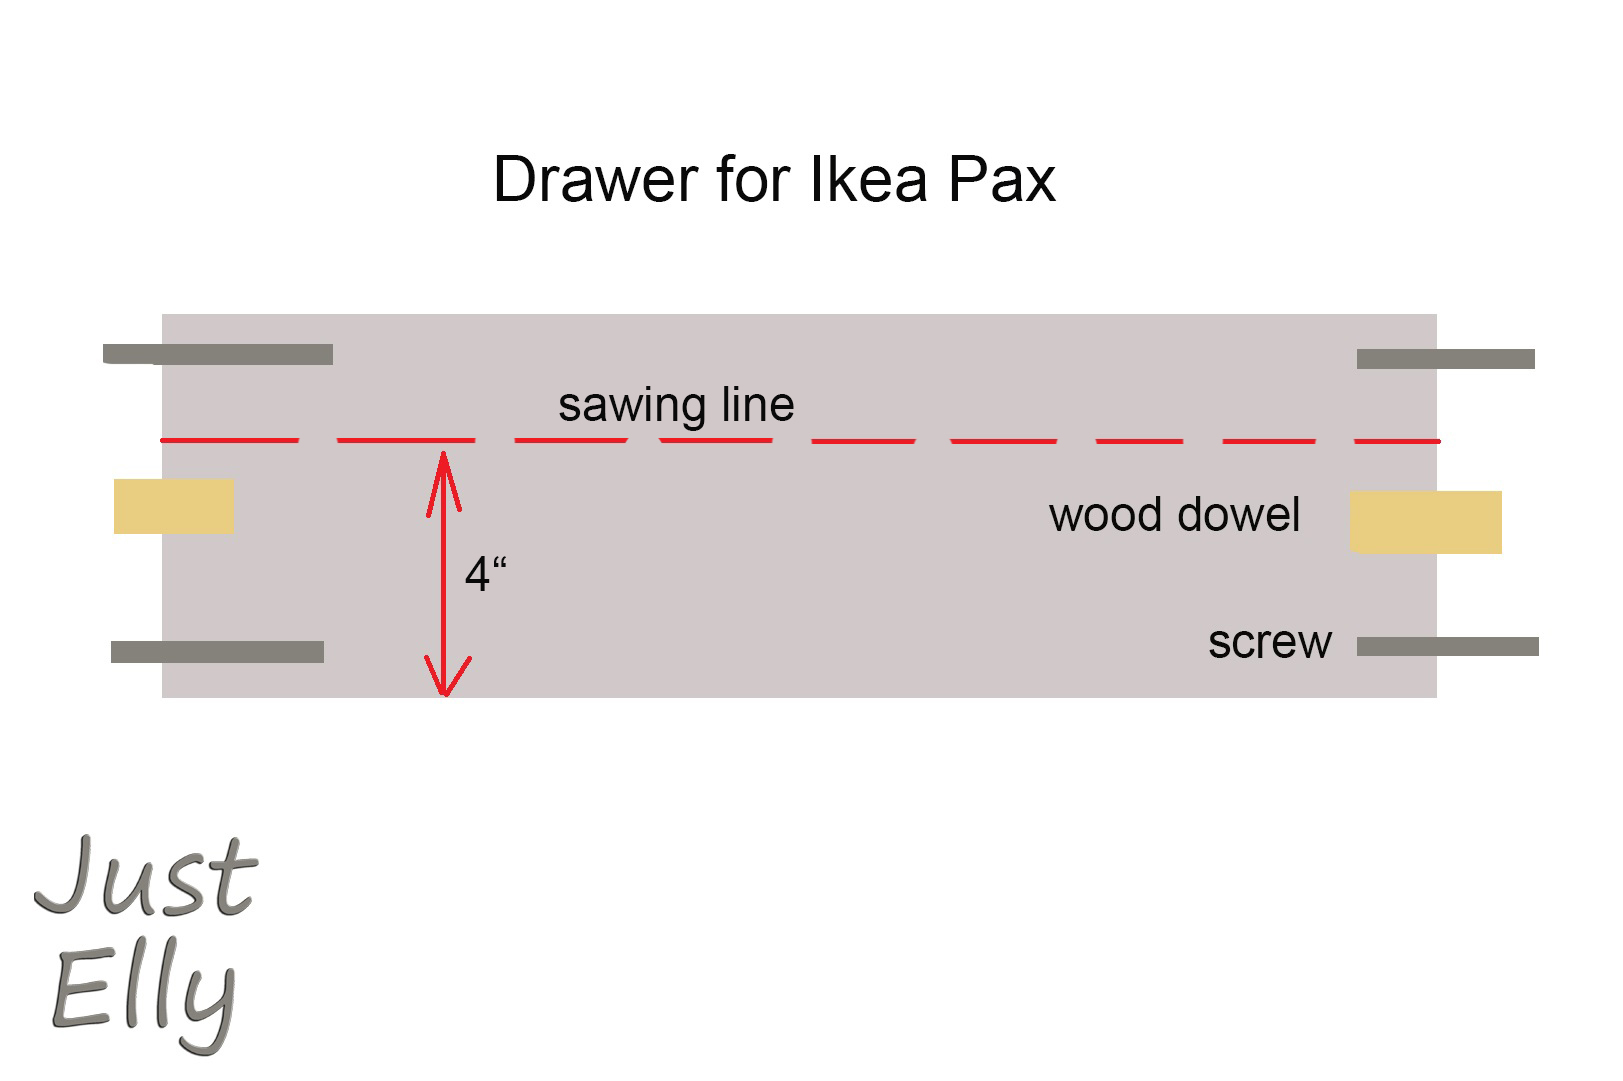
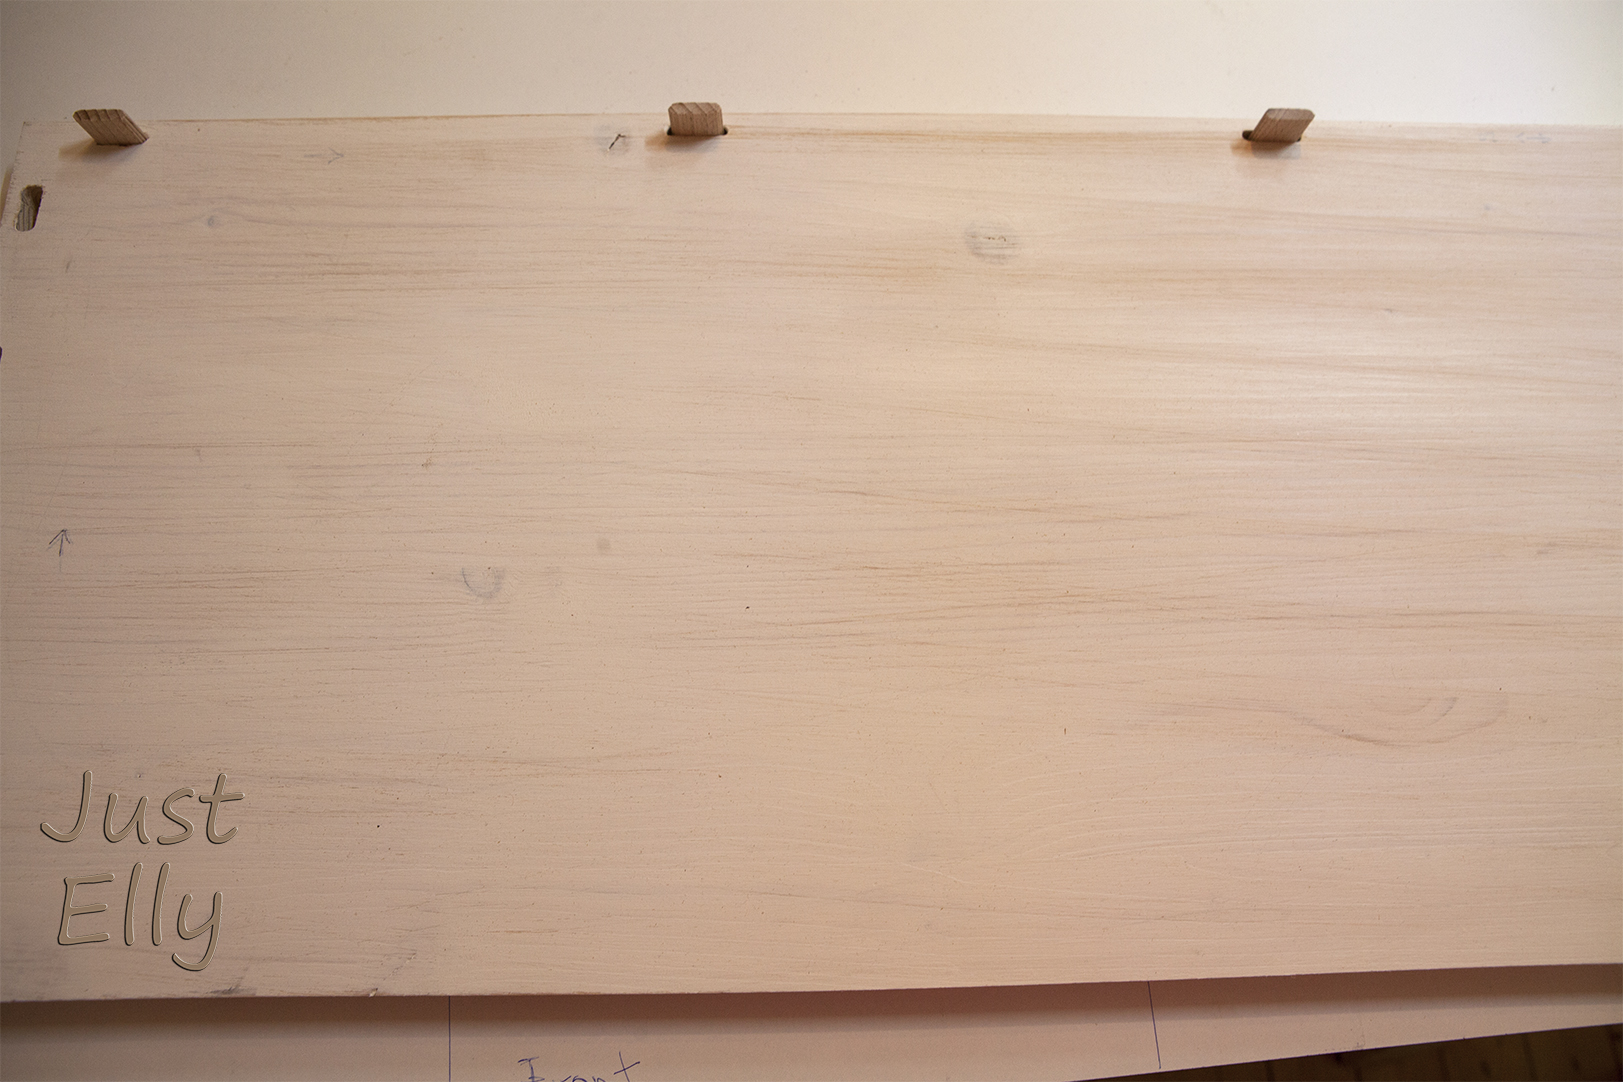
The next step is to dowel the sides and the bottom together. I started with the front, then the two sides and finally the back part.

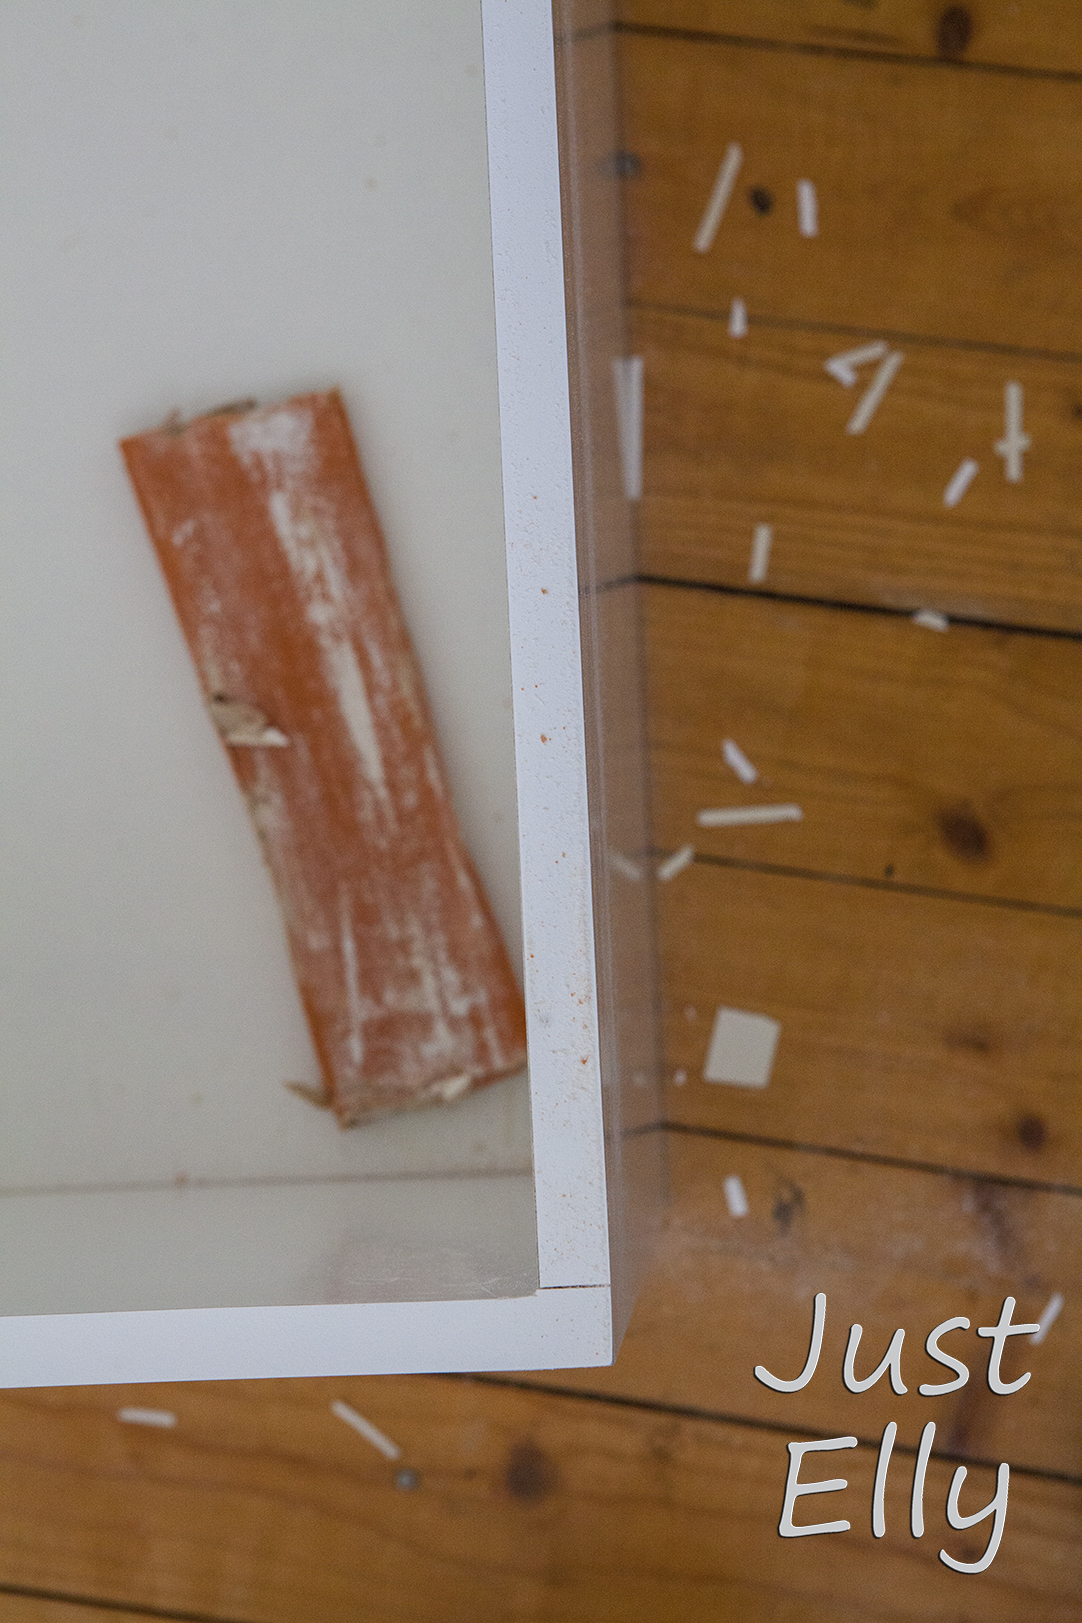
Here you can see what mistake I made in the first part: First I doweled the front part, removed the dowels and then painted the front. What do you want me to say? After drying the paint the dowels didn’t fit anymore and I had to make a new front part.
So first paint the wood and then dowel it!!!!

_MG_9681

_MG_9847

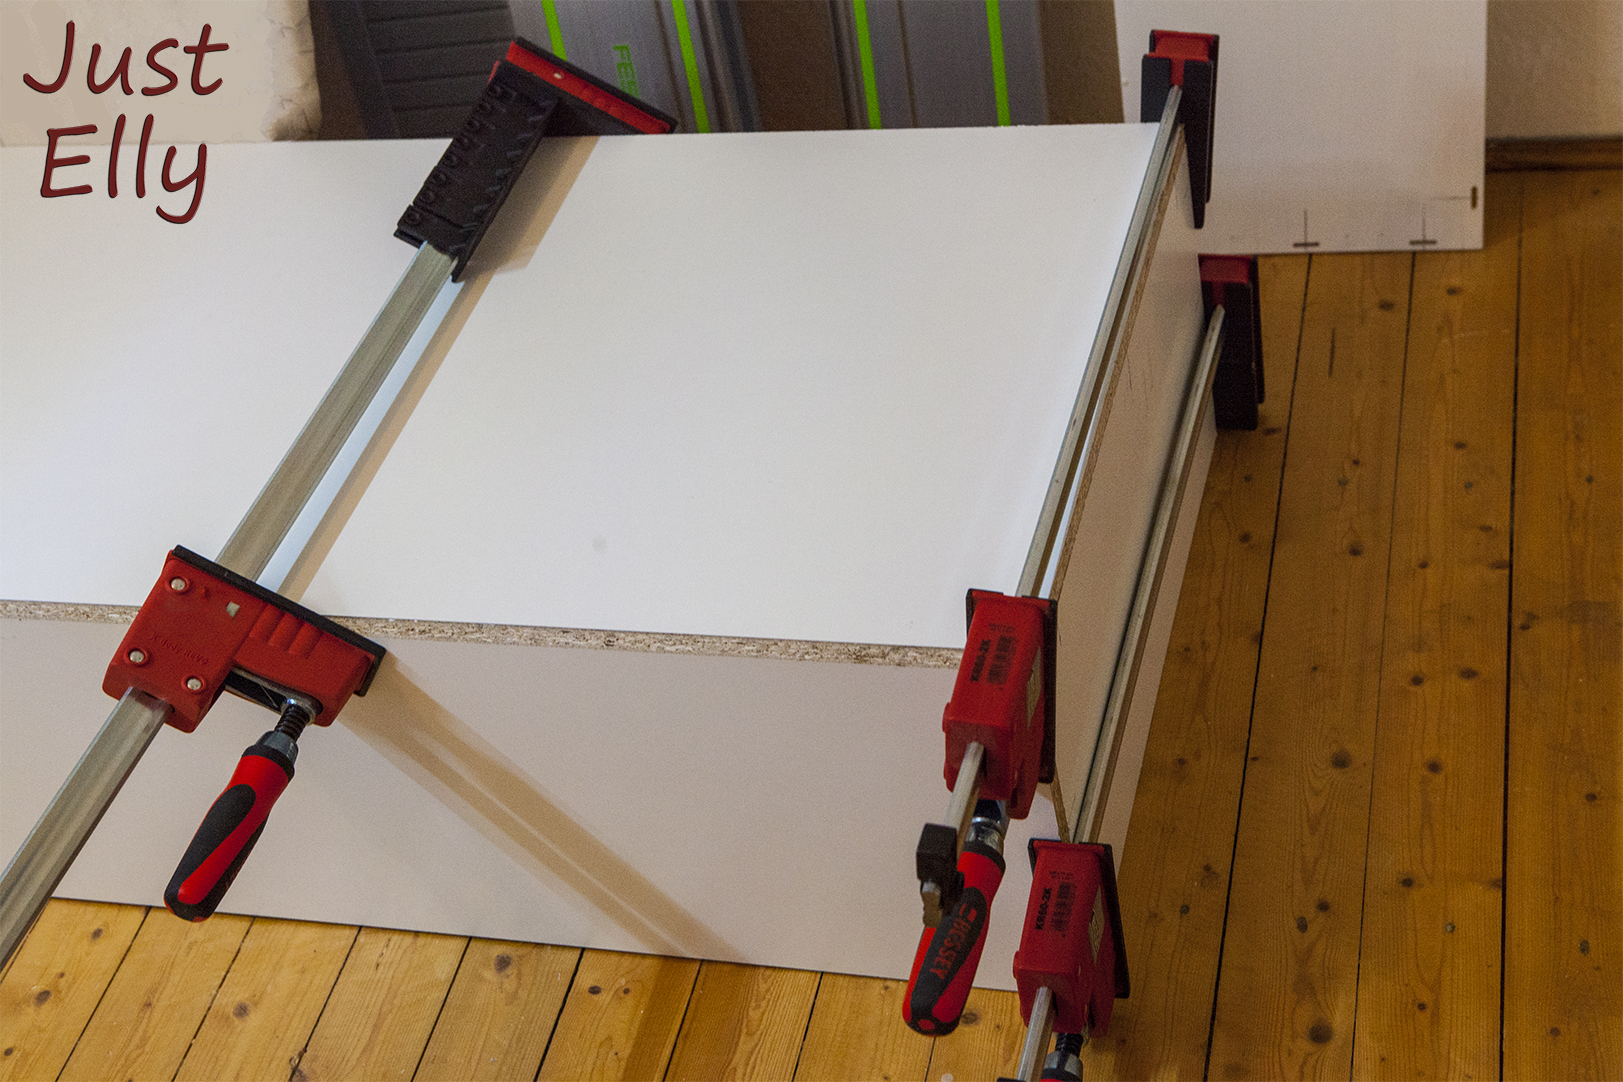
When the glue dried, I strengthened the inside of the seat with metal angles.

_MG_9873

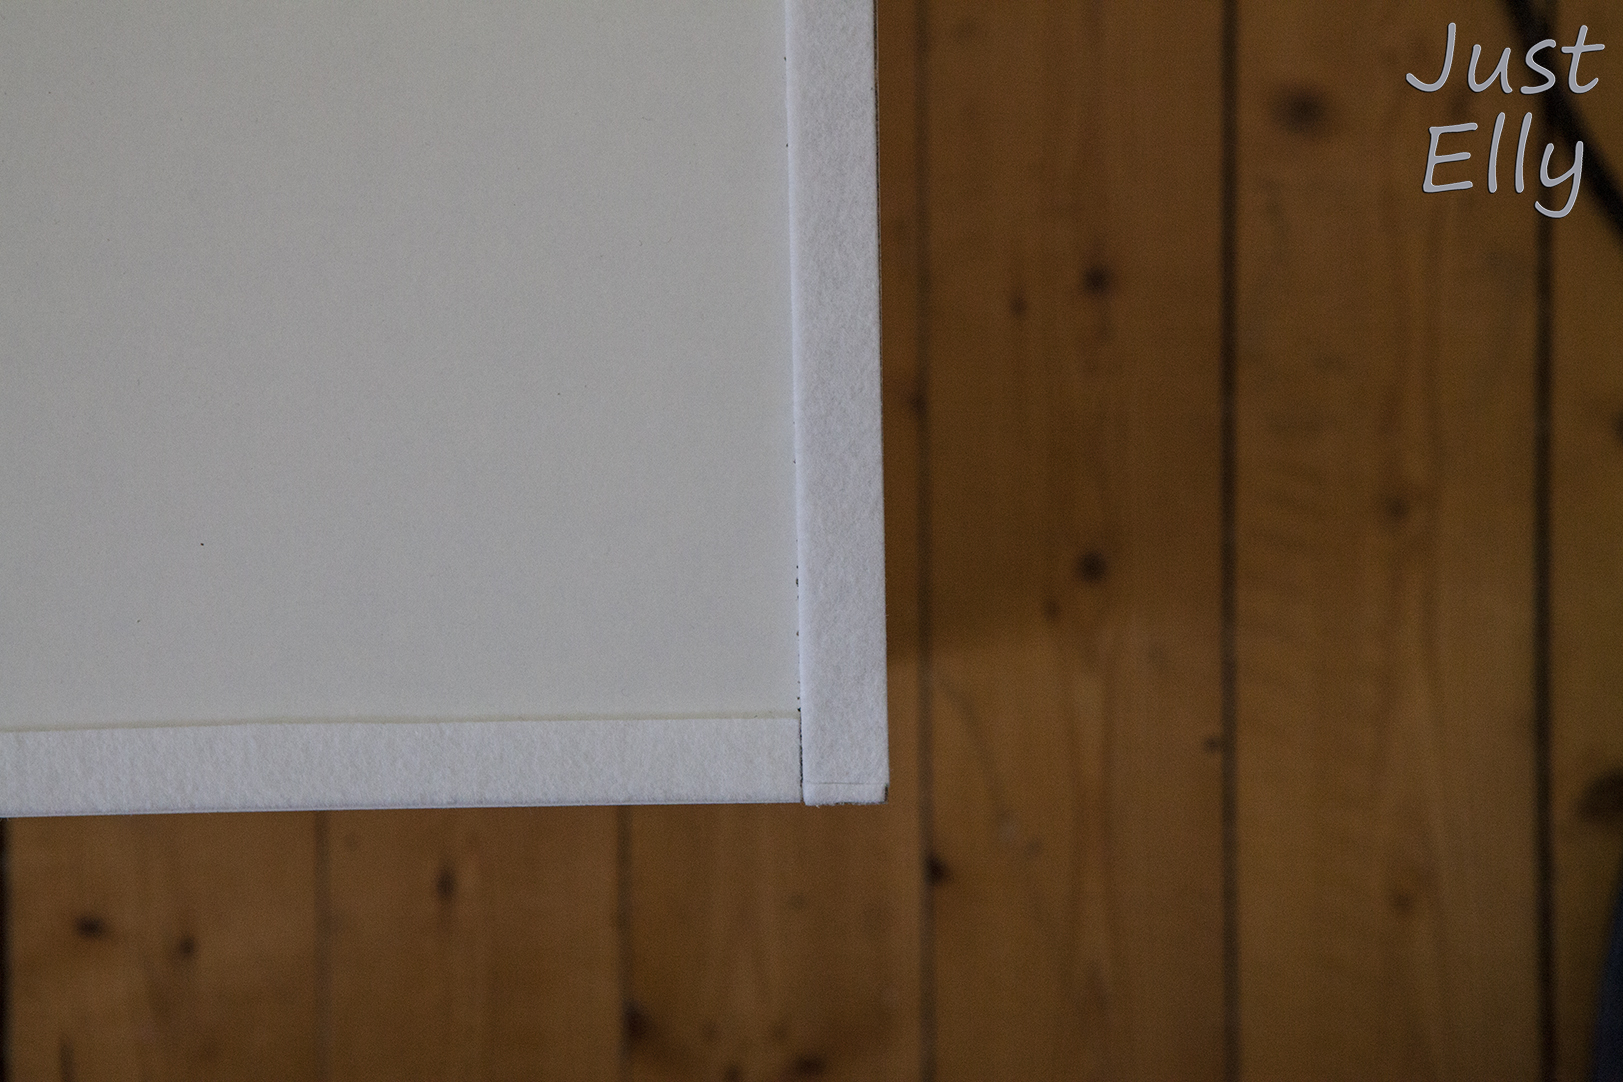
I have glued the edges of the laminated wooden boards with edgings.

_MG_9864

In the hardware store I found protection for the wooden floor that I glued under the seat. I can’t remember what it’s called.

_MG_9767

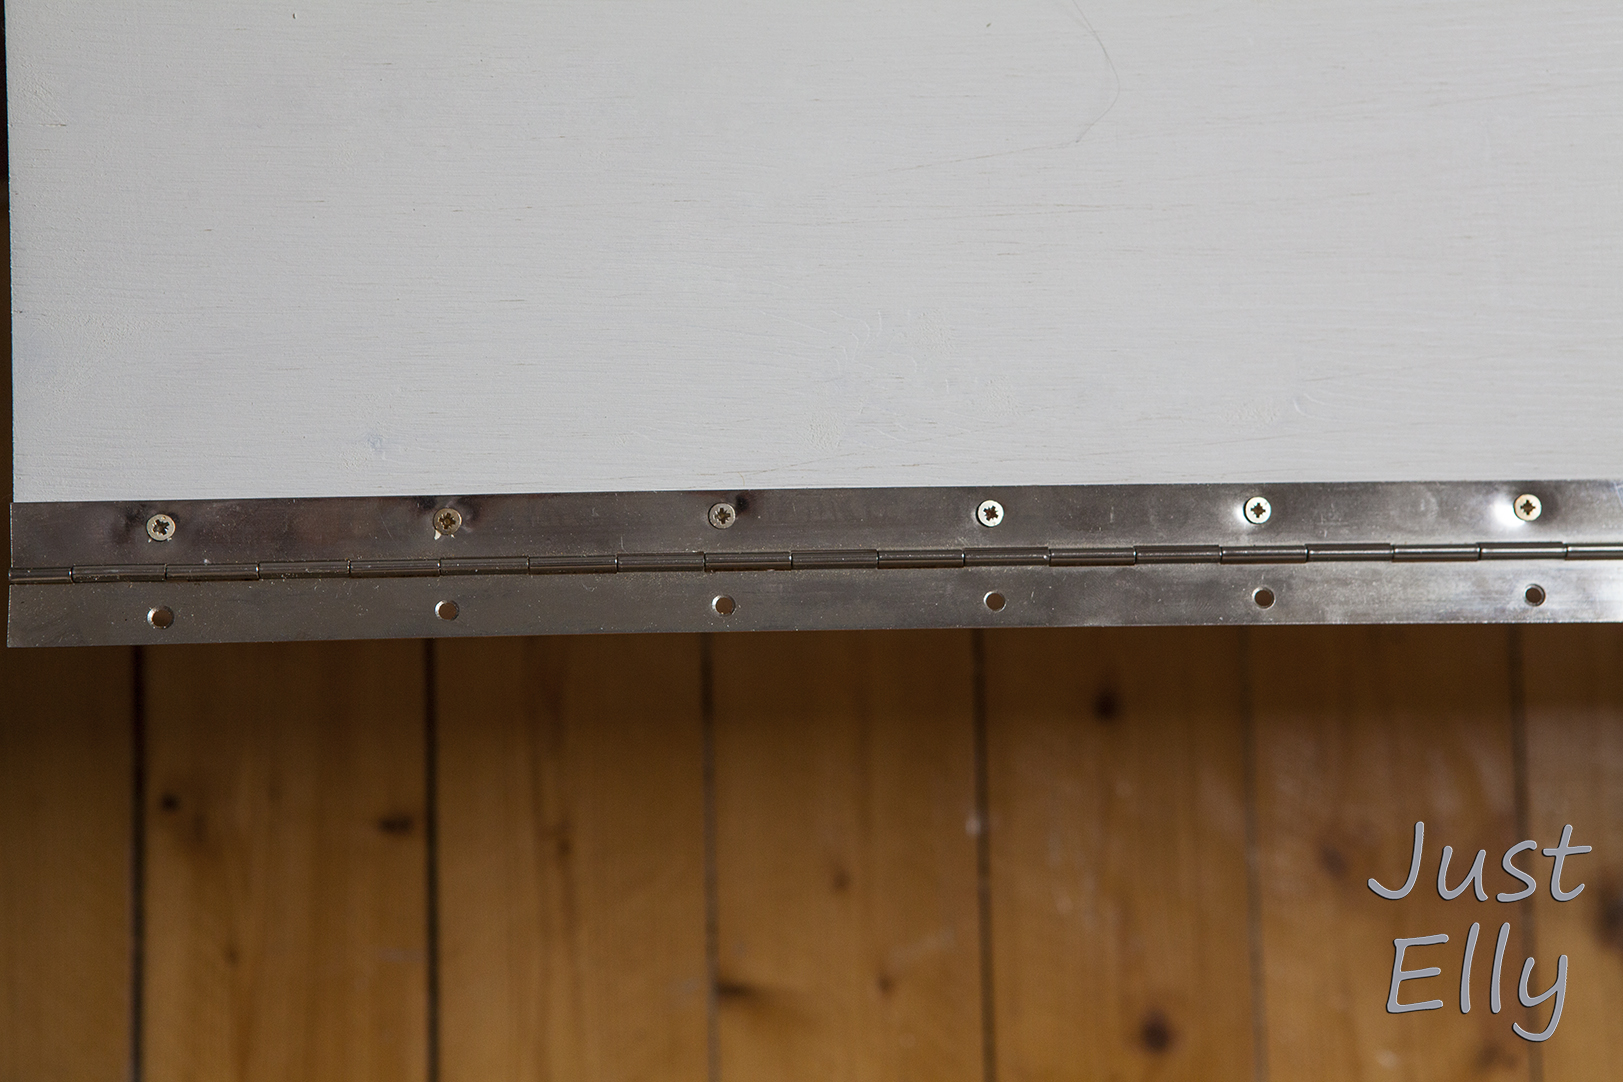
I attached the lid with piano hinge.

_MG_9745

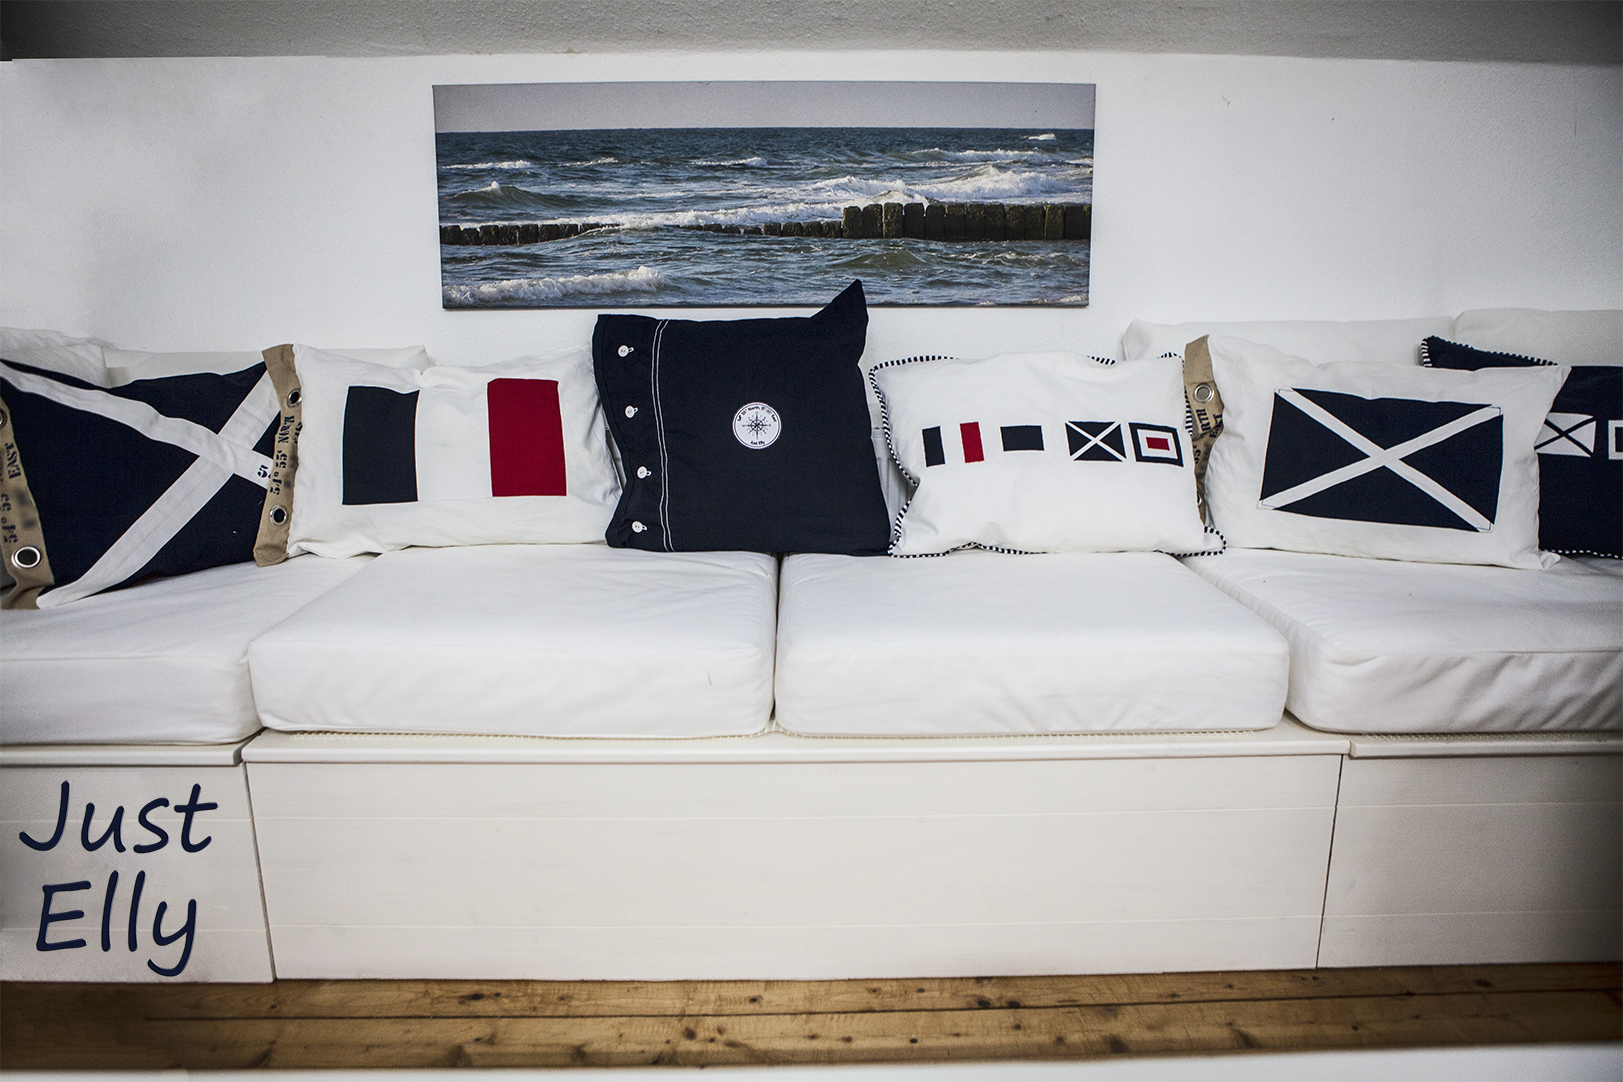
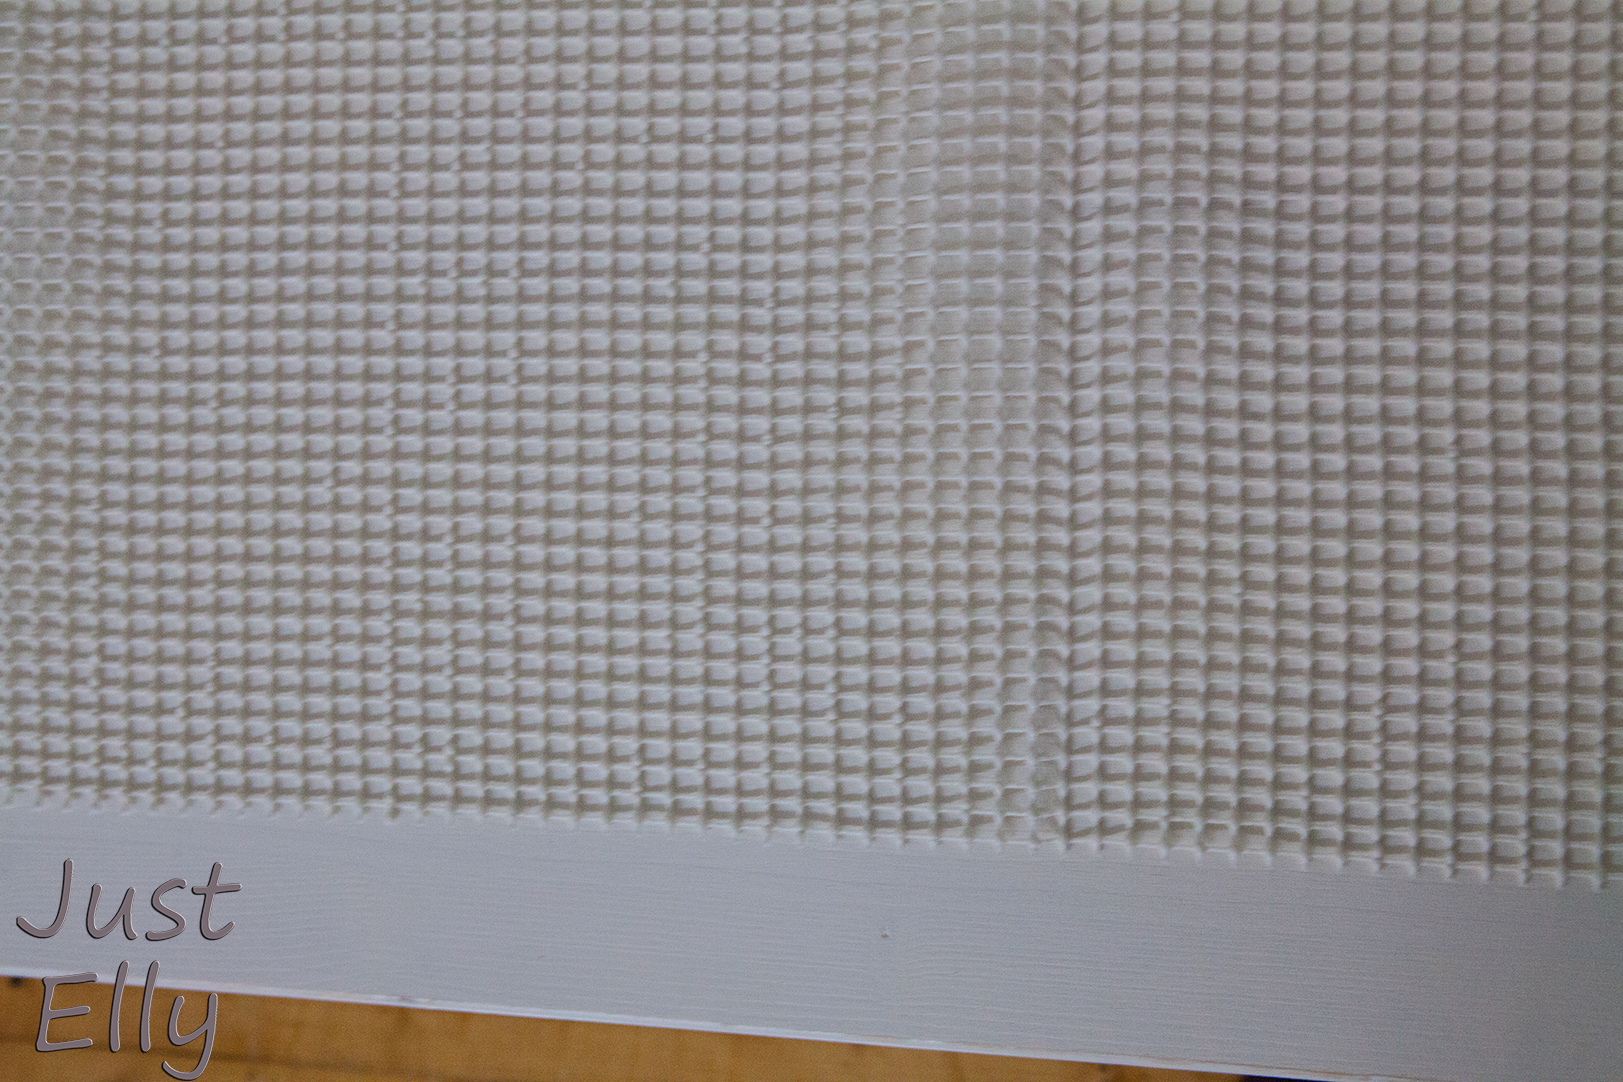
I found the seat and back cushions at Ikea 2 years ago. They are designed for outdoors but they fit perfectly and are very comfortable. Under the pillow I put this one on the wood to prevent the pillows from slipping. It’s for carpets, but who cares

_MG_9814

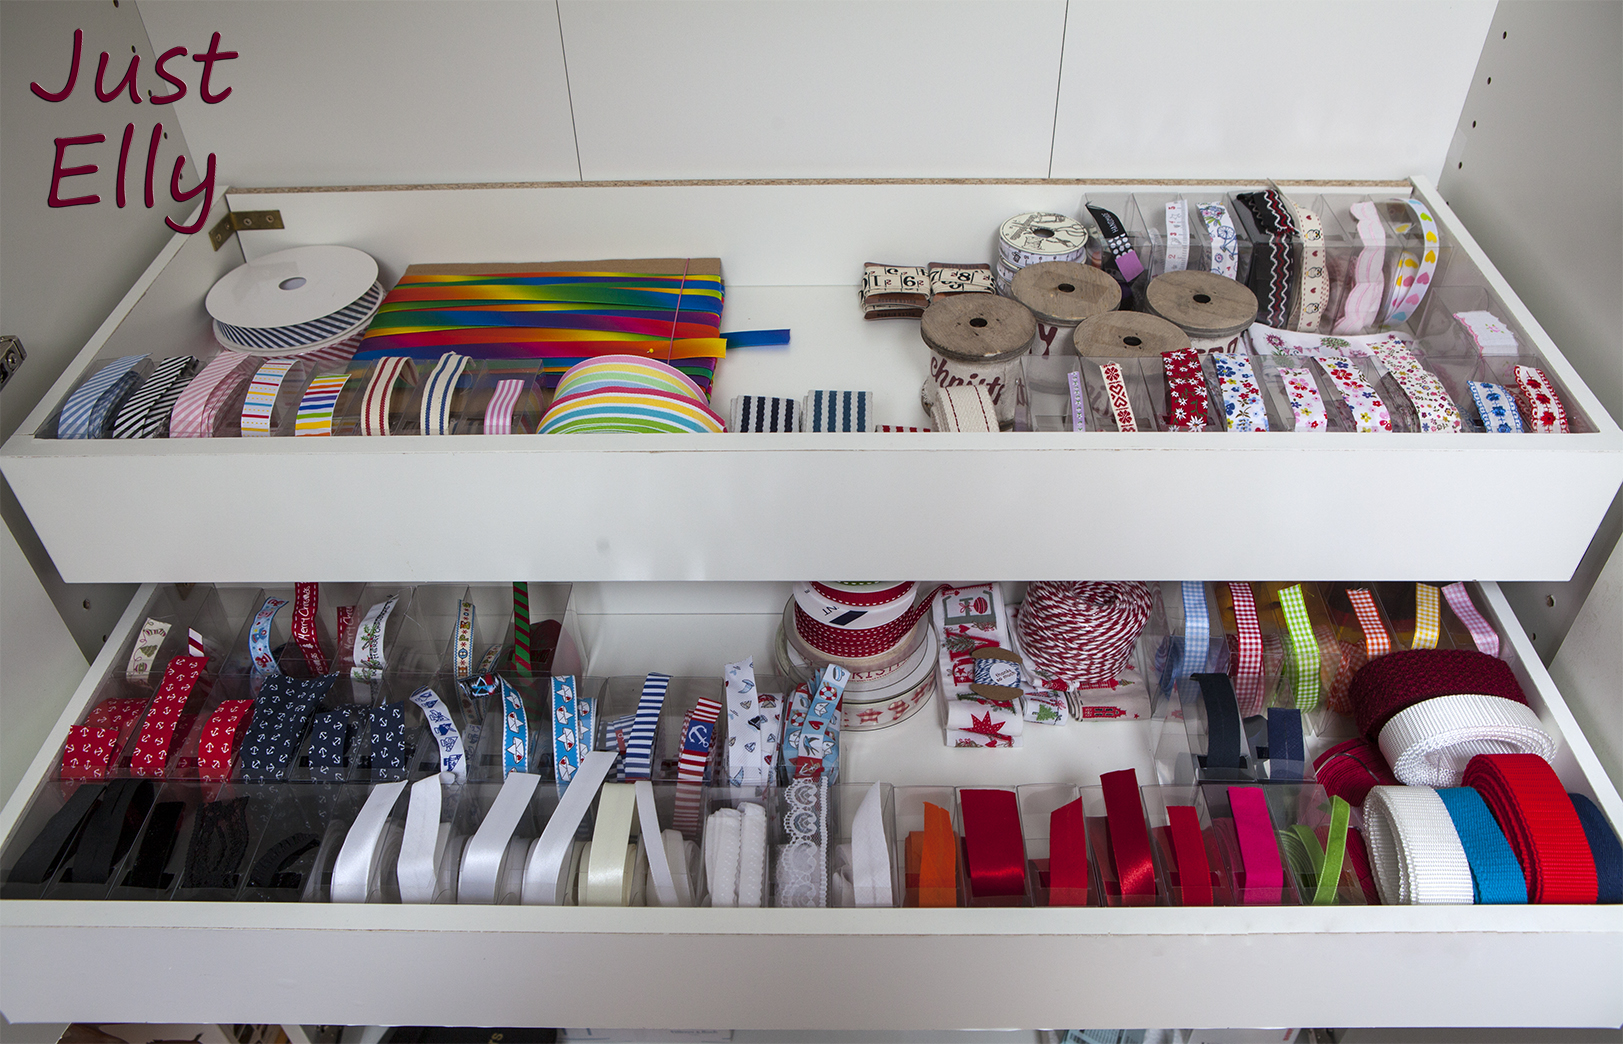
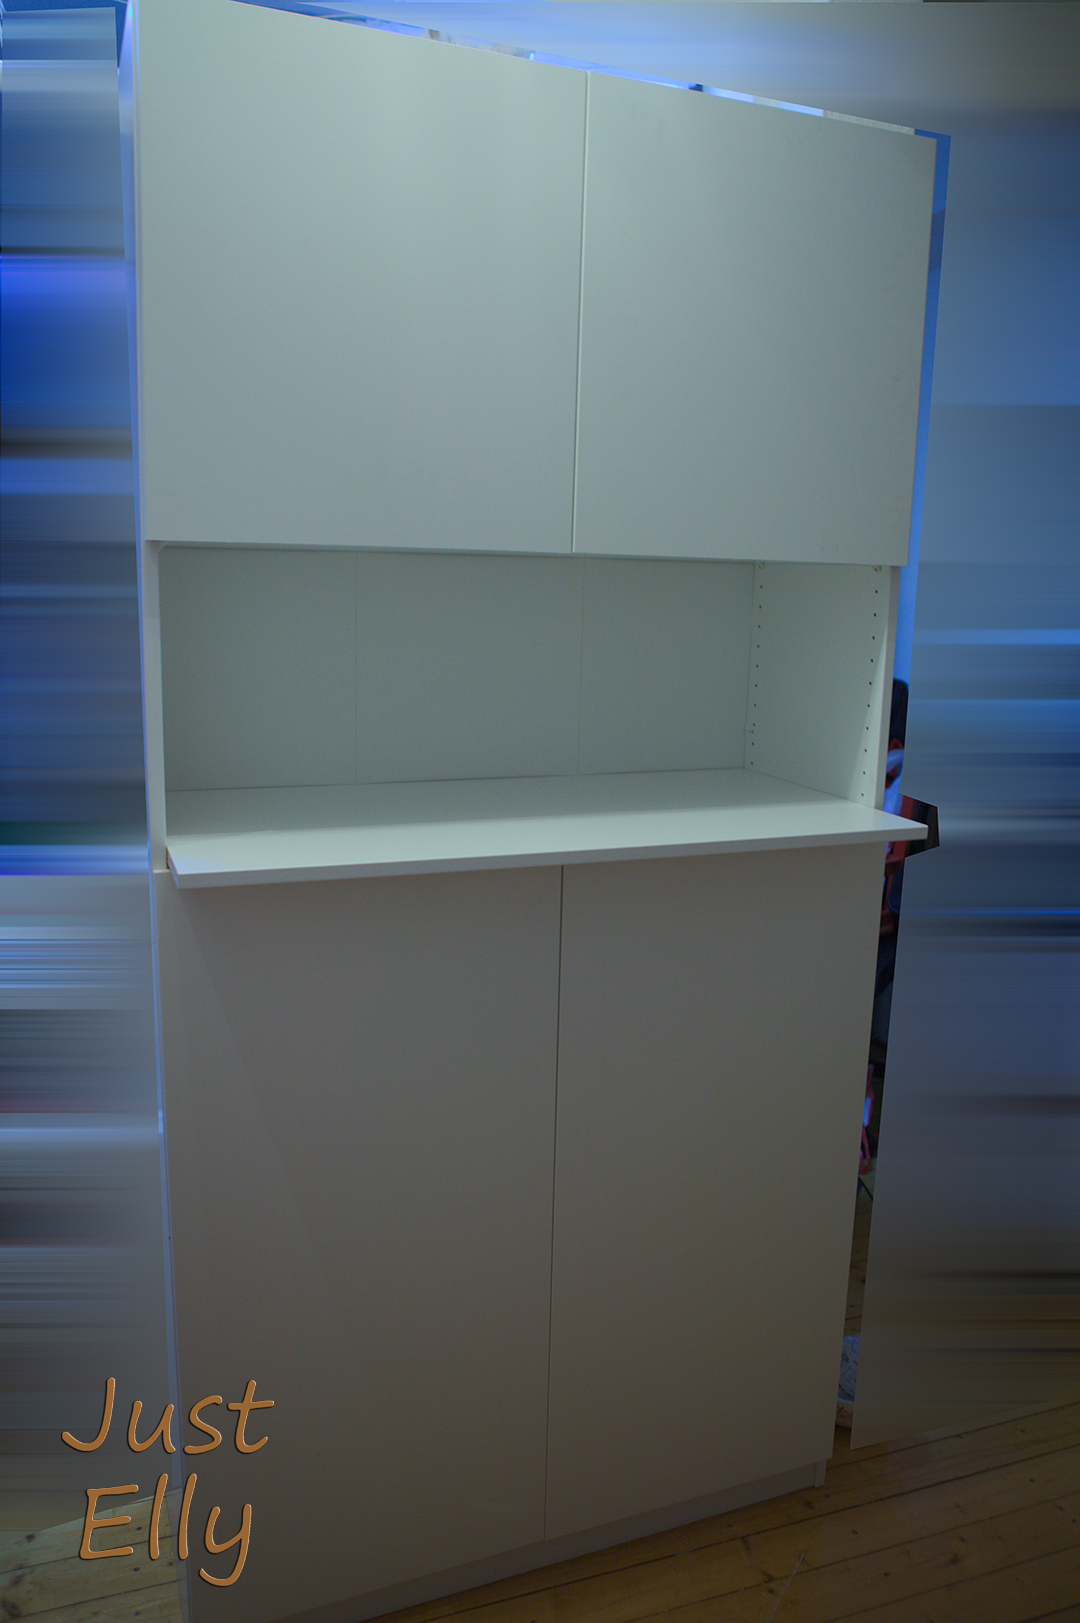
Here the first window seat. I needed a total of three of them.  I also use them as storage for my tools and handicrafts.

IMG_1820

My window seat for Christmas. In the next post I will write a tutorial how I sewed these pillows 🙂

Pillow Giftl 19

Spring and Easter. Yes I know. Too many pillows. Next year I won’t use all of them

Pillow Giftl 21

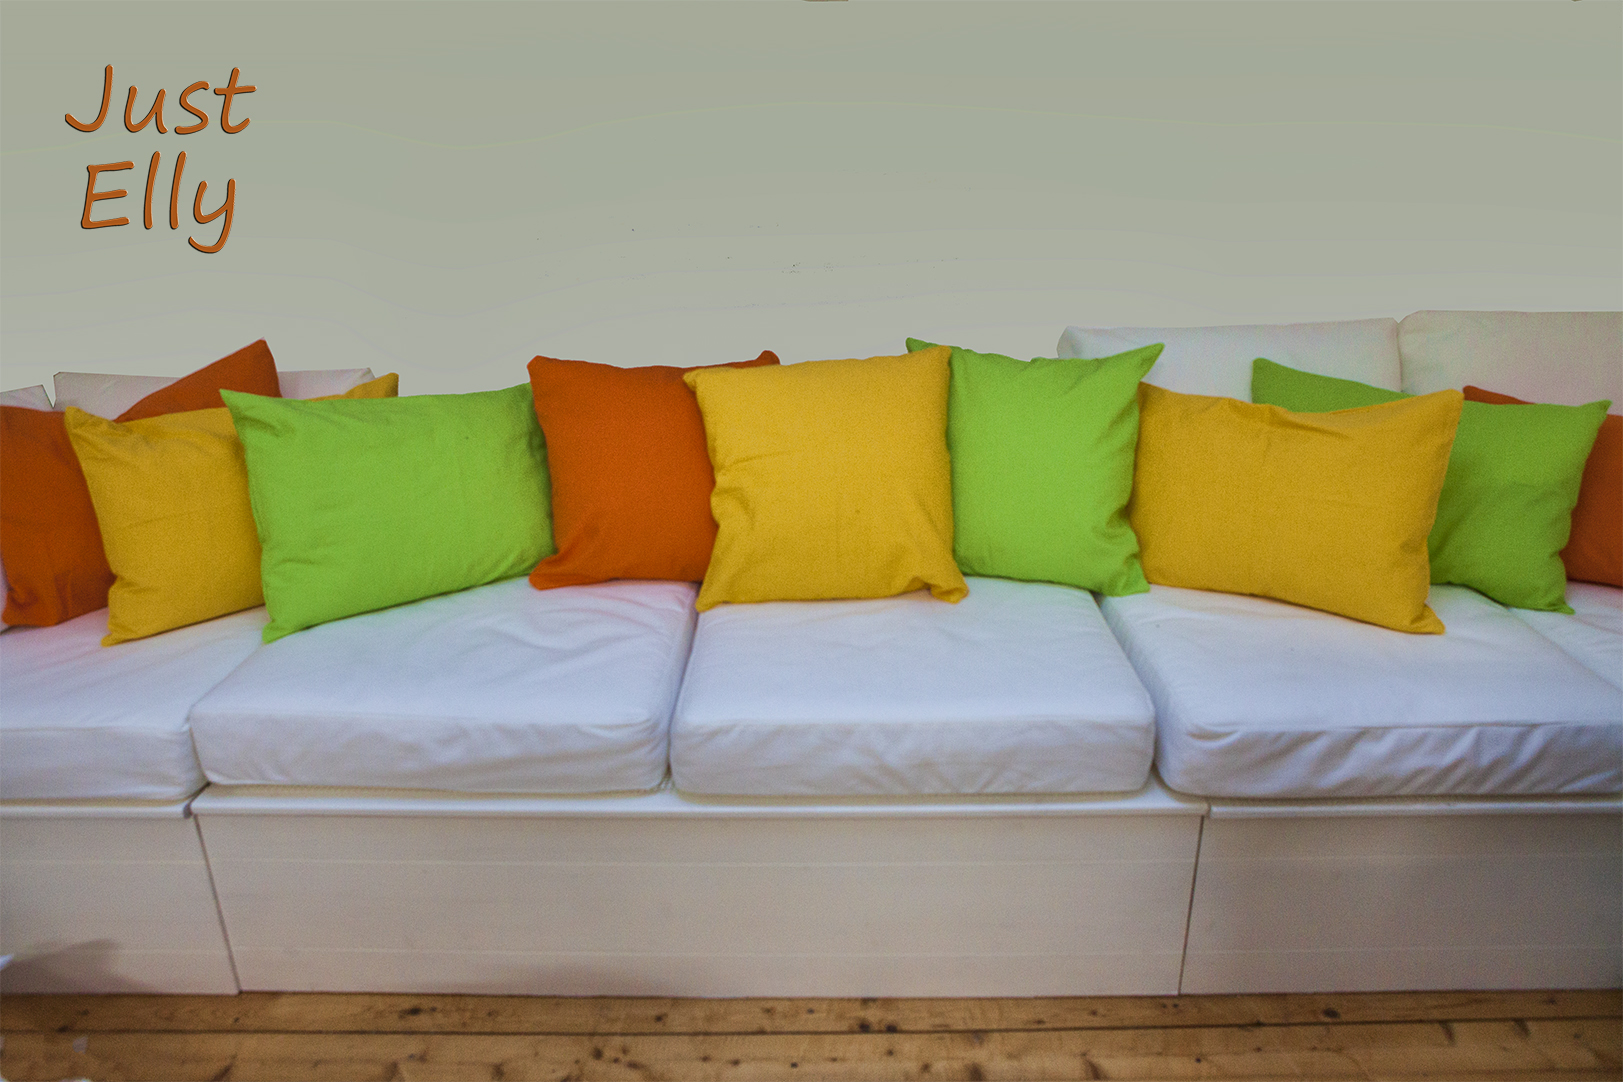
and today 🙂 I love these pillows. I didn’t make the design, but I liked it so much that I copied it.

Pillow Giftl 22

Pillow Giftl 23

DIY Ikea Pax as cabinet with 2 extra doors (roof sloping)

I have way to much sewing stuff besides fabrics 😀

Ribbons, zippers, yarn, buttons and so on

For all this stuff I wanted to make a sewing cabinet

My apartment is under the roof. Penthouse! Hihi

I love it very much but buying furniture is nearly impossible  because most of my  walls have roof slopes.

I started to learn to make my own furniture 🙂

I bought an Ikea Pax. Its cheap and I love the interior organizers that comes with Pax.

First I measured the exact angle of my roof sloping wall and heights. The width I got from my Pax.

I dont describe how to build this cabinet. Internet is very helpful when it comes to saw angles and put all pieces together with dowels 😀

When the frame has been done I startet with the doors. Both doors are sawed at the same angle as the frame.

The right door has been done after I ironed edge bandings on the cut edge.

The left door I wanted as three-piece!

It isnt the first time I pimped a Pax. I knew I had problems with  doing cup holes  before 😦

The last time I had to buy a door again because the drill cup holes I made didnt worked and I made mistakes.

The 90 1/8 door comes with 4 hinges. The 2 hinges in the middle are very close together.

This gave me an idea to make an acrylic template

Ikea Pax hinges

I ordered with Ebay acrylic in the same width as the door and the height I needed.

I used the door as pattern!

I clamped the acrylic on the door and started with the cup hole and the two drill holes on the bottom. When it was done I marked it as bottom on the acrylic. Then I made the next 2 cup holes.

As next I moved the acrylic upwards. I had to make sure the drill cup hole 2 I made before on the acrylic is exactly on the drill cup hole 3 from the door. This way I made 6 or 7 drill cup holes plus the 2 drill holes.

See pic below

Acrylic template

Then I marked on my door the sizes I wanted for the new doors. Remember? I wanted 3 doors on the left side.

I clamped the acrylic on my door again. Do not remove the clamps till you made all cup holes!!!!

Make sure the bottom hole from the acrylic is exactly on the bottom hole from the door !!!!!

This way your doors will always fit perfect.

On my photos you can see the mark I made for the door size.

With the template you dont have to calculate where to drill your holes. Just move the door with the acrylic to your drill stand and start to drill 🙂

Drill for the hinges Ikea Pax doors

Acrylic glass template for Ikea Pax doors

When you are done with drilling remove the acrylic and saw at the markings you made before.

You have now 3 doors. Iron on every cut edge banding, screw your hinges in the door and the cabinet and the doors are done 🙂

Ikea Pax for roof sloping 2

I’m damn proud of my work 😀

Do you see this adorable knobs?

Here a closer look even if my cabinet only got blue knobs. The red ones are for another idea I have.

Hand painted knobs

The knobs are hand painted and I found them here: Sweet petites boutique

Because of the SIX !!! hinges I used for the doors I had had a huge problem with putting in 2 drawers 😦

There has been not enough space for them close together. The first thought I had I cant write in here hihi

Second thought: I dont need over 6″ in height for my sewing stuff.

 I put both drawers apart and shorten all sides down to 4″

The front of the drawer will be put together with 2 screws and one wood dowel. Here a pic how I shorten the sides:

Drawer Ikea Pax

At the end I ironed bandings on the edges. To stabilize my drawer I screwed metal brackets on both back sides.

This way both shorten drawers fitted perfectly in my cabinet

Ikea Pax for roof sloping

As soon as I has been done with the cabinet I started to put my ribbons in the drawers. I’m not done yet I have a few more

Ribbons

Ribbons 1

Ribbons 2

See this wonderful boxes where I put my ribbons? I found this tip on the internet and I liked it very much ❤

If you are looking for something like this just google for –wedding gift box– and you will find it 🙂

I just cut a slot in the gift box to make it easier to pull the ribbon out

Gift box for ribbon

I hope you like my tutorial. Maybe you can use one of my tips 🙂

Merken

Merken

Pimp my PAX for the kitchen

Yes, I know this wardrobe is ment to be for clothes.

  I needed exactly the width and depth (width 39 1/4 and depth 14) one of the Pax frames comes with. But  I needed also space for my .microwave.

 I assembled the Pax including a few shelves and 2 drawers. The 13 3/4inch shelves has been to small for the microwave. I bought an extra shelf with a depth of 22 7/8 inch and sawed the depth down to 20inch. .On each side of the frame I put 4 steel angle brackets and screwed the shelf on it.

The next step has been the doors. With the bigger shelf the doors couldnt close anymore.And I didnt wanted my microwave inside a closed cupboard.

I sawed the doors down to 40.5inches. So the doors fit well under the bigger shelv.The smaller doors are 22inches.

Here is a picture of my shelf. OK the knobs are still missing, but otherwise its ready.

3

With the larger doors I didnt have a problem. I choosed the high because of the hinges. This doors comes with 3 drilled holes. 2 holes I used for the larger doors.But for the small doors I had to make a drilled hole for each door by myself. And I made it perfekt. hehehe

The first picture shows the original drilled holes, the second one my work. You wont believe how often I measured the small doors to make it right.

Oh boy, half a year ago I hadnt ever work with a saw and now I sound like a pro LOL

I am so proud of my work 🙂 🙂 🙂

 2

1

Start to pimp my sewing shelf Part 2 – The first 2 doors

Yes, even if my sewing course startet, I’m still working on my shelf 🙂

I wish I could practice what I learned the last 2 saturdays with my sewing course, but my shelf wont do the pimp by itself LOL

Here is a picture of one of the doors. I will make 8 doors in 4 different styles.This is the first of them. I have to grind and paint these 2 doors, but the most wood work is done

door 1

As good as I can, I try to explain what I used and what I did.

But as a beginner with wood working I’m not sure if the way I did this is circuitous or not. Maybe there is an easier, faster way to do this work, but I dont know it.

Before I finished this door I tried laths with different widths and different thicknesses.

This is what I used at the end

Door 5

Door 6

lath 1

From lath 1 saw the 4 parts and glue them as seen on the picture above.

Door 7

 lath 2:

saw the miter at the longer sides first. Put them on the frame from lath 1 and measure if you really have 14.17inch on the open sides. If not, change the length of them and then saw the miter. Check again if it fits now!

I made the mistake to saw all 4 sides first and then tried them on my frame. If it had been to long I could have cut them, but no, they were to short 😦

If the sizes of all 4 laths fits, glue them on your frame. As on the picture above.

Door 3

I dont know what names these laths have or what they are for, but they were exactly what I needed.

I choosed the right one on both ends of my frame. The other one for filling the frame.

Door 8

dont saw them all at once !!!! Yes, made this mistake too hehehehe

My lath 2 frame has narrow differences in width over the 28inch. We talk about 0.004inch / 0,1mm. It isnt much, but I wanted it perfect.

So I measured for every piece what lenghts its needed. I needed some in 11.81inch / 30cm and some in 11.7inch / 29,9cm

Make a mark on your frame and on your parts !!! This is when you also have differences. It will spare you time when you start to glue.

Door 9

For the middle of this door I saw a 11.81inch / 30cm piece of lath 2

I had luck that all parts filled the complete frame. Otherwise I would have change the middle lath. I tried with so many different laths, that I’m sure I could have taken one of them if it hadnt fit.

I cant believe after so many trying with this damn door I did both of them on ONE weekend LOL

And I Love My Work !!!

Start to my pimp my sewing shelf Part 1

As I wrote the other day I will learn how to sew. I still have a couple of weeks before my course will begin. Enough time to pimp my shelf 🙂

Foto 1

Bought this one some months ago. This shelf was ment to be a divider, but OOOOOOOOPS

Sure, the shelf fit exactly but with over 6 feet in high and wide I came into my living room and the only thing I saw has been this shelf. It was way to big as a divider for my room !!!

I changed my mind and when I bought my sewing maschine and all the other stuff I need for sewing plus the fabric, I decided I want a place only for my hobby.. So I placed the shelf to the wall.

Yes, you can buy some things like doors or baskets for this shelf, but I didnt wanted them all. After some ideas I had, I got it !!!

THE IDEA !!!

Foto 3

First I bought 5 back panels 0.118inch (3 mm) thick :

Each panel in 6ft 0.0472 inch (183cm).in heigh

3 panels are 13.7795 inch (35cm) wide

2 panels are 15.3543 inch (39cm) wide.

Above, below and at both sides right and left  I used  wood screws to make it more stable. At the thinner inner shelves I used small nails. Best way for it, you start in the middle.

Foto 4

This is how it looks at the moment. I didnt wanted to have dust or dirt on my sewing stuff plus the panels giving the shelf more stability.

Today I will start with this chaos:

_MG_9470

As you can see or not, there is lot of work to do: sawing, grinding and at the end paint all of them

If you want to know how this continues, you have to wait till this work is done.

Have a nice day

Elly