My 5th year sewing anniversary and a new machine

Soon I will have my 5th anniversary.
5 years ago I found my new hobby: Sewing.
And I still love it. ❤ ❤ ❤

That’s not something I take for granted. I had often found a new hobby before, spent a lot of money on it and then after a few months or even a year no longer feel like it.

Now the time had come to invest a little more money in my hobby.

I had bought my first sewing machine BEFORE my first course day. I didn’t know what to look for as a beginner. I don’t even remember why I bought this model. I didn’t know any better.

But don’t get me wrong. This machine has accompanied me 5 years wonderfully from my beginnings until today!

My first sewing maschine

Over the years, however, I have missed more and more functions on my machine, such as the machines in my course.

That’s why I’ve been looking for my favourite sewing machines for the last few months. Used because new machines are too expensive for me.

Friday was the day. I found one of the machines I liked and the price was OK for me.

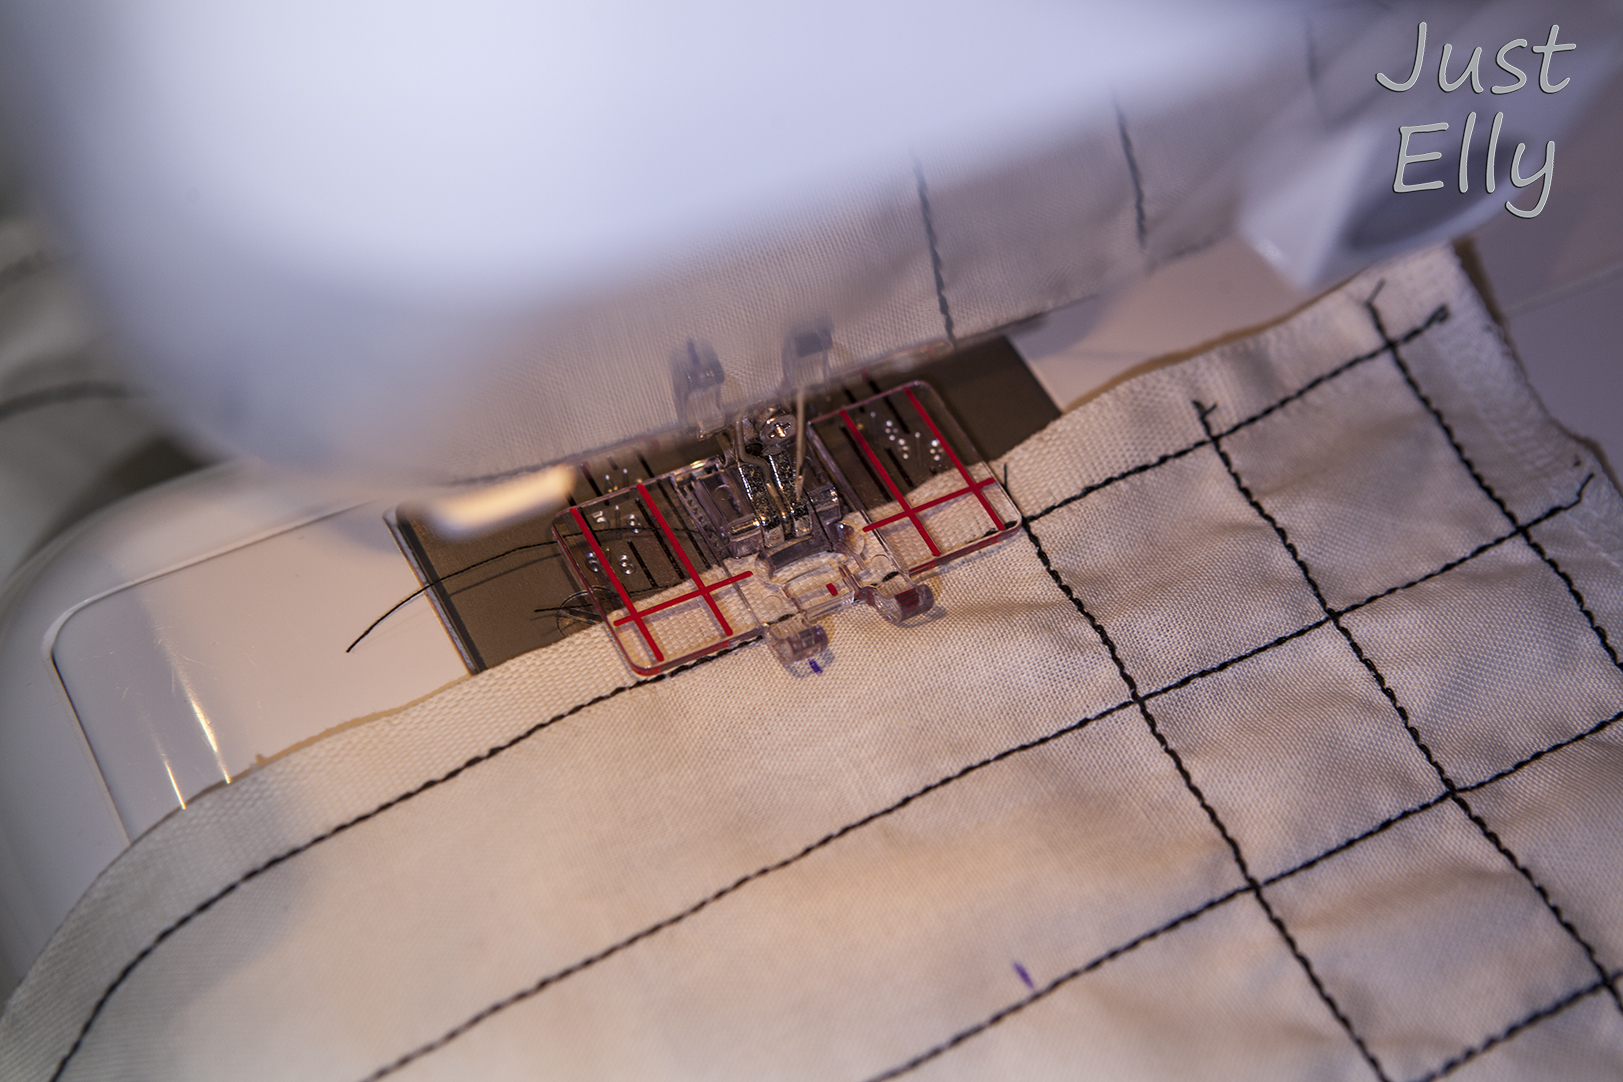
Yesterday I had my new baby.

My new Bernina

I haven’t sewed anything with it yet. Just trying to get familiar with it, because the new machine is very different from my old one. Just sewed a few seams and tried the stitches.
But I love it already.

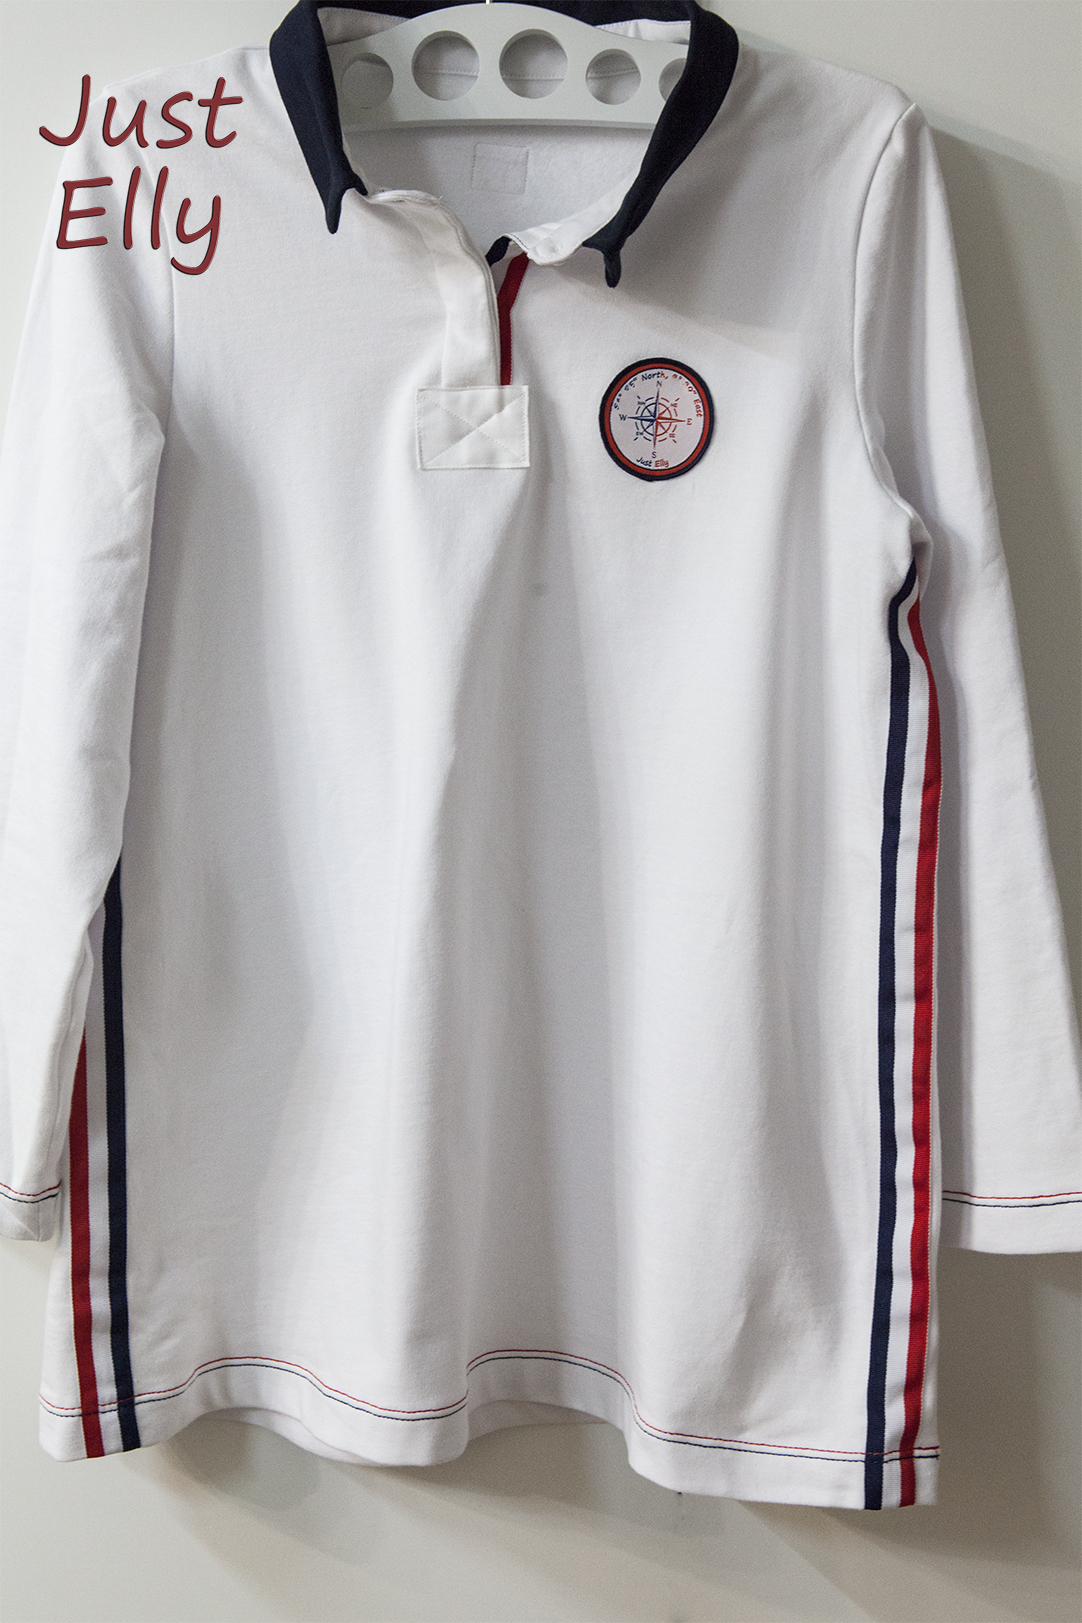
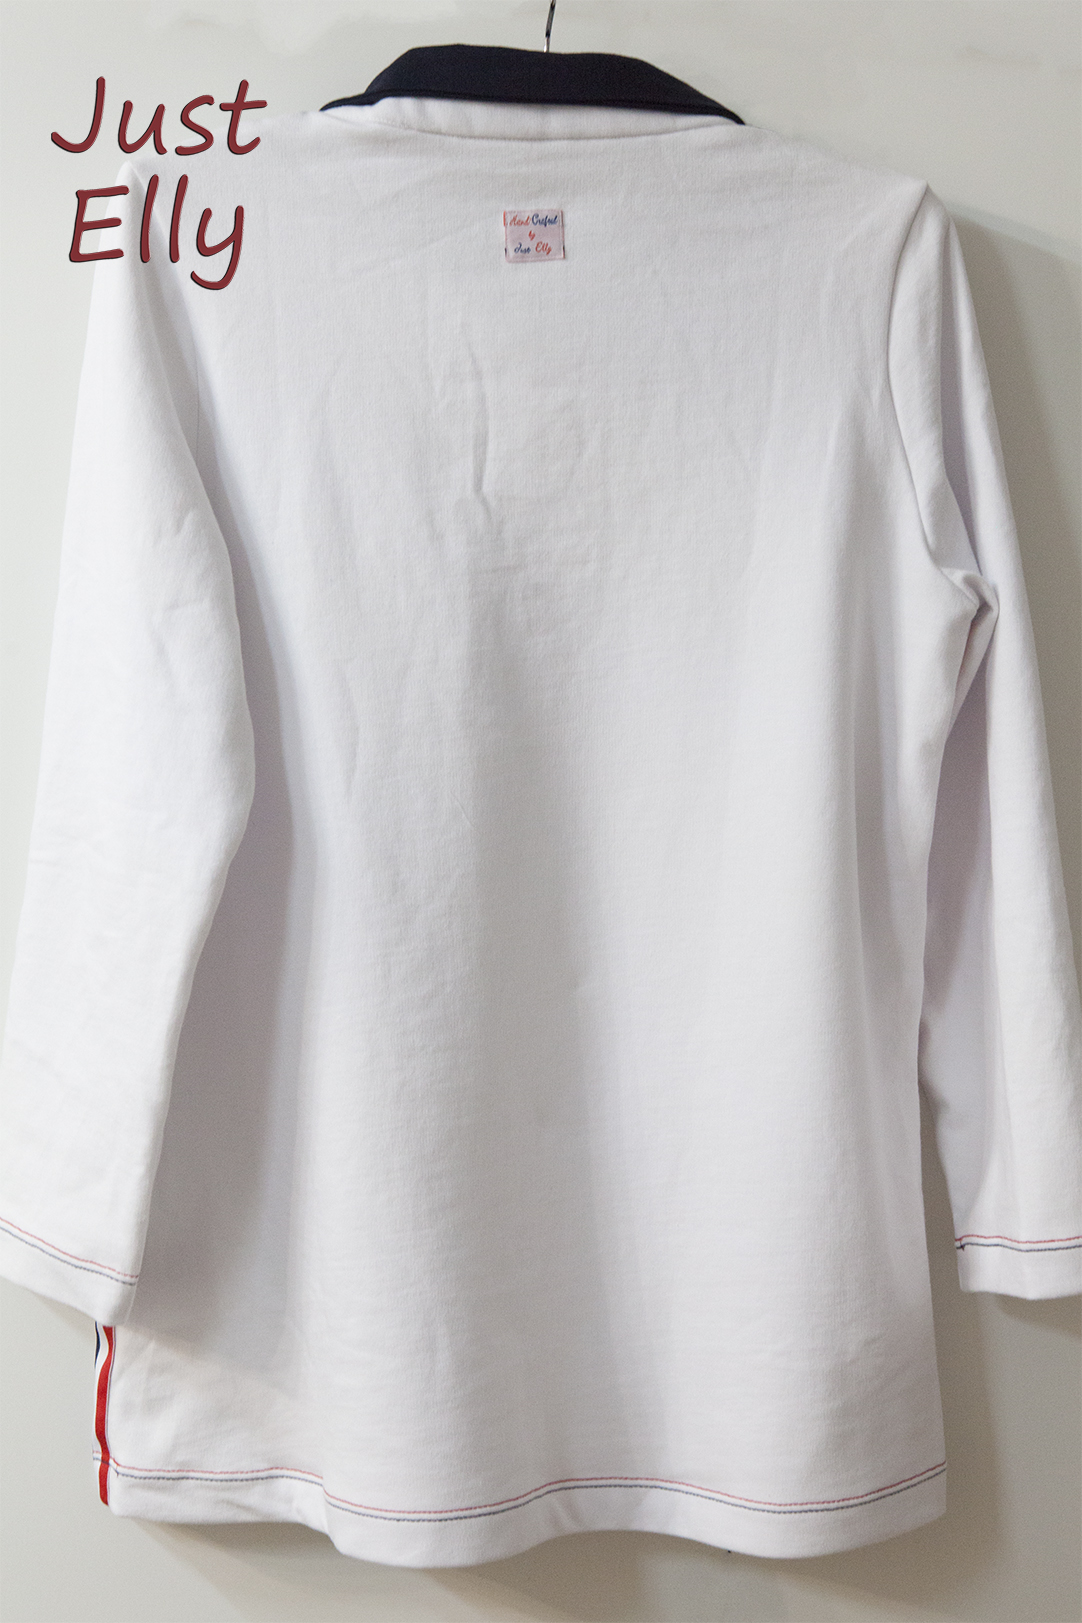
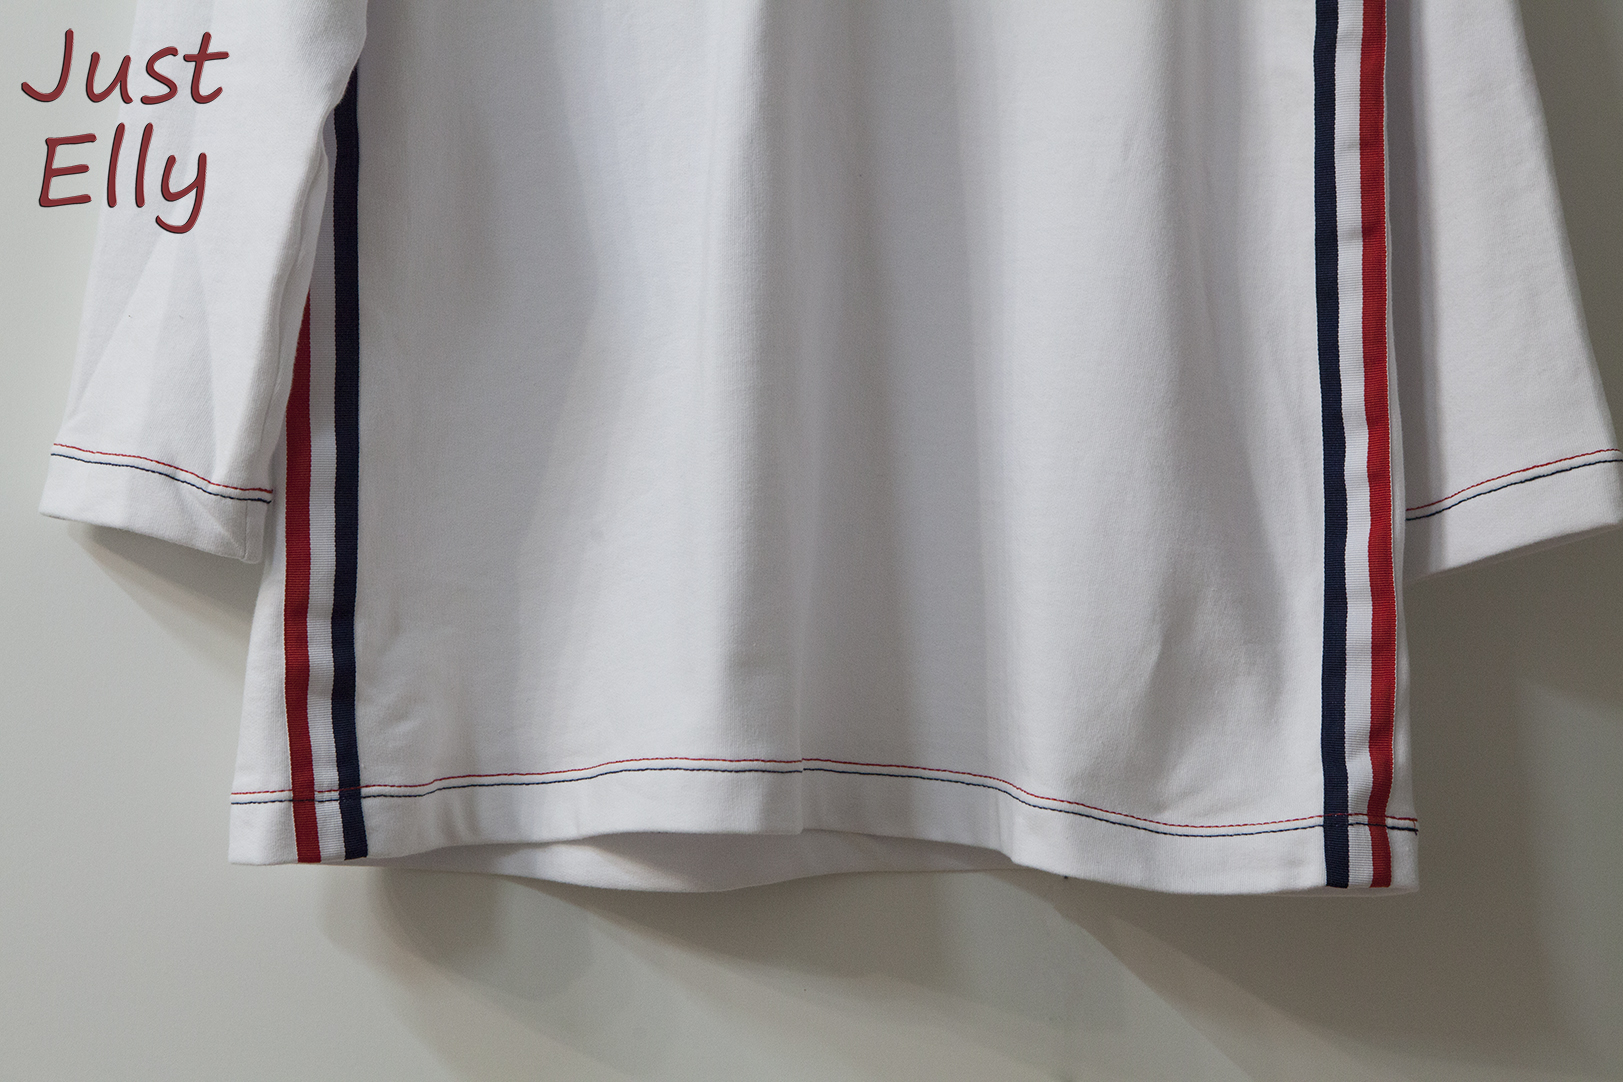
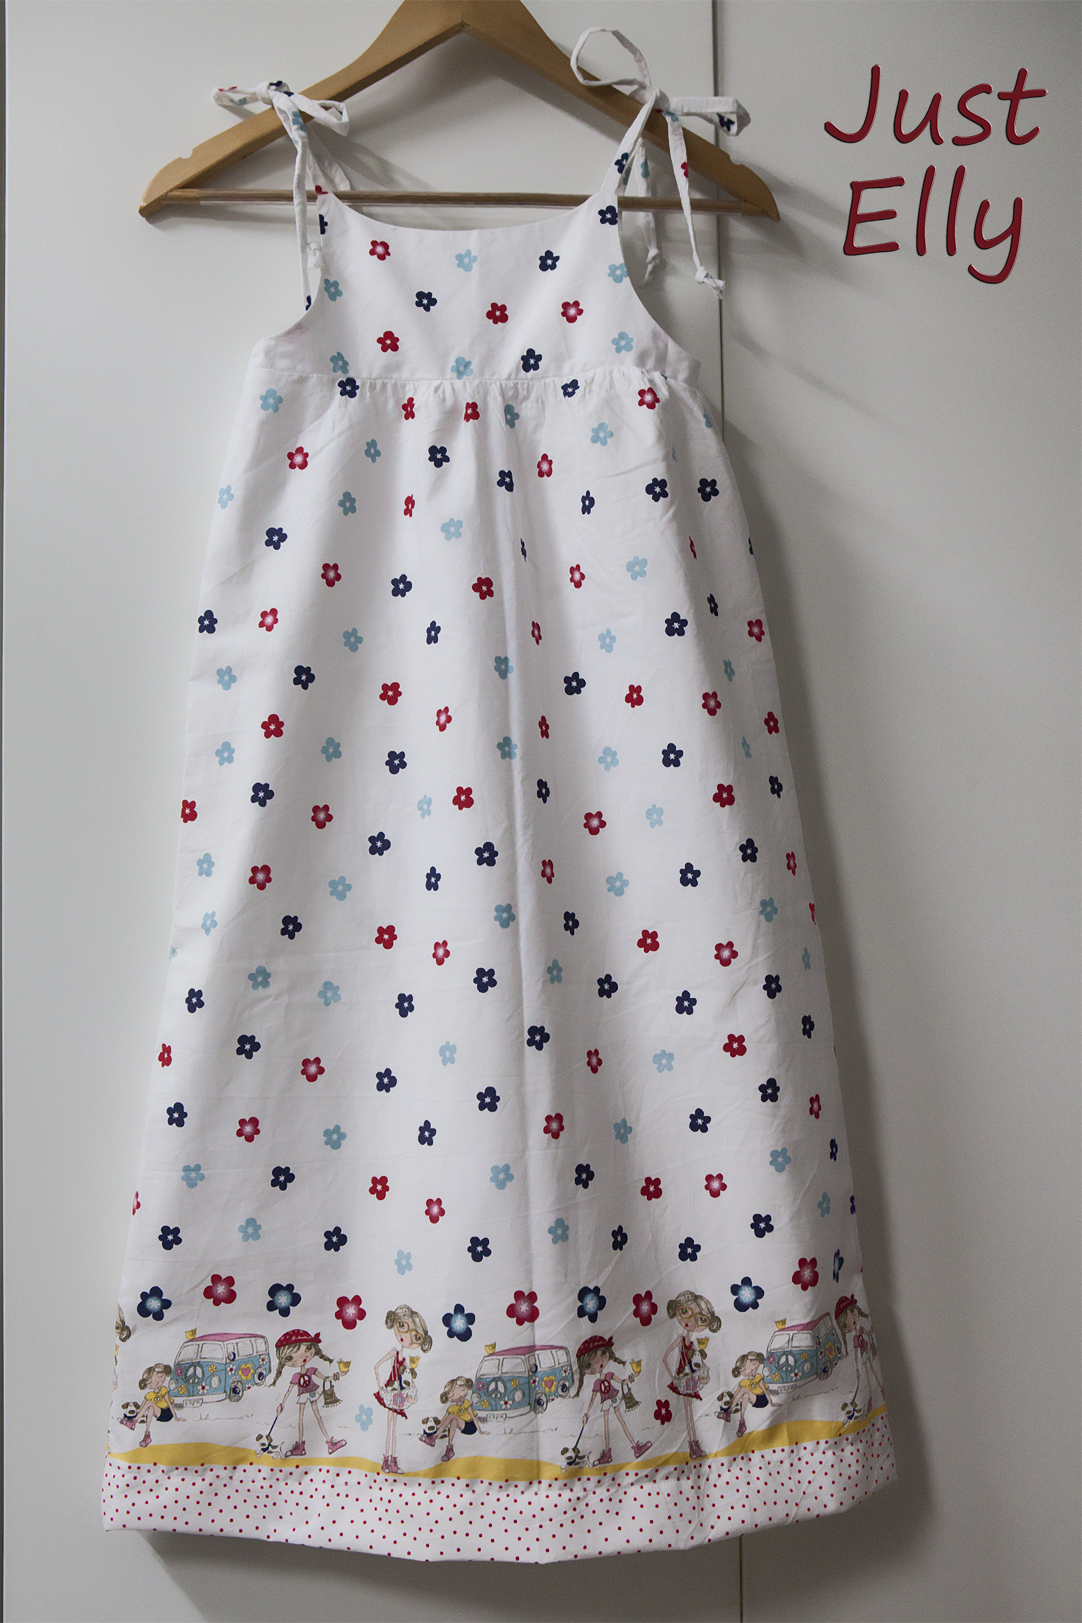
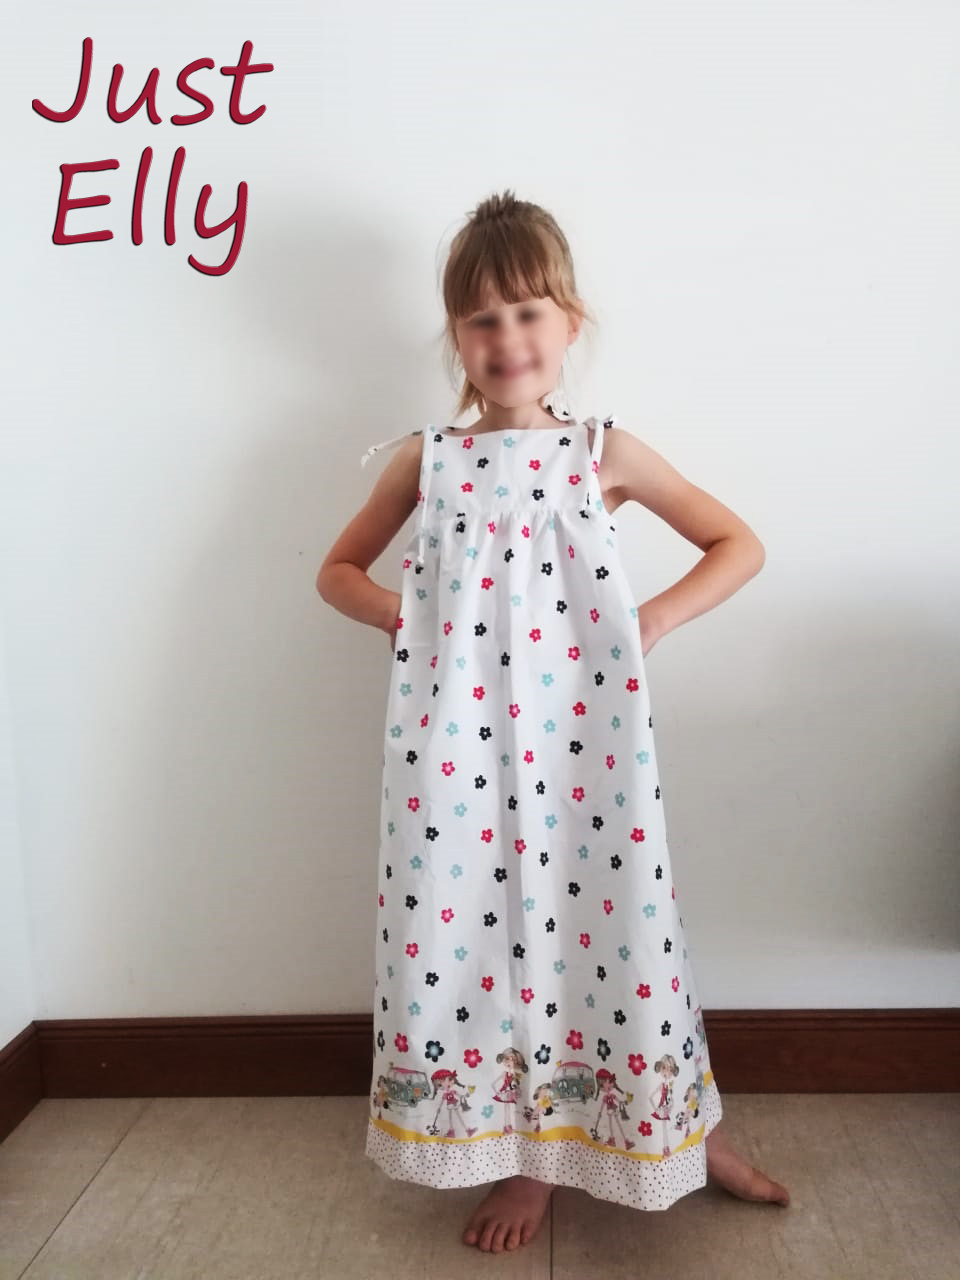
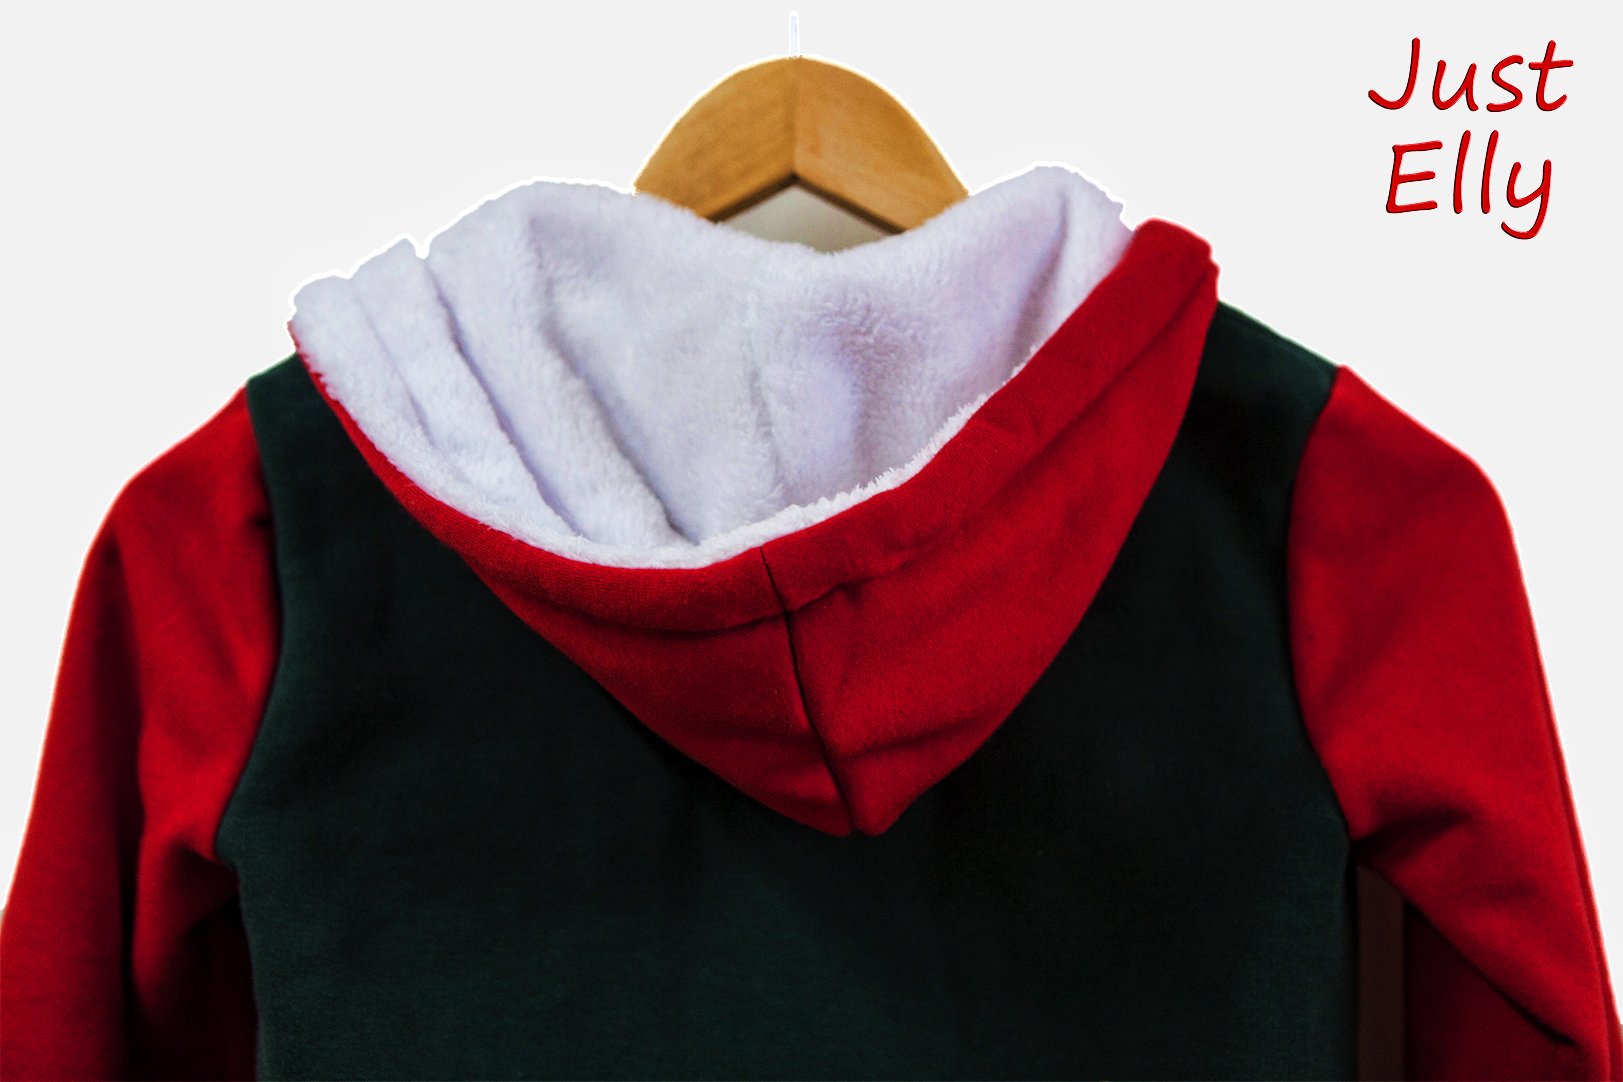
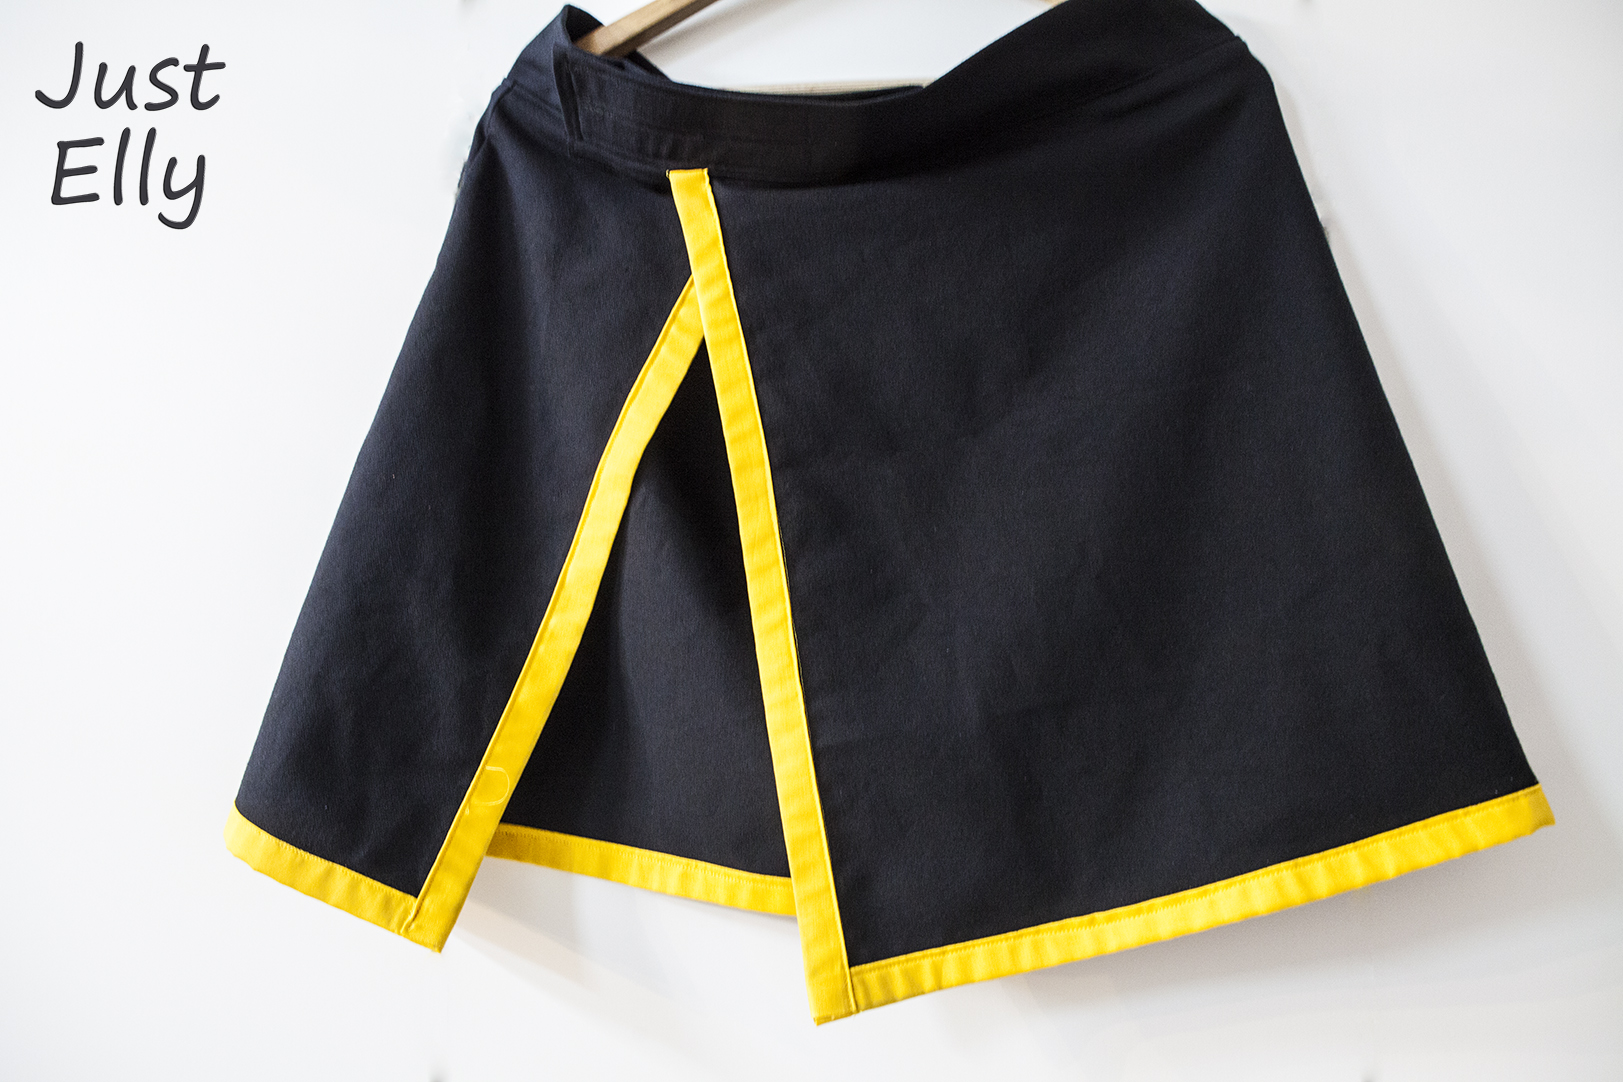
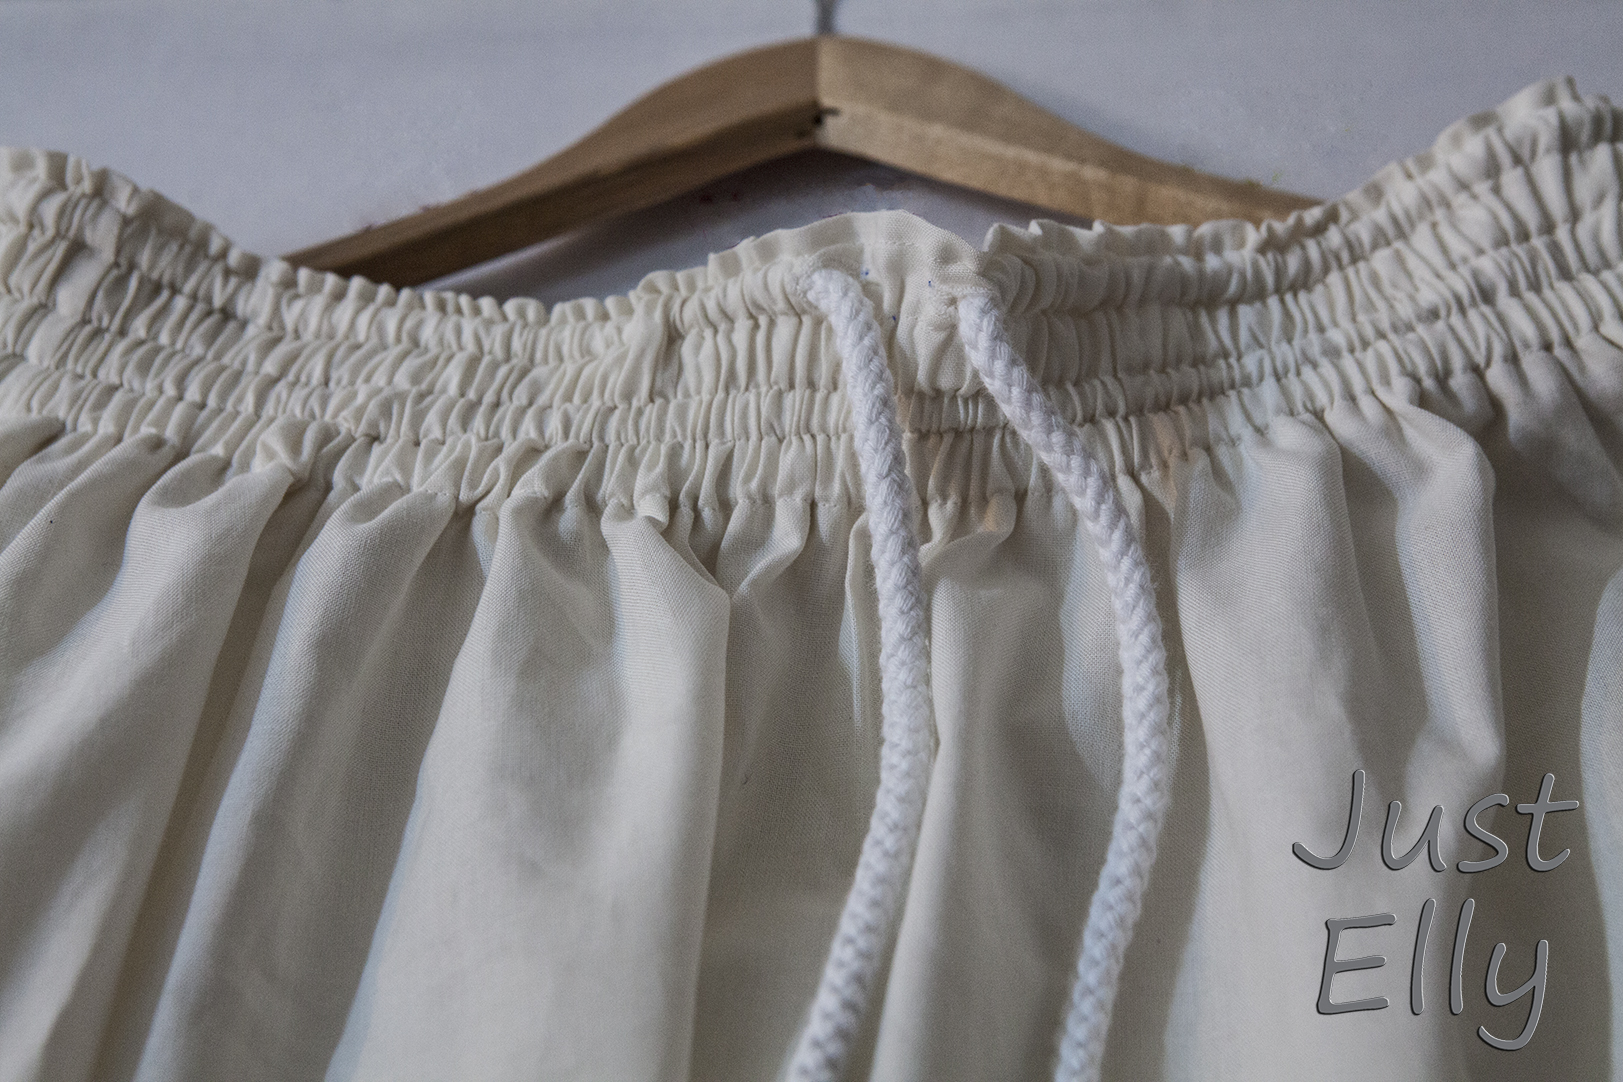
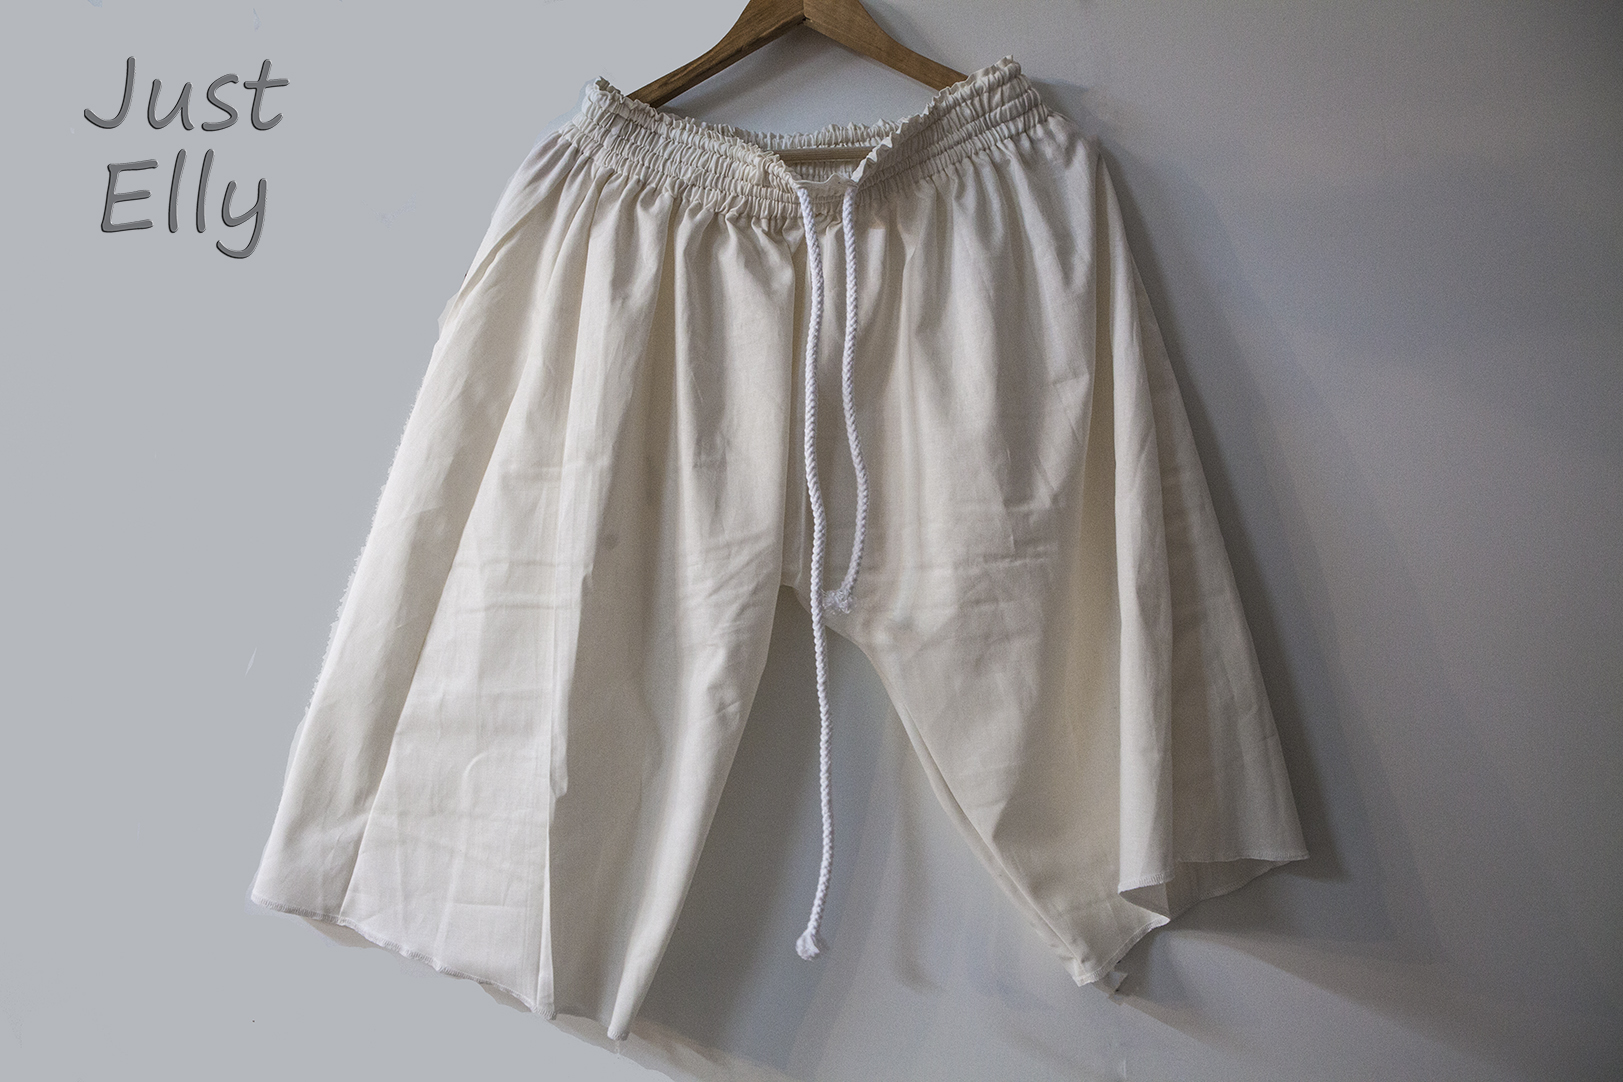
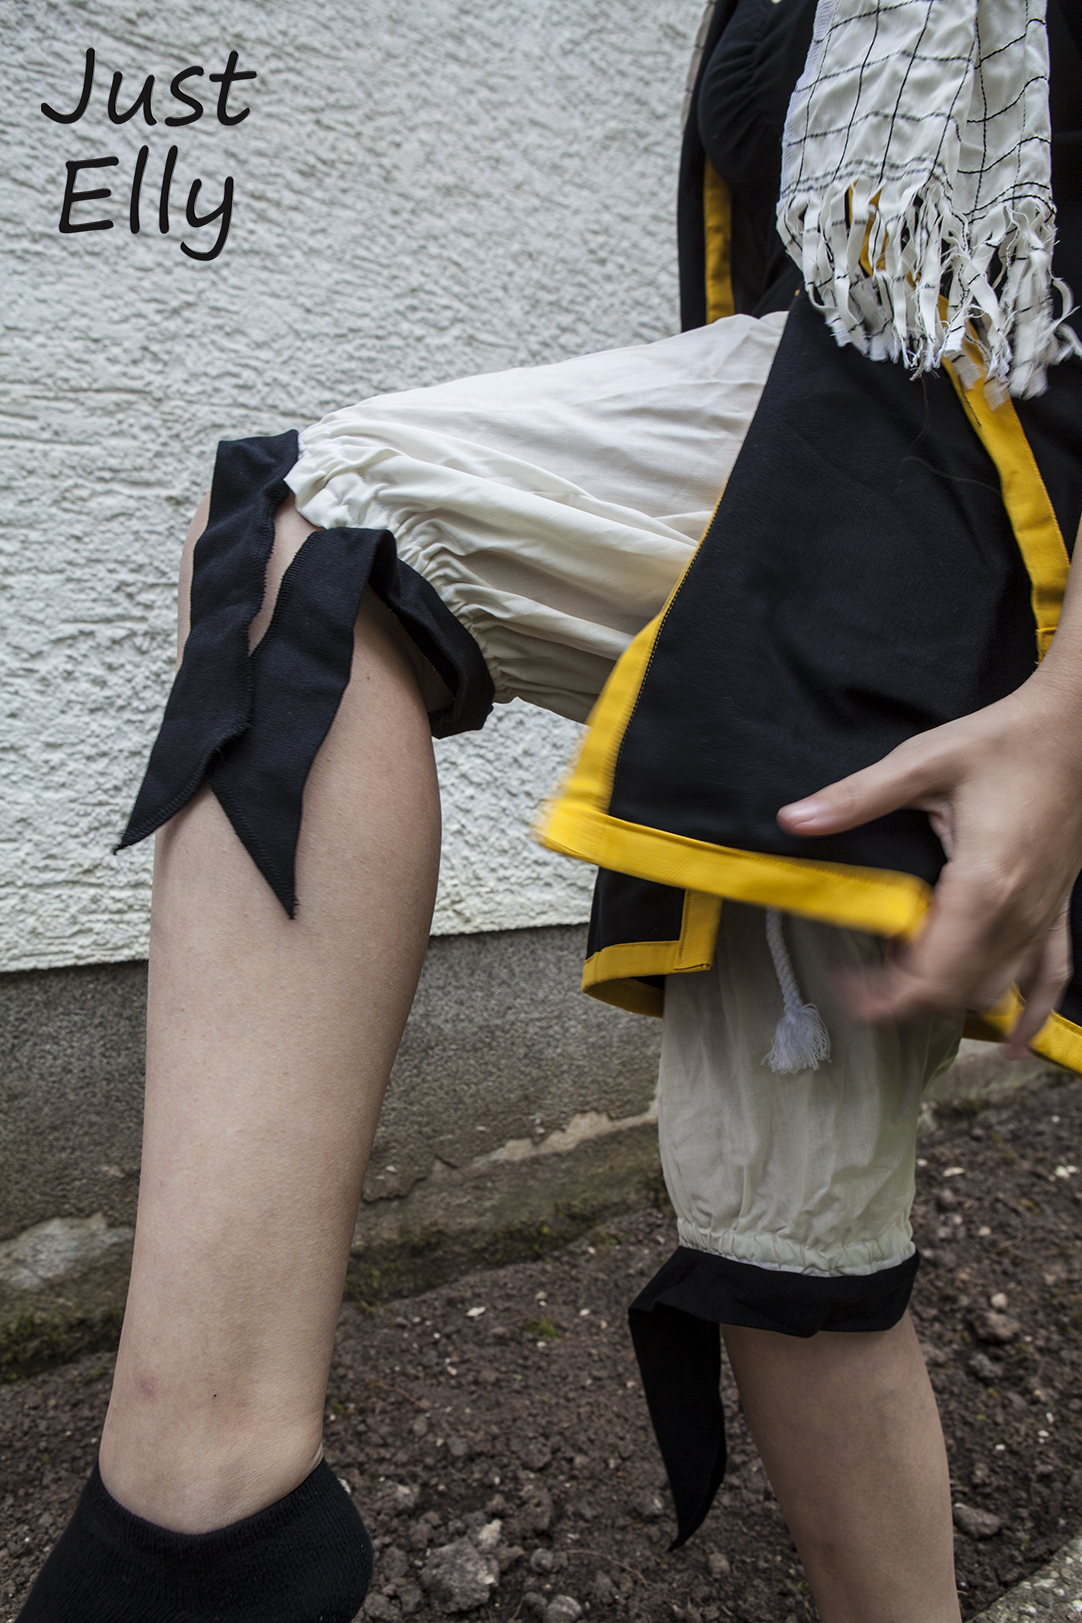
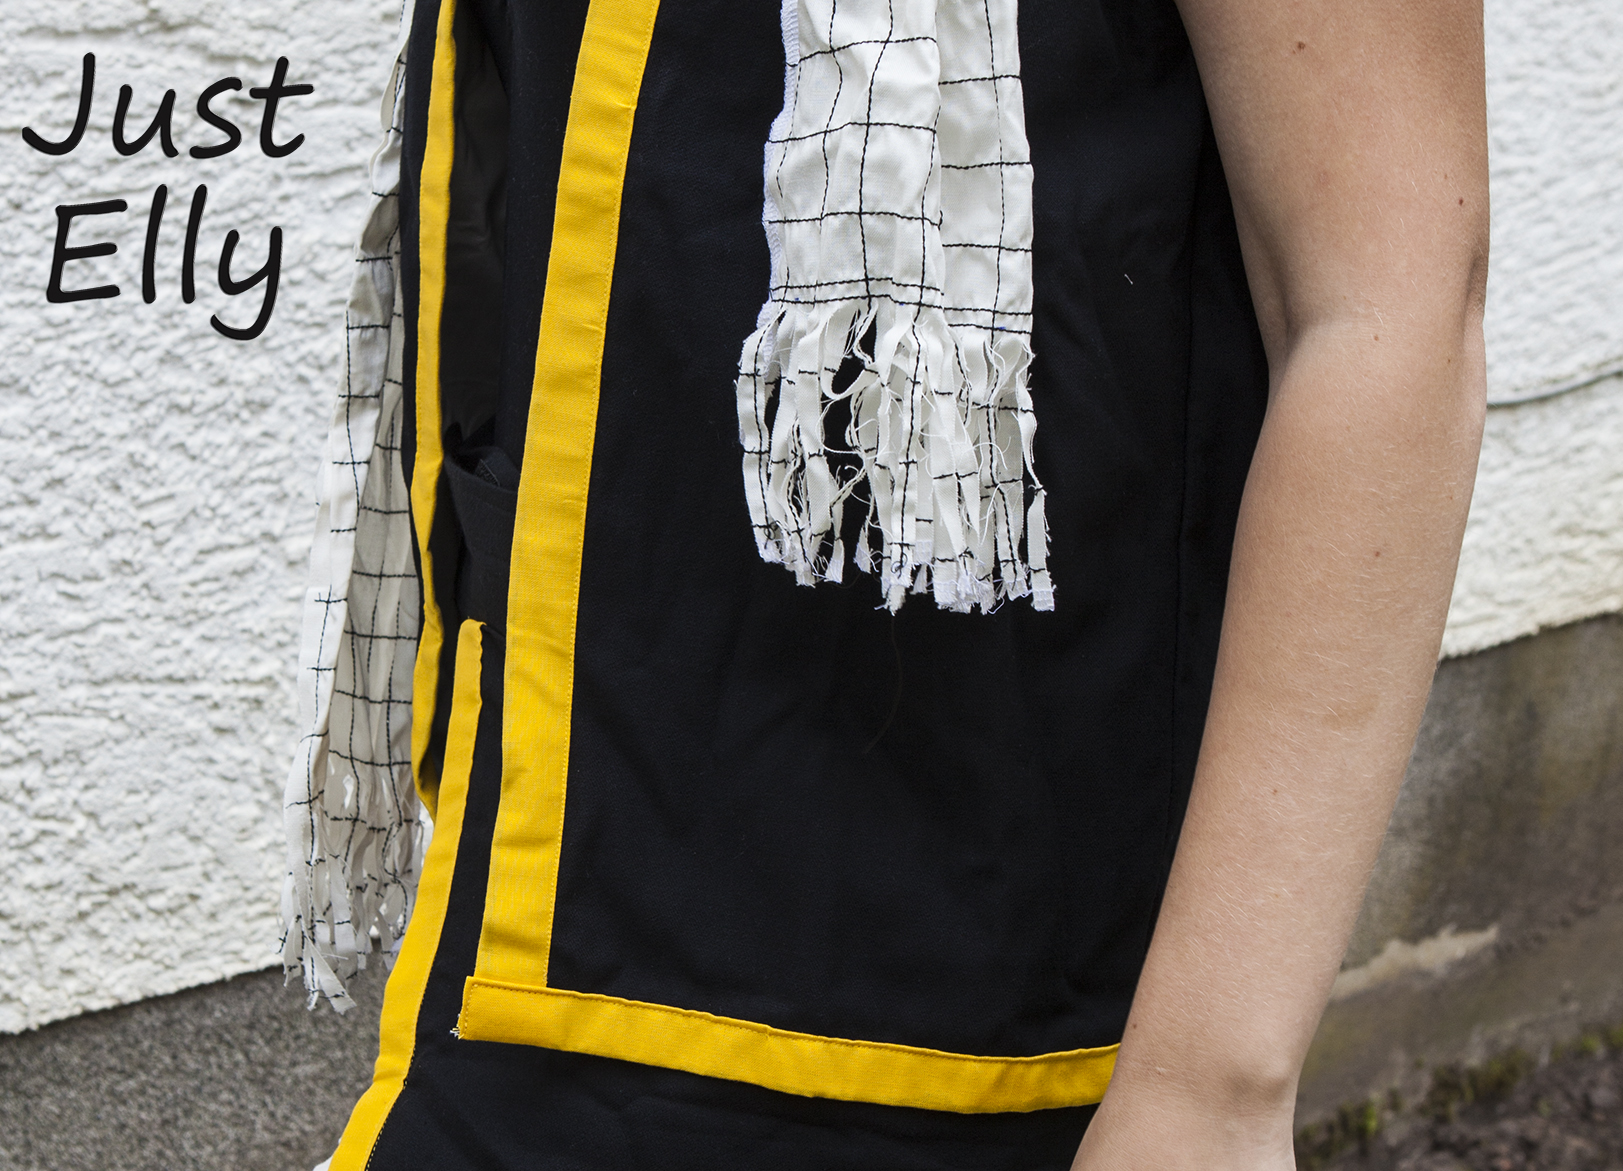
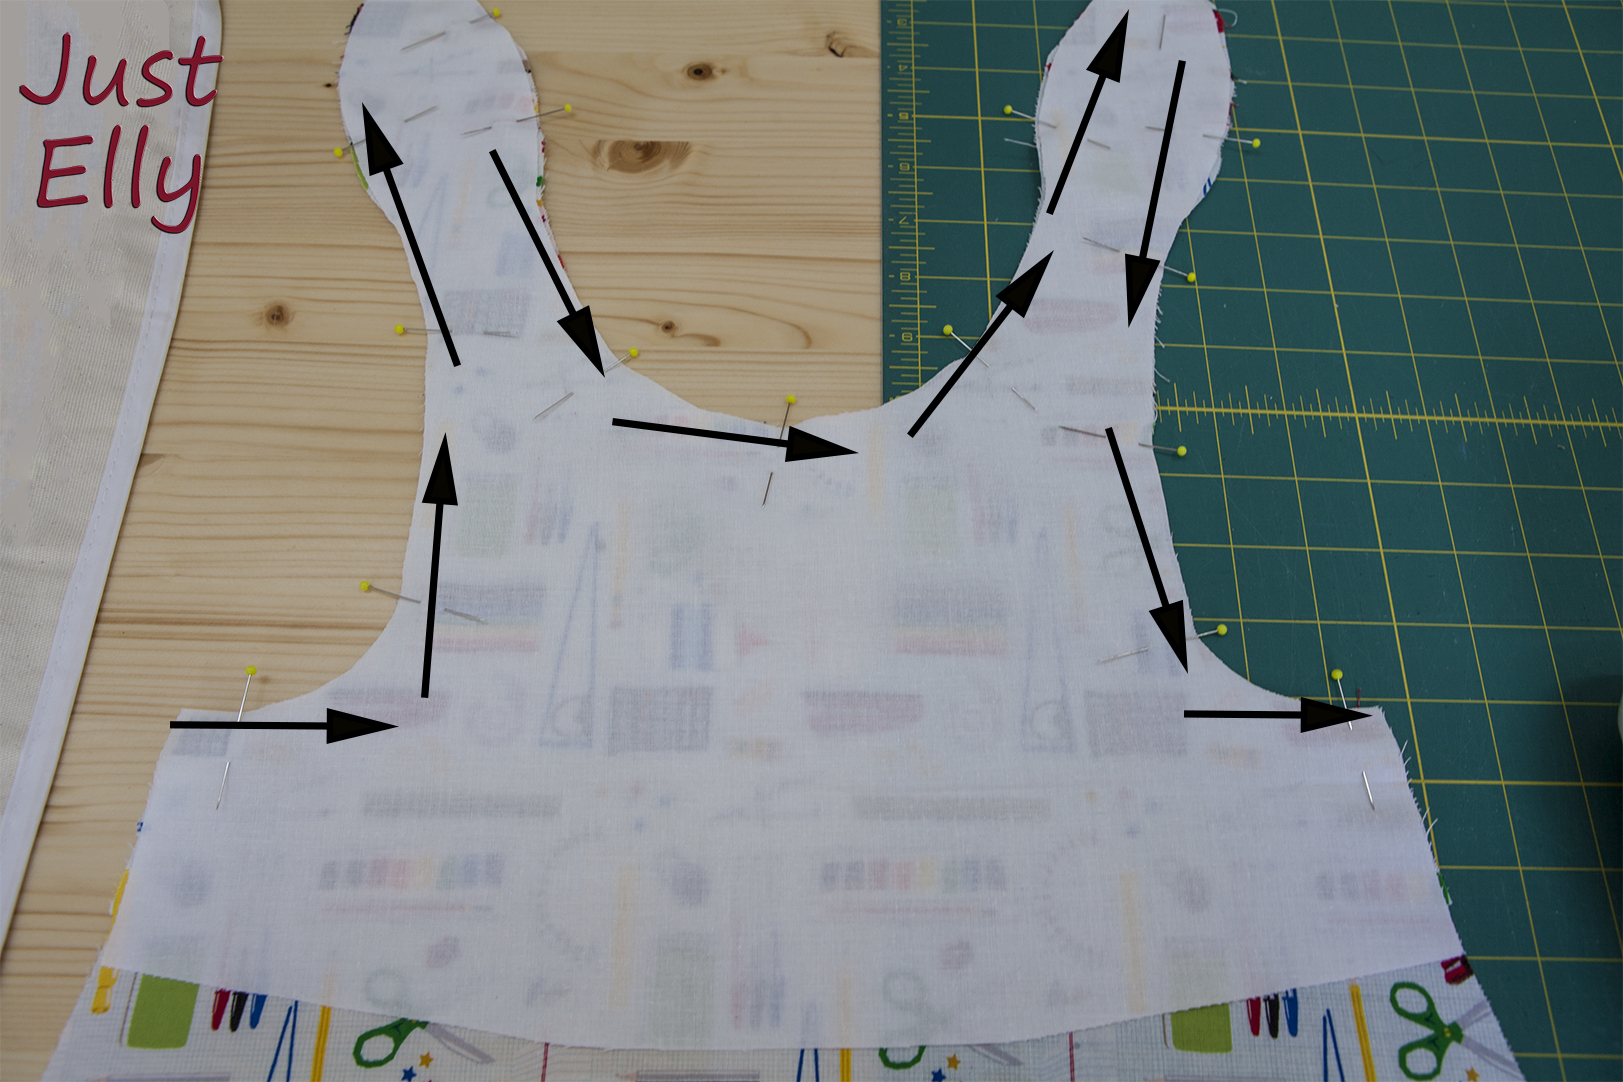
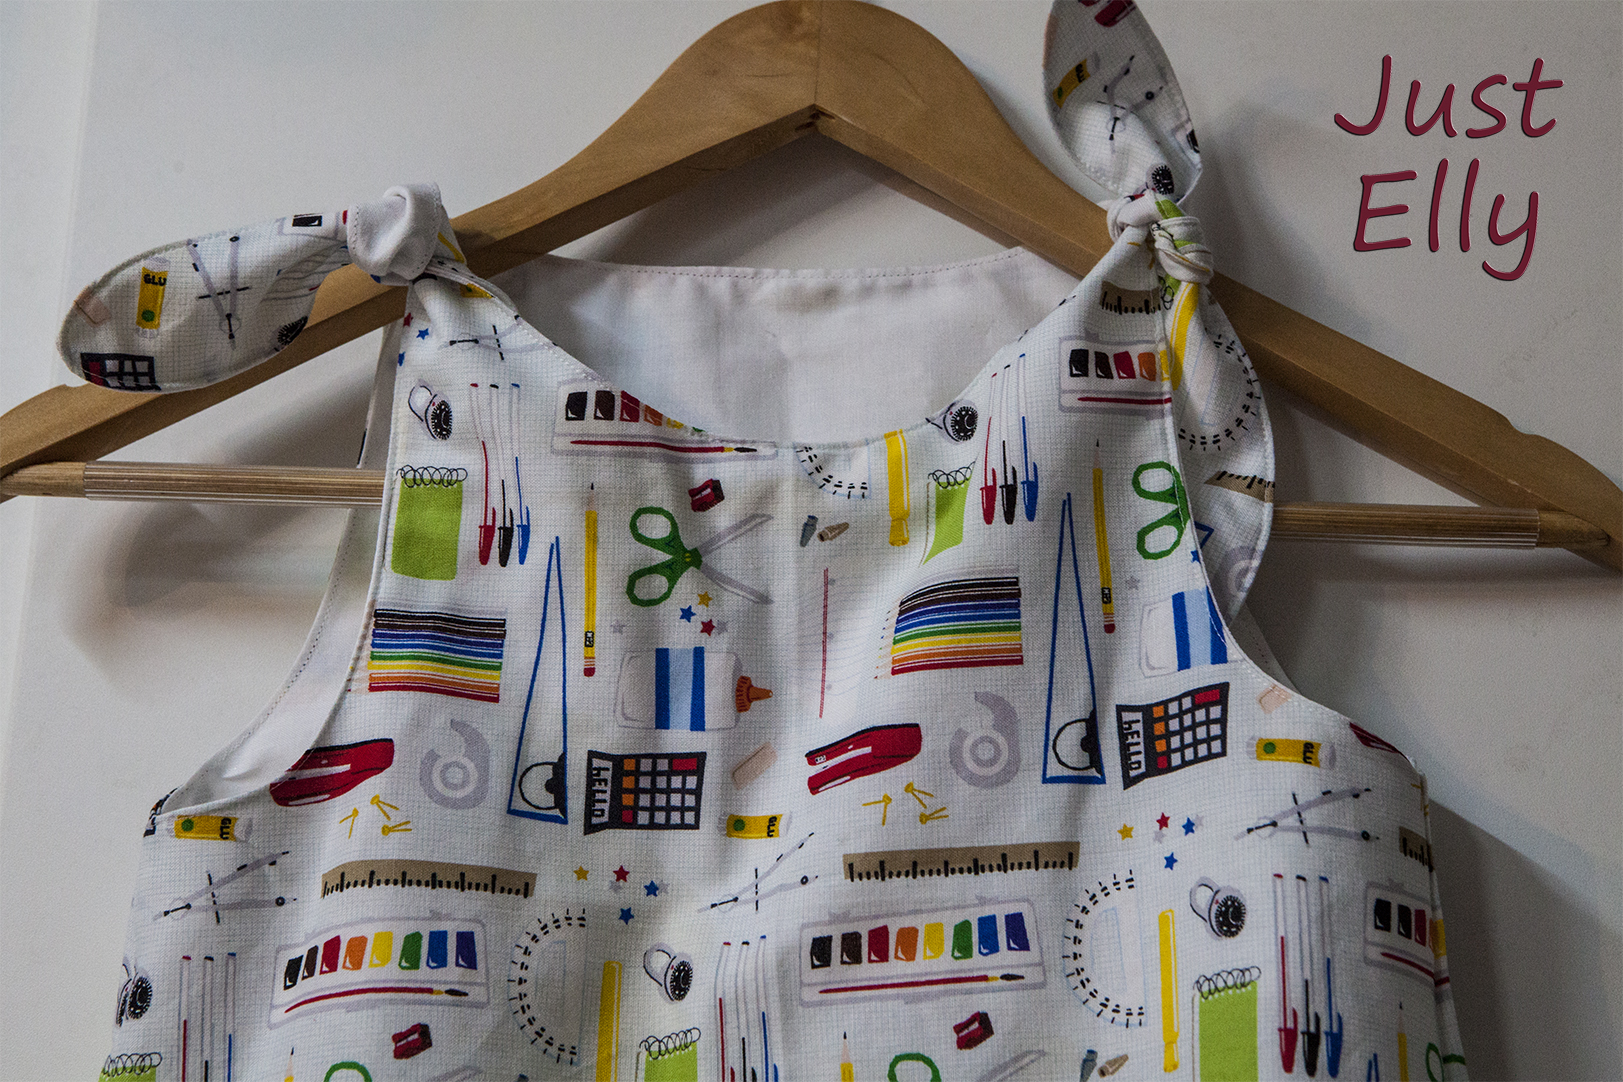
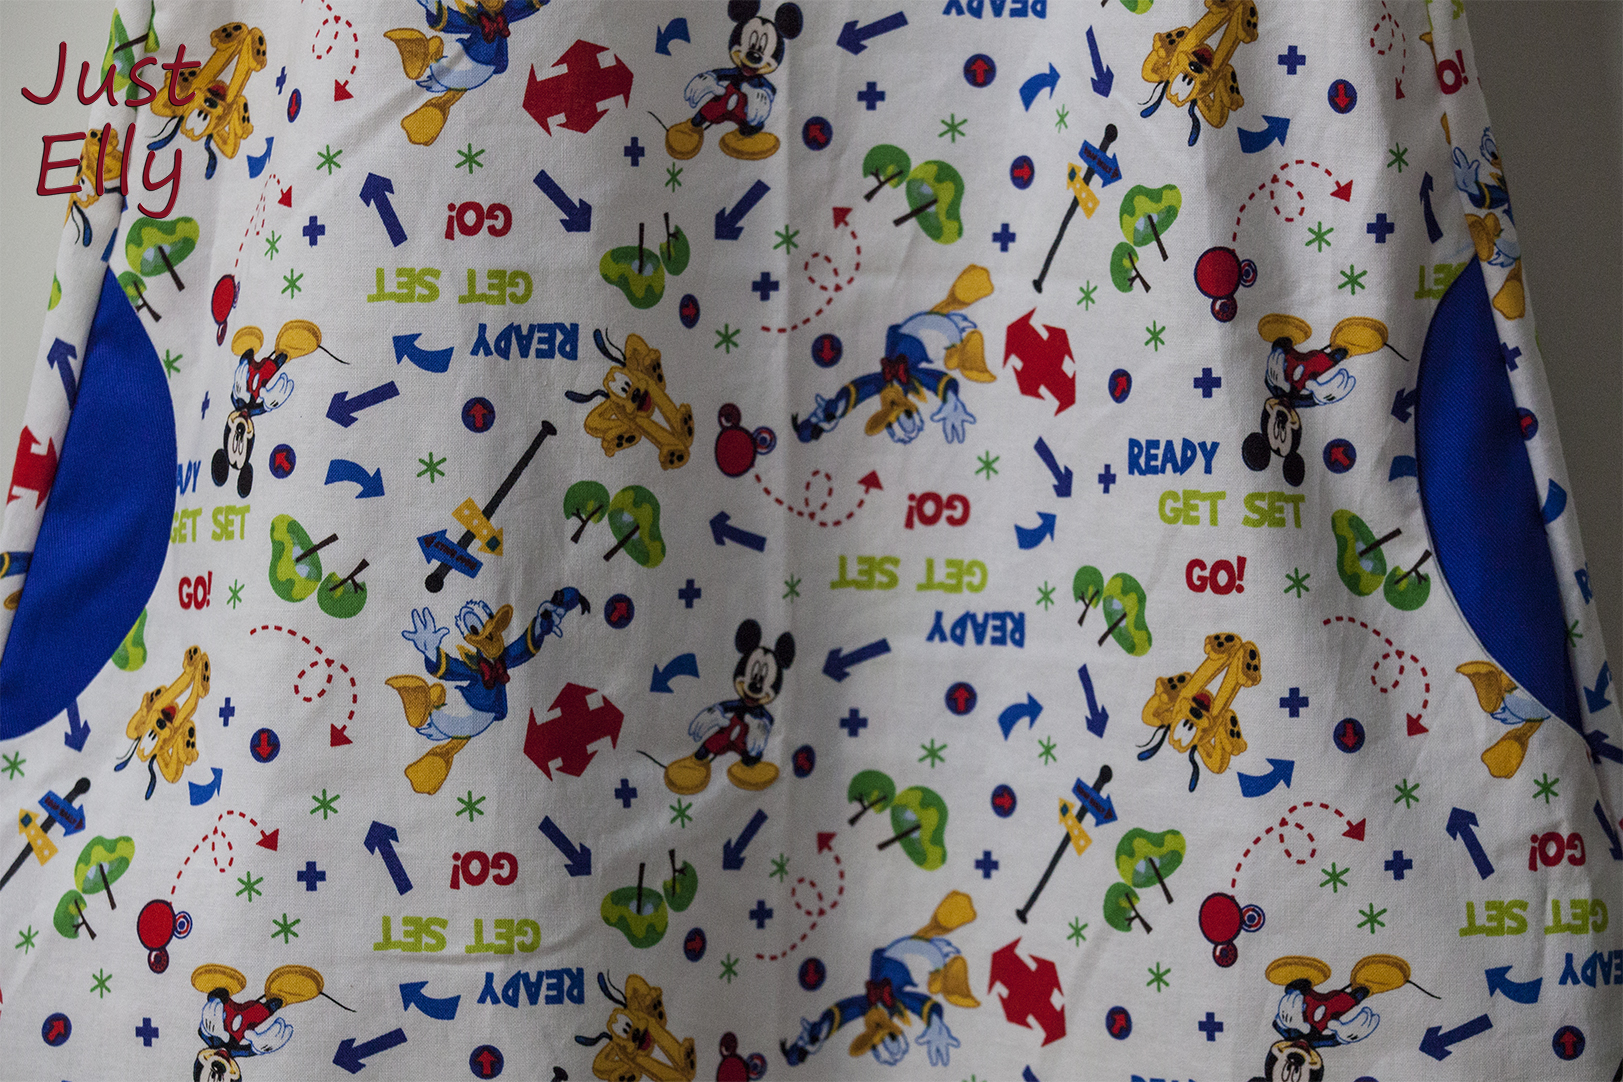
And as a goodbye to my old machine, today I post the last piece I sewed with it.
It becomes part of a dress that I want to sew in class and also finished with my new machine.
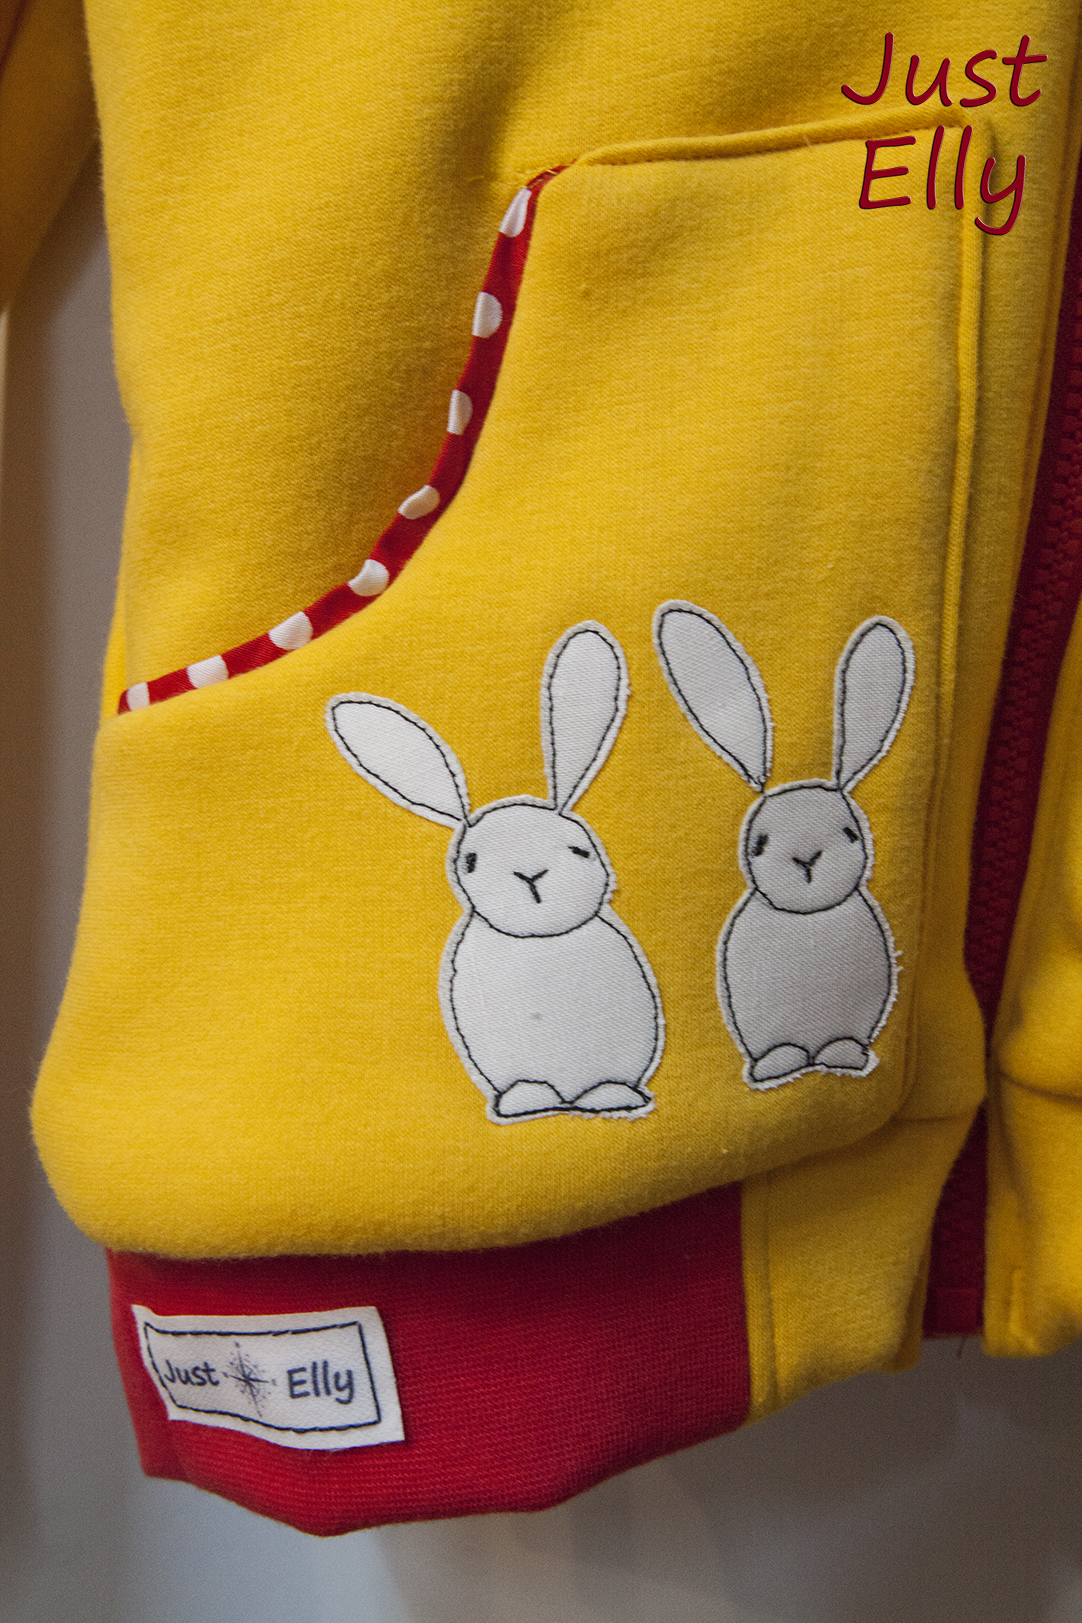
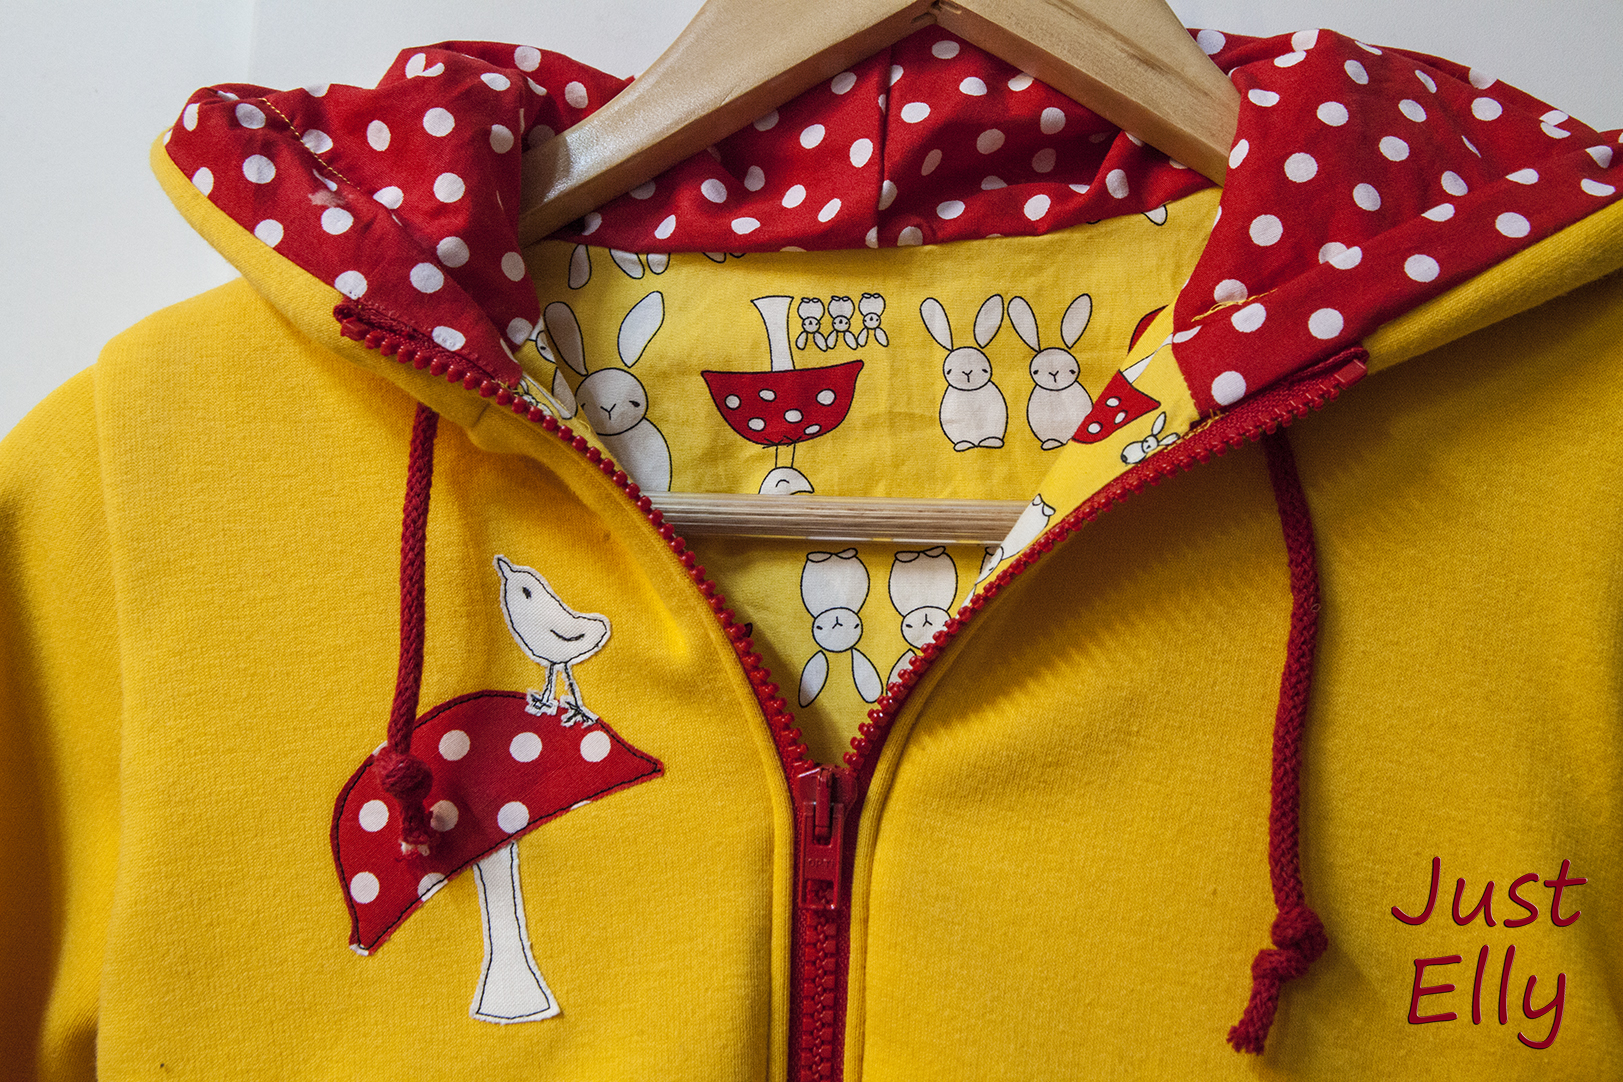
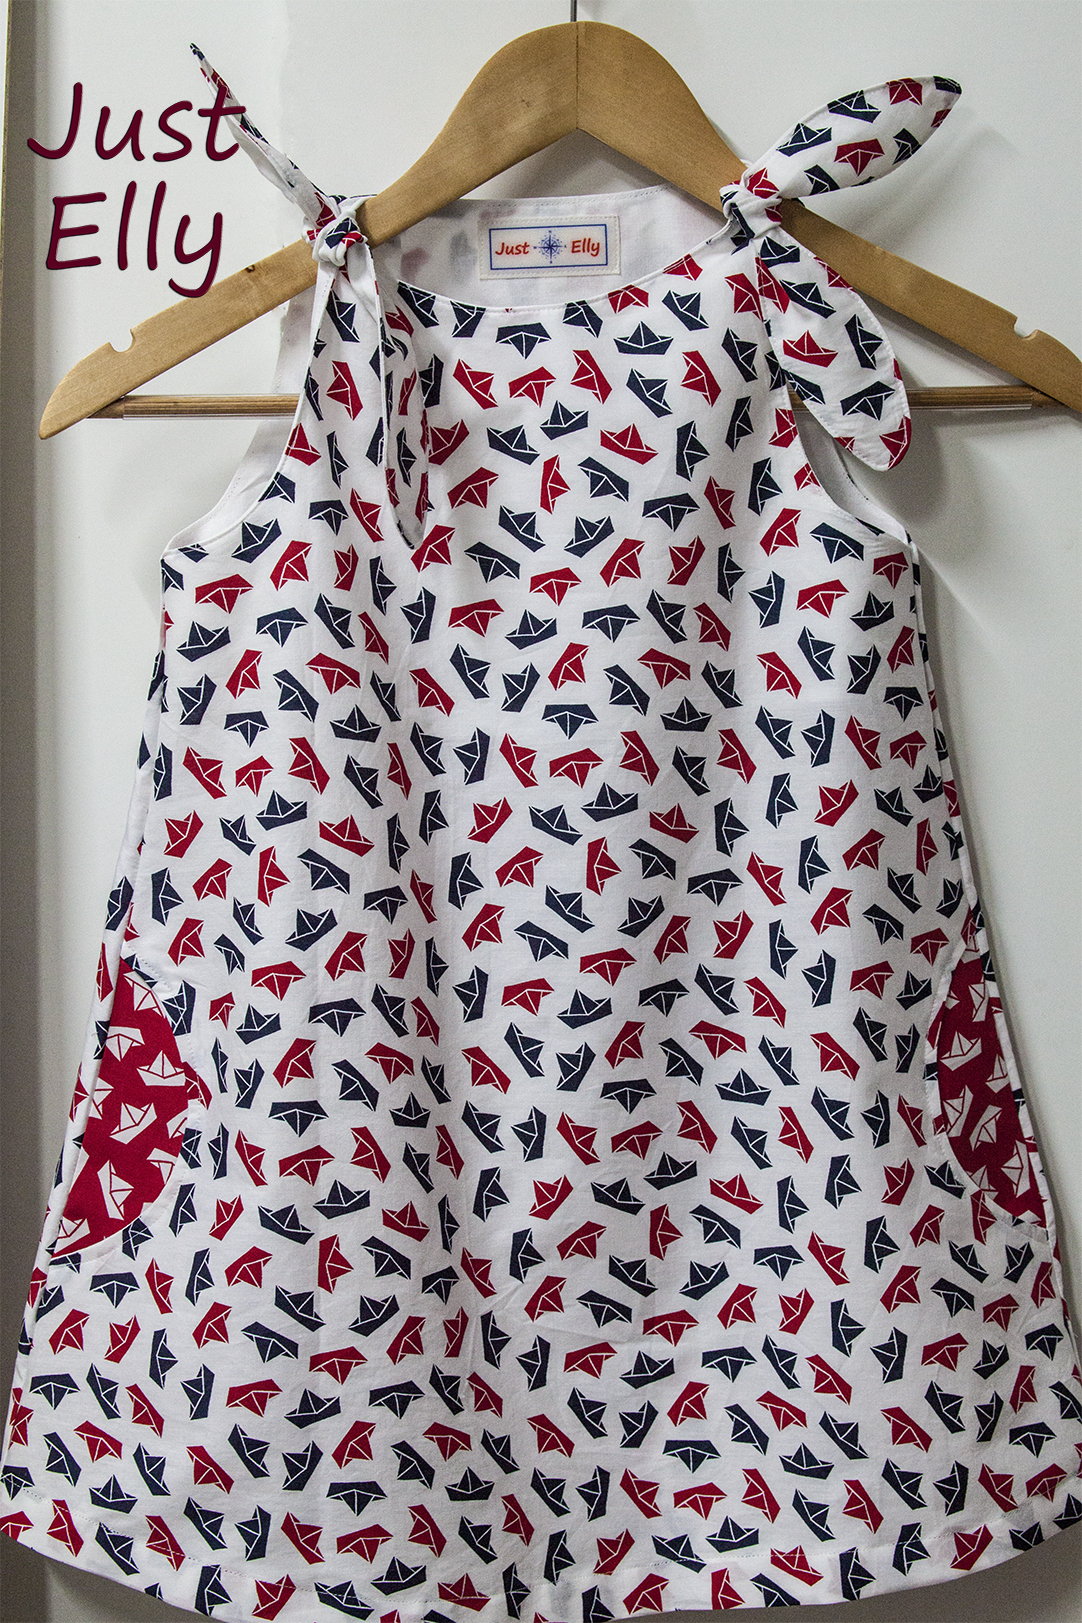
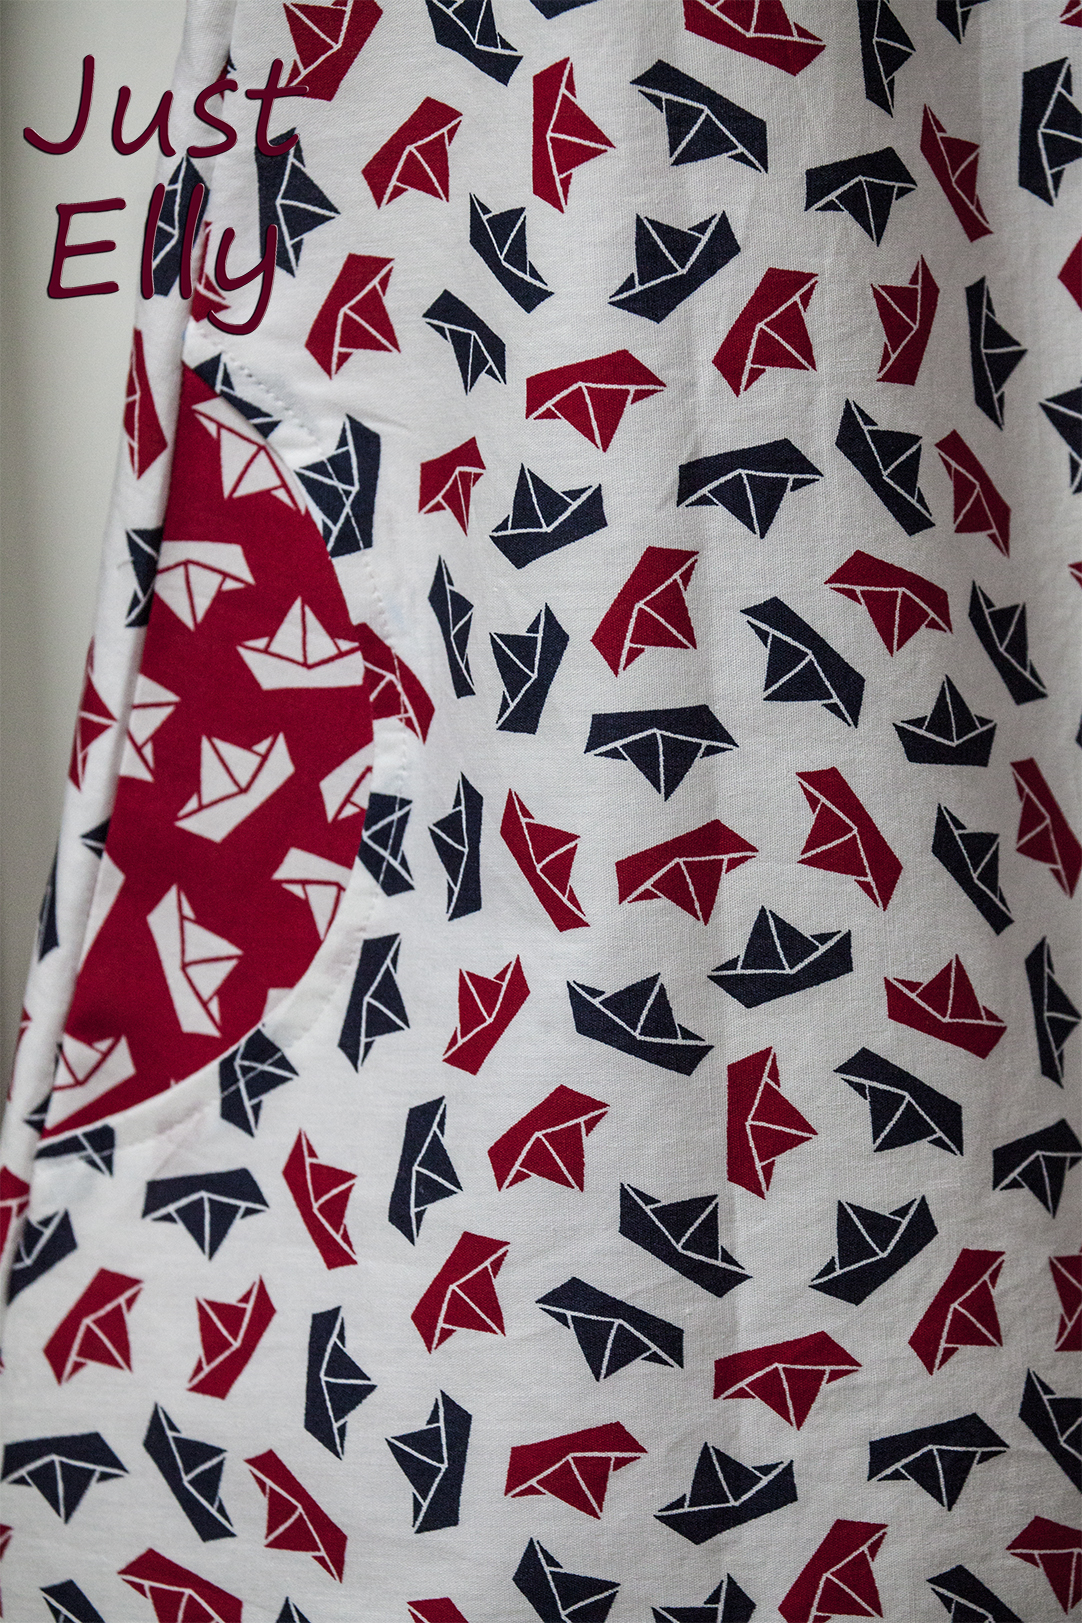
Up to now I had always sewed things with applications for others. But this project will be for me 🙂

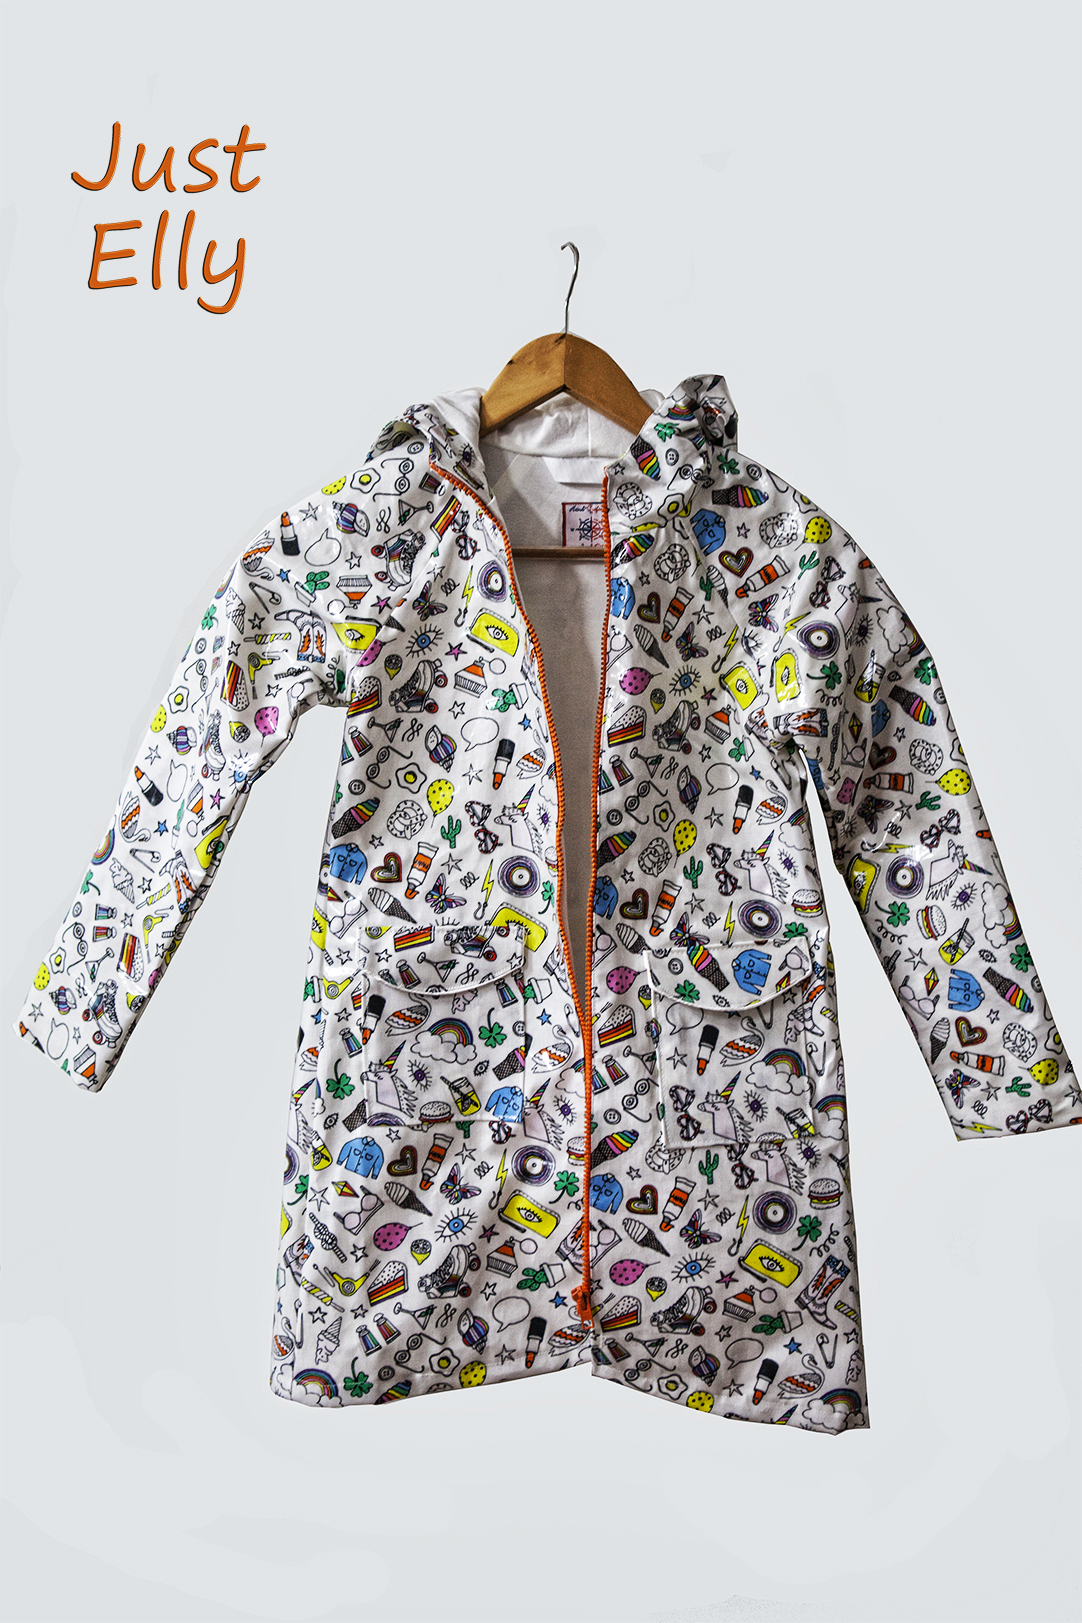
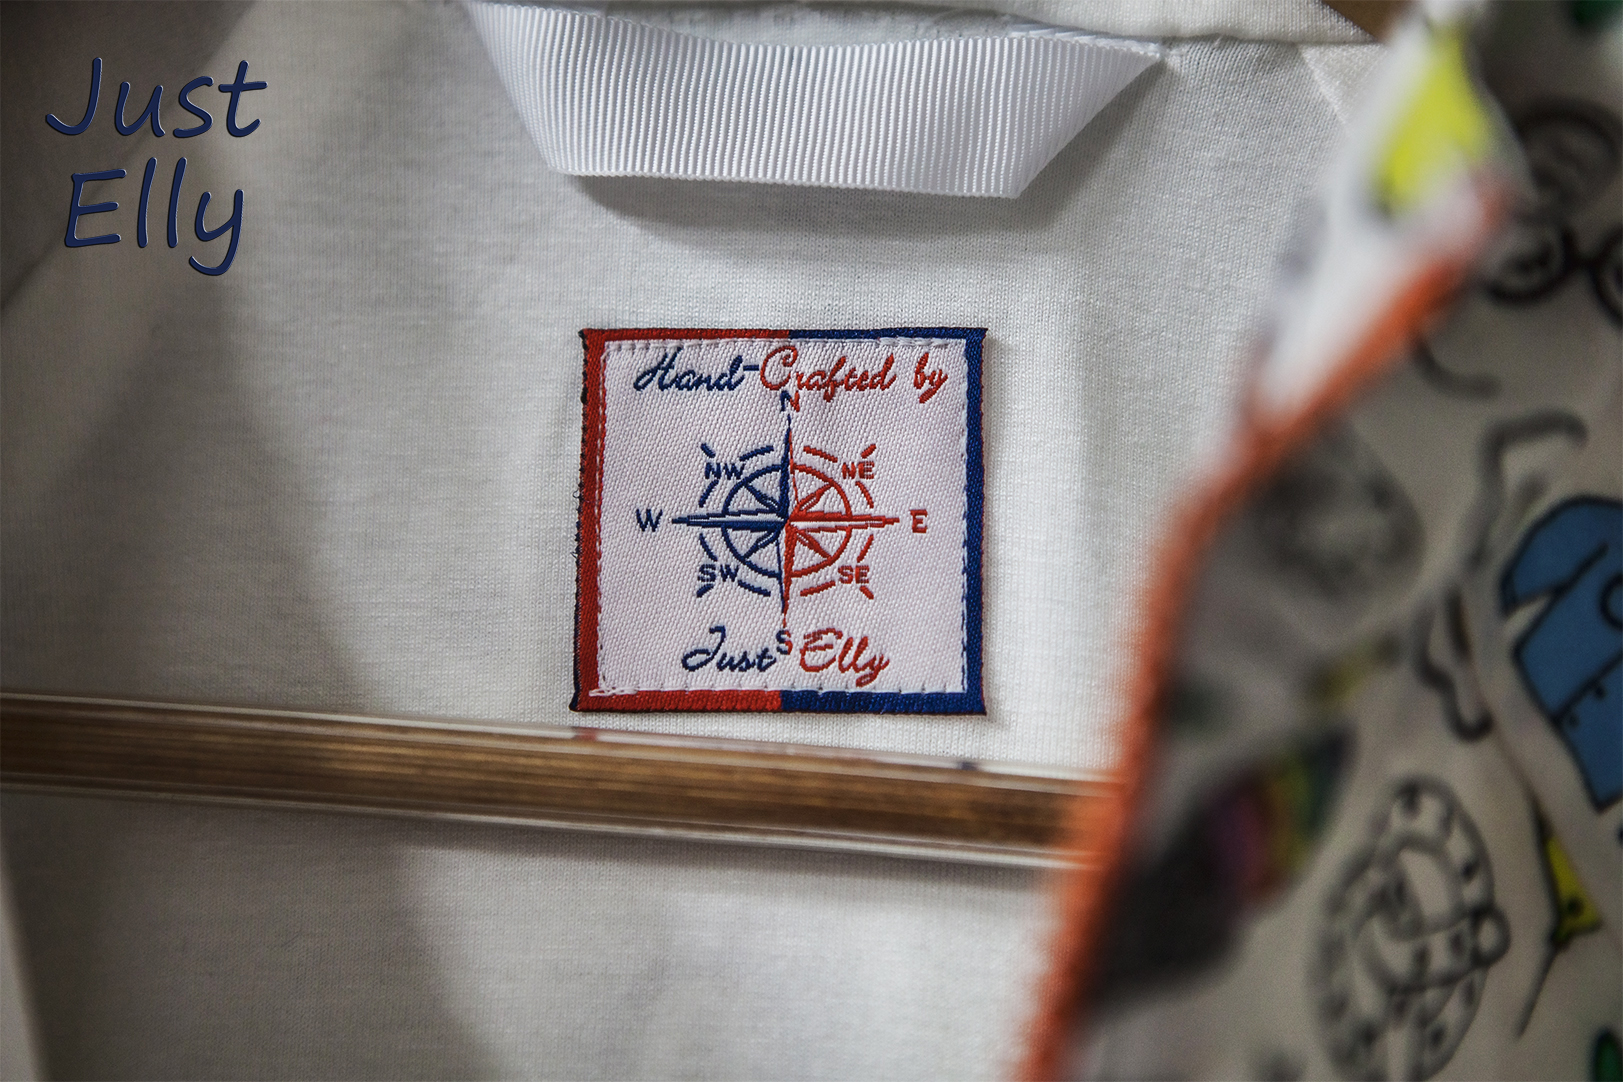
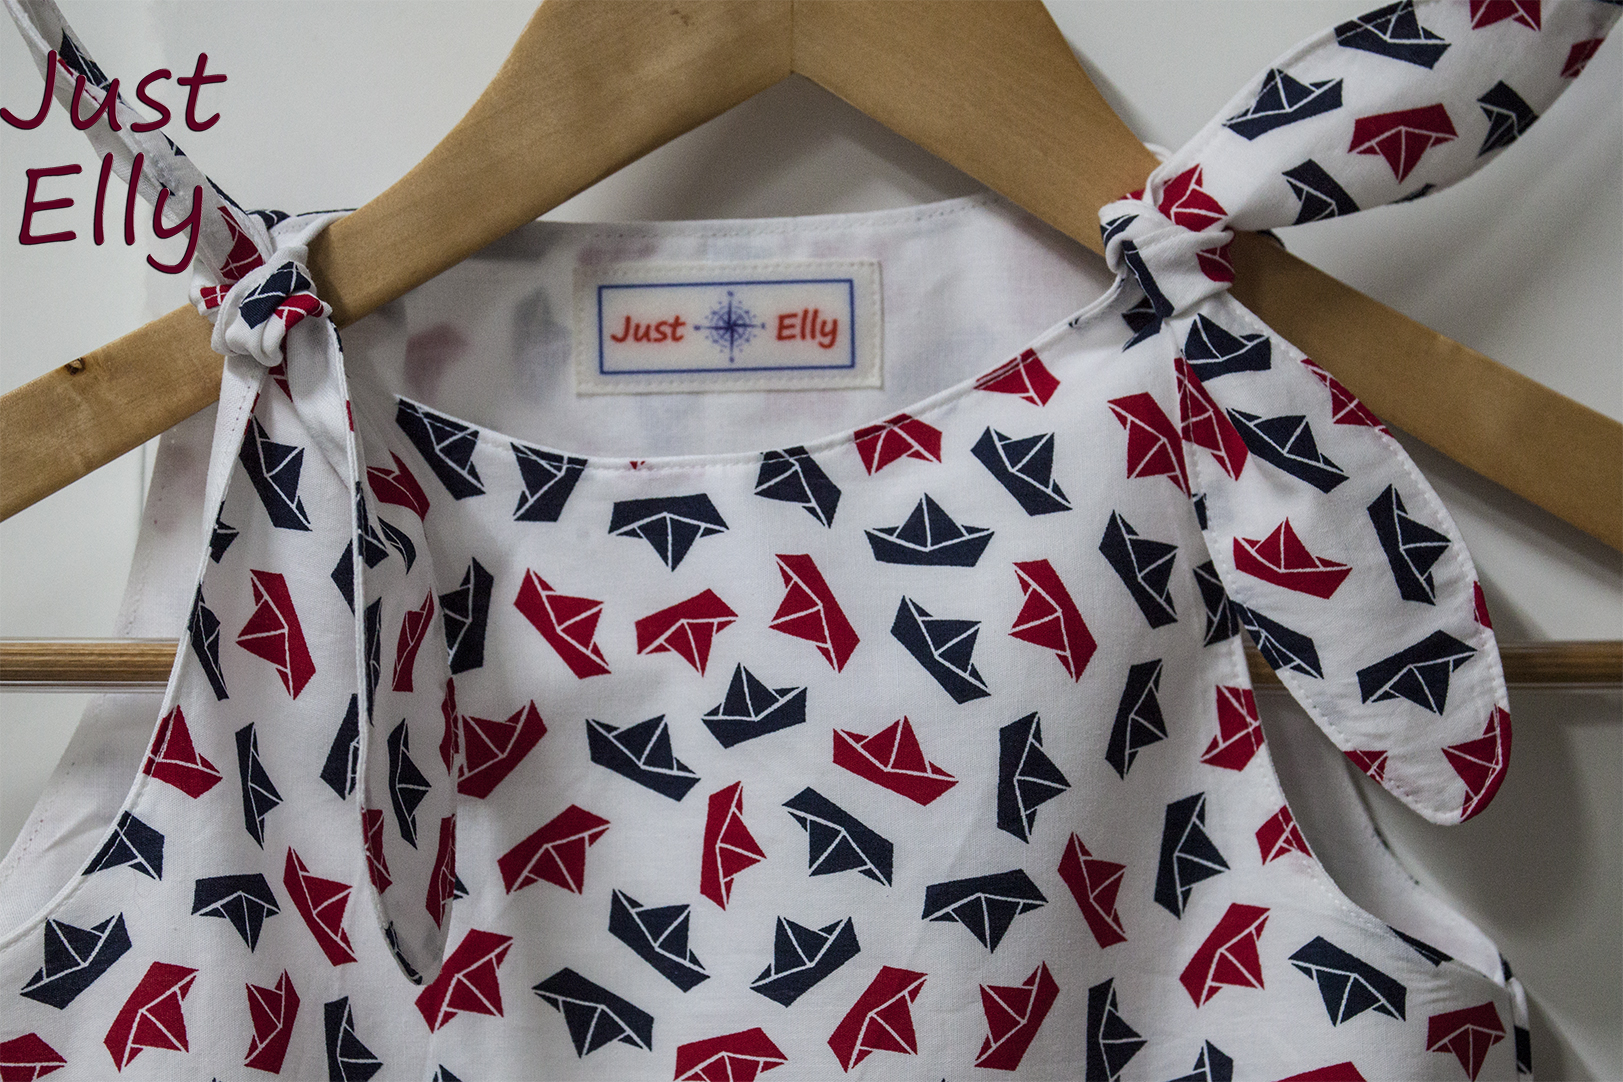
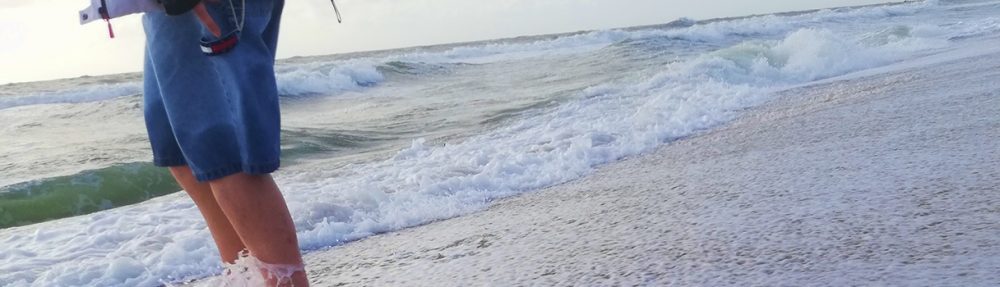
I love everything that has to do with the sea. That’s why I have a compass in almost all my badges.
Cutting out every single part cost me a lot of time even if the compass has 10 inches including the letters.

I could have simply ironed the compass after cutting, but I was afraid that it would come off at some point. That’s why I always sew ALL applications to the contours after ironing.

Compass application 01

Compass application 02

Compass application 03

Compass application 04

The funny thing now is that my new machine has an embroidery module and I could have stitched the compass with it hehe

DIY My first polo shirt

I love polo shirts. I guess I have at least 40-50. Long sleeve, short sleeve, in all colors.

A few months ago a colleague came to work with a shirt. It looked like a normal shirt but was as long as a mini dress and had a ribbon on the sides. I was blown away.

Unfortunately I couldn’t buy the shirt anymore.

But hey, I can sew hehe

And because I have a liking for polo shirts, I changed my shirt accordingly.
Look at it!

Front

DIY Polo shirt 01

Back

DIY Polo shirt 02

A closer look at the collar

DIY Polo shirt 04

I used a twin needle with 2 colours and triple stitch on the arm and bottom of the cuff. I love the result ❤ ❤ ❤

DIY Polo shirt 03

This won’t be the only polo shirt I sew. Only next time I have to change the pattern because the neckline is too big for me.

DIY Miss M’s first maxi dress

Do you remember the first time you wished for a maxi dress? I was a teenager.
Miss M and her family are invited to a wedding. She wished for a long dress with a spaghetti strap. I think because she saw it at her Mom’s.
She chose the fabric for the dress herself. The first time I saw the fabric, I thought, “Yuck.”
I would never have picked this fabric for a seven-year-old girl.
Her dress – her decision!
Here you can see how the dress turned out. Looks really good!

_MG_3101

_MG_3105

Two months ago, I bought fabric for Miss M. It was supposed to be a dress. Since there was more than enough fabric for a long dress, I also made the pattern with this fabric.
Now I just hope she likes that dress, too.

_MG_3093

_MG_3097

_MG_3098

I sewed both dresses so that she can still wear them next year. There’s more than enough seam in there.
In a few hours she’ll get the dresses and I hope I can get some nice photos so I can show them here 🙂

Et voilà

Miss M was right about the intense colors. She’s blonde and has very light skin. The contrast green/blue looks simply more beautiful….

Maxi dress Miss M 1

Maxi dress Miss M 2


DIY A cute Kids rain coat

Last year I saw a children’s coat in “my” fabric shop. Sellers sometimes sew clothes so you can see how a fabric might look dressed. The coat was so cute.

When I saw the coat, I immediately thought of Miss M.
Unfortunately I didn’t like the fabric and didn’t find anything suitable in the next months. Until a month ago!!!

I found a totally cute laminated cotton fabric.

Originally I wanted to sew a coat for fall / winter. But this fabric isn’t warm enough for that.
So I decided on a raincoat that was finished yesterday and I love it ❤ ❤ ❤

Rain coat Front

Rain coat hat

When I started to learn how to sew I got printed badges. I still like the motive very much but I wanted something new 🙂
That’s why I got 2 woven badges this time. Here’s my first one. I just love it ❤

Rain coat with new label

Snowman jacket with a knitted tube scarf

This is my last DIY project this year for Miss M.
Originally I wanted to sew a jacket with Christmas flannel at the beginning of December. But I just forgot!
I have 3 different flannel fabrics which are related to winter / christmas.
So I talked to Miss M.’s mom and she picked out the snowman’s fabric. This jacket can also be worn after Christmas.

But only sewing the jacket without appliqué would be sooooooo boring!!!!!
First I thought about taking the snowman from the flannel. I like the flannel fabric but I didn’t really like the snowman for the jacket.

On the internet I found free cliparts with snowmen and printed one of them.

The idea with the scarf came to me very late and I was afraid I would not get the delivery in time.
But luck for me, the knitted tube came on Monday 🙂

Here’s the jacket from the front. I’ve stitched a few snowflakes on it.

Snowman jacket 2a

Here you can see the flannel lining. I like it very much – otherwise I would not have bought it – but I don’t like the snowman so much to apply it.

Snowman jacket 3a

I didn’t apply anything to the back of the jacket. At first I wanted to do the snowman too, but unfortunately I didn’t have enough time.

Snowman jacket 4a

Now a closer look at the snowman. I have sewn the scarf only in a few places to make it look more real.

Snowman jacket 1a

Sweat jacket with bunnies and dot dot dot

And another jacket for Miss M.
A few months ago I sewed her a skirt with dots.
I found the lining fabric on eBay and the mushrooms with the dots brought me to the idea to sew a suitable jacket for the skirt.

I didn’t have to think long about the motive for the application. I copied a piece of fabric and printed it in different sizes.
Okay, the colors are very spring-like but I hope she’ll like it anyway when she gets it tomorrow 🙂

Here the front of the jacket

Bunny jacket 01

a better view at the pockets

Bunny jacket 02

mushroom and bird on the chest

Bunny jacket 03

the back of the jacket

Bunny jacket 04

DIY Cosplay Natsu from Fairytale – Tutorial

My god child Sonja asked me once to make a Fairytale costume for a friend of hers. They wanted to go to a Games Con. Sonja had bought a Lucy costume for herself but her friend still needed his cosplay.

She asked me if I could sew a Natsu costume. I must say I had to google for this name hihi

I knew the name Fairytale coz I had bought some of her mangas as a gift but never ever read one of these.

After looking for pics of Natsu I asked Sonja to give me some measurements from Alex like hip, waist, bust, shoulder length ….

Guess what I got in the end?????? “Elly, he is 6ft in height”. Thats all the information I got LOL

Lucky for me I’ve seen Alex a few times before. Otherwise I wouldnt have known is he a skinny 6ft or a muscle one or a little over weighted! There are way to many different physiques out there to sew without any information

To make this cosplay suitable I had to make compromises!

I bought black, white and yellow cotton + velcro

First I made the skirt. Because I hadnt had his size I decided to make the skirt variable for different sizes. To do so I used velcro as seen in this sketch.

If you want to sew it the way I did, dont use a too small piece of velcro! The velcro will hold the skirt together!!!

For the size of the skirt I measured myself and added a few inches in length and width. The front I cut 2 1/2 inches broader than the back because the 2 front pieces will overlap a little.

Cosplay Natsu Fairytale 14

First sew the 2 skirt pieces together. Check how the skirts fits you and where to make the cut to get the 2 pieces for your front. See pic above. Cut your front. Add the yellow bias binding .

I wanted the bias binding in 5/8″ so I cut 2 3/8″ strips

Cosplay Natsu Fairytale 11a

Now measure all three pieces together, add 2″ and cut a 4″ wide stripe. Iron it to the half. Sew the waistband to your skirt. Start at the small front piece. If done the waistband  should have been longer when you finished at the larger front piece.

Sew the velcro on it. 2 stripes on the small front of your waistband, the other 2 on the back of the larger side. Make sure you wont see the velcro when you close your skirt.

Your skirt is done and should look like mine

Cosplay Natsu Fairytale 10

Here you can see Sonja with the cosplay. Even she is way smaller than Alex she can wear the skirt!

Cosplay Natsu Fairytale 17

The next has been the vest

I used a pattern from a shirt. I made it larger than my size and added 3 inches in length.

You only need the back pattern. Cut it twice. Take one of them and cut it in the middle. Now lay them right side on right side. Cut a sleight curve from the neck down. Add bias binding on front, arms …

I put a lining to the front , but it isnt necessary. I thought it would look better if the front fabric isnt too “soft”

Cosplay Natsu Fairytale 12

For Natsus pants I used the “Burda Young Mens Pants pattern 7306”.

It looked close to the one Natsu wears if I’ve seen it right on the Natsu pics. I needed something very wide and comfy. I only had to shorten the pant legs to make it look more  like Natsu’s pants.

I cut a size way bigger than Alex would wear usually.

Because I wanted to make an elastic waistband I added 3 inches for it.

Sew the sides and the pant legs.

Follow the pic below. If you have an overlock you can skip the first point

Cosplay Natsu Fairytale 15

Now put elastic bands in your waistband

Cosplay Natsu Fairytale 04

Because I hadnt been sure this pants will fit Alex I put a band in the waistband too!

Cosplay Natsu Fairytale 03

Your pants is almost done

Cosplay Natsu Fairytale 02

Put in both pant legs an elastic band too and add  a 2″ black stripe. Make sure the black stripe is on both sides of the leg at least 3 to 4″ longer!

Cosplay Natsu Fairytale 05

Cosplay Natsu Fairytale 16

Last but not least the scarf. I used a 1 !/2 yard long, 9 inches wide white cotton

First sew with your overlock all around your scarf. Choose a long stitch on your sewing maschine and sew lines, lines, lines

Cosplay Natsu Fairytale 06

Cosplay Natsu Fairytale 07

Here you can see why I said using a long stitch. The fabric crinkles a little and the scarf looks better

Cosplay Natsu Fairytale 08

I bought this foot last year and its more then helpful when sewing 1″ lines 🙂

Now cut 4″ stripes on both sides of your scarf

Cosplay Natsu Fairytale 18

Say hello to Lucy and Natsu 😀

Cosplay Natsu Fairytale 01

Thank you sweetie for playing my model ❤

A cute nautical dress for a little girl

I really like the Burda pattern!!!

I made one summer dress with Mickey Mouse and one with school supplies.

 This one will be the last summer dress for this year. Fall will start soon – unfortunality hihi

I so love everything with nautical colors, motives   ❤ ❤ ❤

This fabric I have as jersey and as cotton in different colors. Its sooooo cute. I made a T-Shirt for myself last year. I love to wear it ❤

I had more than enough fabric to sew a summer dress for Miss M and do something for myself.

Here photos of the summer dress

Burda dress 03

For the pockets I choosed the red fabric with the paper boats

Burda dress 01.


Burda dress 02


Cute little girl’s dress including tutorial

Do you remember your first day at school?

The excitement to finally going to school like your one year older brother? To know you will learn how to read, write, count? To make new friends, say good bye to some of your Kindergarten friends?

It was such a big step for me but I dont remember much. But what I remember is the new dress I got for this special day.

Now little Miss M. will have her first day at school and I choosed the pattern from my Mickey Mouse dress to sew a new dress for her “big day”

Mickey dress 3a

IMG_1974

If you like this pattern you can find it (model 126) in this magazine:

Burdastyle Link


So many blogs I read so far helped me with sewing tips and tutorials.

This is the reason to do my own tutorial for a girls dress and give back some of the help

Here is my tutorial:

Tutorial Burdastyle July 2017girls dress

A few photos from my tutorial

Tutorial dress 03

Tutorial dress 13

Tutorial dress 15

And now the dress. Isnt the fabric adorable? ❤ ❤ ❤

Tutorial dress 23

Tutorial dress 24

Tutorial dress 25

Merken

Little dress with Mickey Mouse fabric

Did you read Mickey comics, watched Mickey on TV as a child? Went more than once to Disney Land?

Yes? Me too hehe

When I saw this fabric I had to have it.

I didnt knew at first what to do with this fabric. Then I found this pattern in a sewing magazine and used this cute fabric

Mickey dress 3

the shoulders arent sewed they are closed with a knot

Mickey dress

unfortunality I couldnt found the same red fabric as in my Mickey fabric for the pockets. Instead I used blue fabric which came out quite well 🙂

Mickey dress 2