I think it’s been almost 2 years since I saw the most beautiful little handbag in the world on Pinterest. ❤ ❤ ❤
I won’t write who the designer is, just that you couldn’t buy the bag anymore.
But because I really wanted to have it, preferably as a backpack, I decided to sew this bag myself.
Getting the black faux leather was easy. The original is made of real leather, but almost impossible to make with a normal sewing machine. The hardest part was finding a shiny gold-colored zipper, which had to be huge.
I also spent a long time looking for pins because I didn’t know which ones to choose for the bag. I decided on colorful, funny 😀
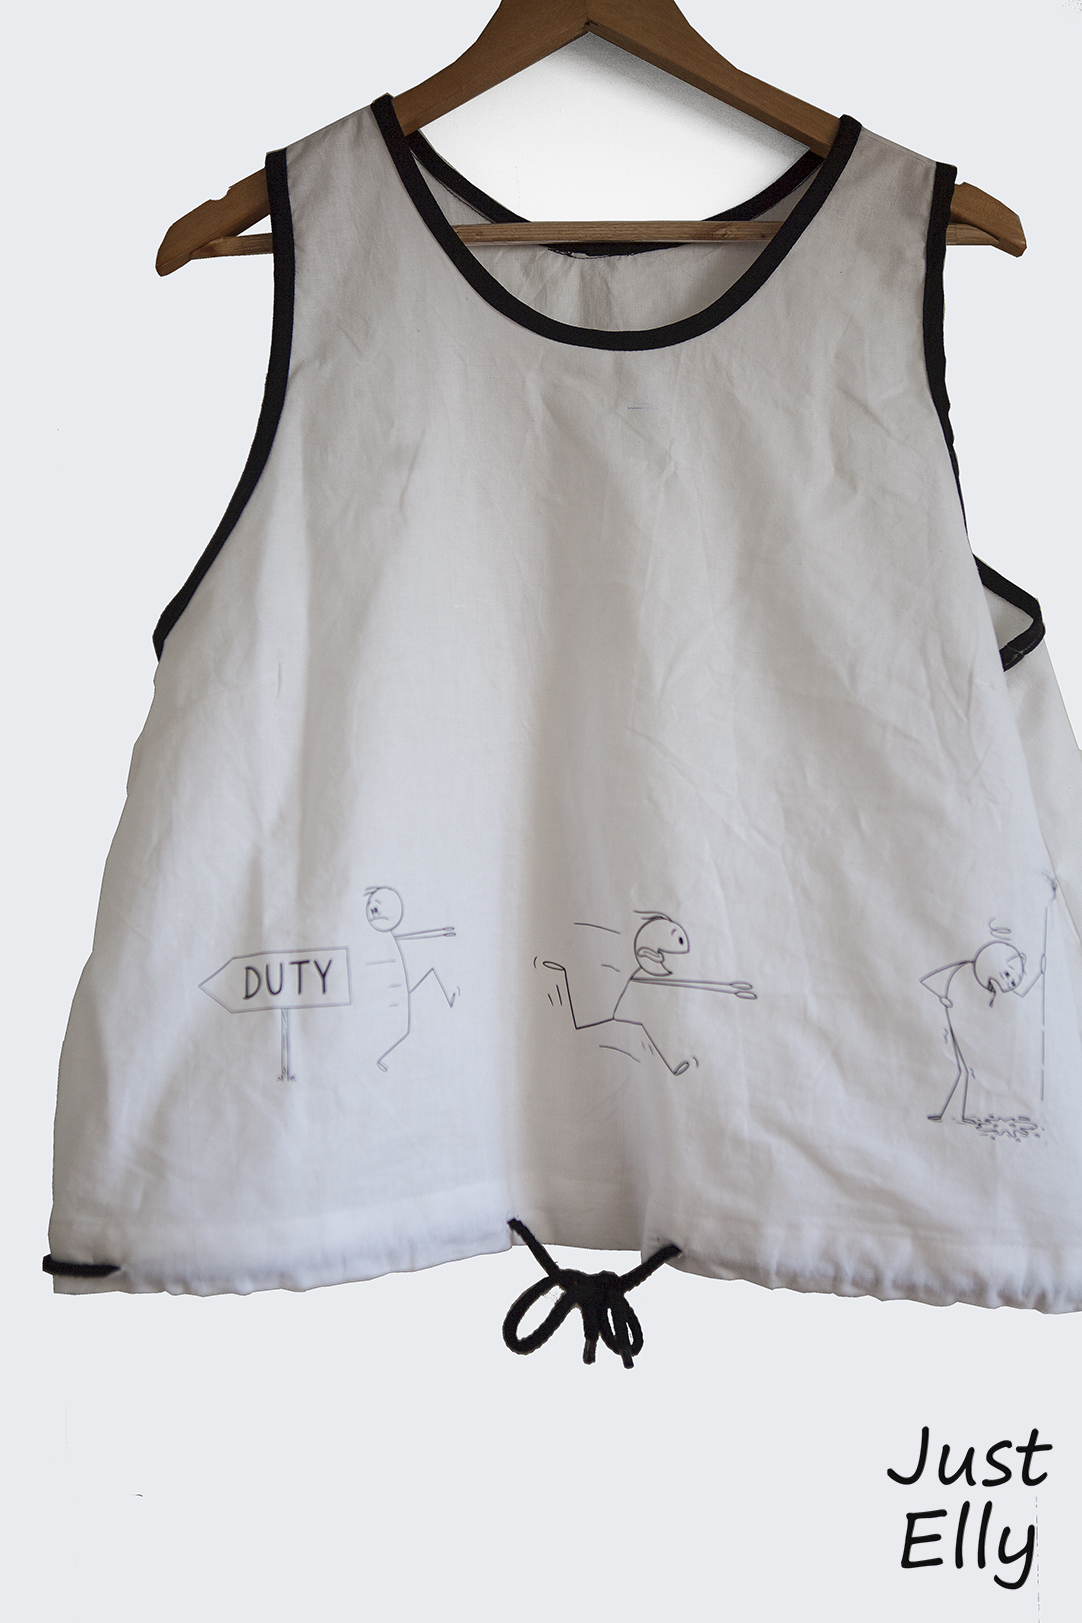
I bought a really cute little leather jacket for toddlers as a model for the jacket, which was very well priced. Lucky for me. 😀 A pattern has been made from it
I won’t describe in detail HOW I made this backpack, but I will show a few cell phone photos from the sewing course.
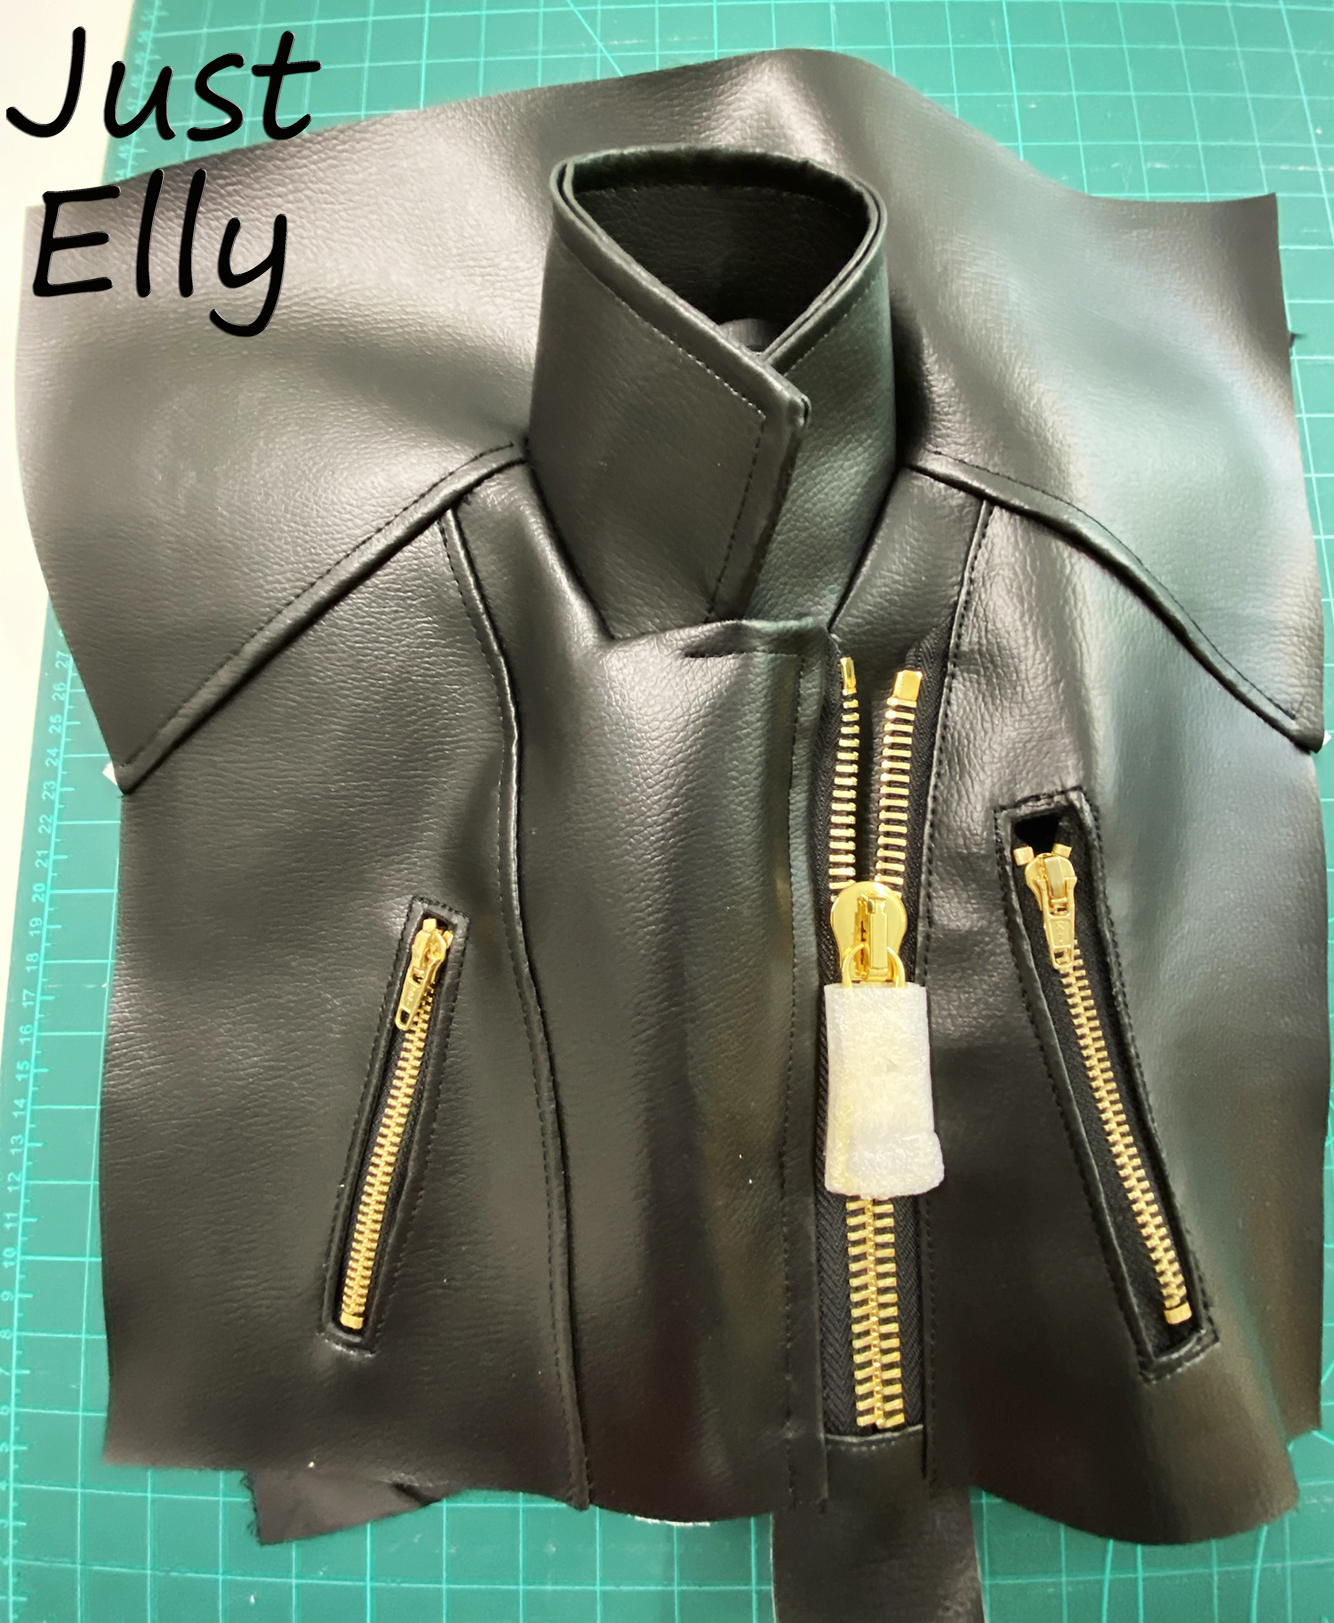
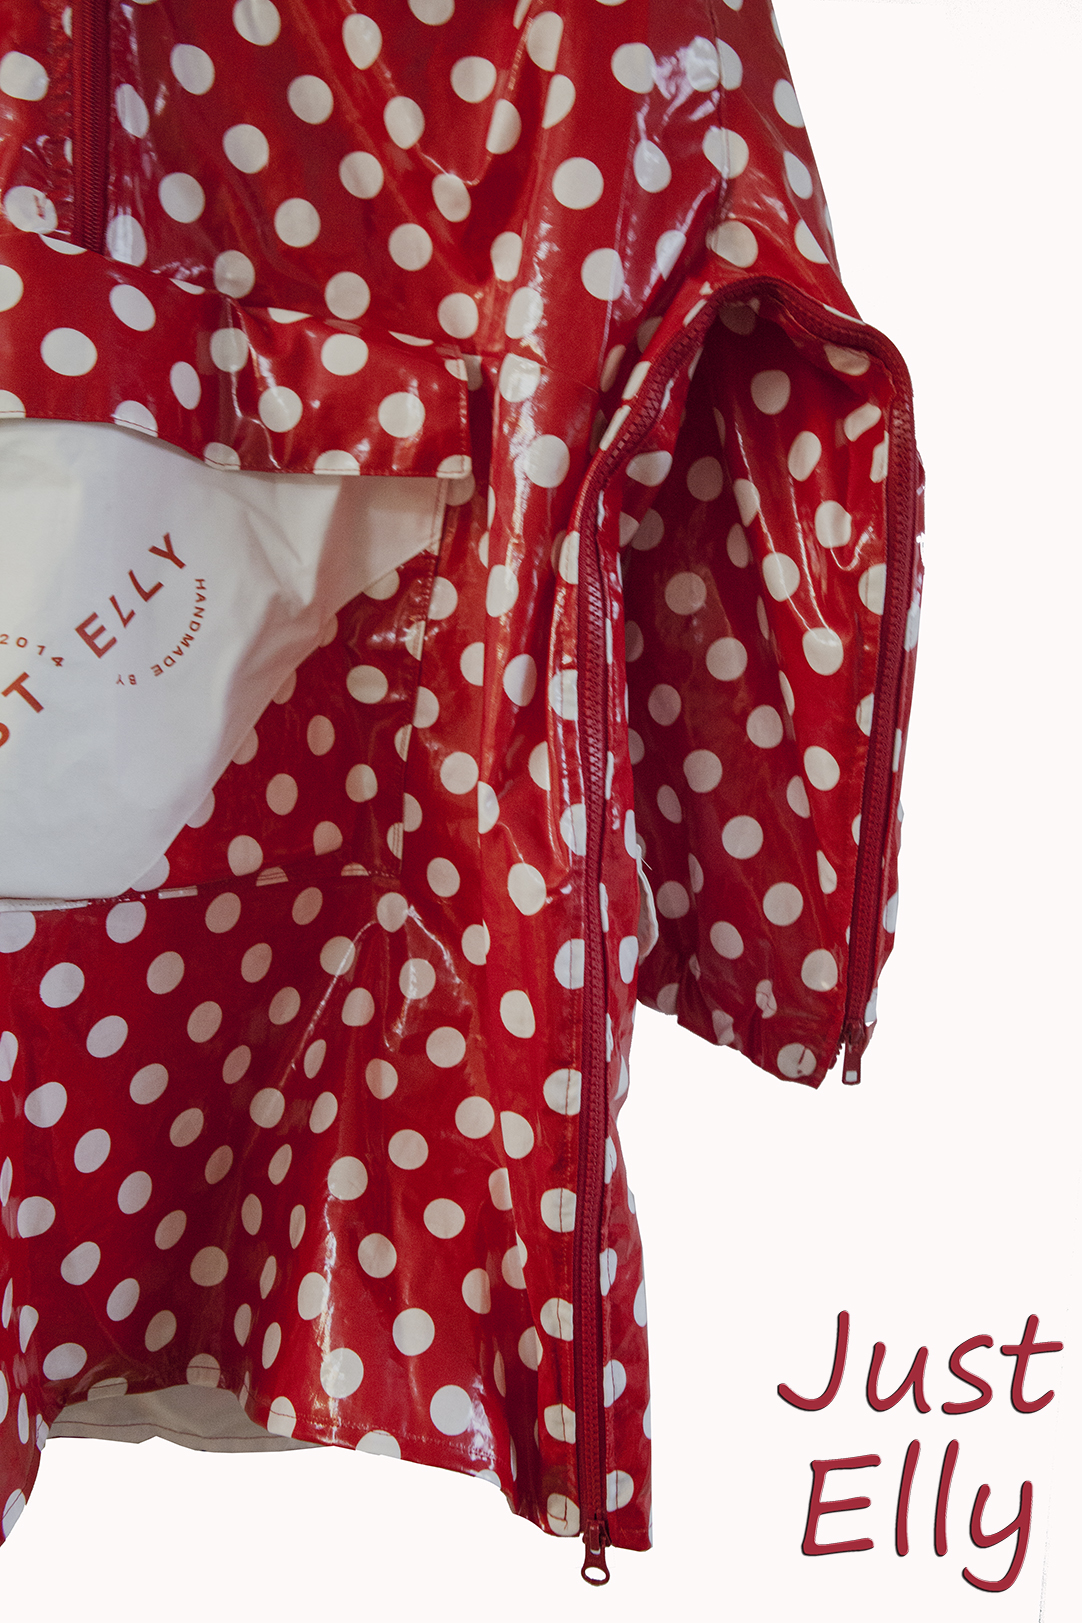
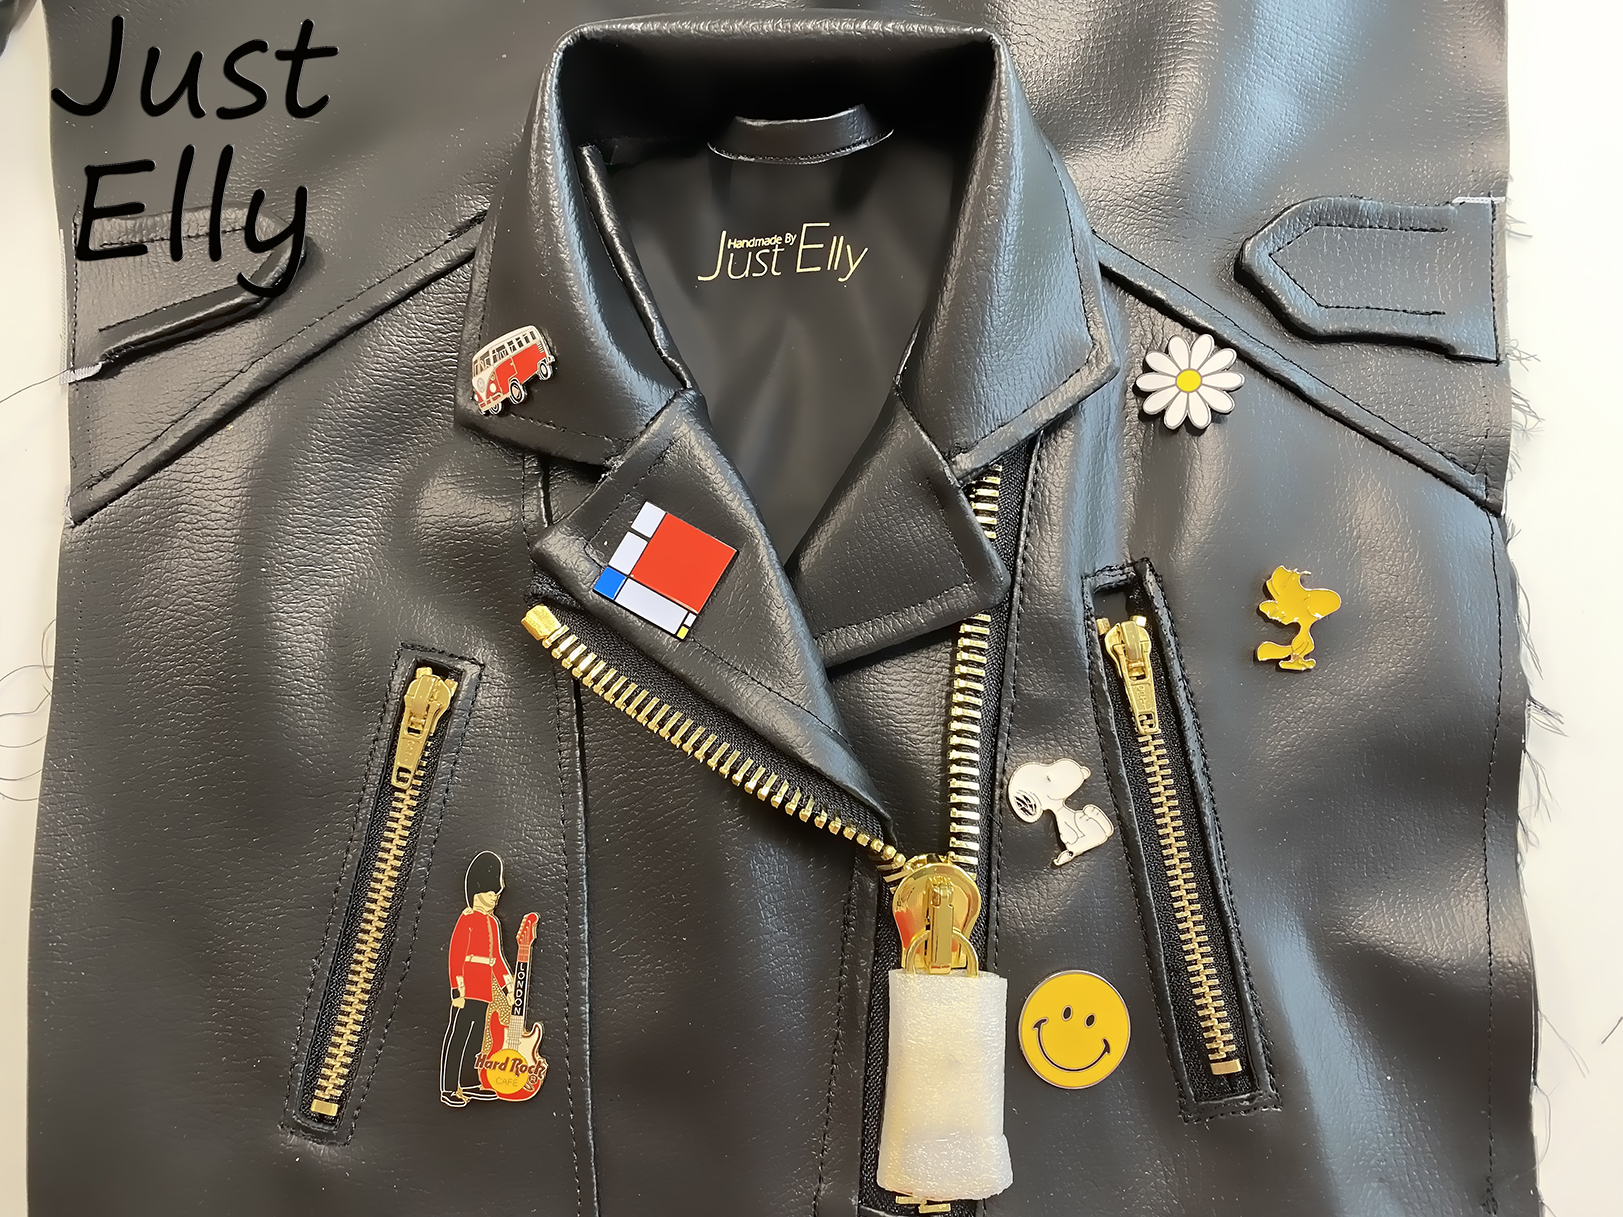
I don’t know if you can tell from the picture how huge the zipper is.

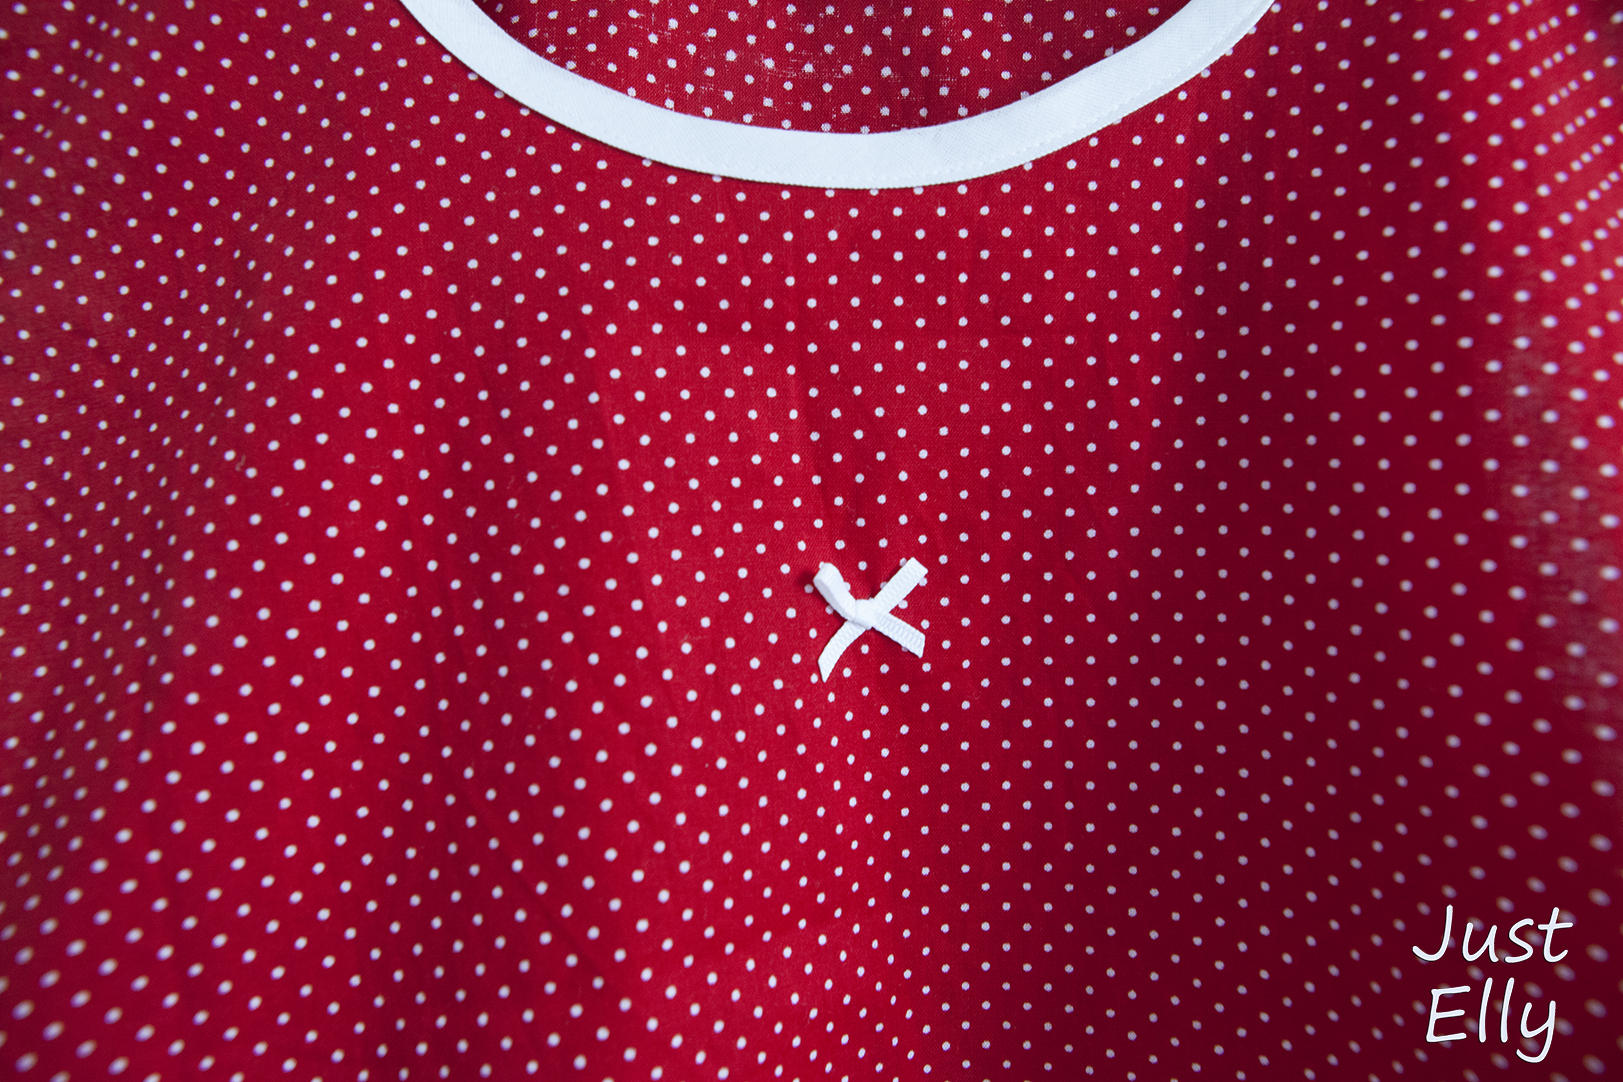
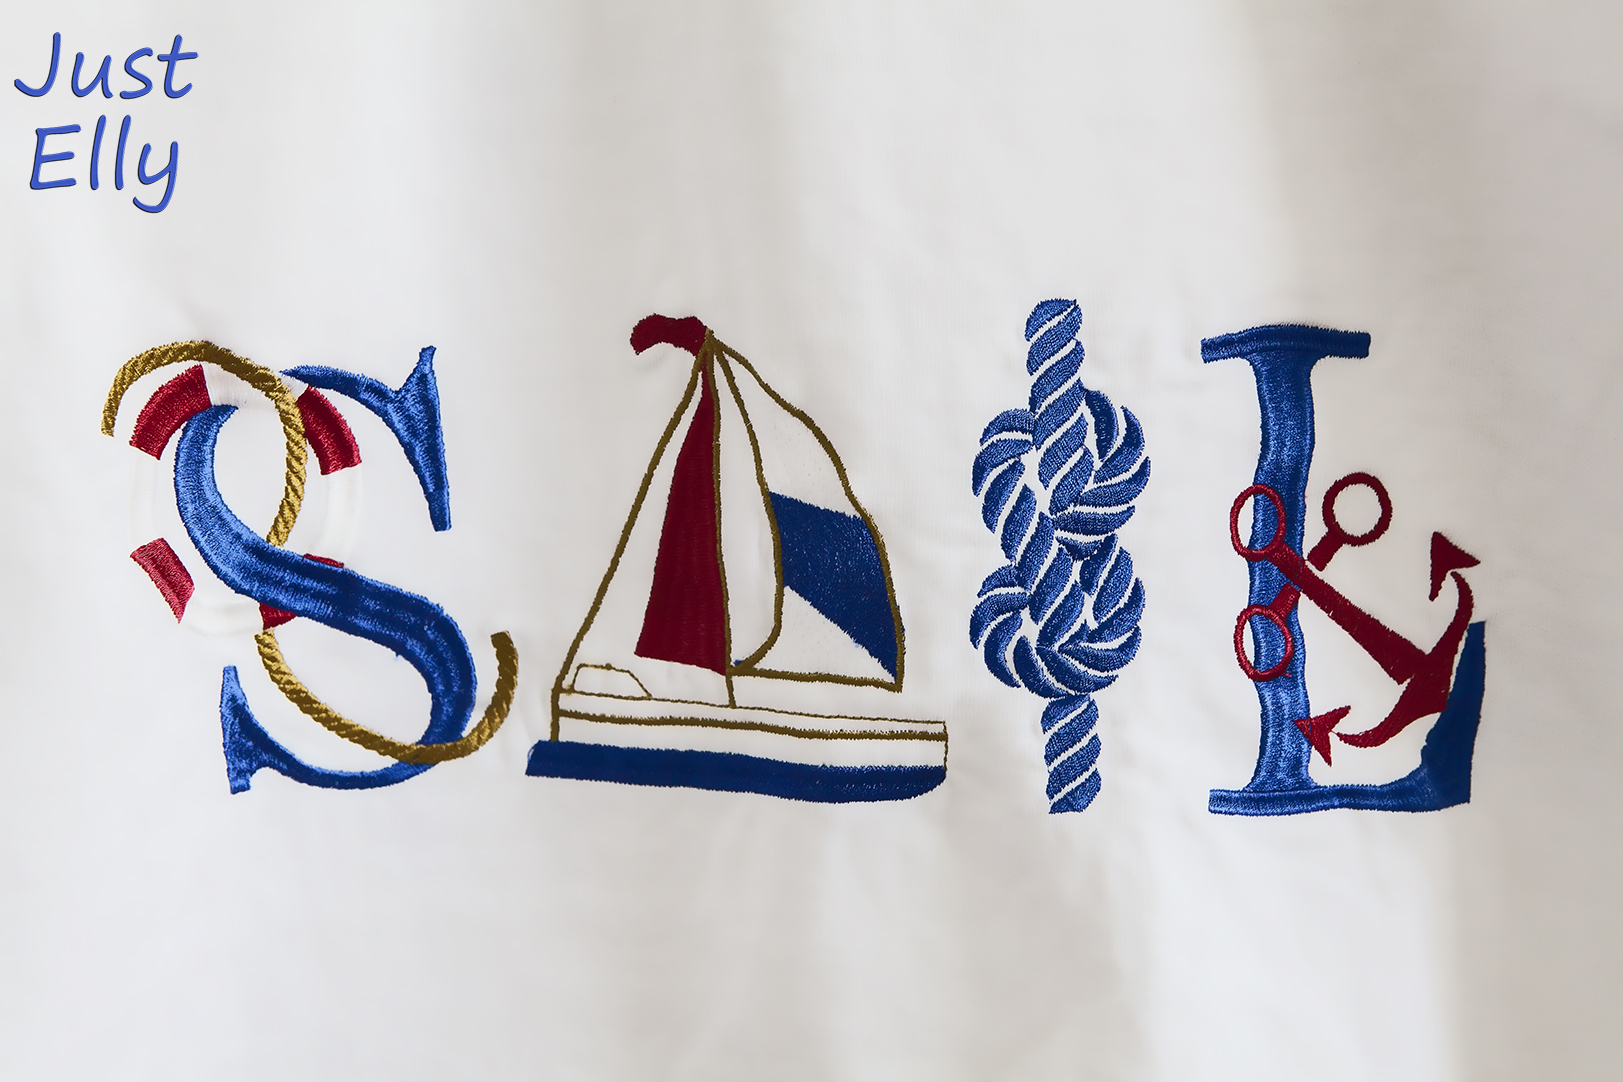
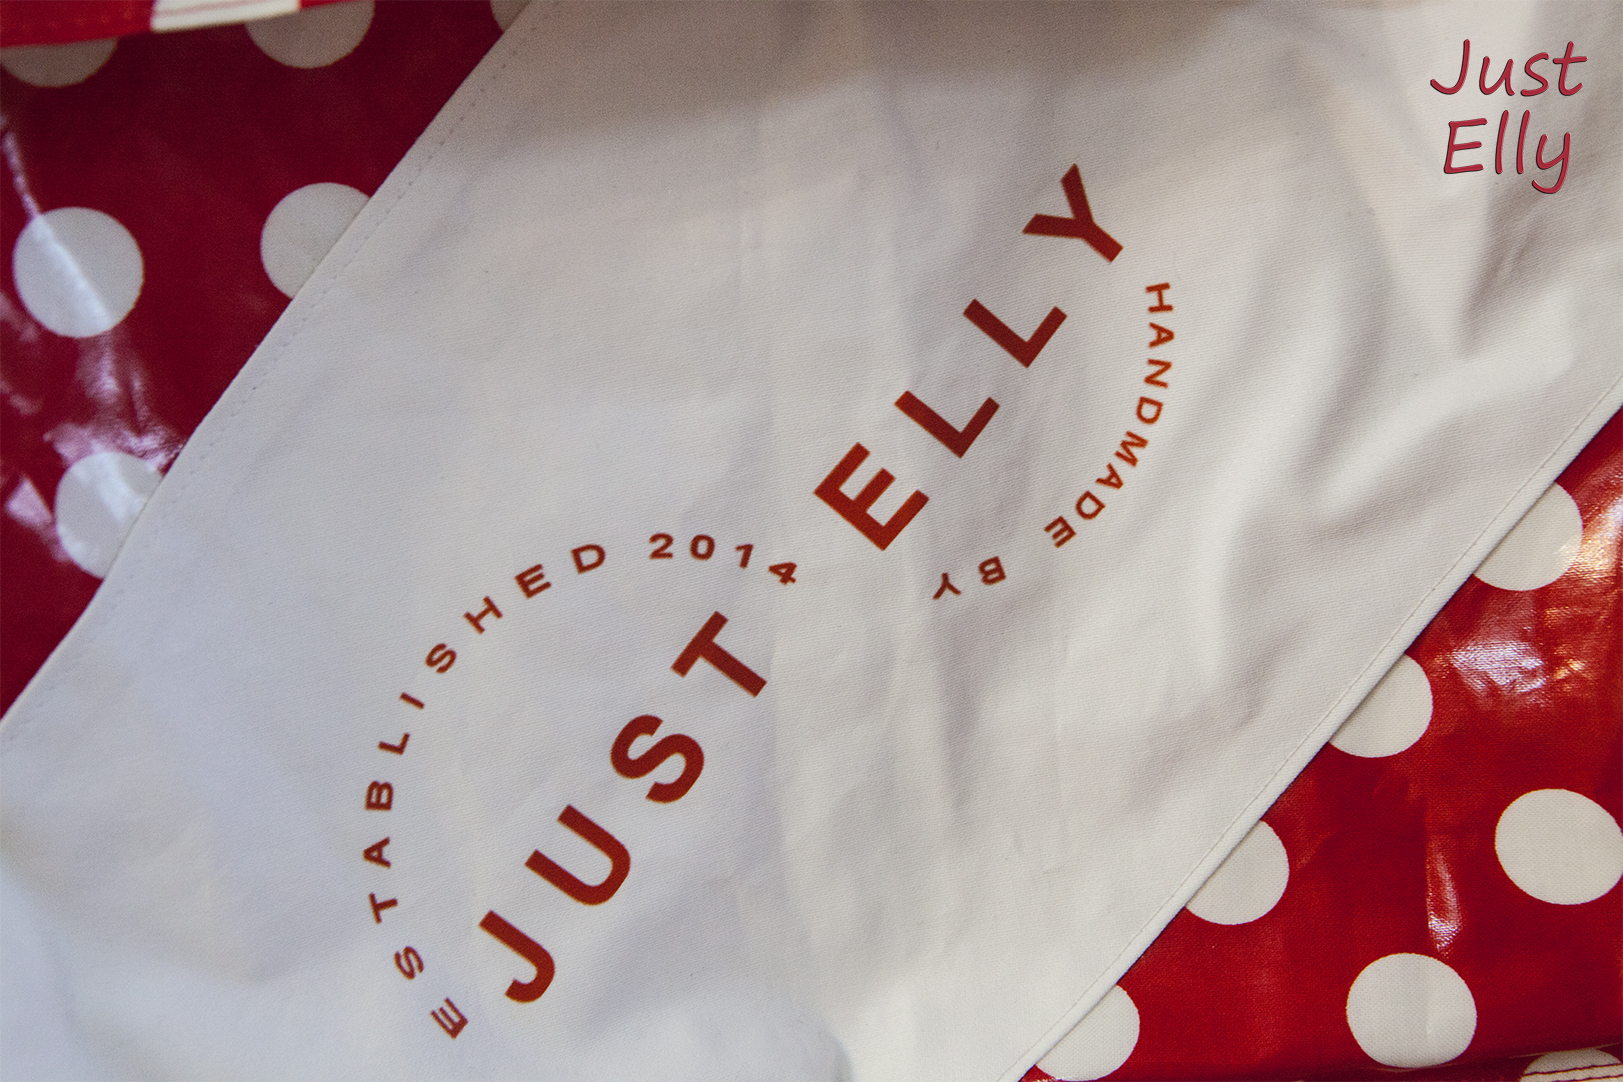
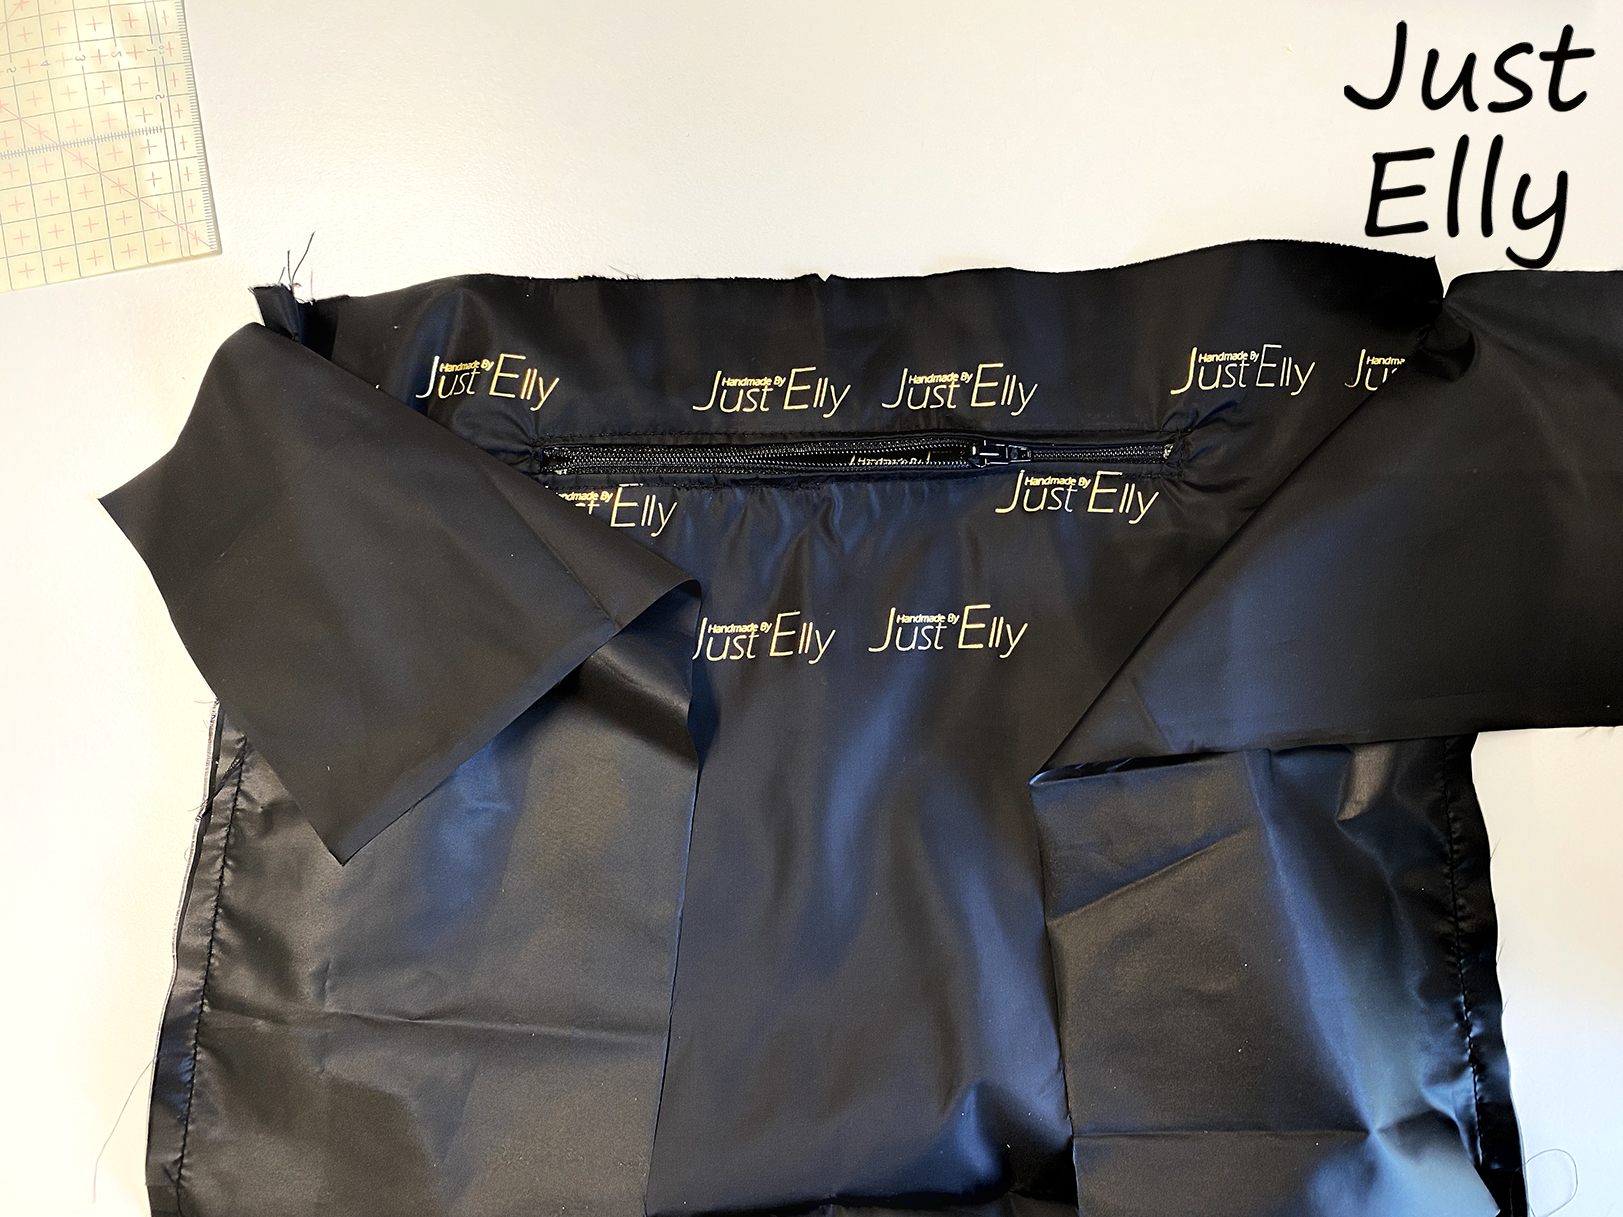
I made a new logo for the very expensive lining and the collar cut-out. My others all have something to do with nautical, which wouldn’t have fitted here.
I don’t know if you can see it in the pictures, but I had the lettering printed in gold on the black lining. It looks really classy. ❤
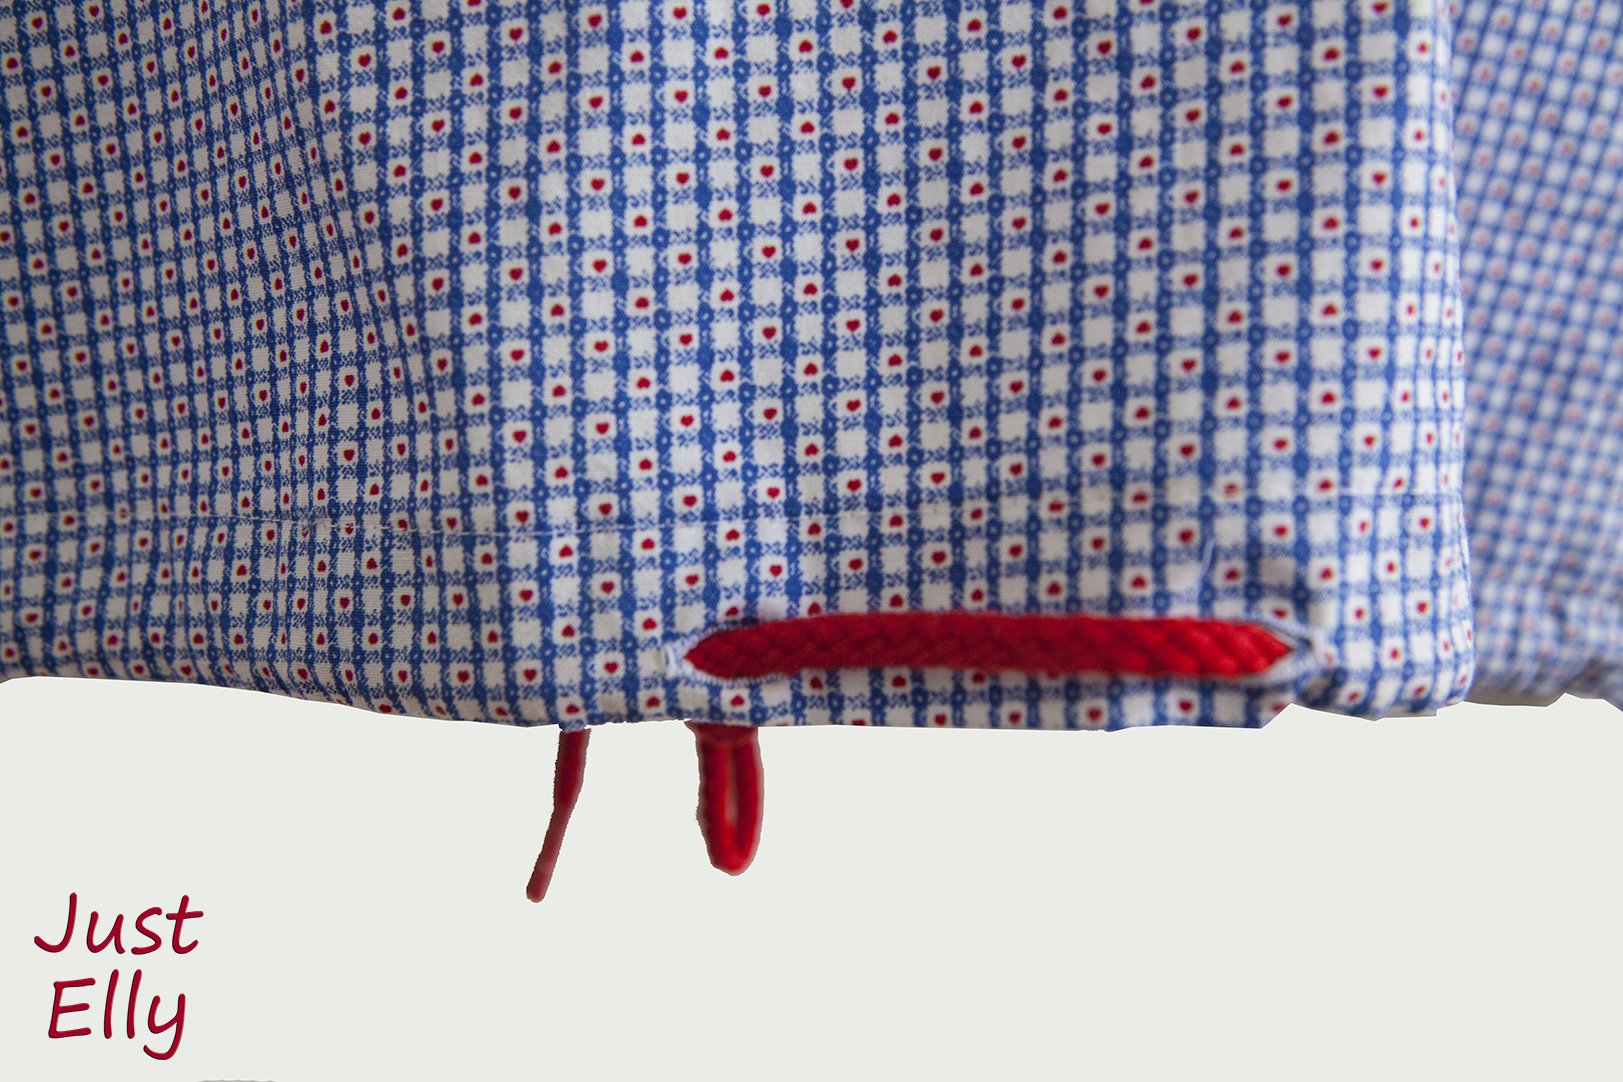
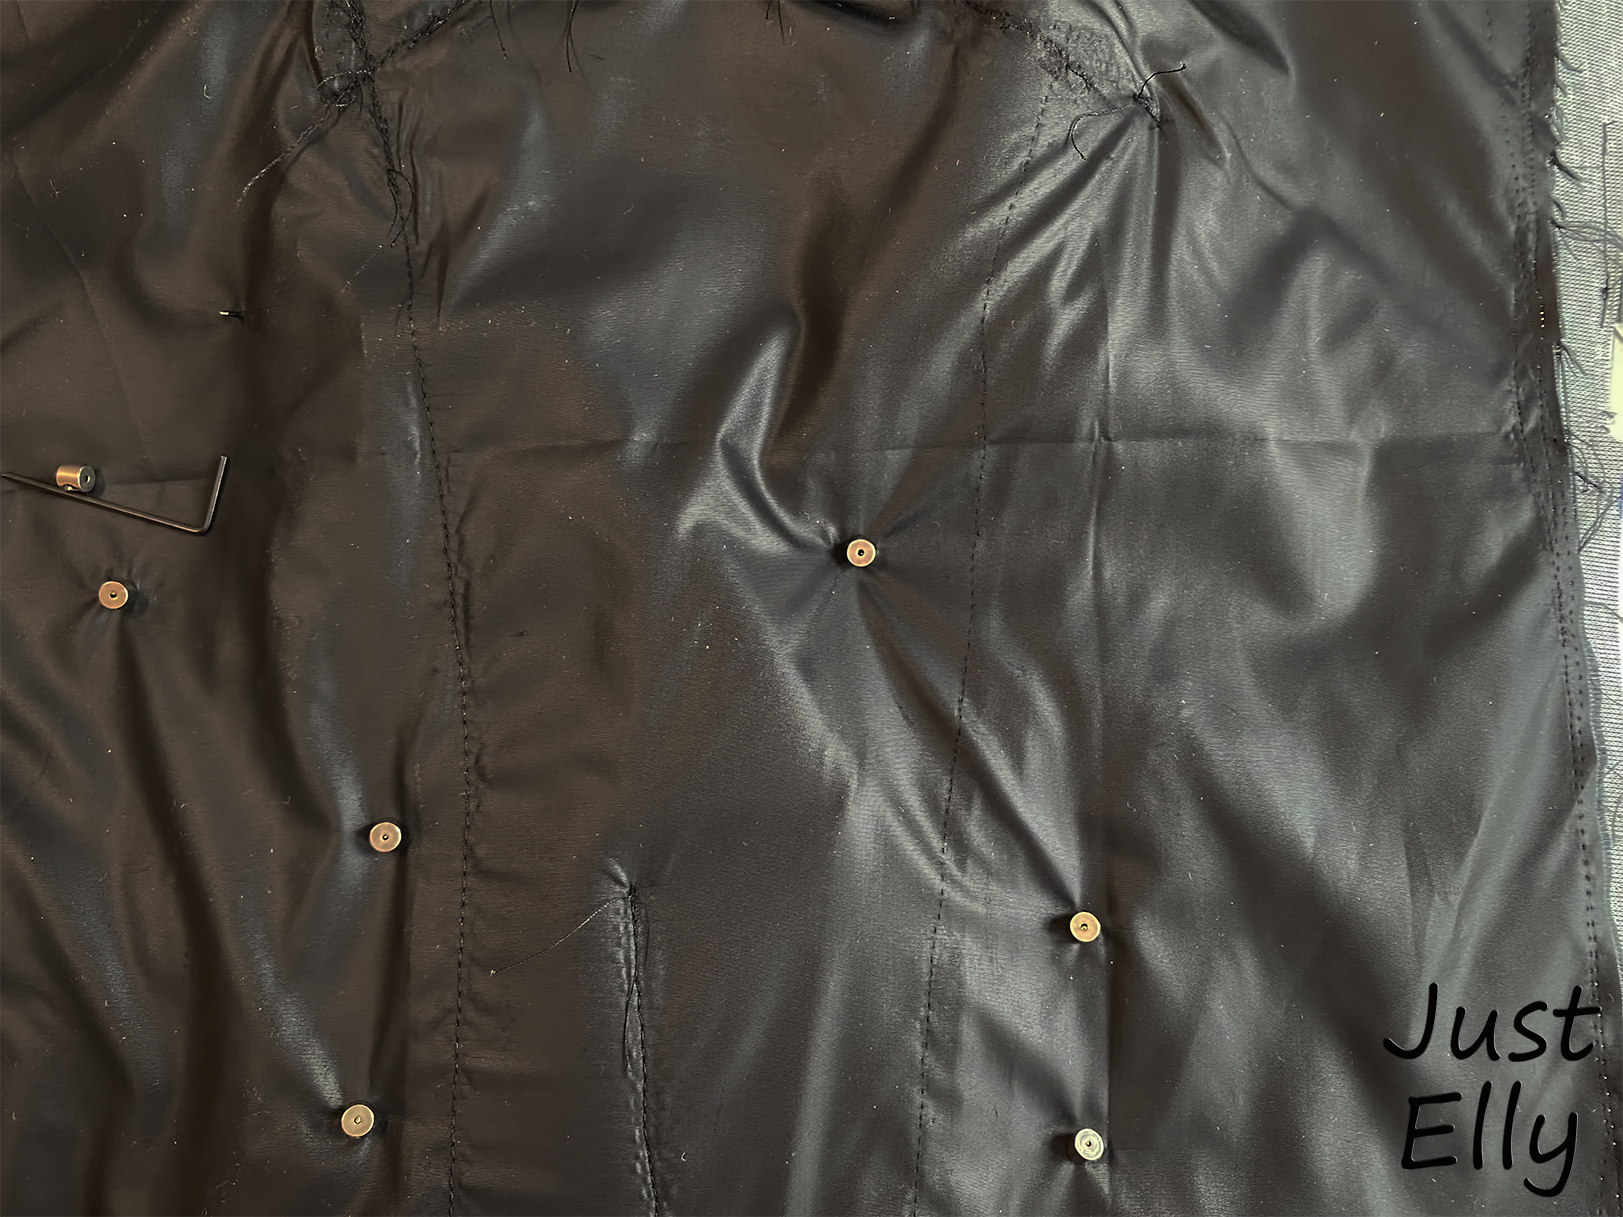
Fortunately, I came across the lockers while searching for pins!!! How else could I have attached the pins through 3 layers of faux leather without them coming off? You can see the lockers in the picture, but later on they were covered with faux leather.
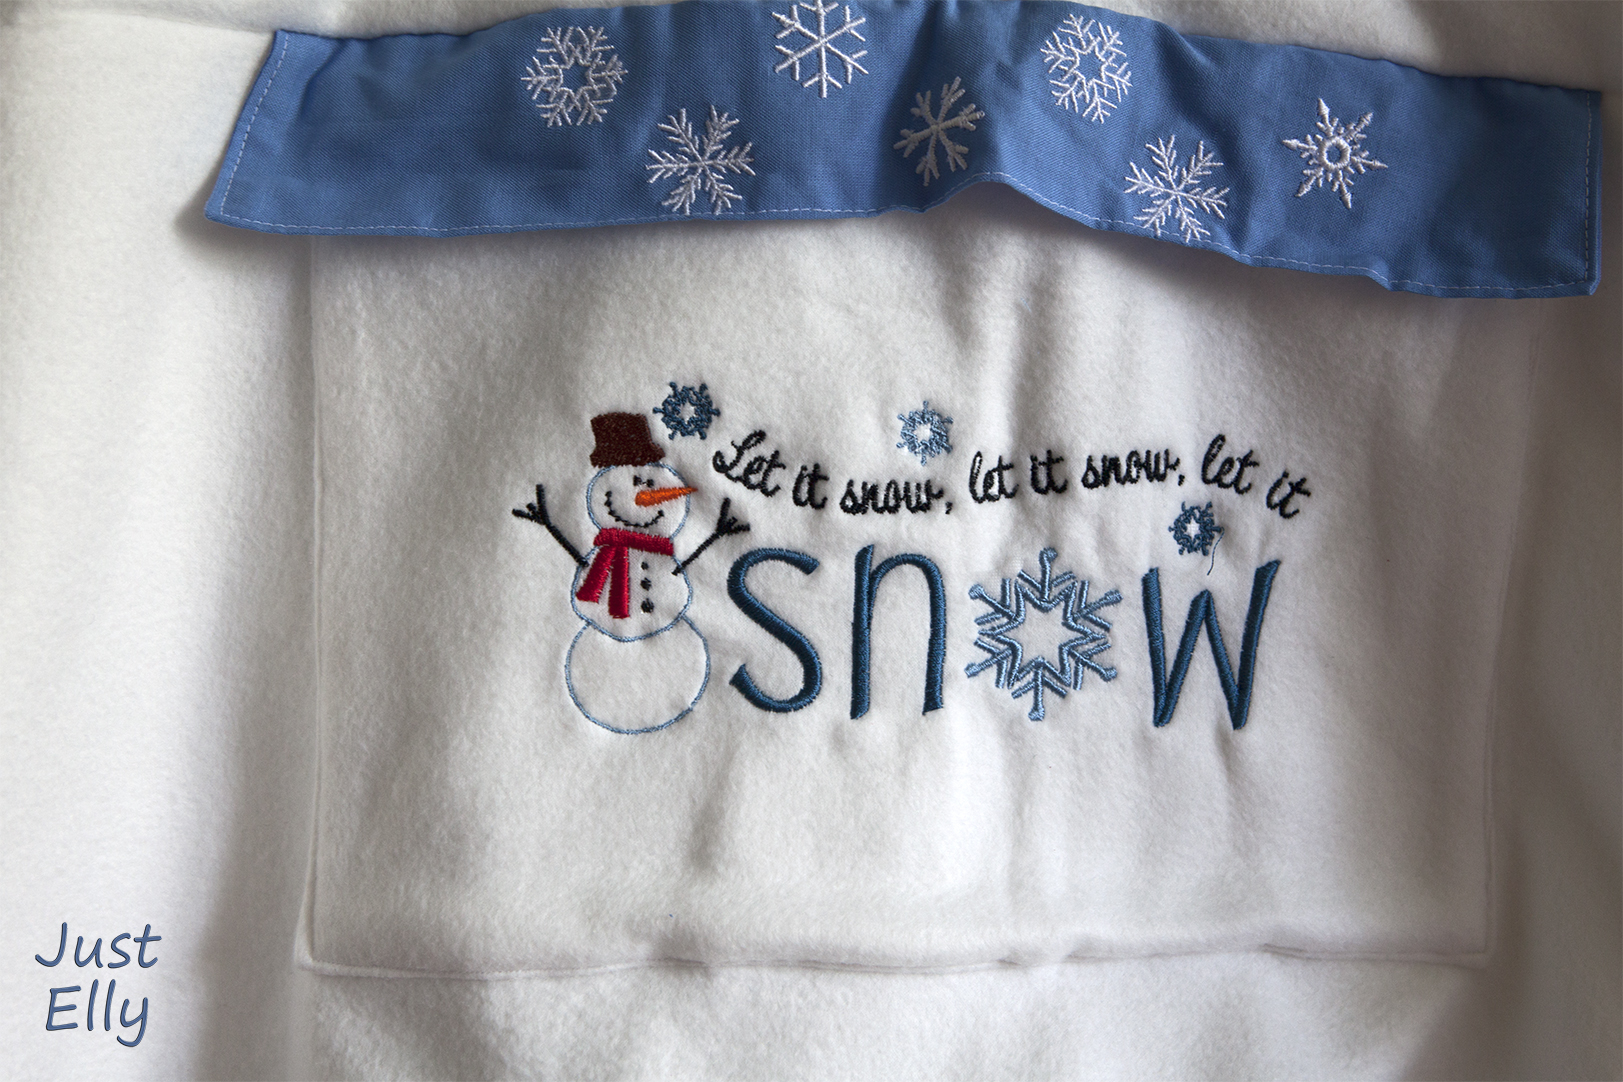
Don’t be surprised that the lining is visually so badly sewn, what you see here is just the back of the lining that I used for the collar neckline. To make it look nice and smooth on the front, I had to fix the lining on the back in some places.
The pocket flap is almost finished, but not yet sewn on. How do you like the pins?
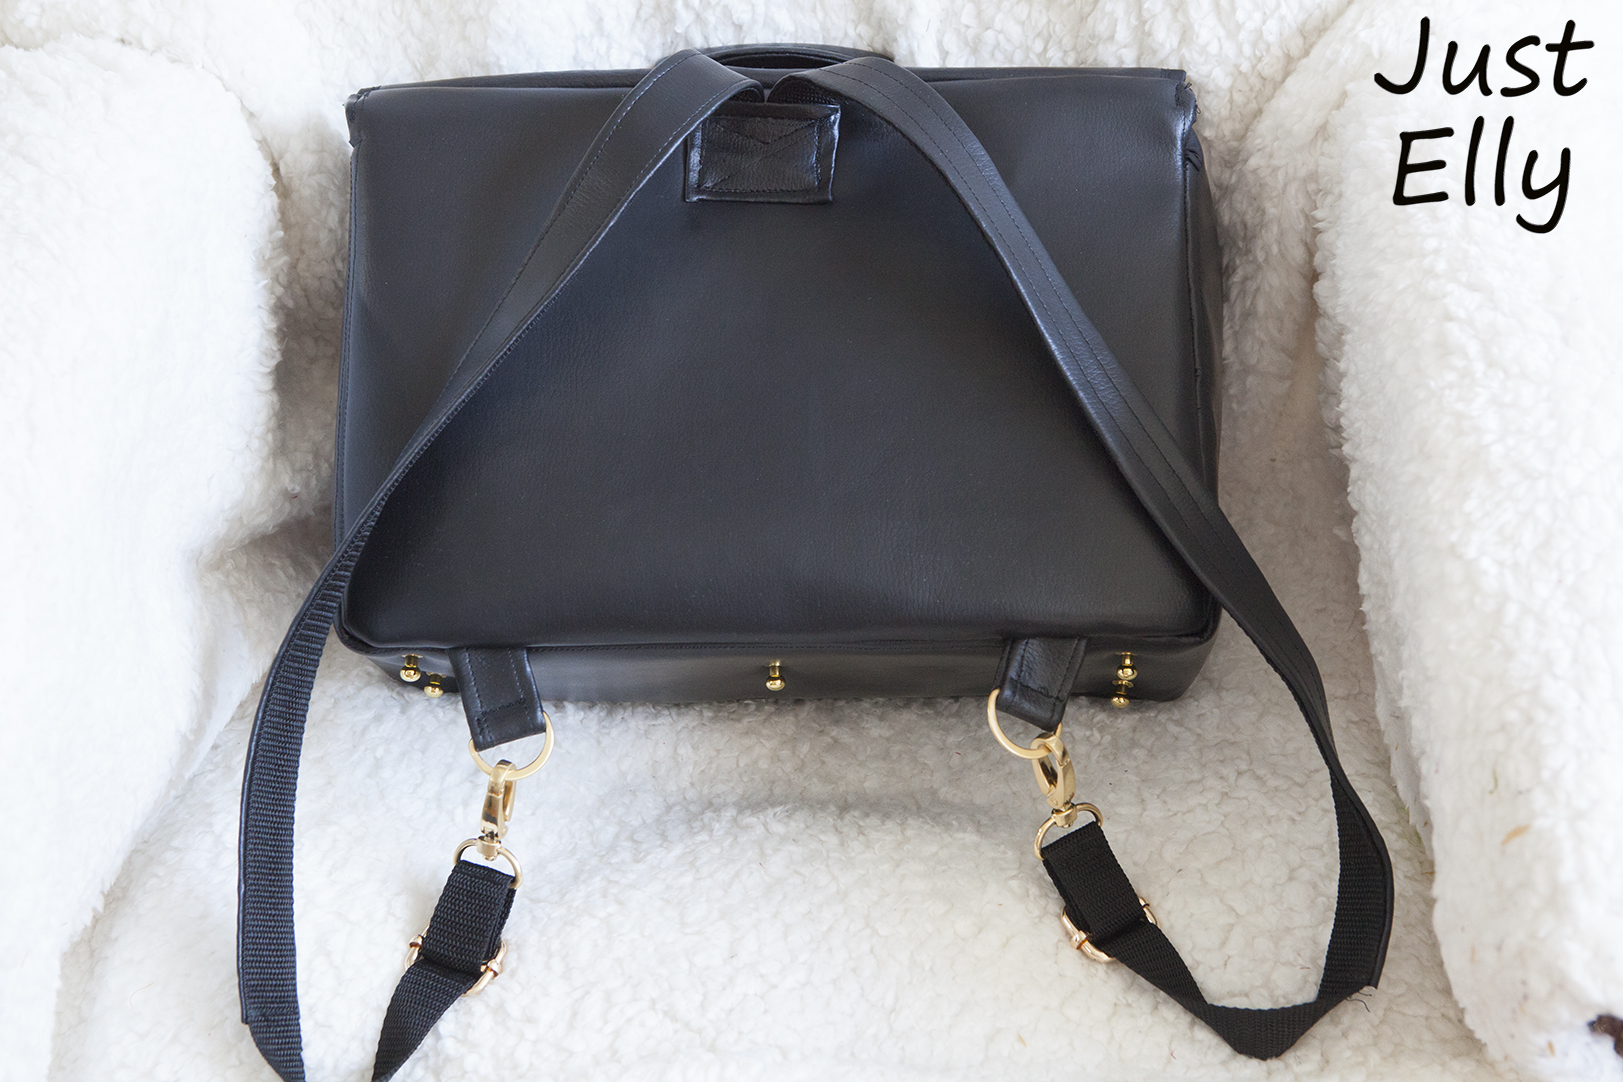
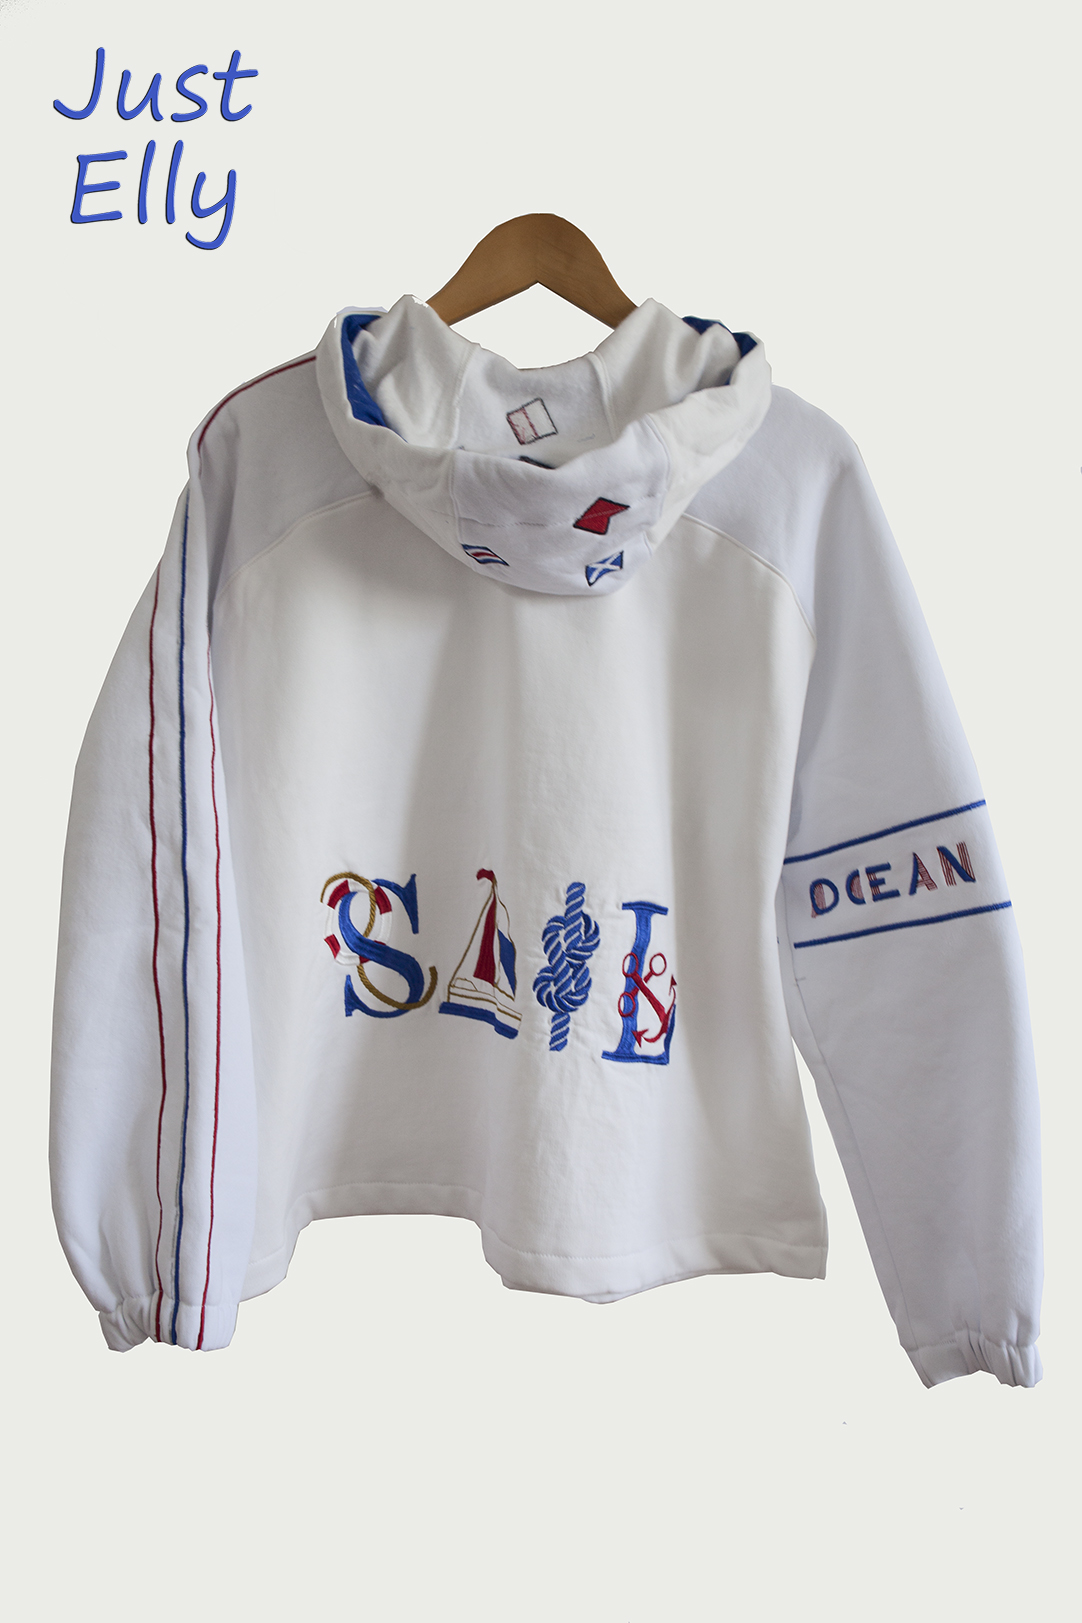
And now the finished backpack. If you look at the size of the pins, you can see how big the zipper really is.
I love this backpack ❤ ❤ ❤