The year is almost over. WOW. That went so fast 😀
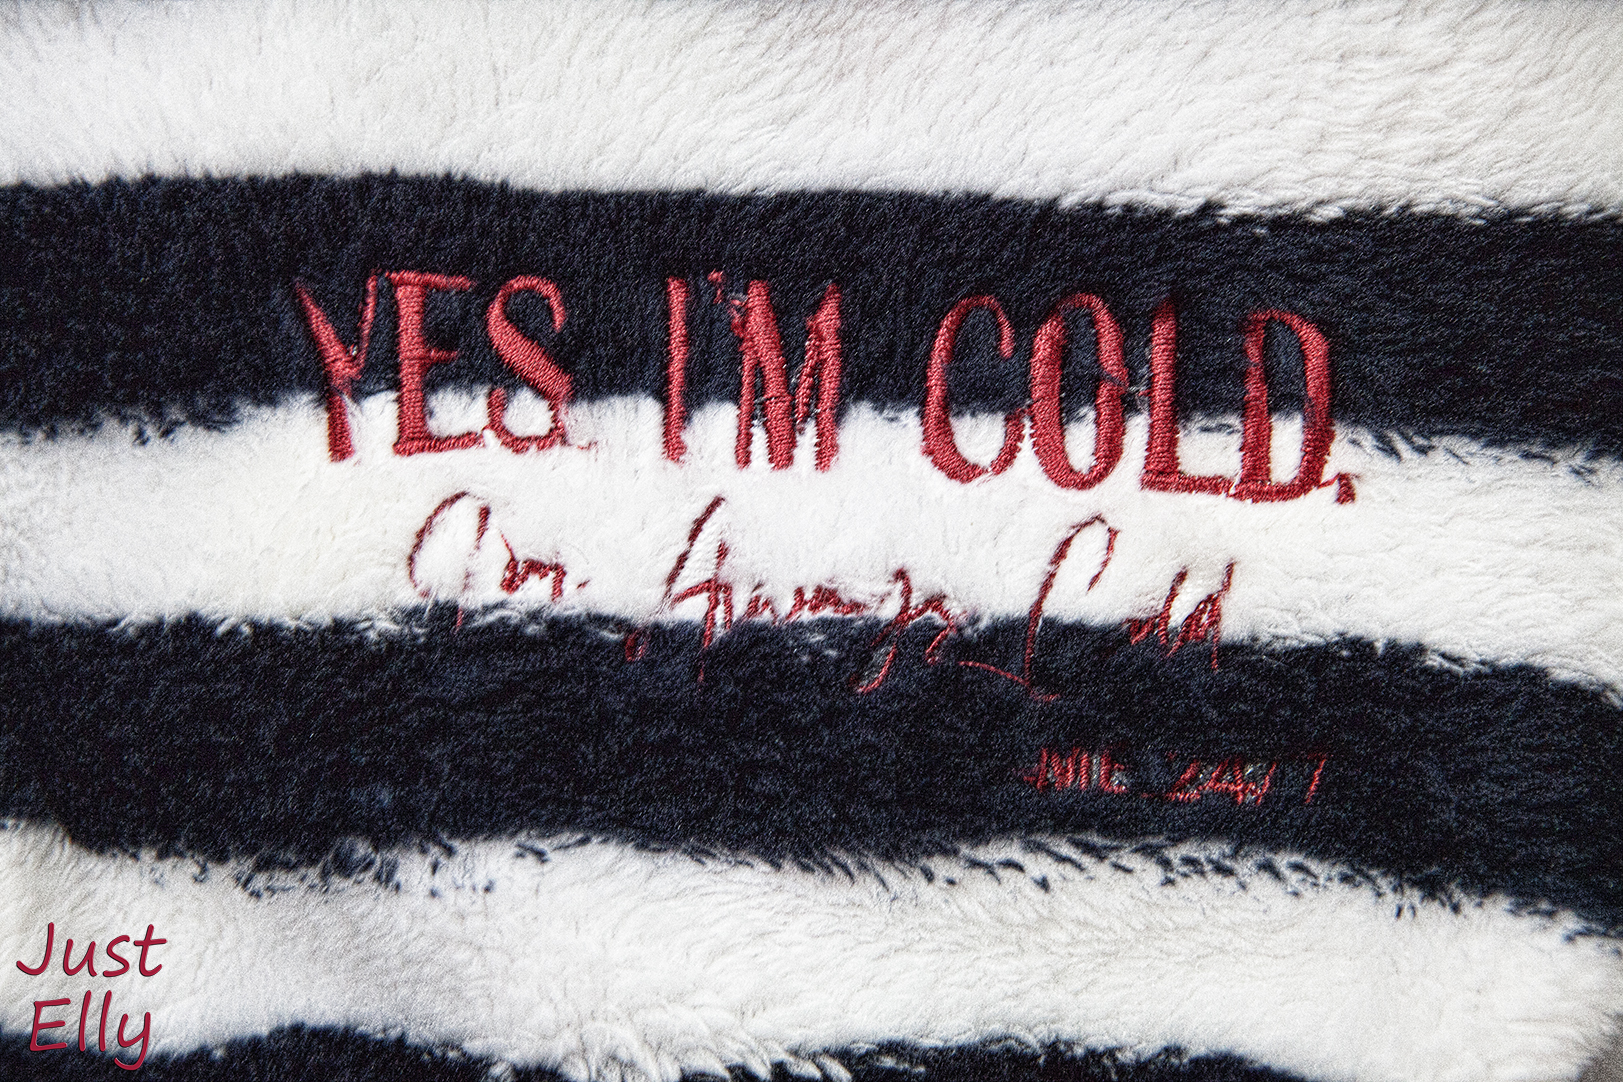
This year, I didn’t sew as much as I actually wanted to. I don’t think I’ve ever sewn as little as I have this year.
I was quite ill in the spring. And as is almost always the case, infections like this affect the lungs of asthmatics. It took months for me to get back to full health.
And then, half asleep, I fell down the stairs and broke two bones in my right hand. 😀 As a right-handed person, I couldn’t even use scissors or draw my plans for the next project. But everything has healed now. ❤
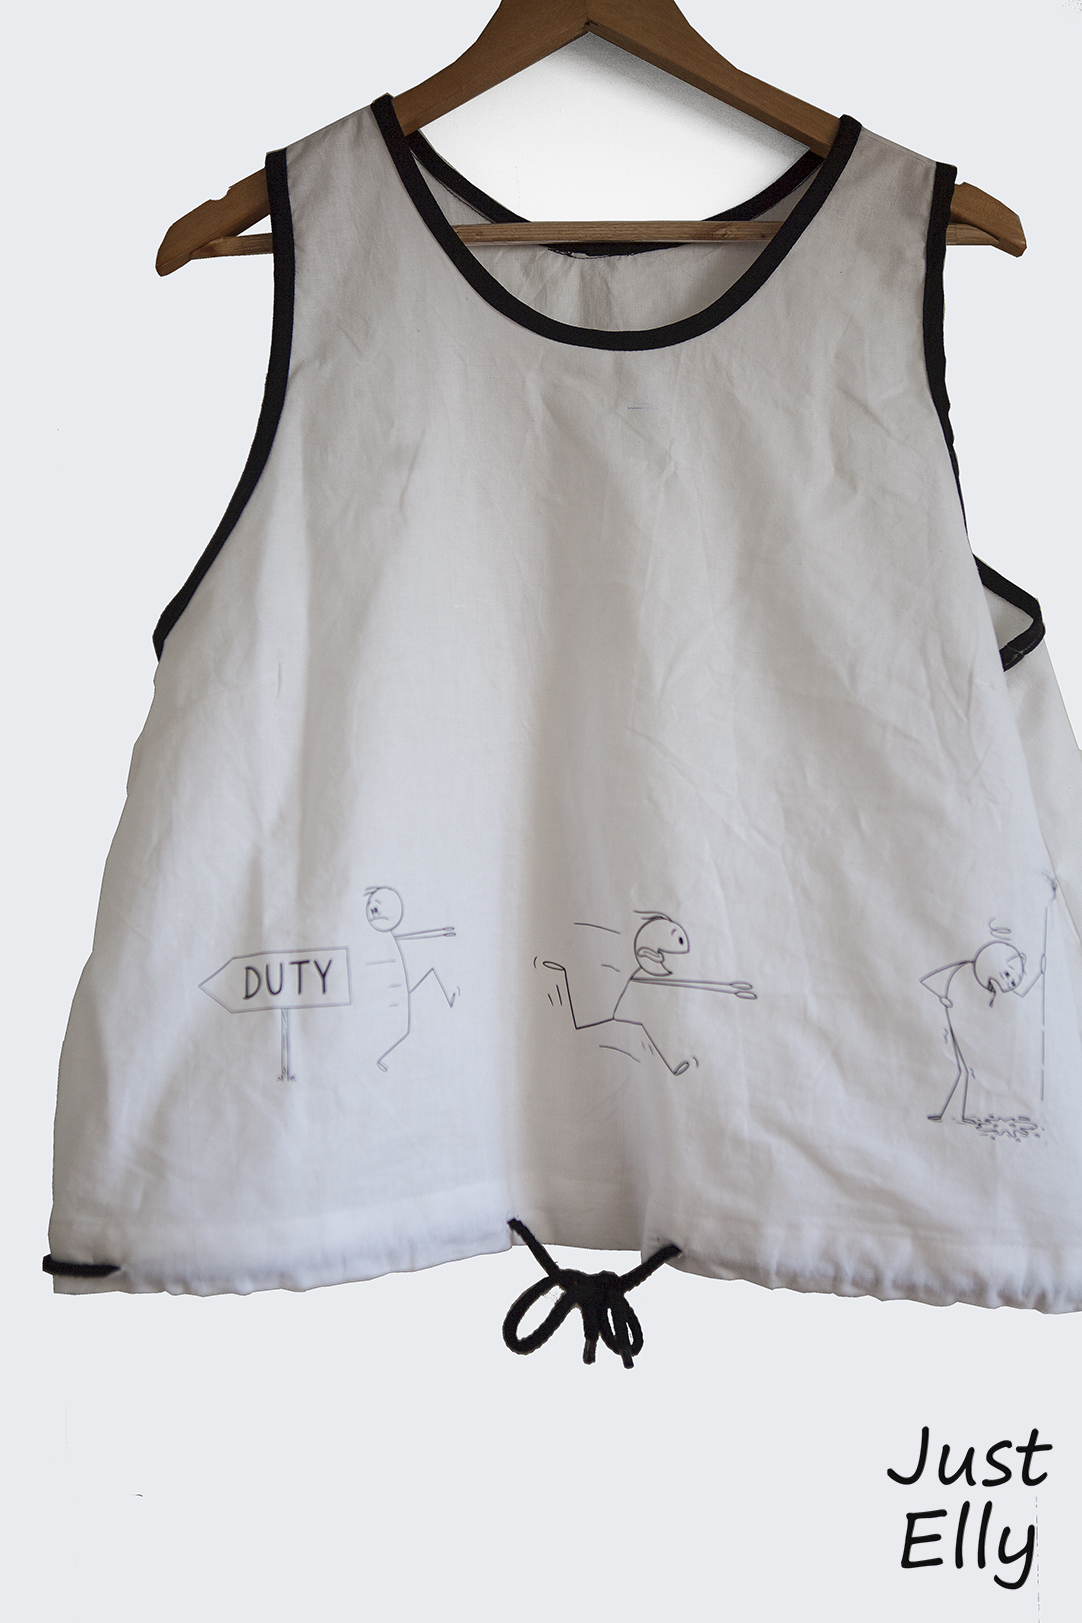
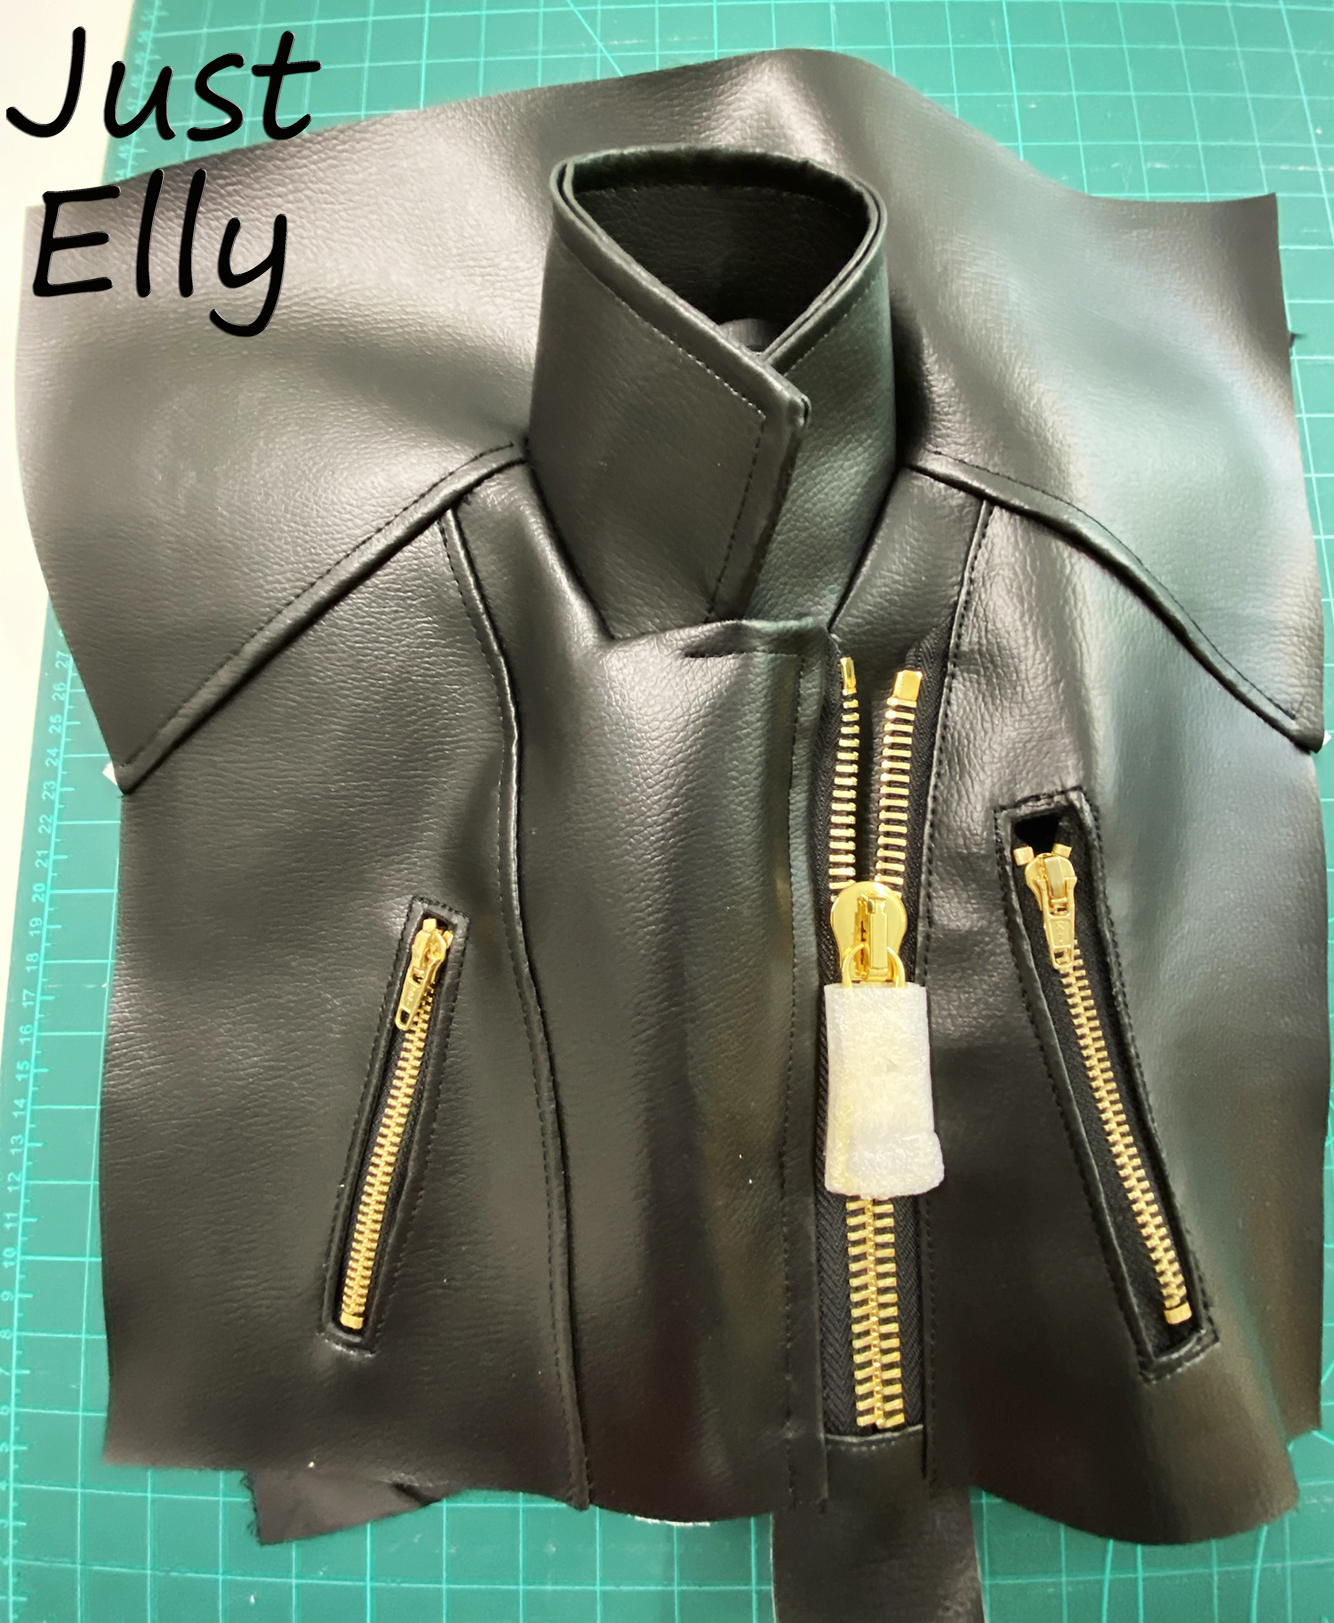
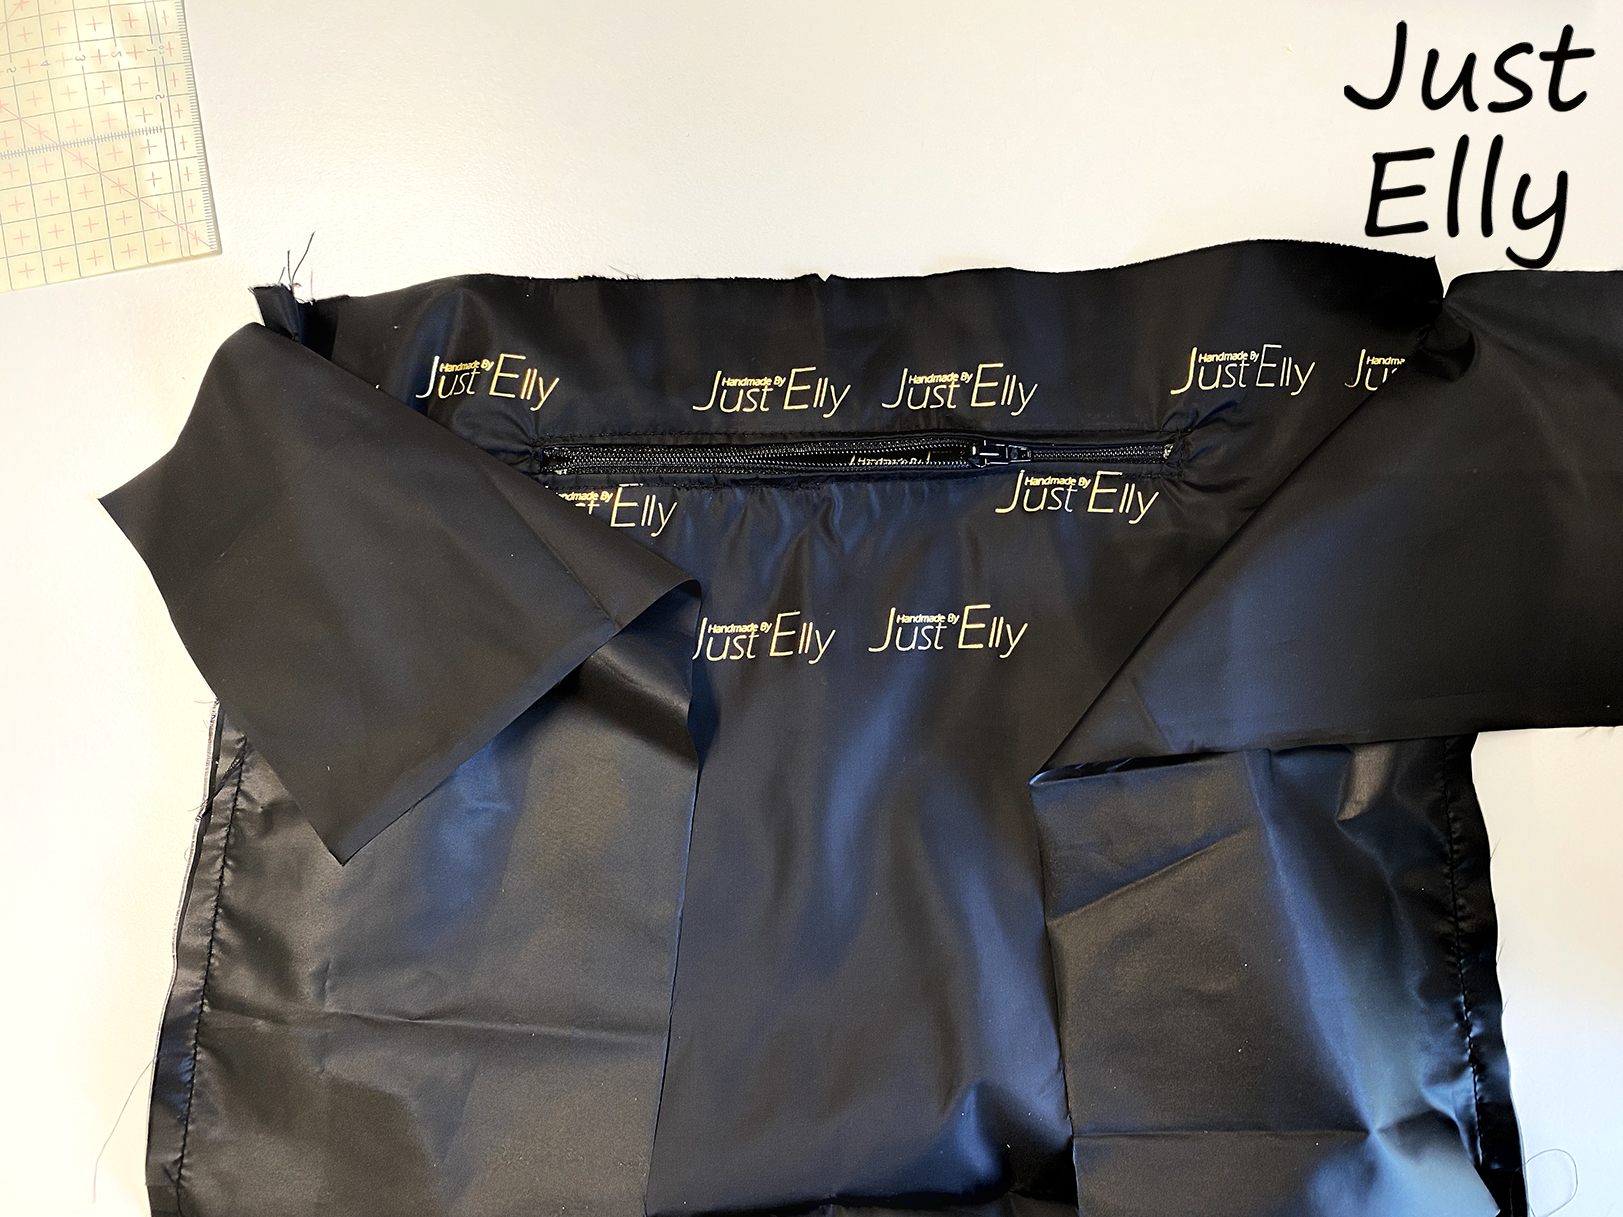
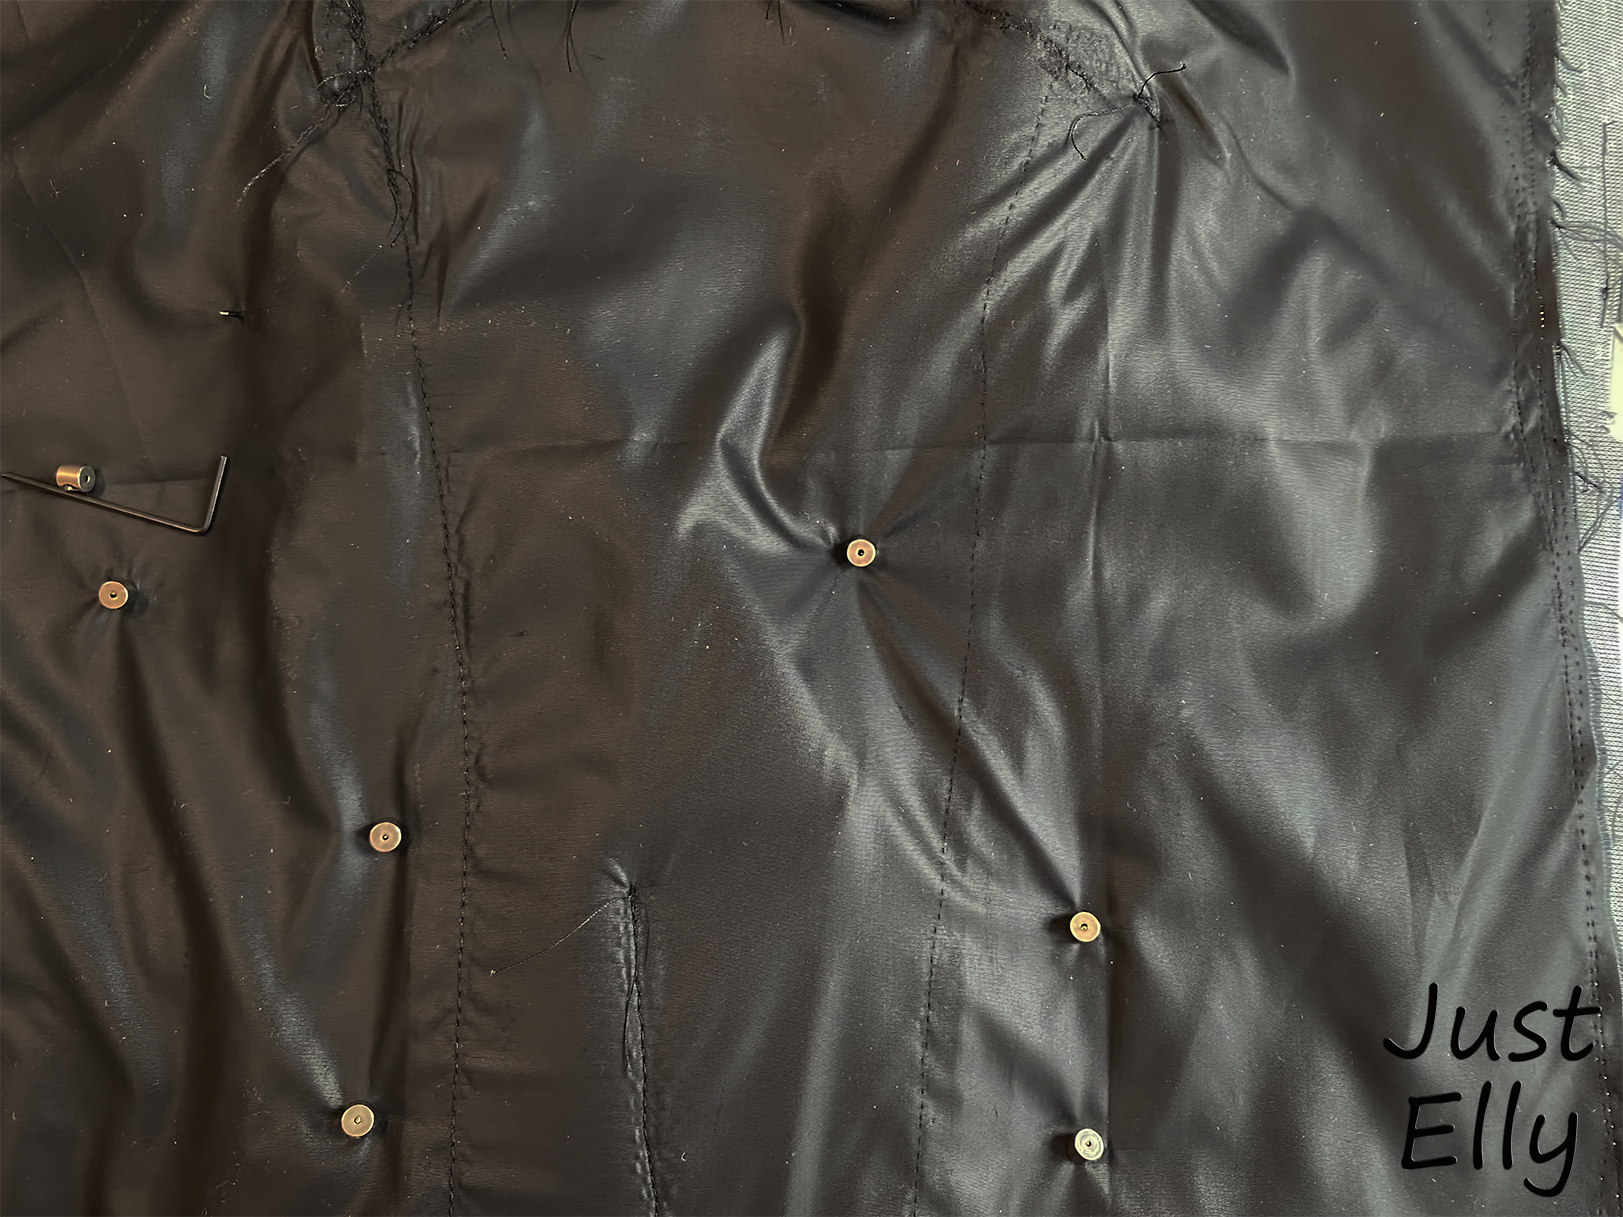
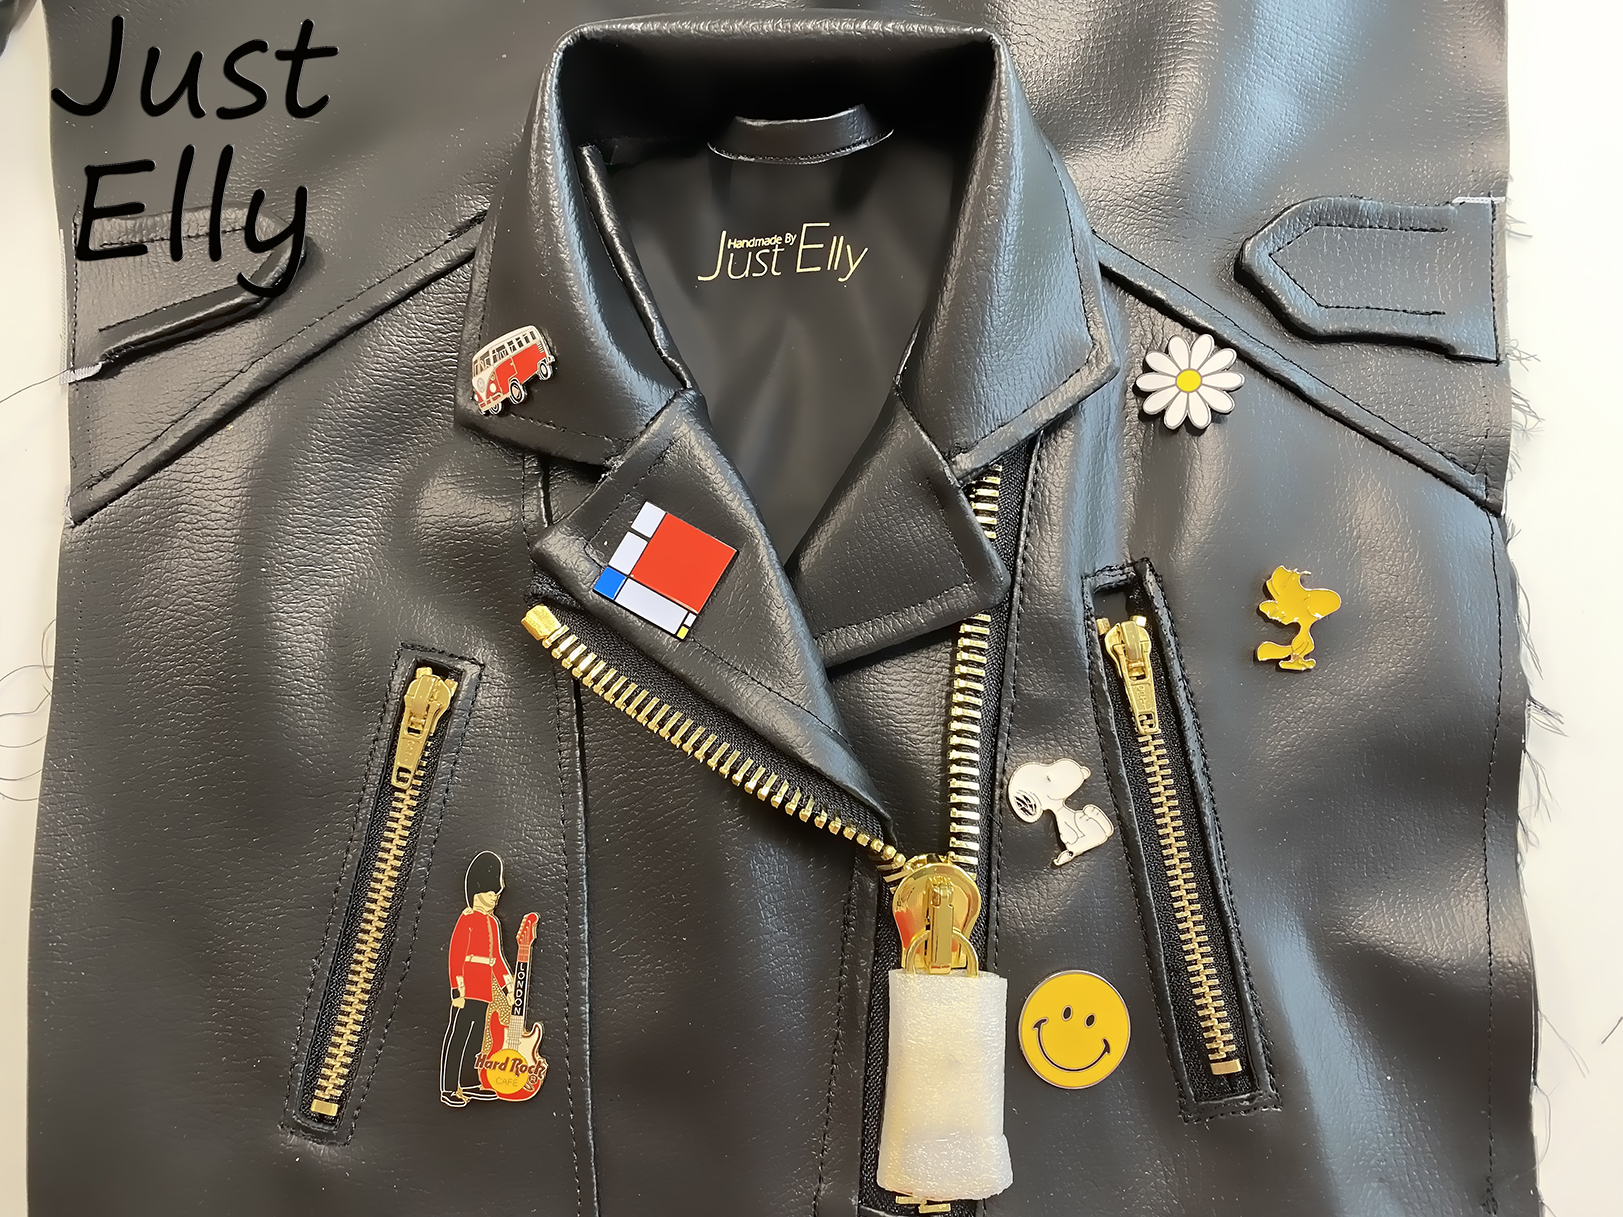
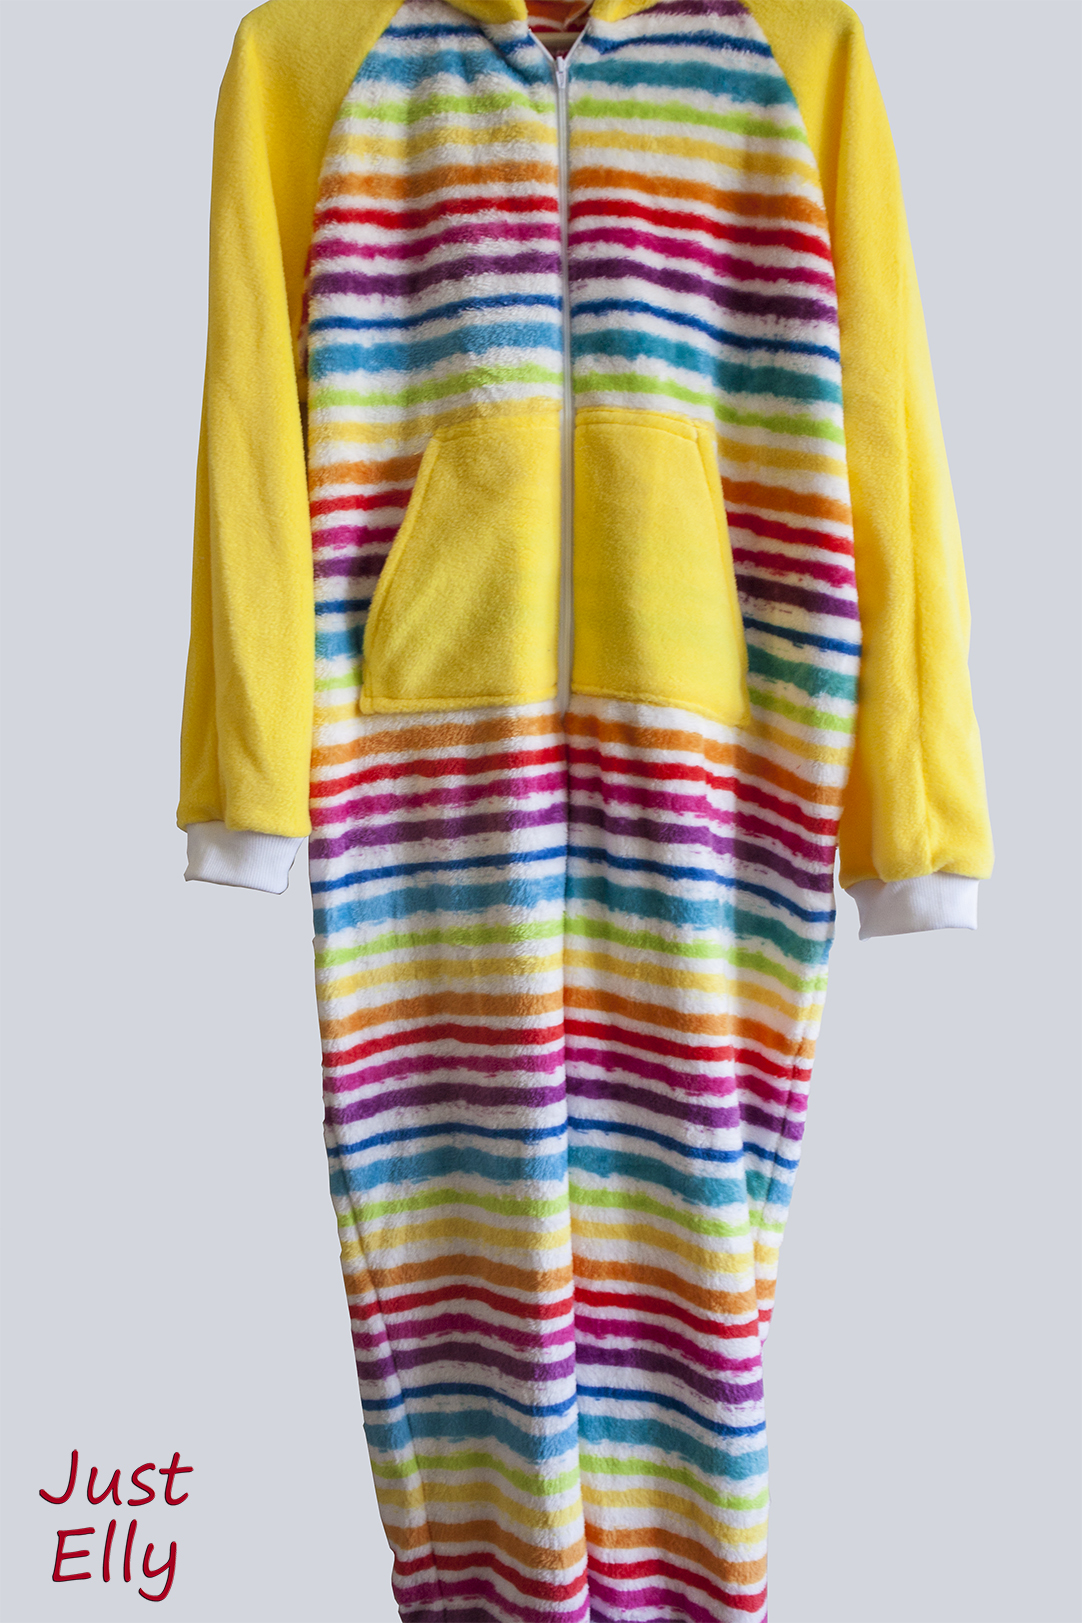
I’m currently sewing a project that I can’t wait to finish. Just the planning and getting started took forever. I wanted it to be perfect.
It will take a few more hours in sewing class before it’s finished.
Today, however, I wish everyone a Merry Christmas and a Happy New Year. ❤ ❤ ❤

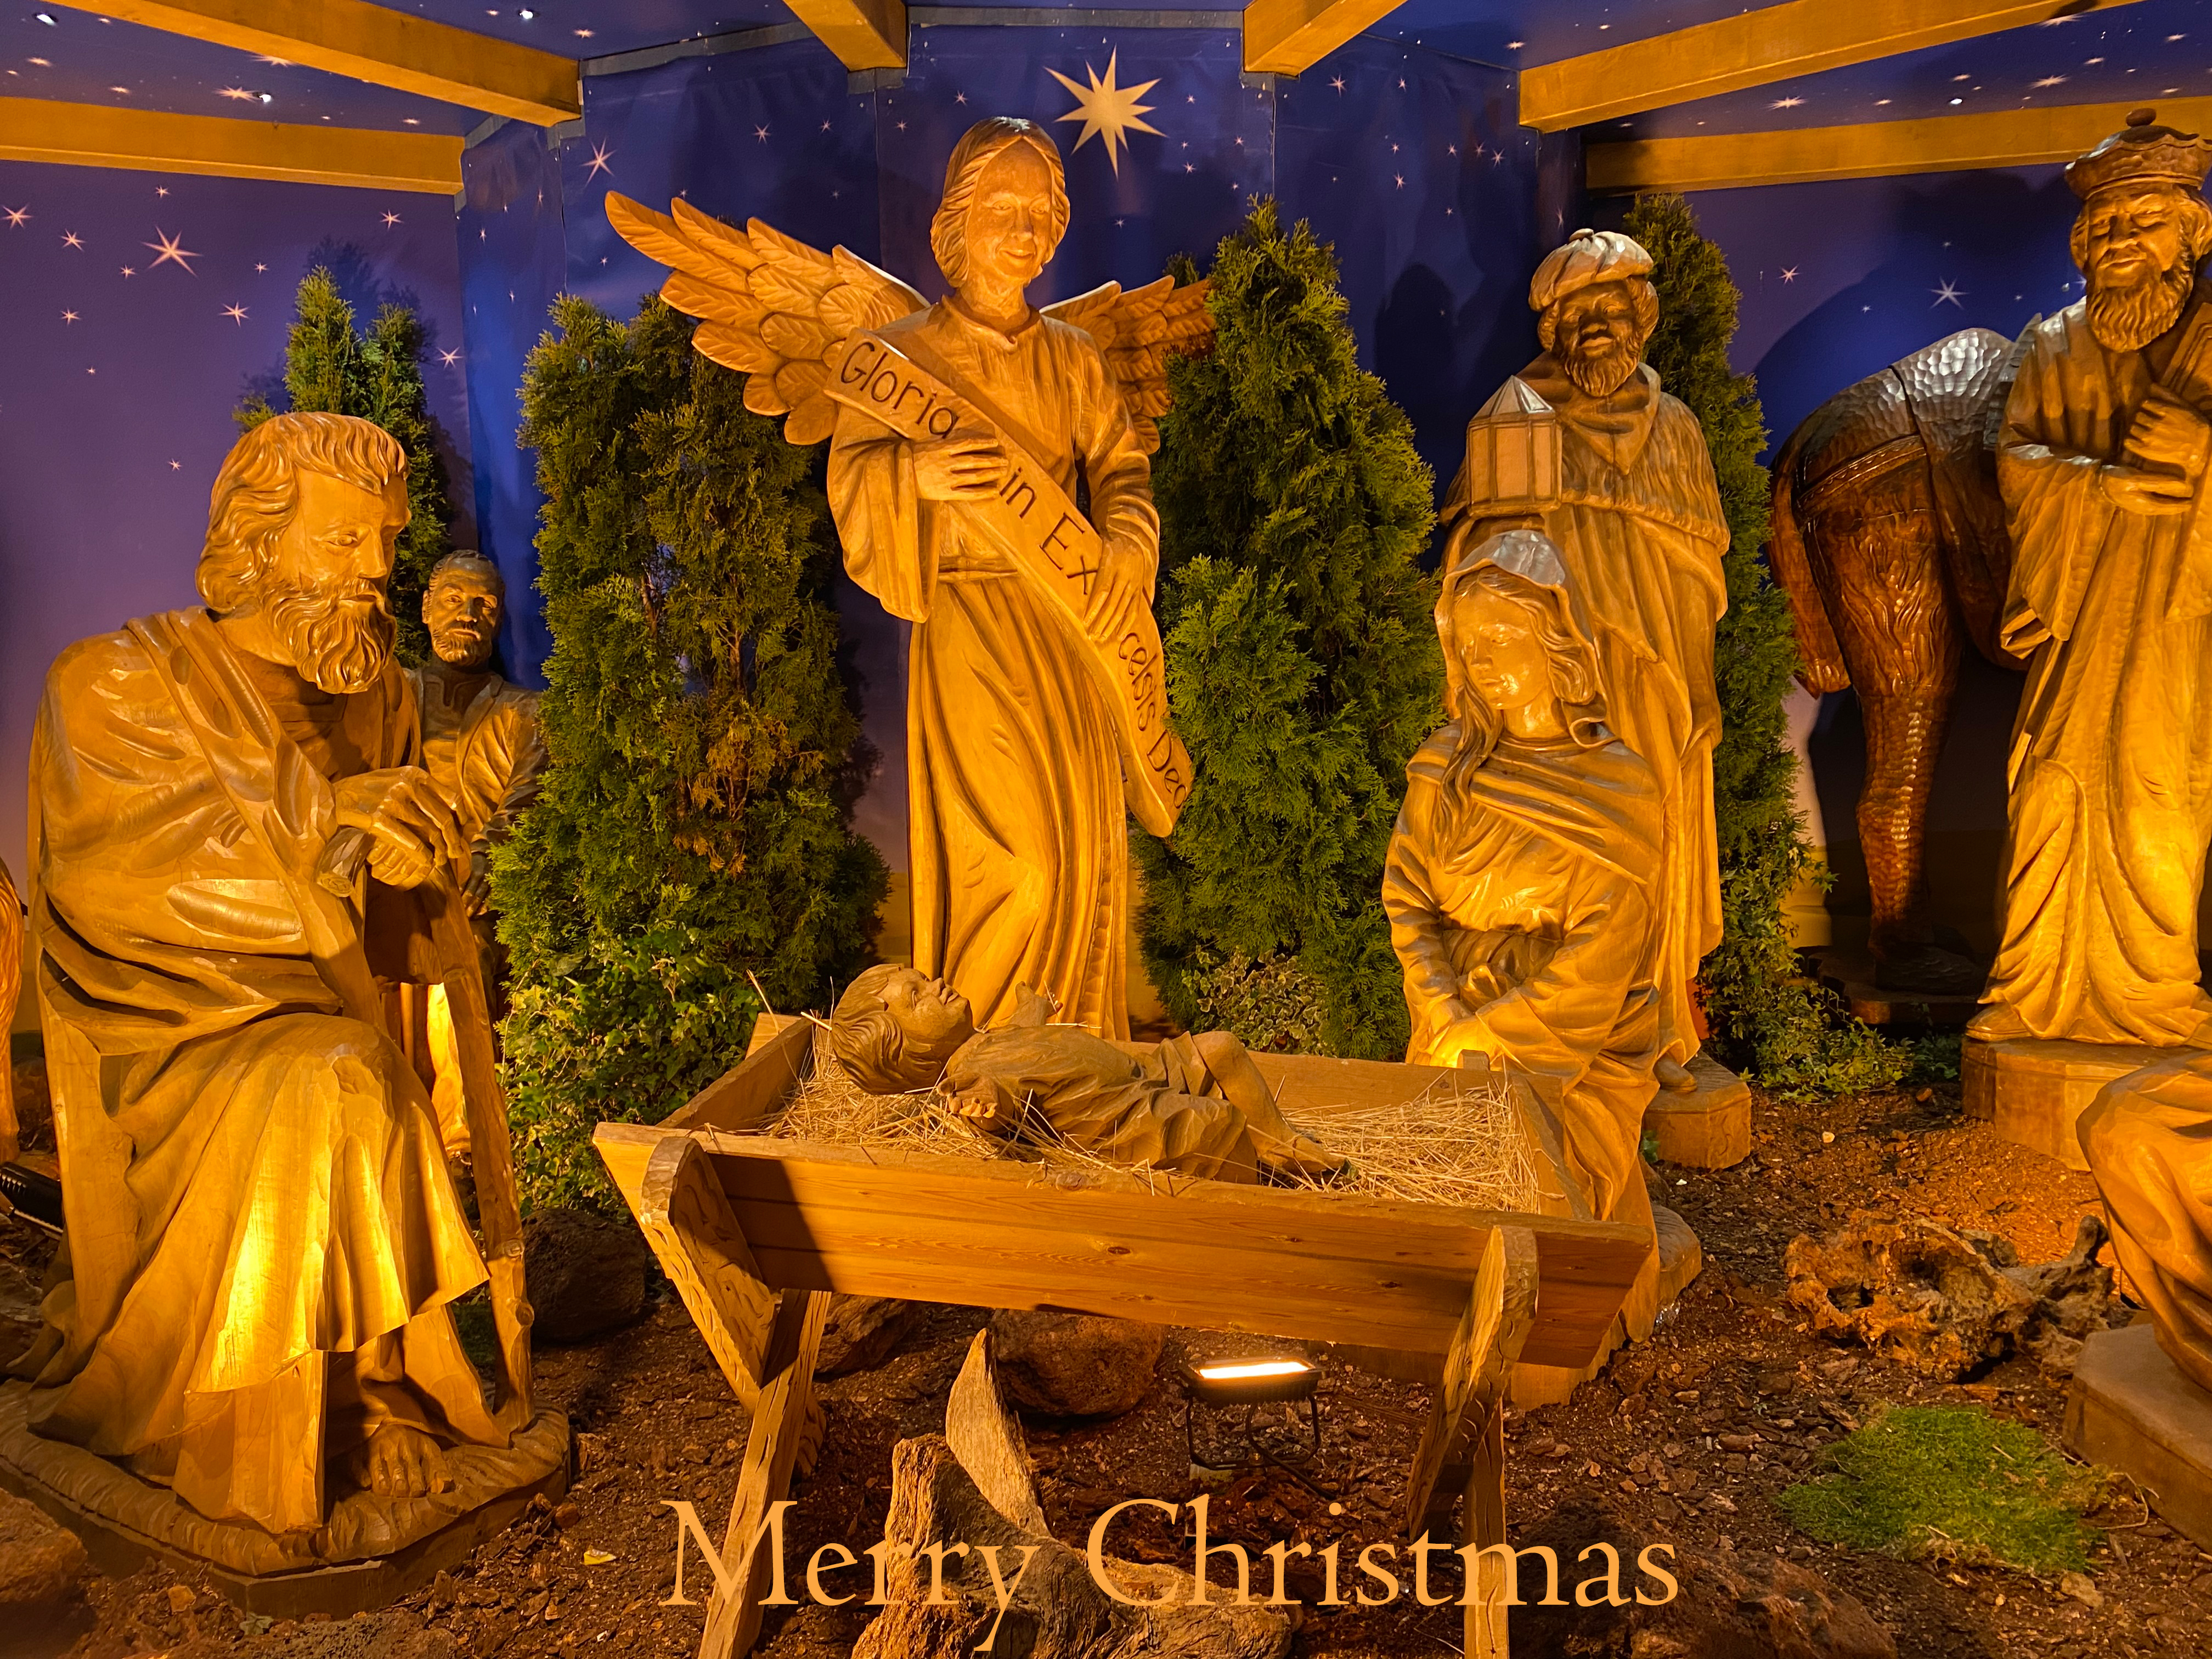
I have photographed the scene below so many times.
This nativity scene is set up every year at the Christmas market.
What makes it special is that the figures are life-size and carved from wood. So many other visitors have photographed the nativity scene just like me. 😀