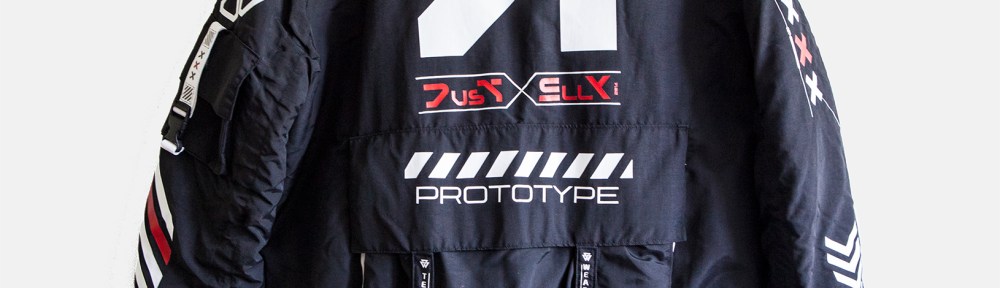
It’s been quite a while since I came across cyberpunk clothing—like jackets and pants—on Pinterest. I fell head over heels in love with it right away.
Sewing the jacket would have been the easiest part if I hadn’t had any special requests for my sewing project again. So, same as always! 😀
The hardest part was finding graphics that I liked for the jacket. It took forever. I wanted it to be perfect. I feel like I bought 100 graphics just to find the right ones for me.
I used black nylon for the outer fabric. The red lining is just regular lining fabric. Since bomber jackets are always very bulky, I added a thick layer of batting between the two fabrics.
I found a pattern for a bomber jacket on Etsy. I cut out the entire pattern. Then I had to measure and cut out the pockets, which I really wanted to have.
The next step was to choose which of the many graphics I wanted to put on the jacket. Since I wanted graphics on every piece, it took quite a while to plan that part. Then I took all the fabric pieces and a USB drive to my shop, which had printed on fabric for me before. I had to have the pieces printed before I could start sewing.
Here’s the jacket and all its fancy features 😀
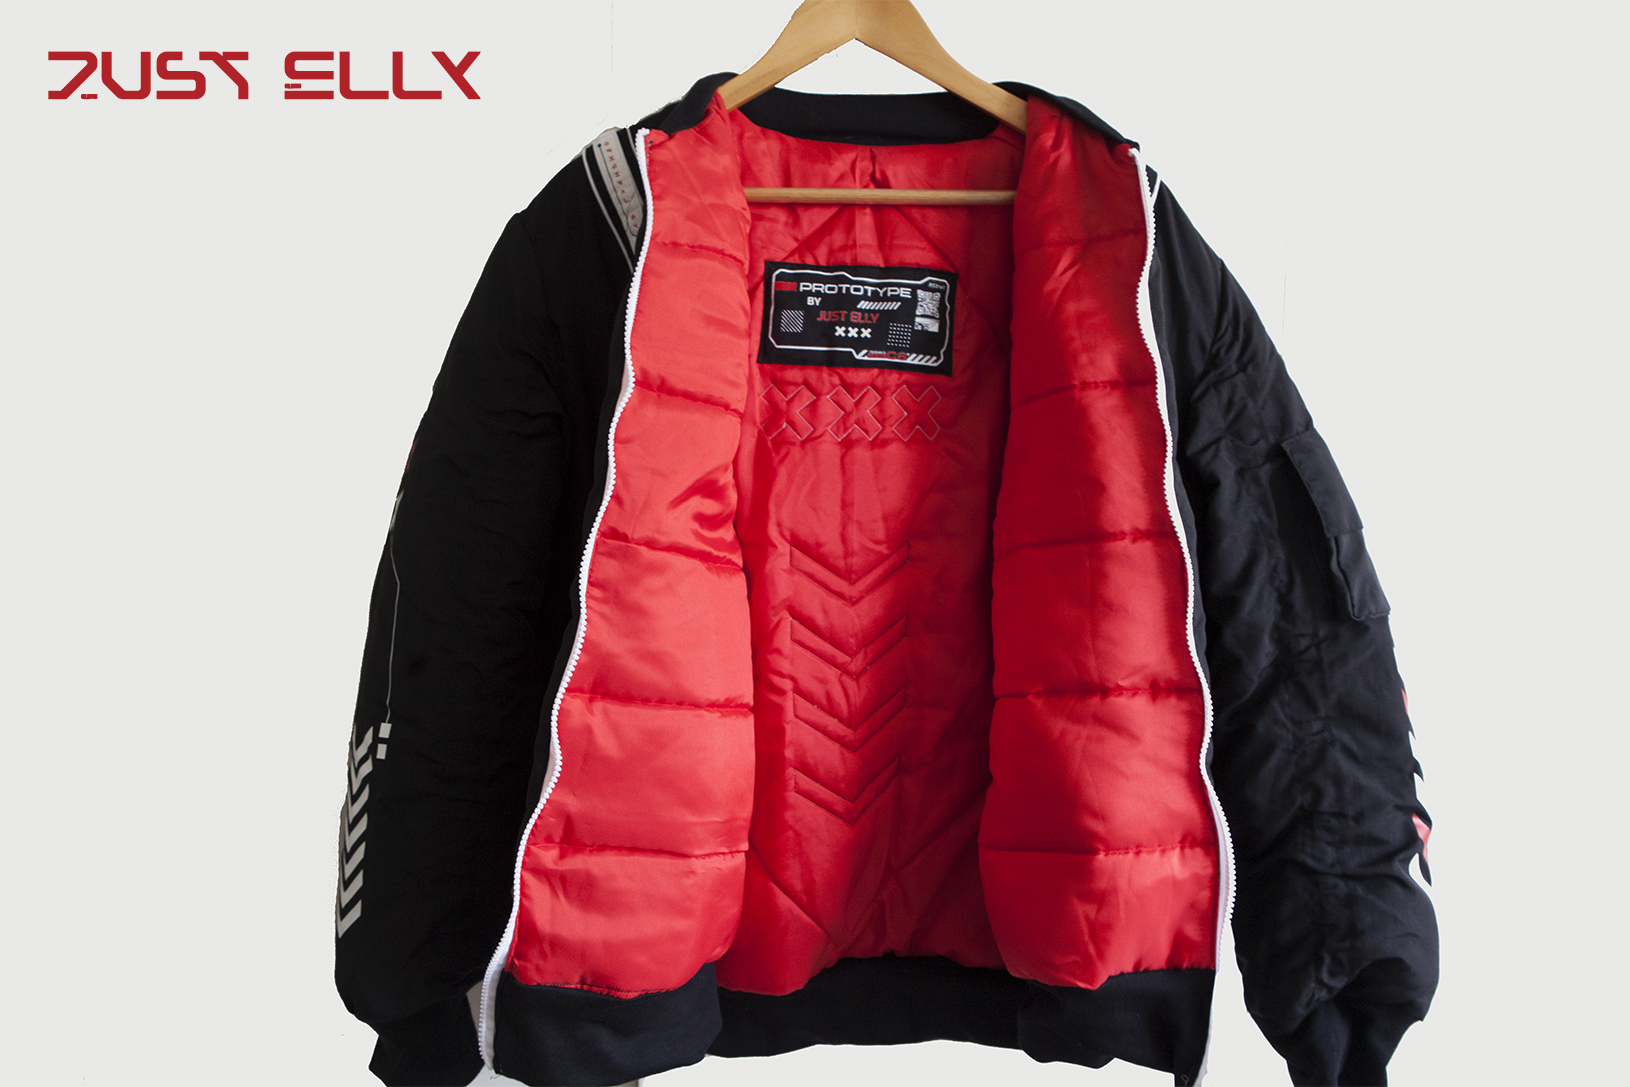
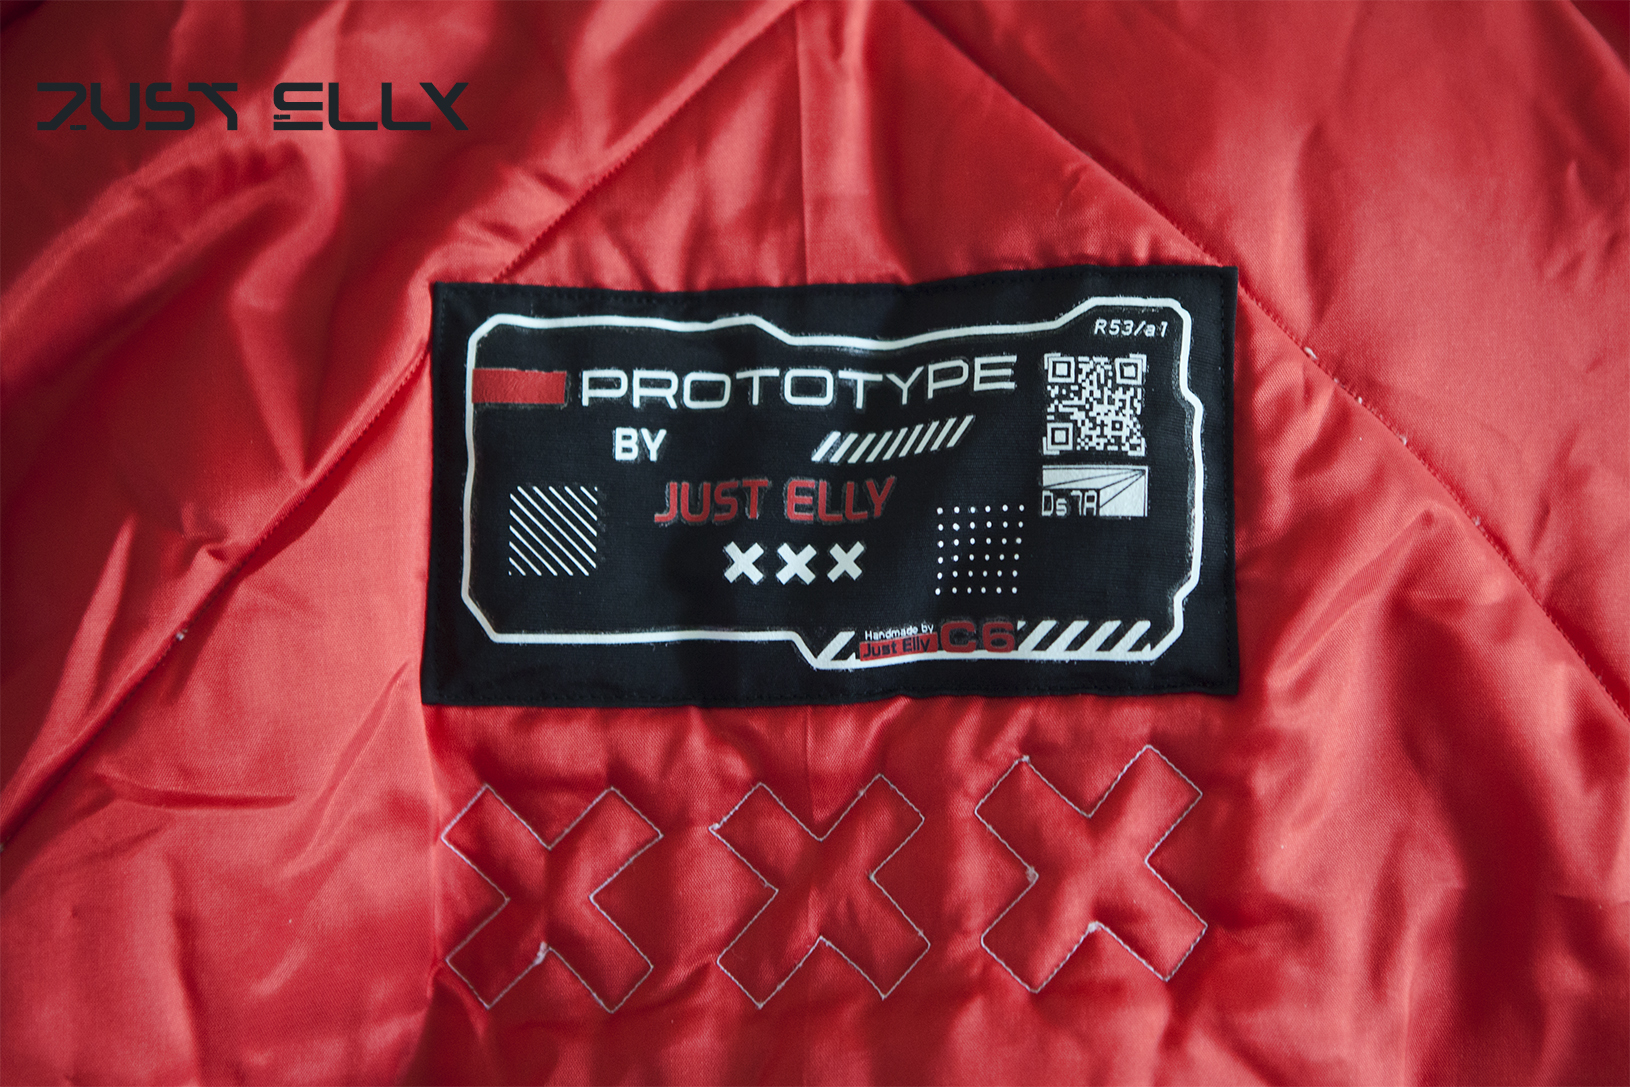
To keep the batting from slipping inside the jacket, I simply sewed lines along the sleeves and front panels of the lining. But on the back panel, I sewed on some graphics that are printed on the outside. ❤
Try scanning the QR code on the label! It’s not just a picture 😀
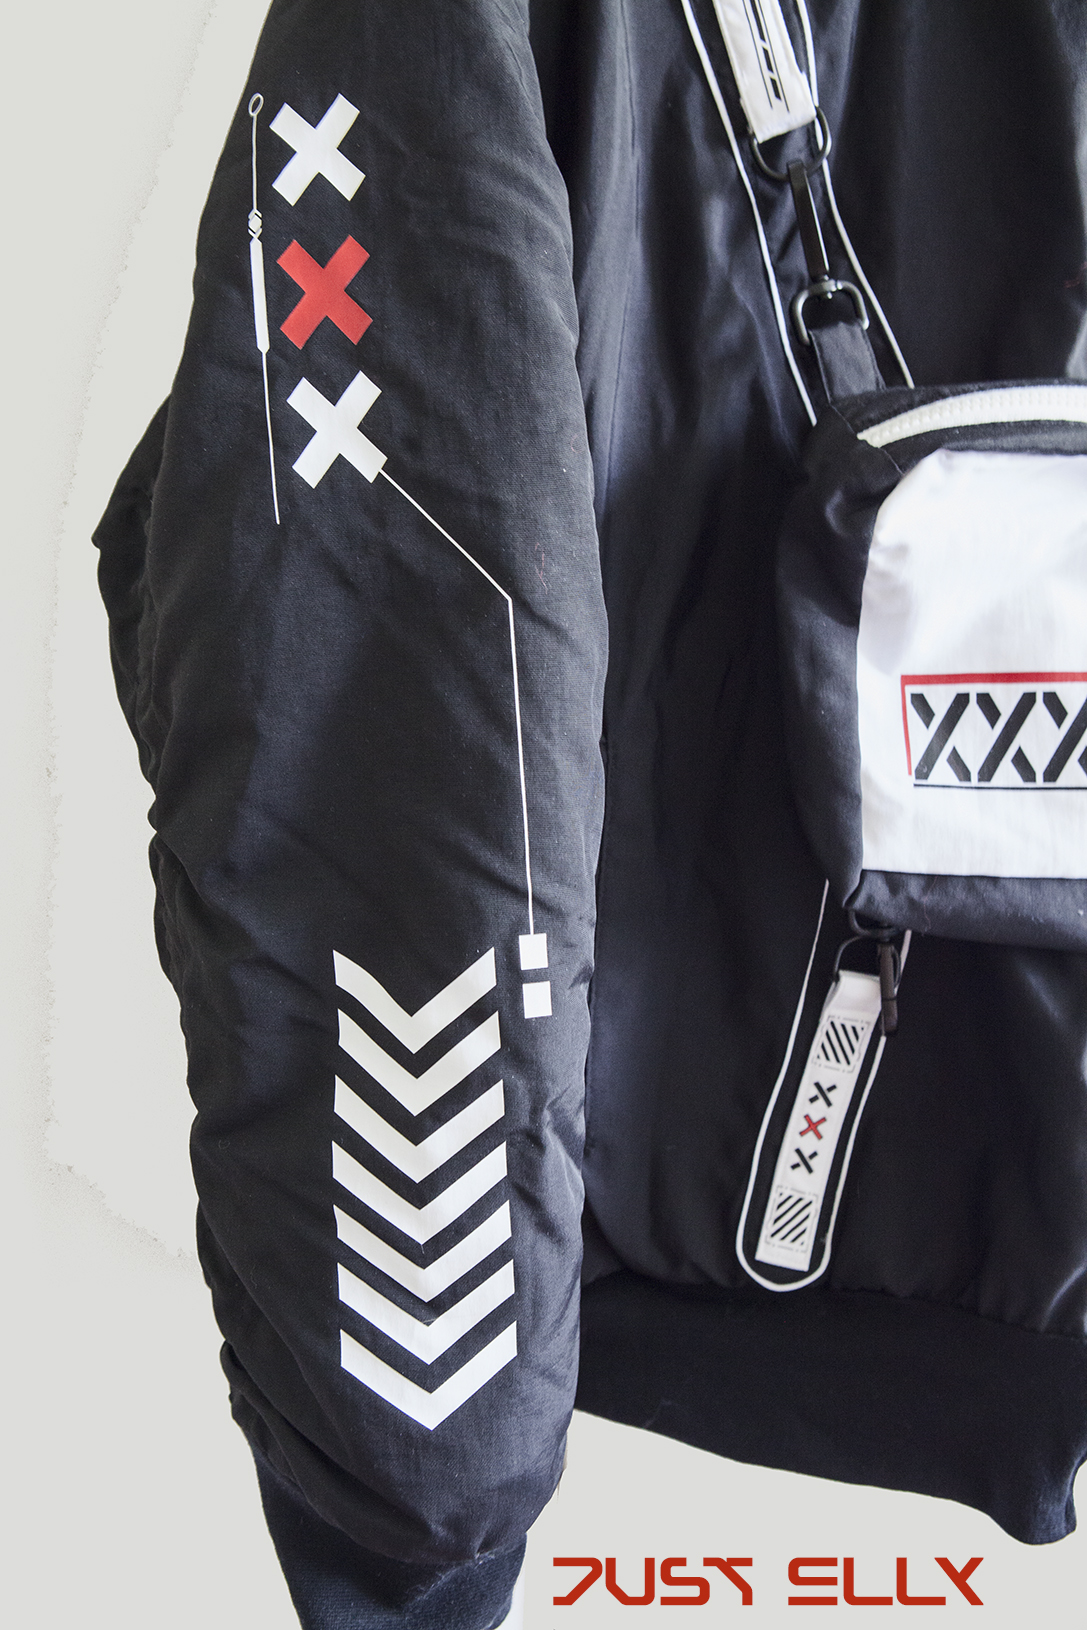
The right sleeve
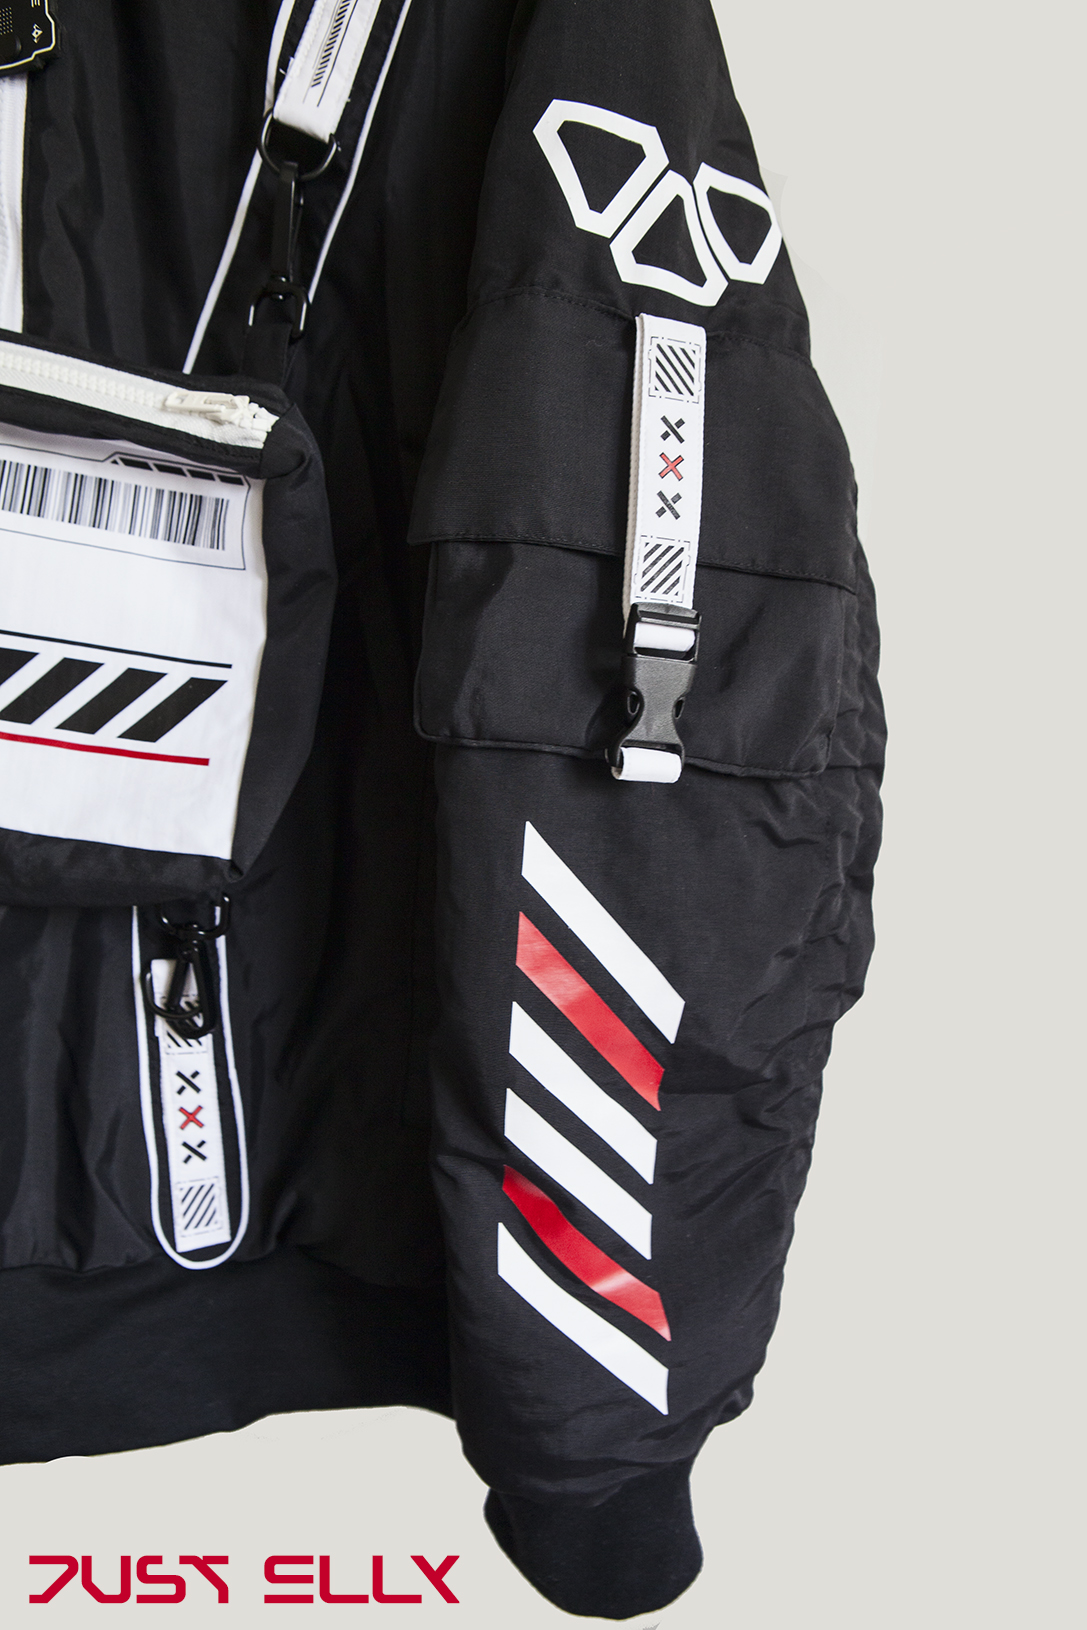
The left sleeve has a pocket.
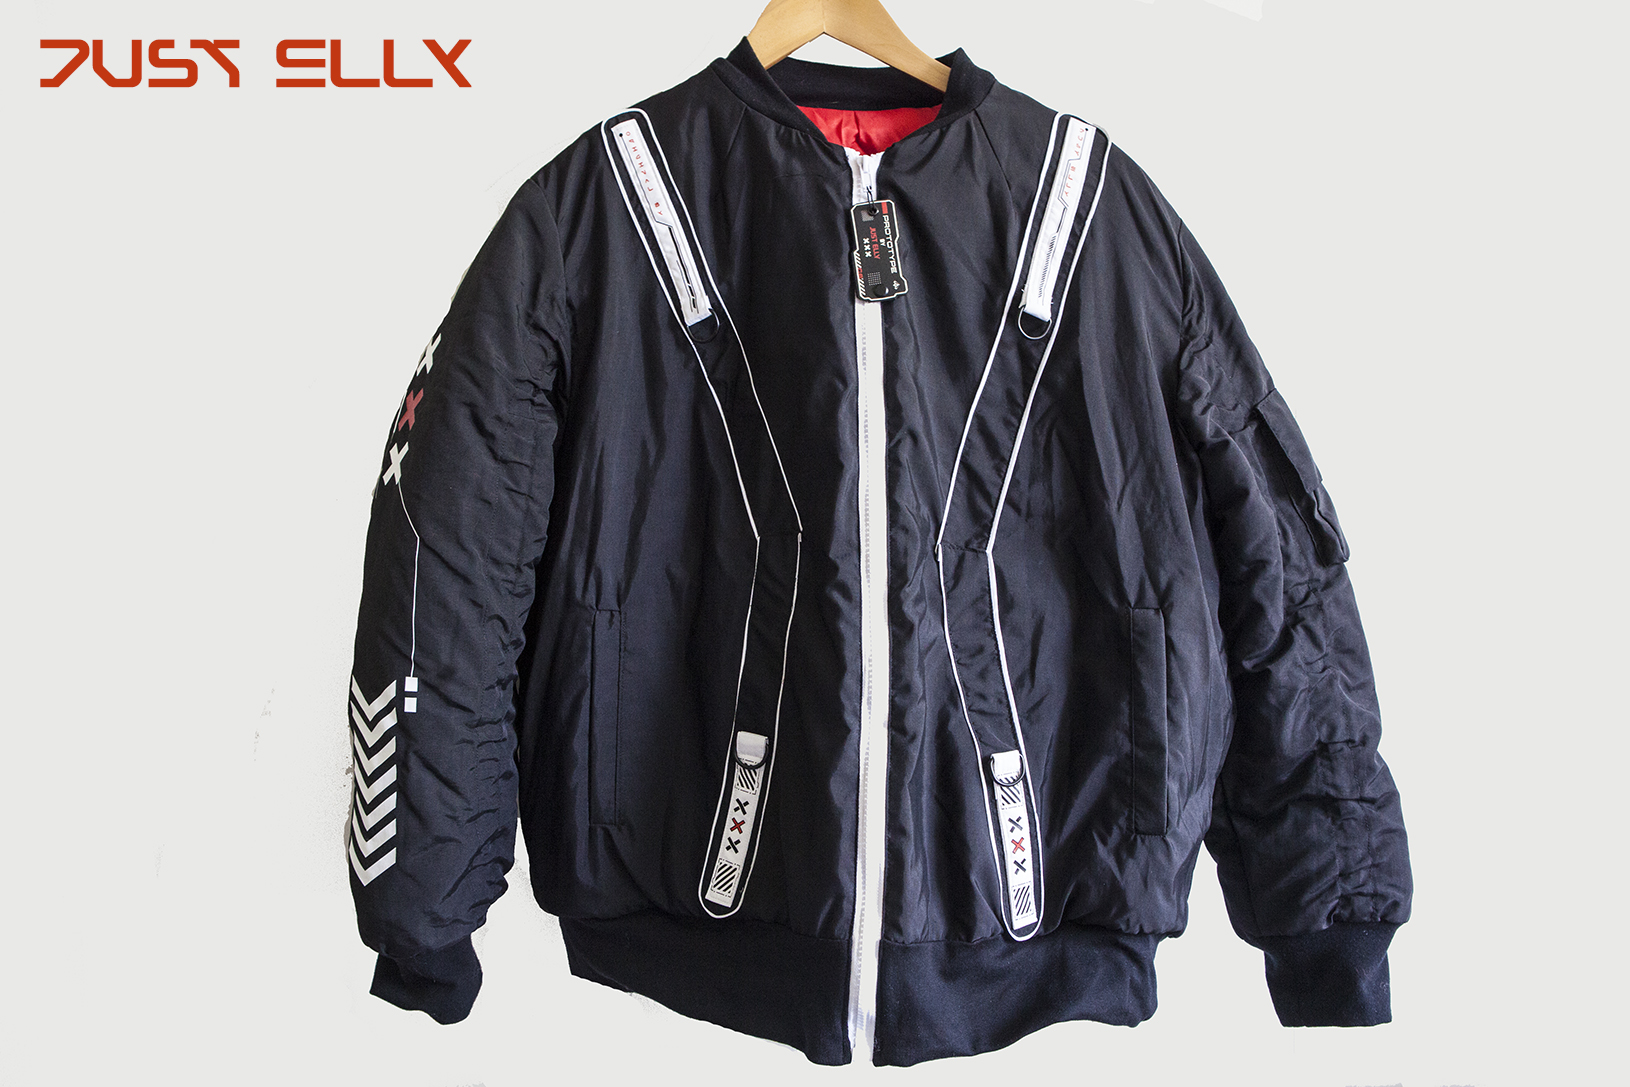
You’ll actually never see this jacket like this. If you look closely, you’ll notice that there are D-rings attached to the four stripes on the front of the jacket.
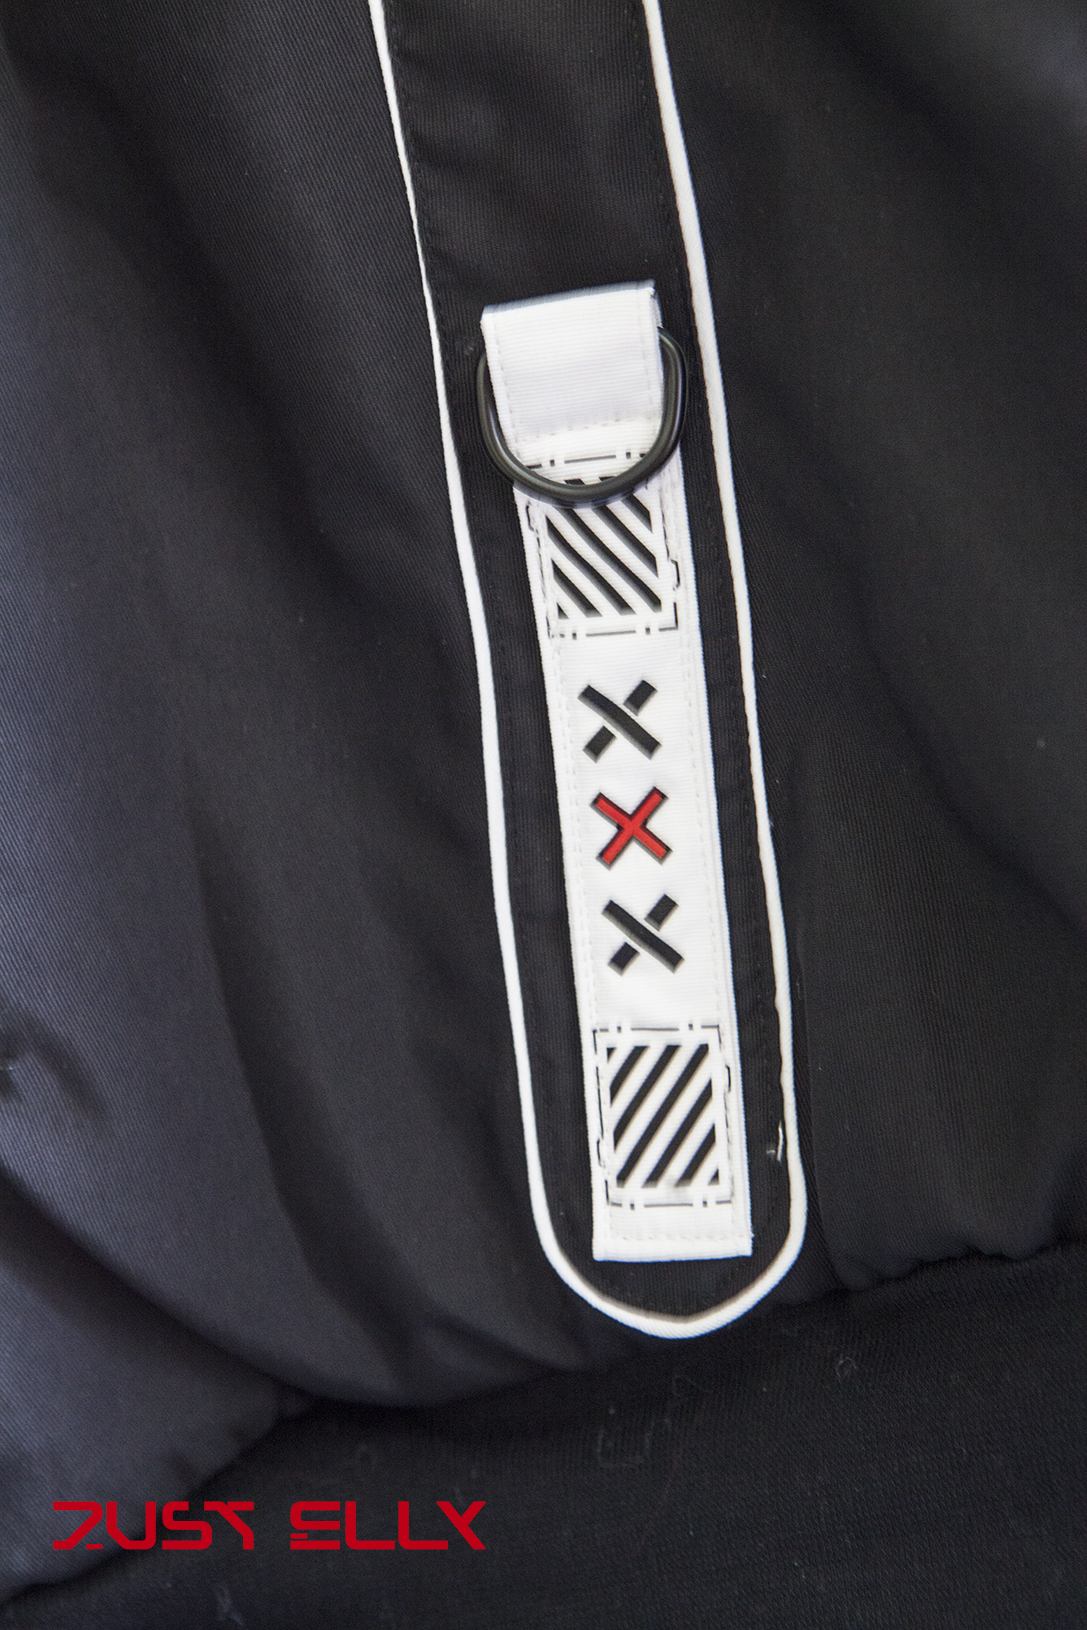
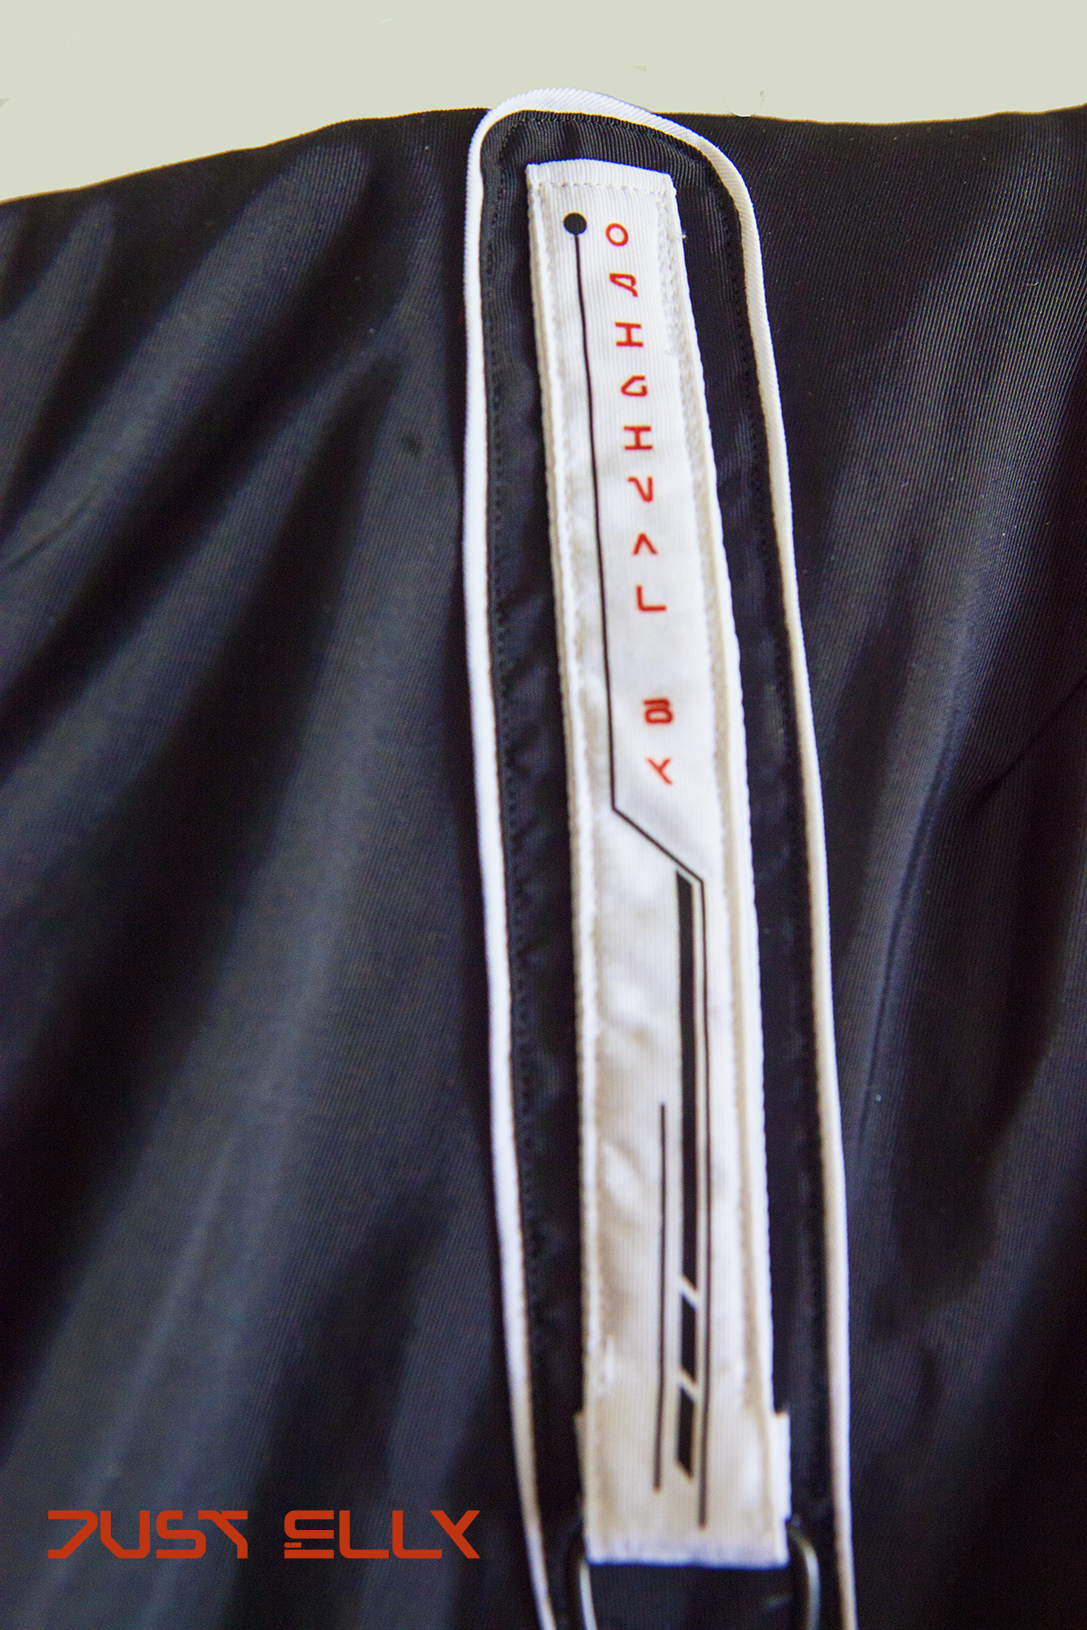
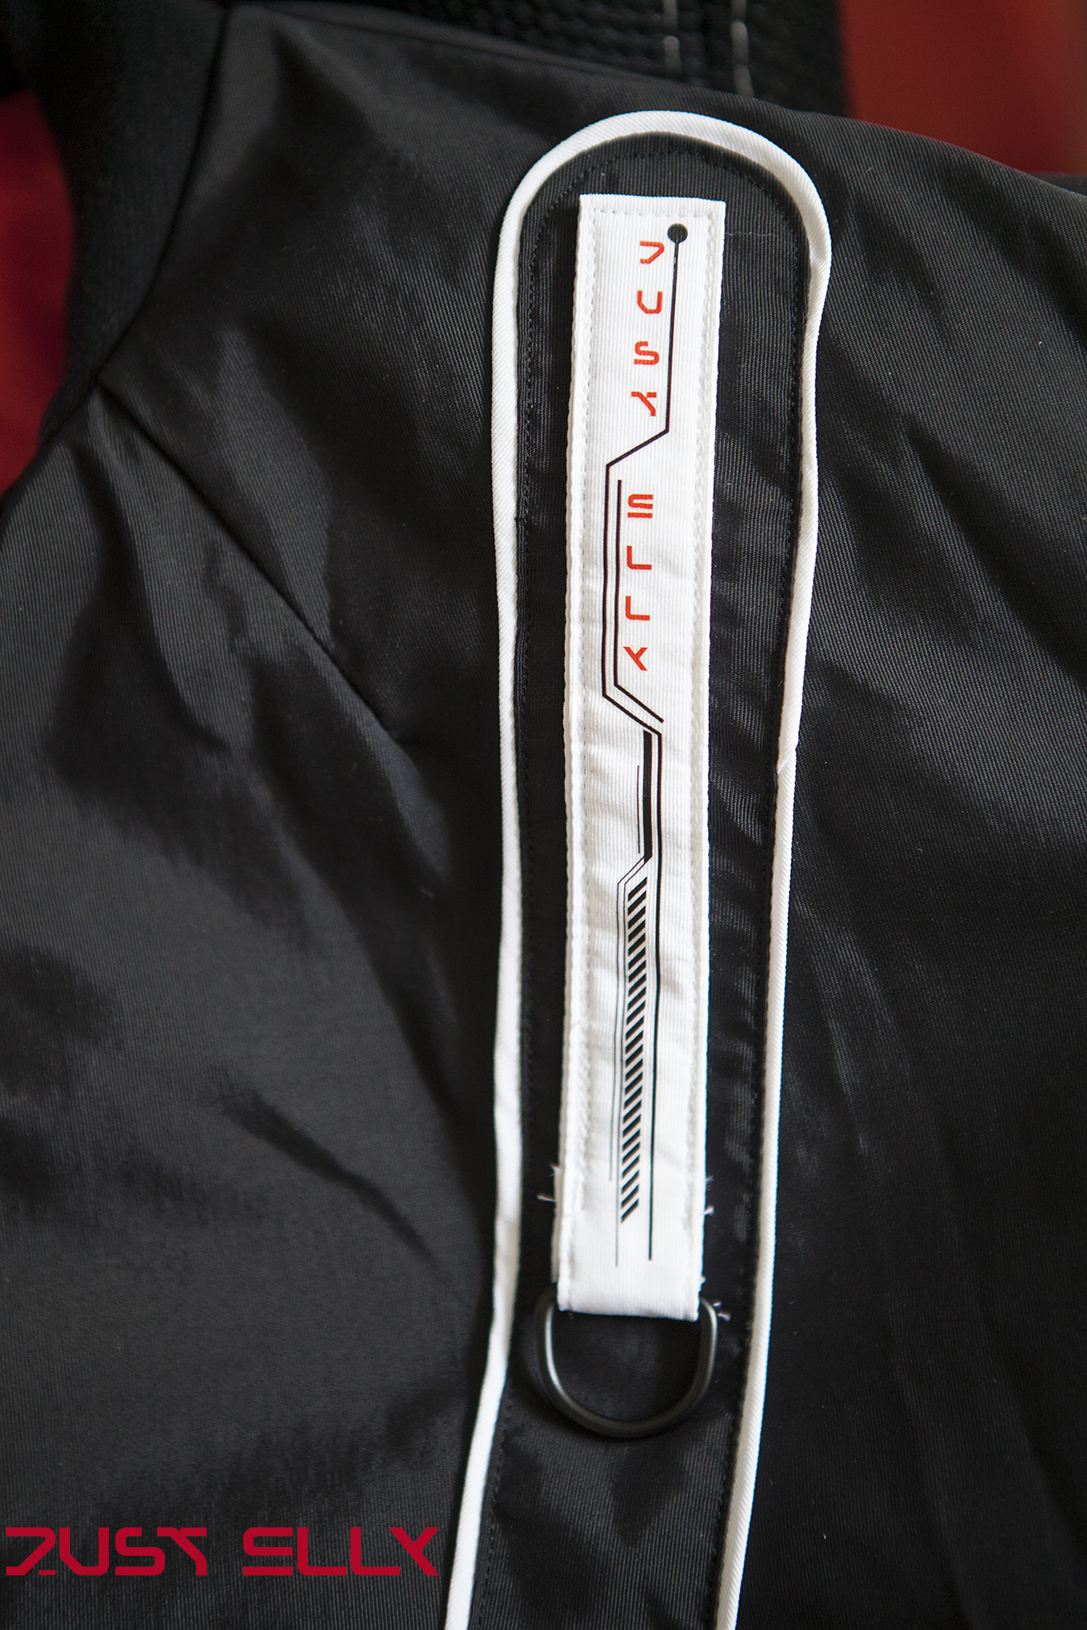
I bought this font specifically for this jacket. I wanted something futuristic. In case anyone’s interested, it’s called T-012.
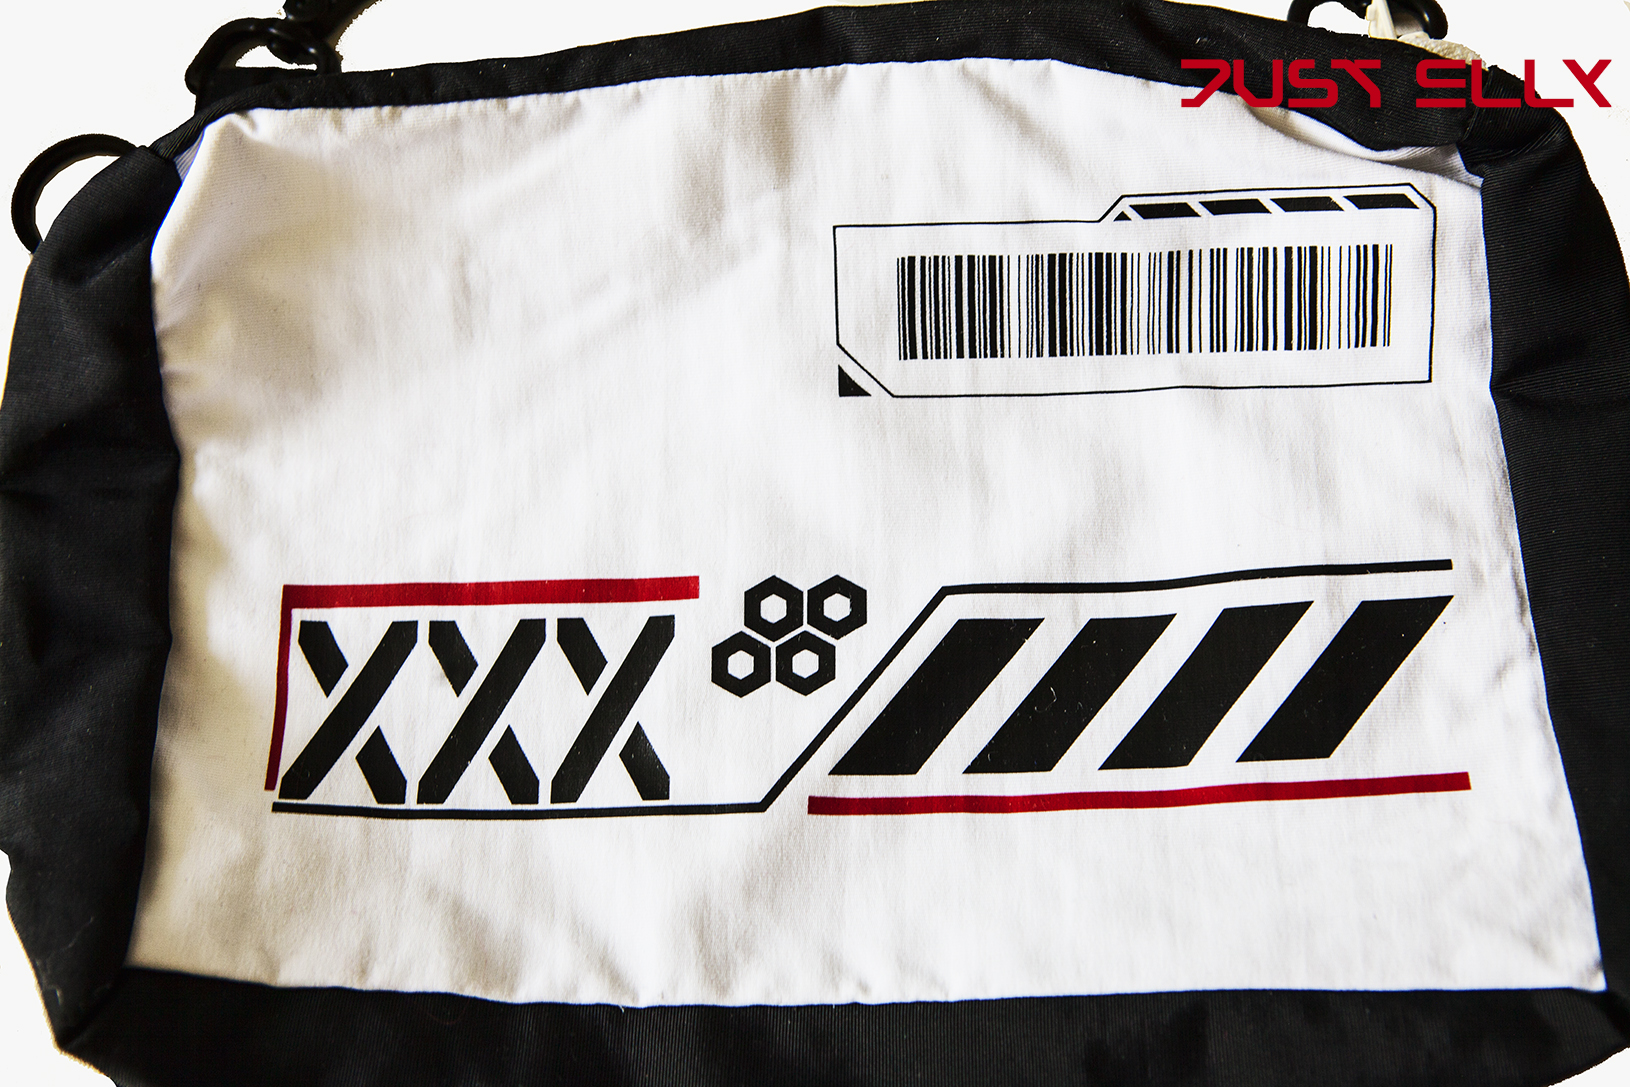
I used white nylon for the front pocket. It opens at the top, but it also has a pocket on the back where you can put your wallet, for example. Just like the QR code, the barcode also has special meaning for me. ❤
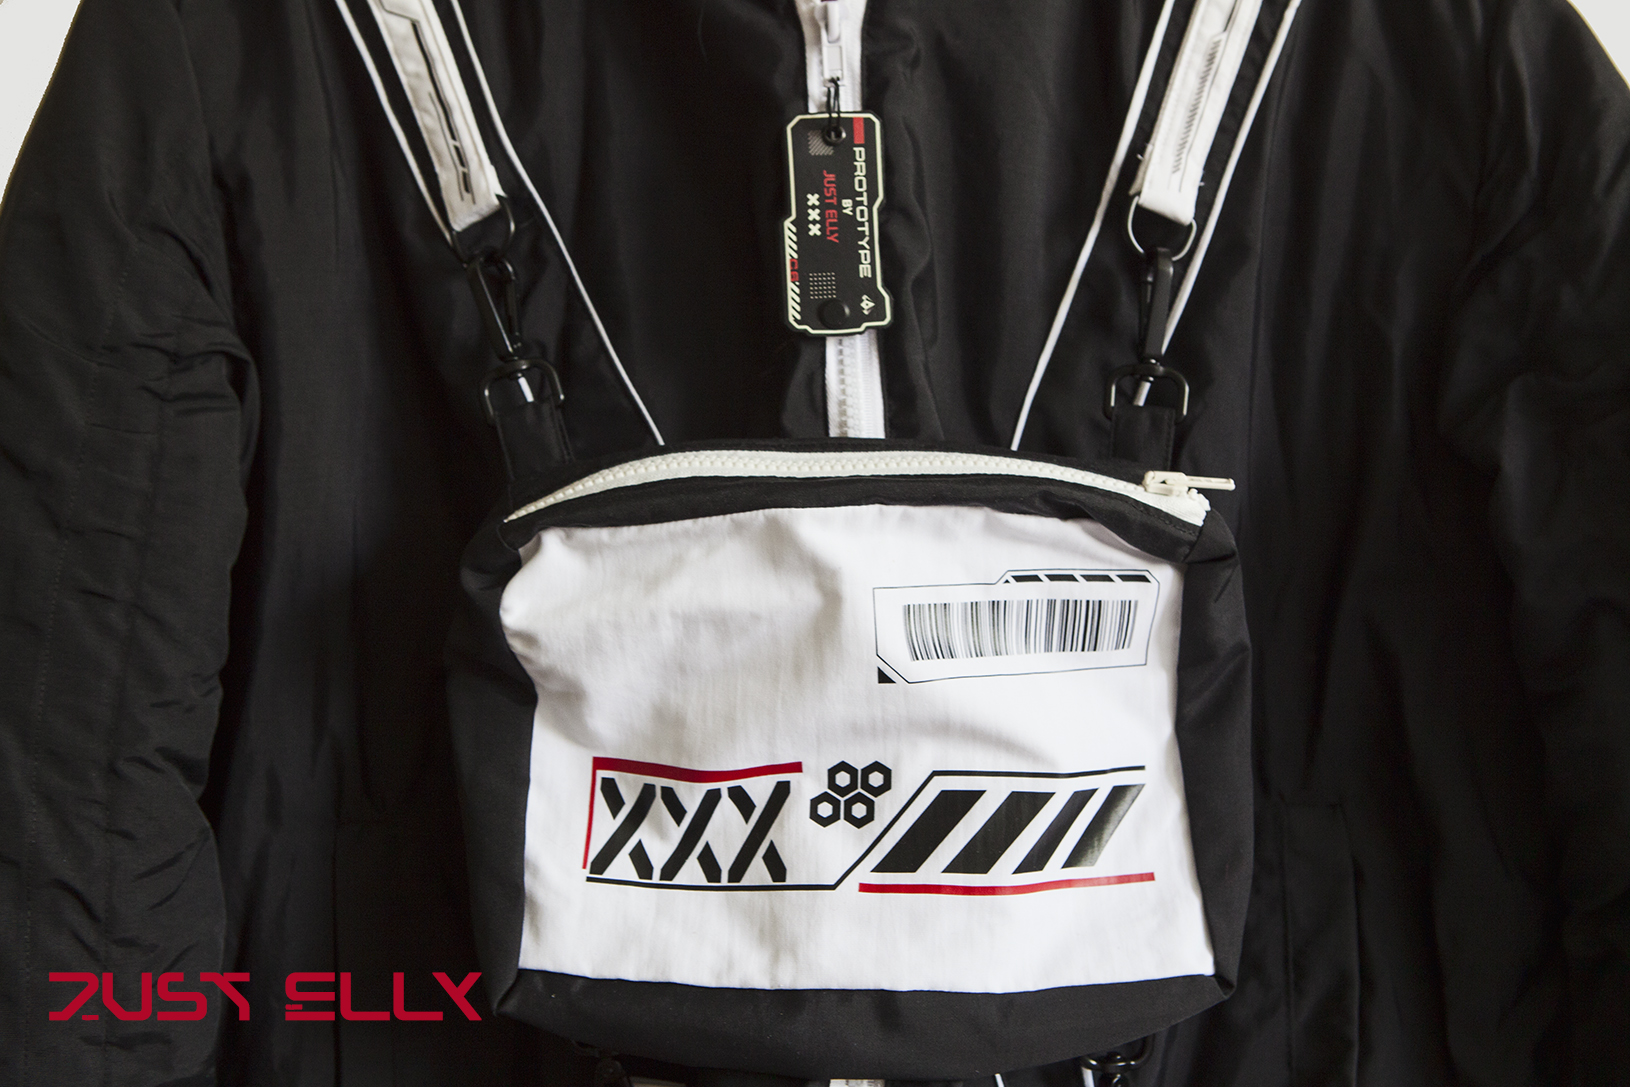
Here you can see what the four strips with the D-rings were for! I attached small carabiners to the corners of the front pocket. These are used to attach the pocket to the jacket.
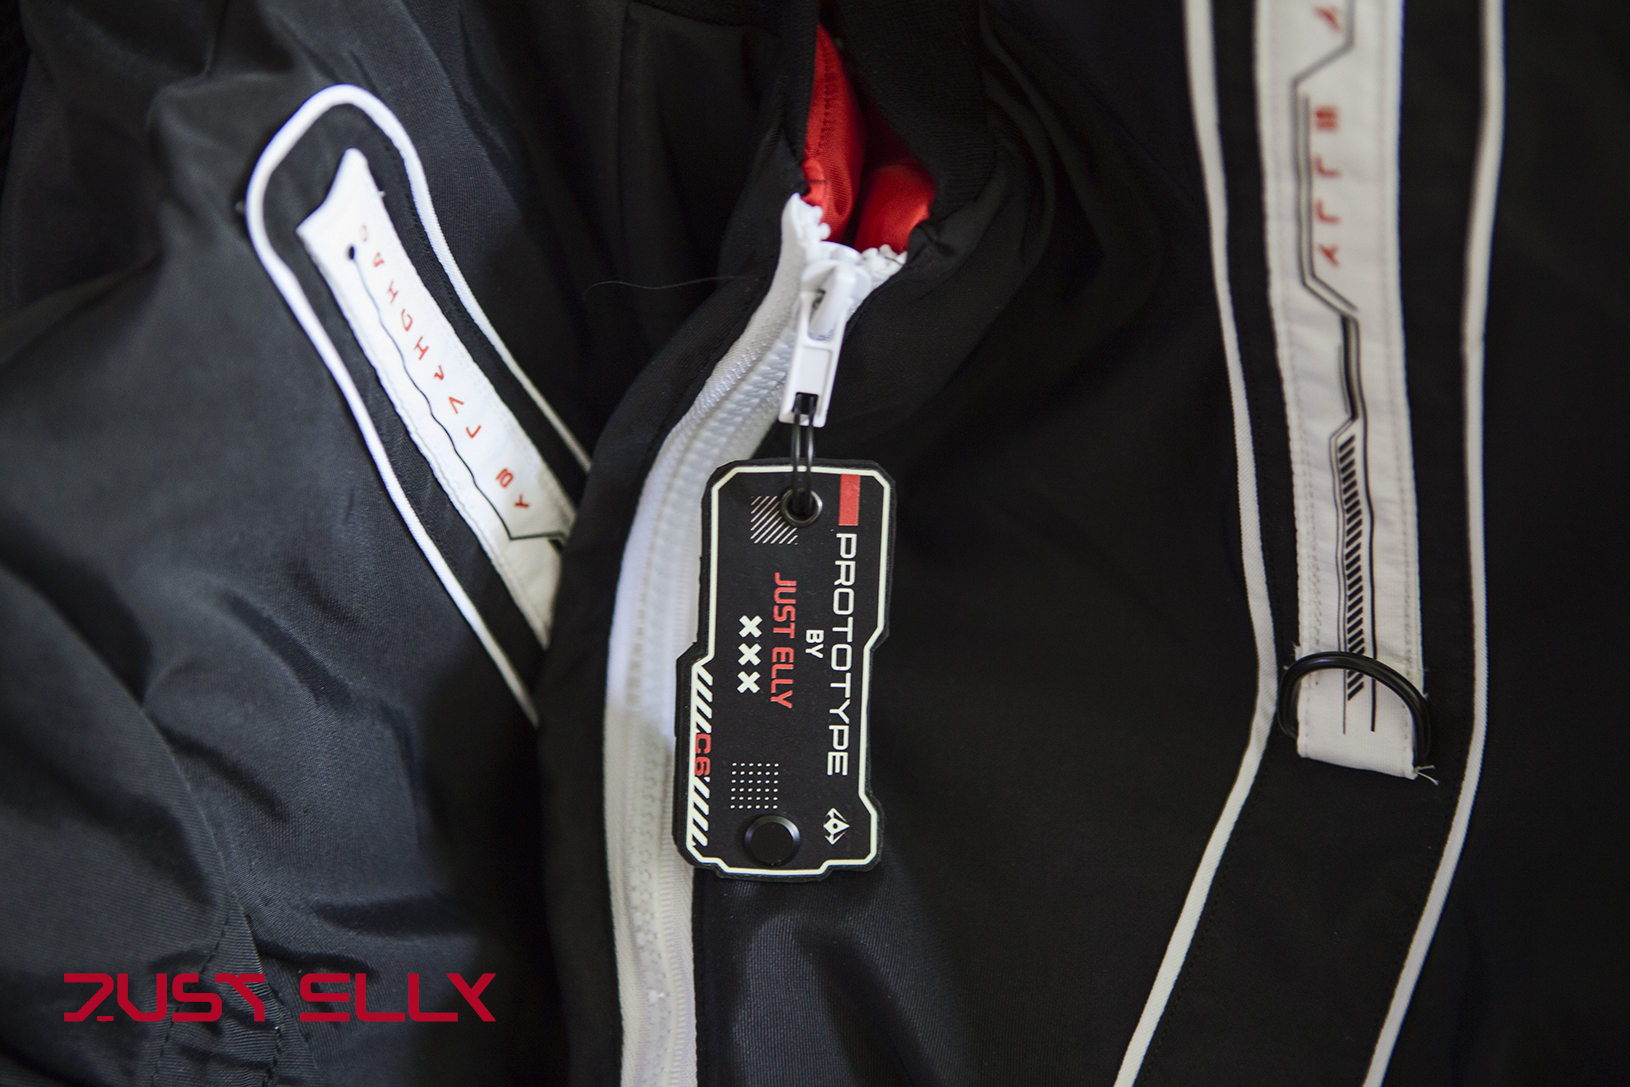
For this zipper pull, I ordered a thin rubber mat and had it printed with my graphic.
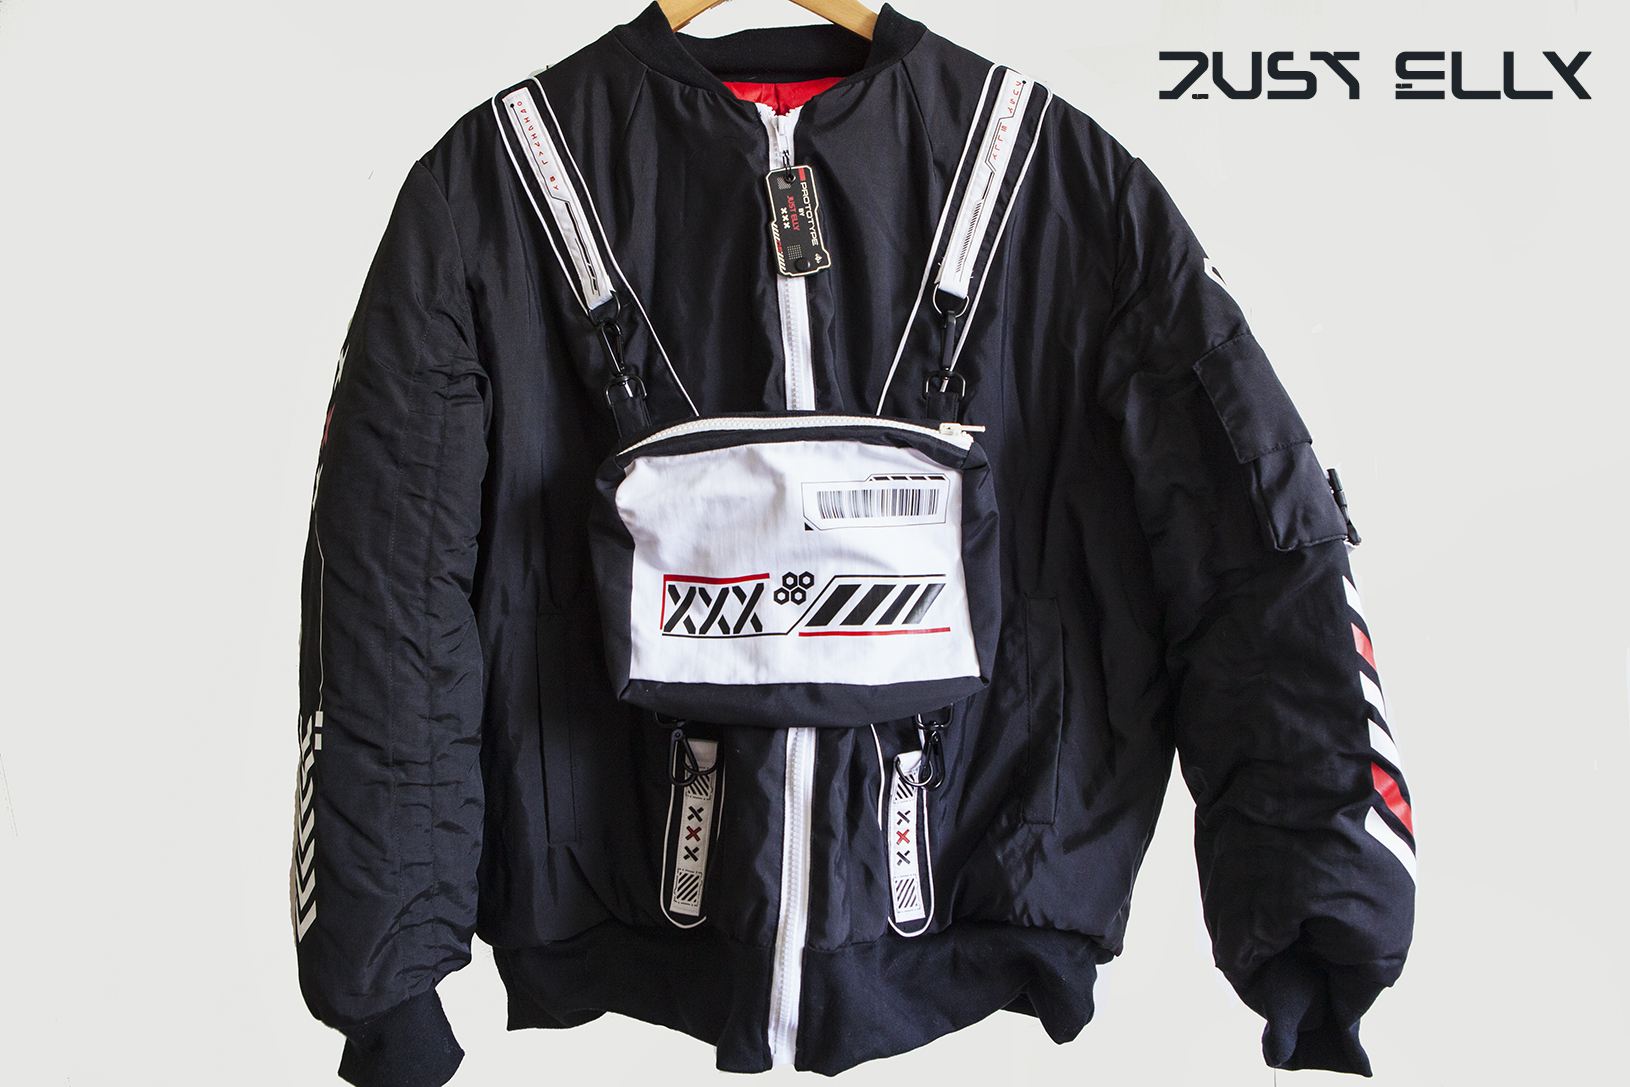
This is what the jacket looks like from the front.
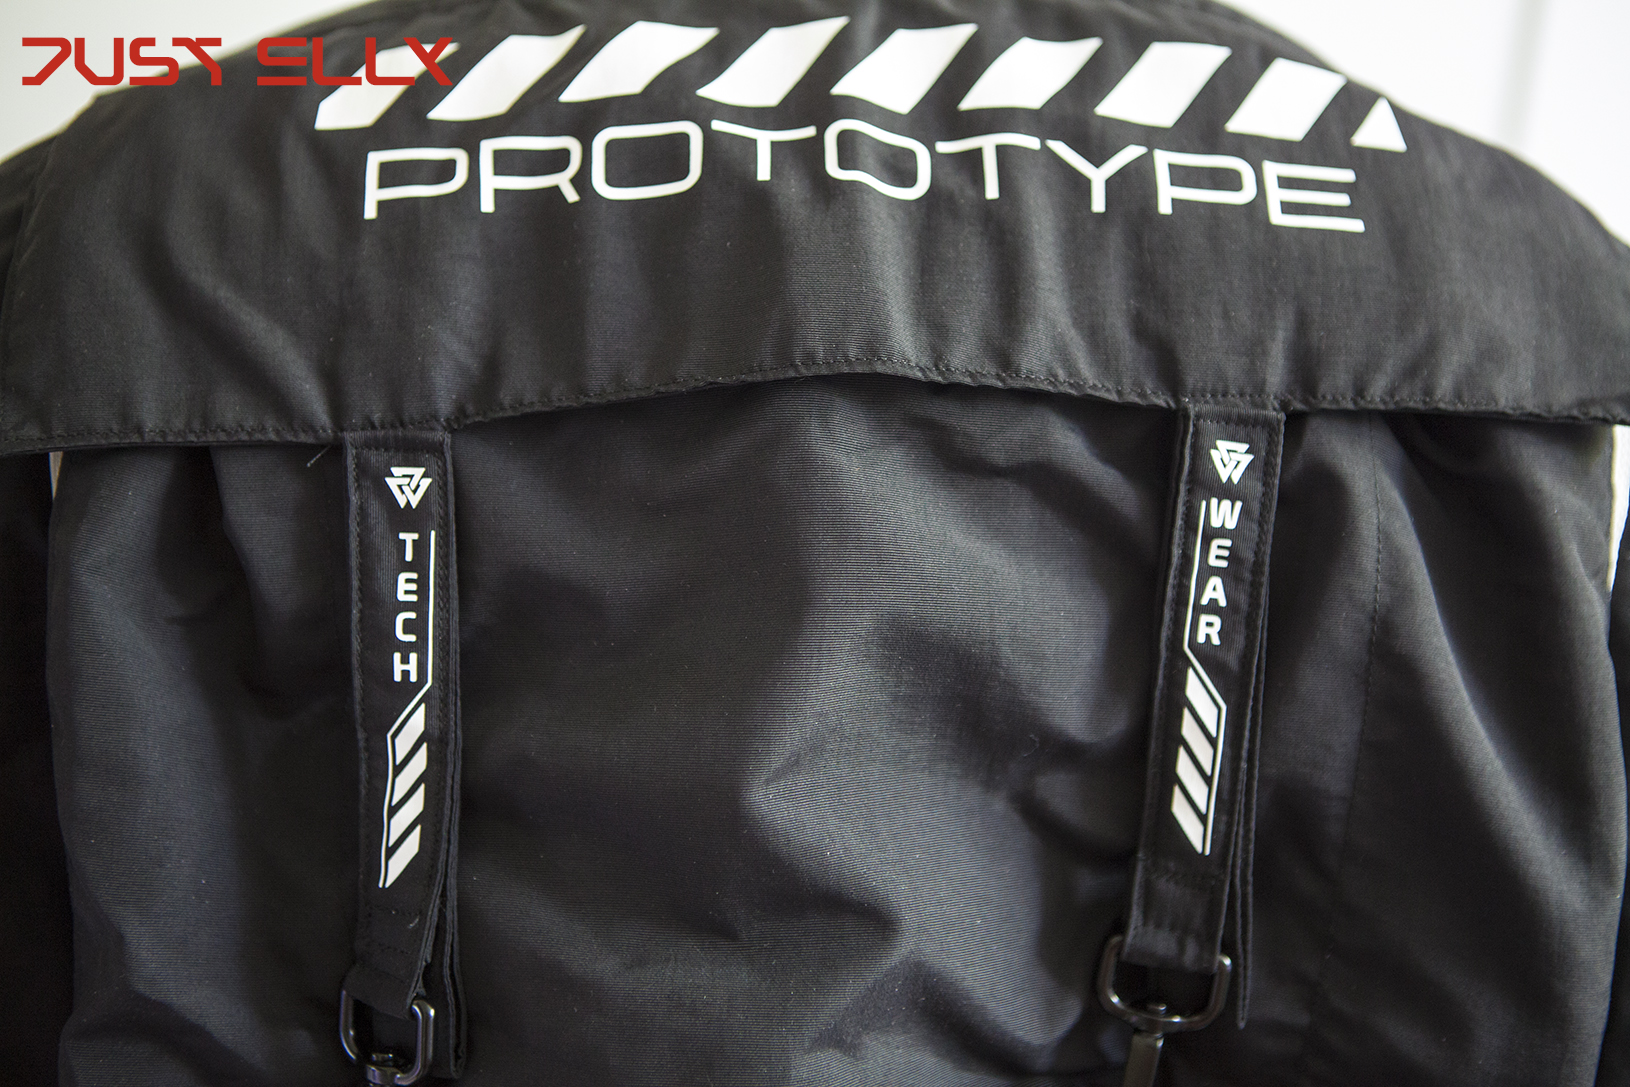
Now let’s move on to the back of the jacket. I sewed a pocket directly onto it.
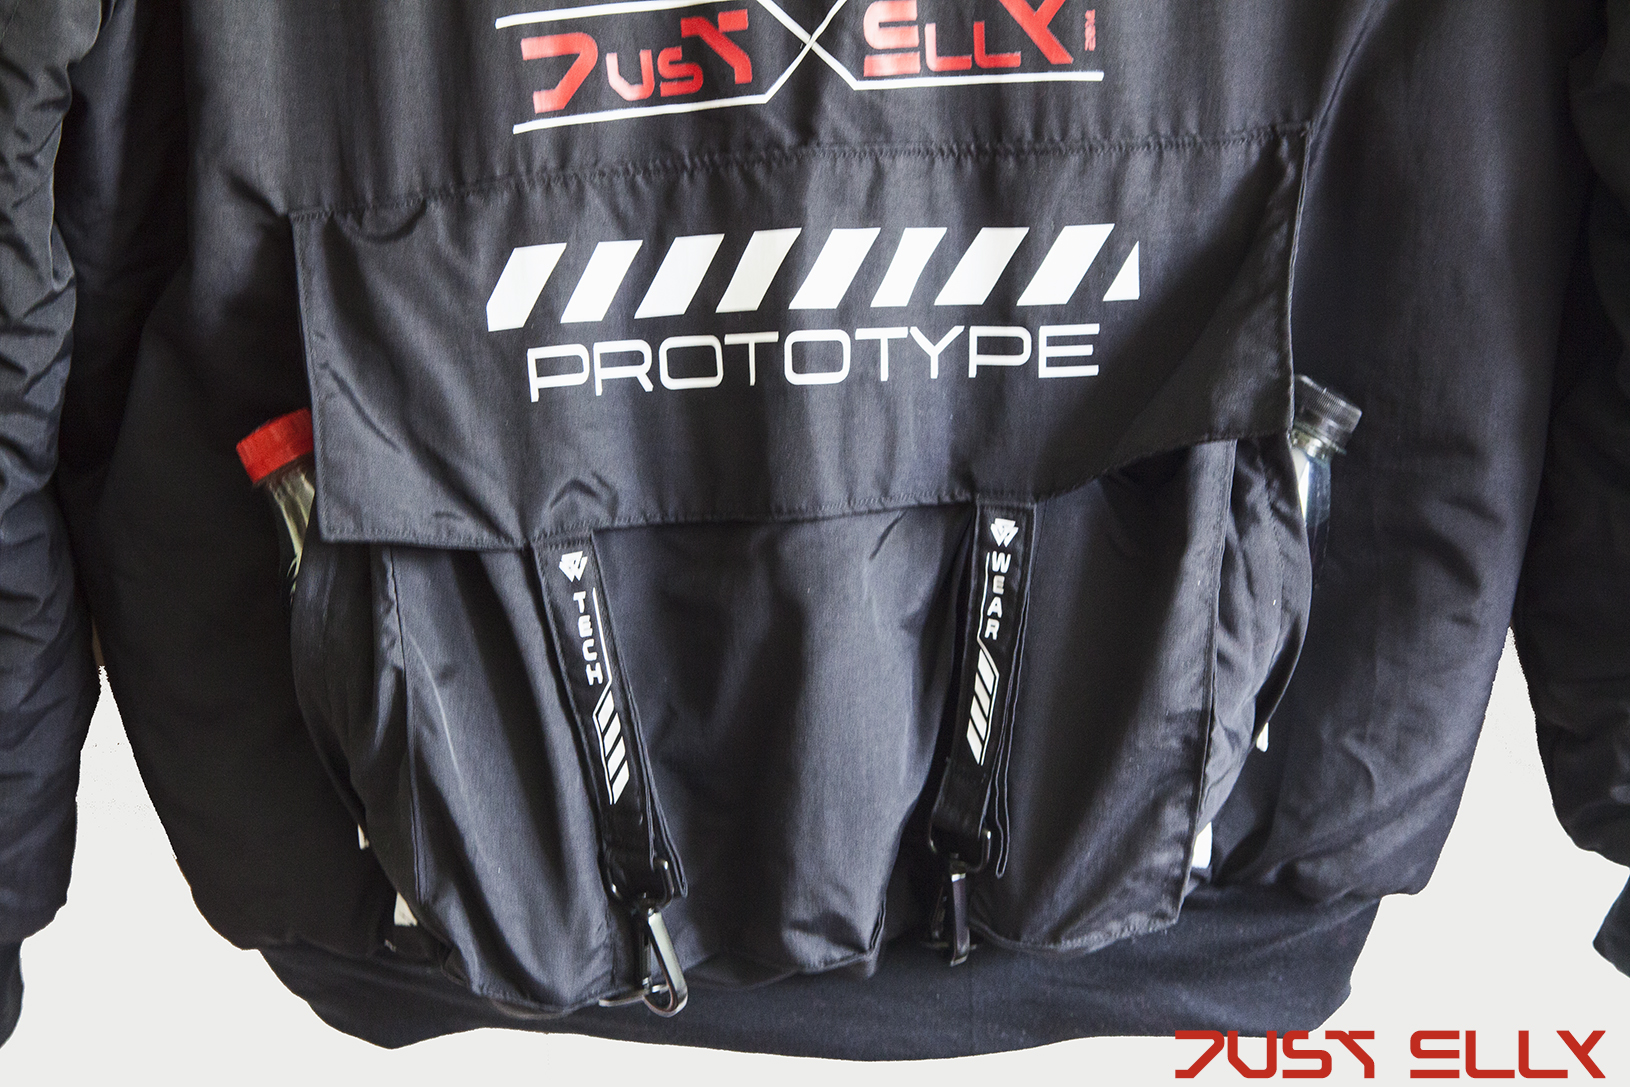
But not just any bag!!!
This bag has three compartments. The two outer ones can be opened and closed with a zipper—even while you’re wearing the jacket. That’s because the zippers are on both outer sides. I designed it that way on purpose so that when I go out to play, I can always have drinks with me and keep my hands free to play. To make it easier to see, I put bottles in both outer pockets 🙂
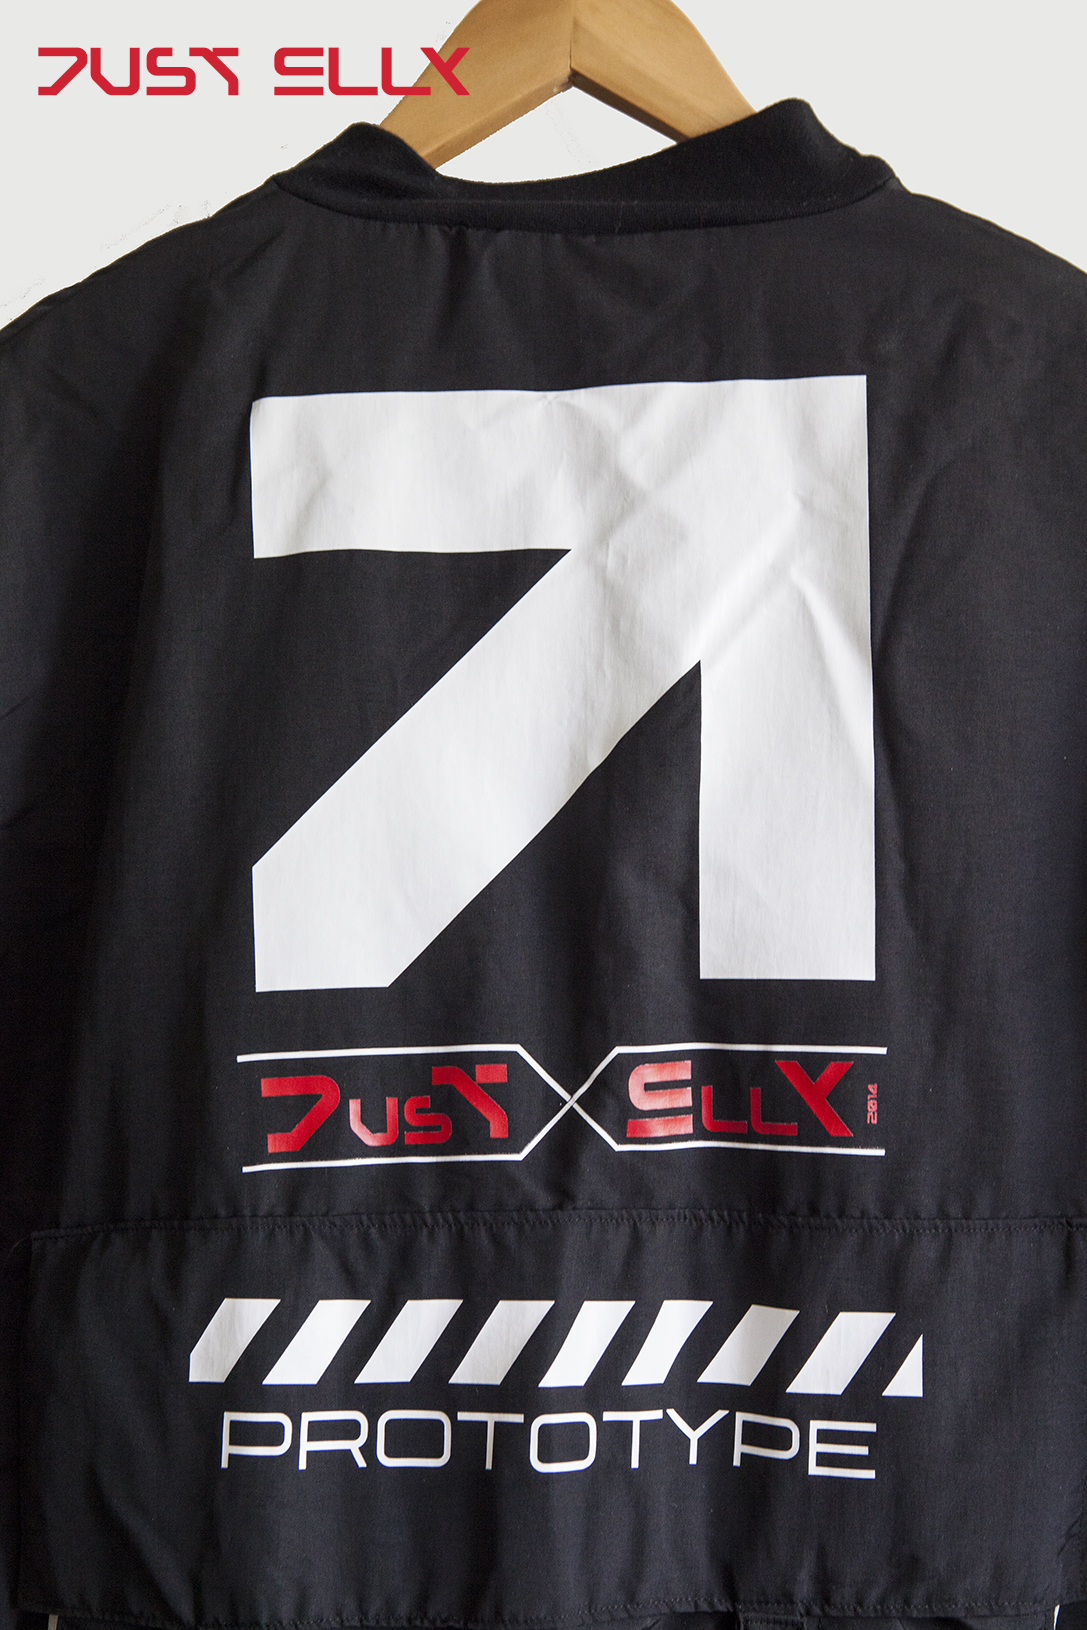
Here you can see why I absolutely had to have this font. It just looks cool.
The funny thing is, it doesn’t say “Elly”—it says “Ellx.” I liked the letter ‘x’ better than the “y” 😀
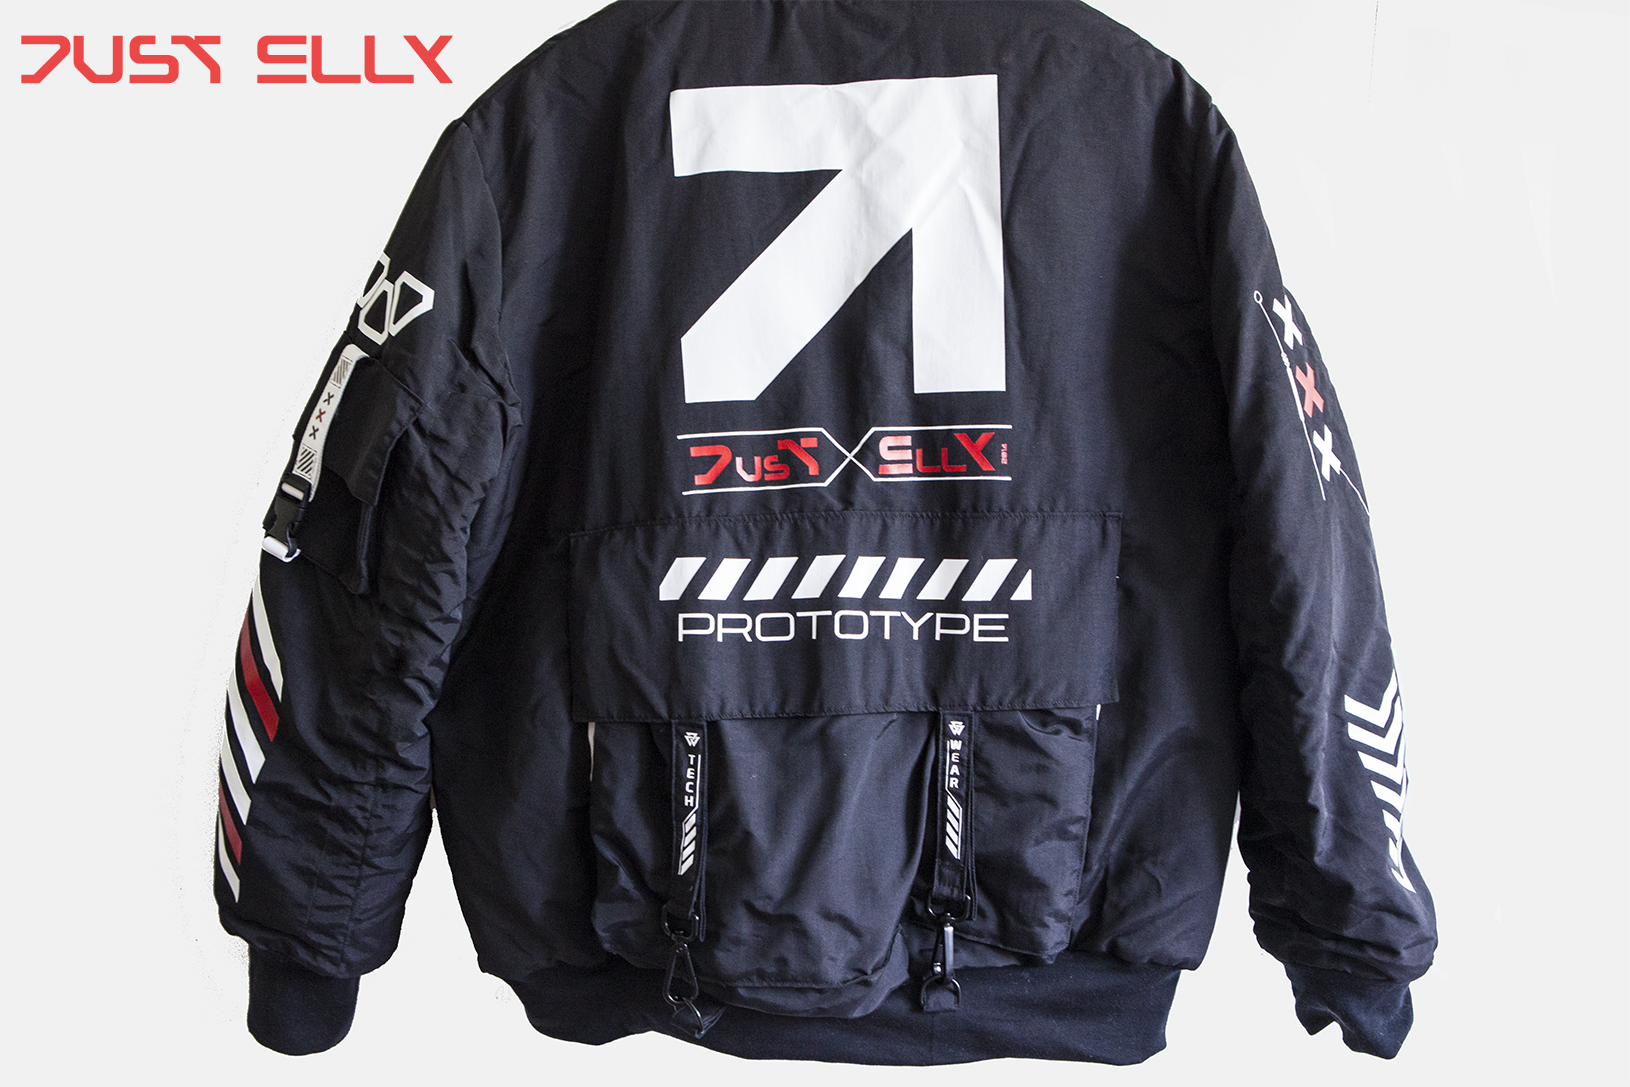
And here is the entire back of the jacket. All that time spent planning and preparing was worth it. I love this jacket. It’s even warm enough for winter—unless the temperature is close to freezing. ❤

